Article Catalog
- Introduction to Hardware ESP8266
- Configure Arduino environment
- Configure Alibaba Cloud
- Connect ESP8266
1 Introduction to Hardware ESP8266
The ESP8266 chip is a serial to wireless module chip with built-in firmware, making it easy for users to operate and eliminating the need to write timing signals. I used the ESP8266-12F series for this experiment. This chip uses a 3.3V DC power supply, has a small size, low power consumption, supports transparent transmission, does not cause serious packet loss, and is priced low. ESP8266 also allows users to write their own ROMs, which can not only achieve data transmission functions, but also control the establishment of WiFi hotspots, or connect to a designated router as a WiFi client. It can also programmatically control all GPIOs.
2 Configure Arduino environment
2.1 Preferences settings
Open Arduino, click on “File” - “Preferences”, and change the development board manager address:http://arduino.esp8266.com/stable/package_esp8266com_index.json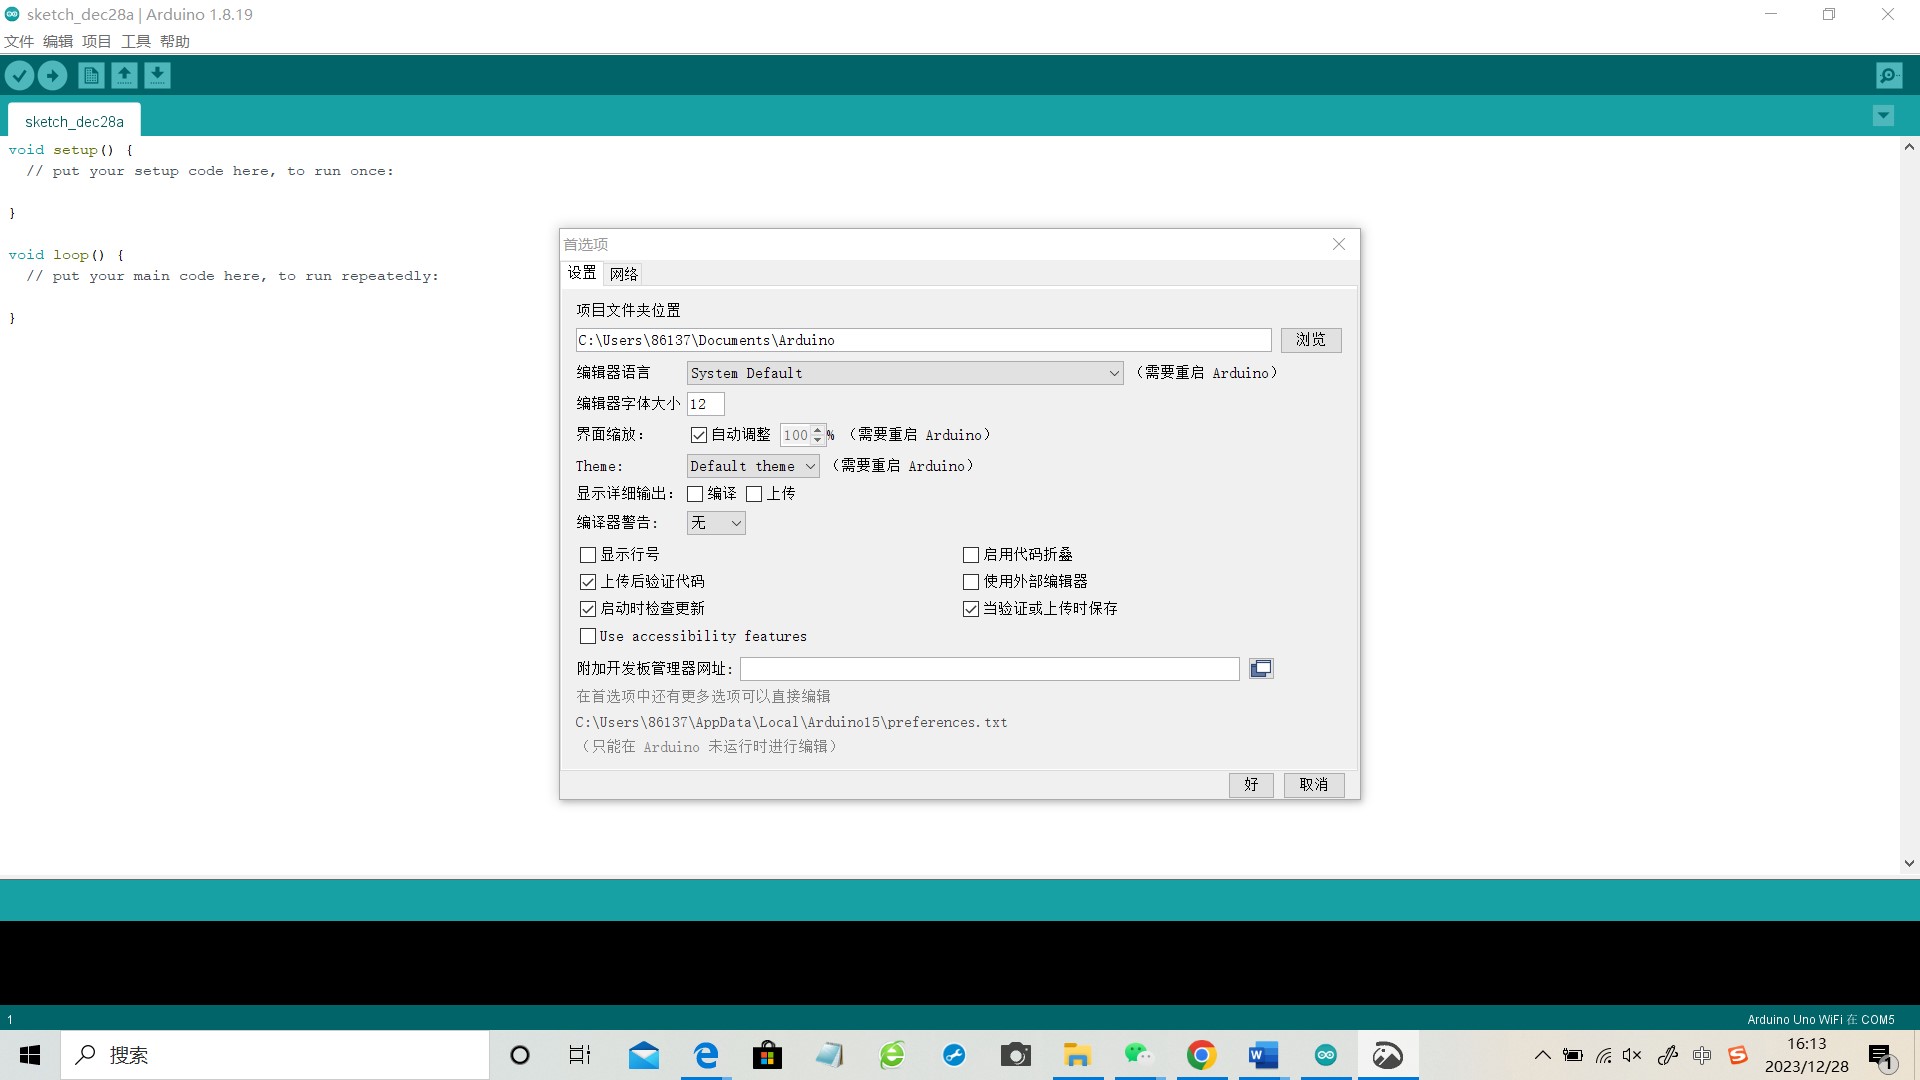
2.2 Add ESP8266 module support
Click on “Tools” - “Development Board: Arduino UNO” - “Development Board Manager”, search for “esp8266”, find the corresponding one, and click download and install.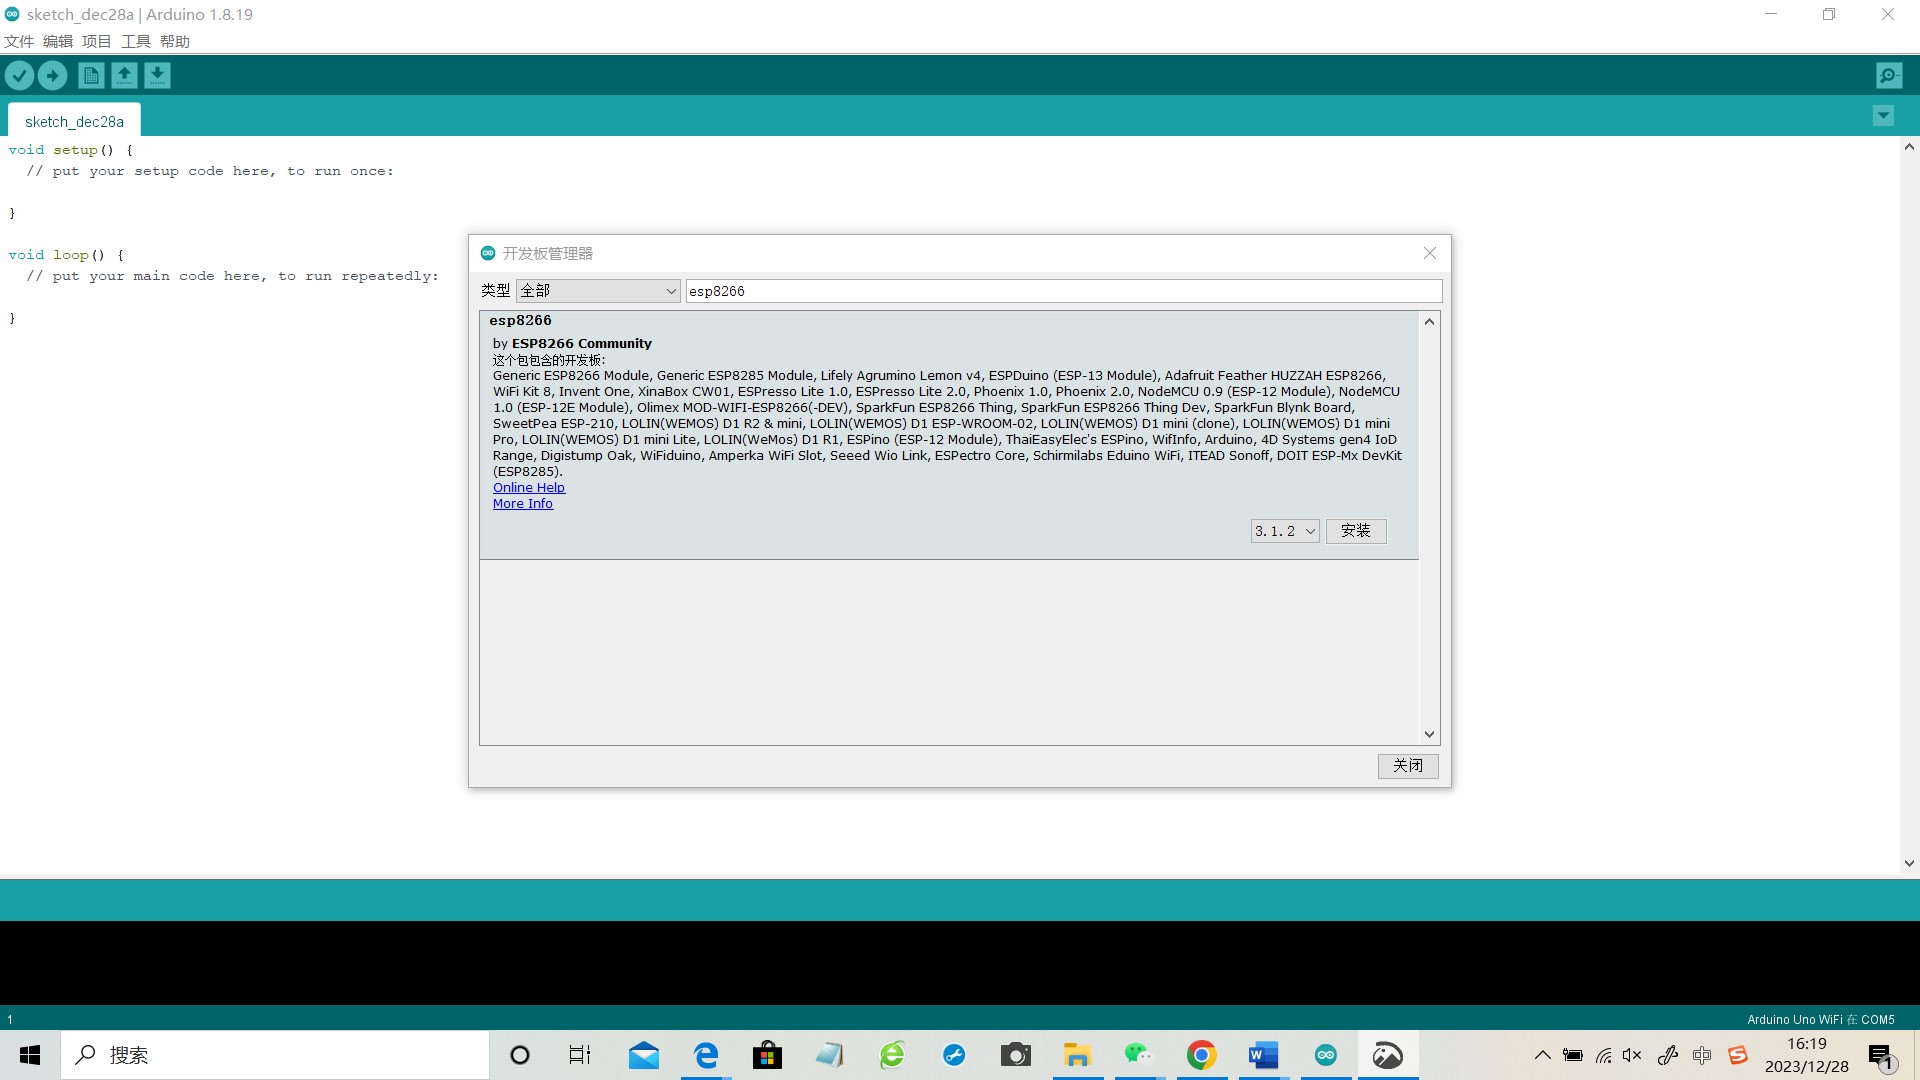

2.3 Add related dependency libraries
Click on “Project” - “Load Library” - “Manage Library Interface”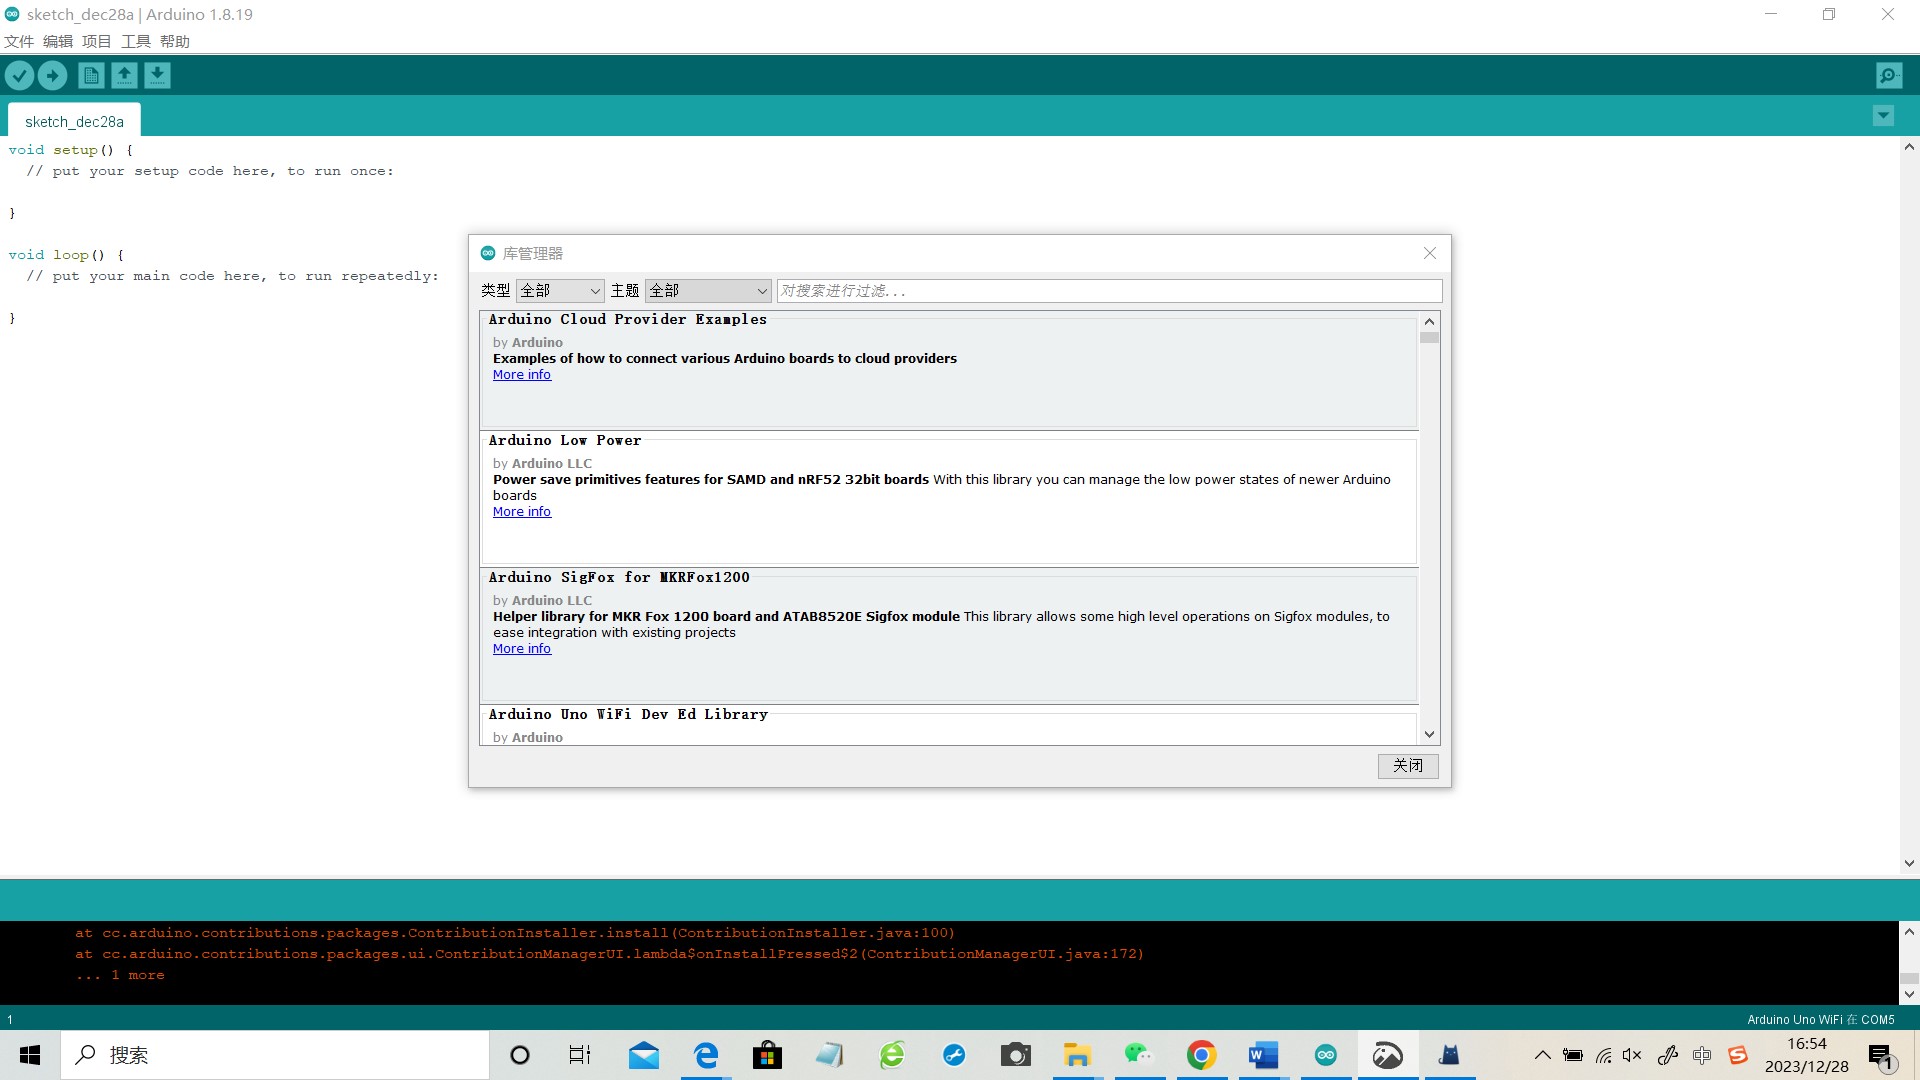
Search for “PubSubClient” and locate “EspMQTTclient” for installation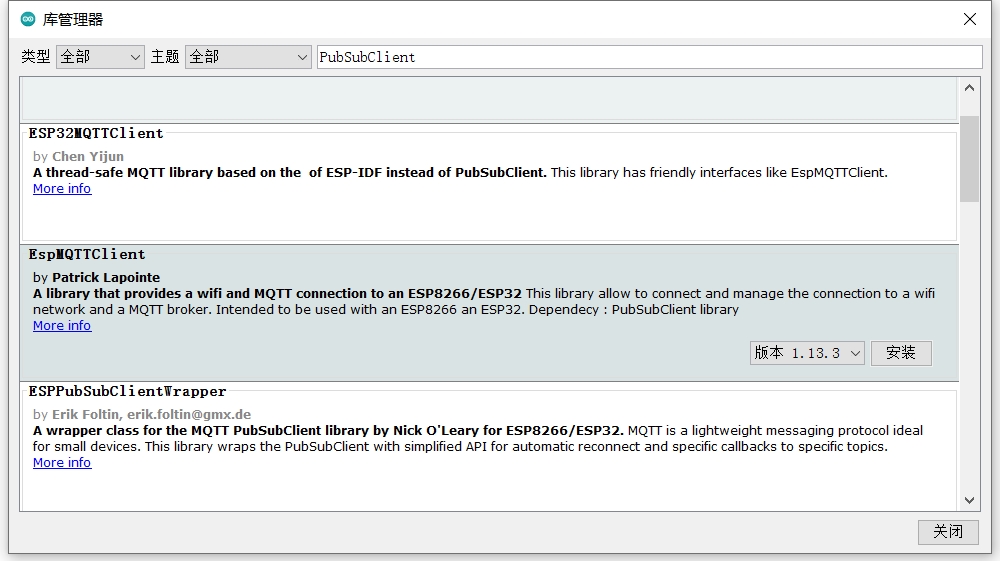
2.4 Modify PubSubClient source file
Find the location of the “library” of Arduino through “Preferences”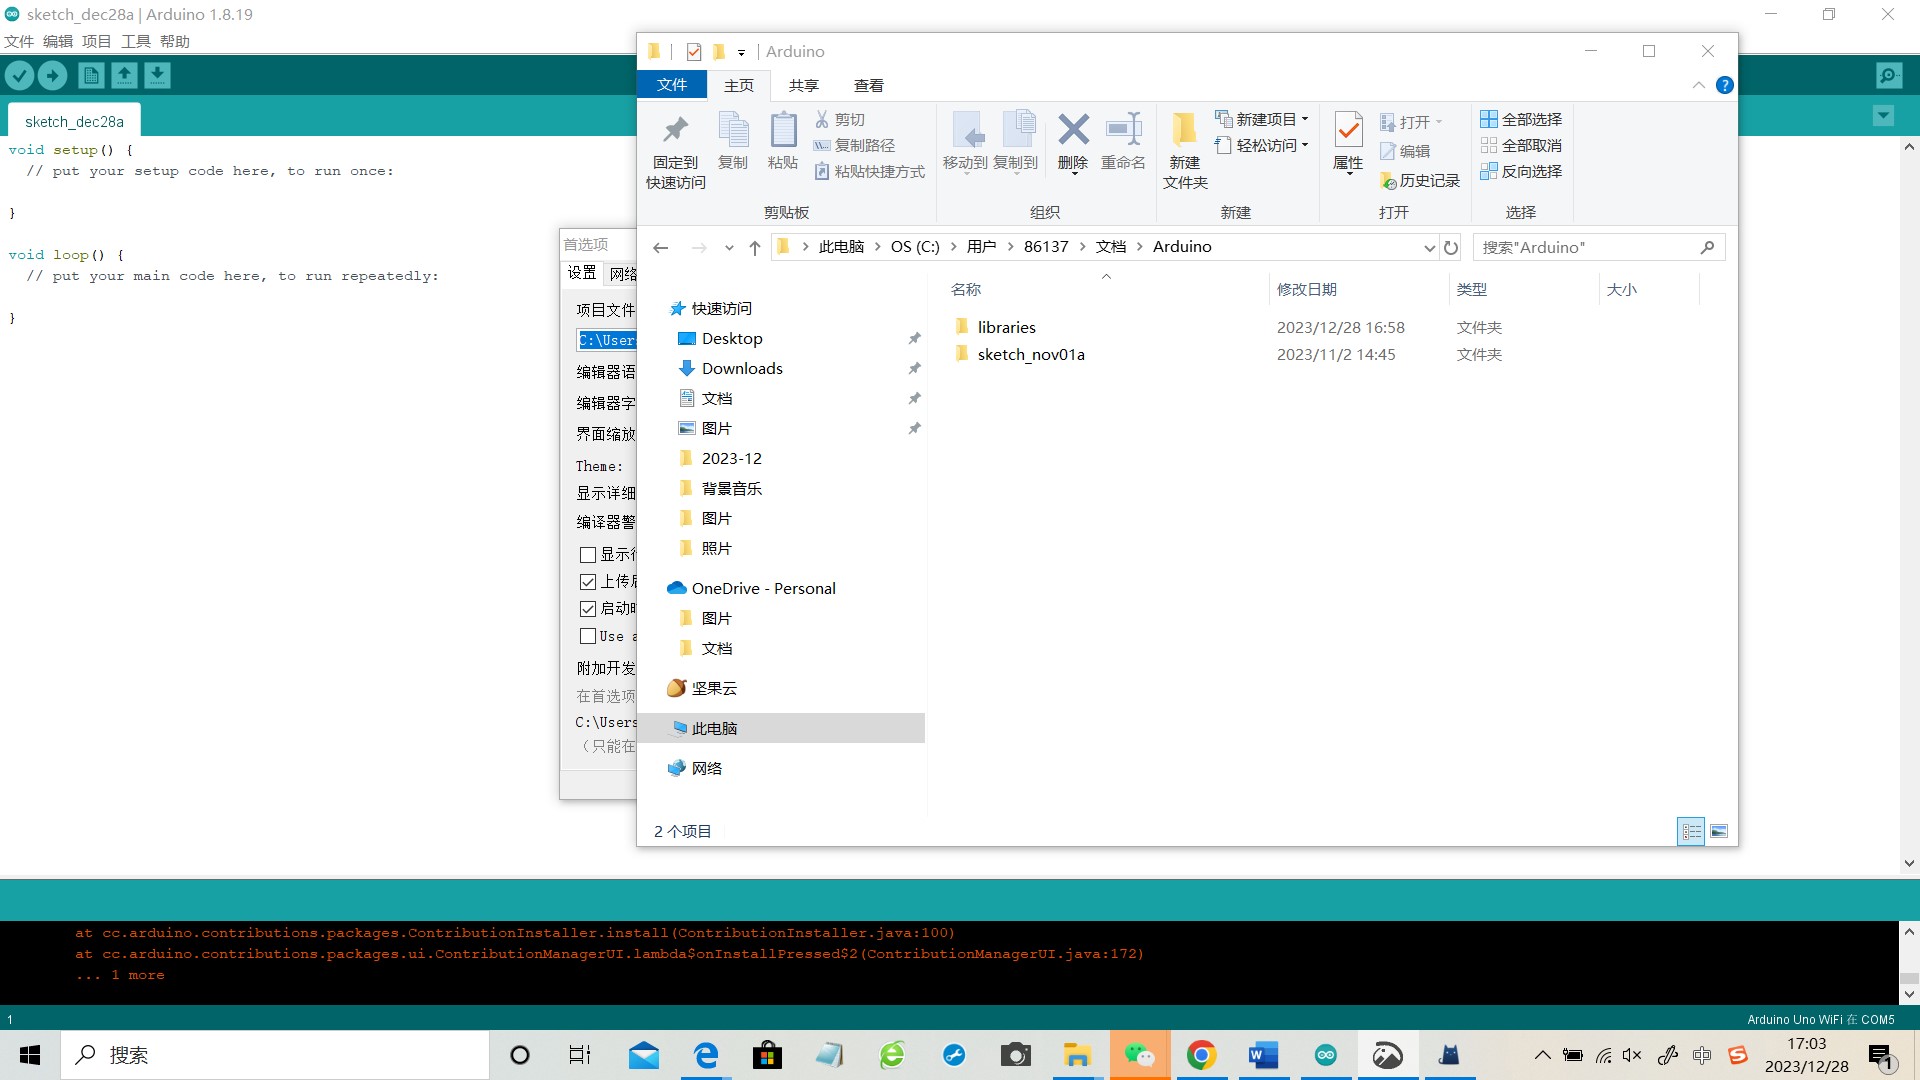
Open the PubSubClient. h file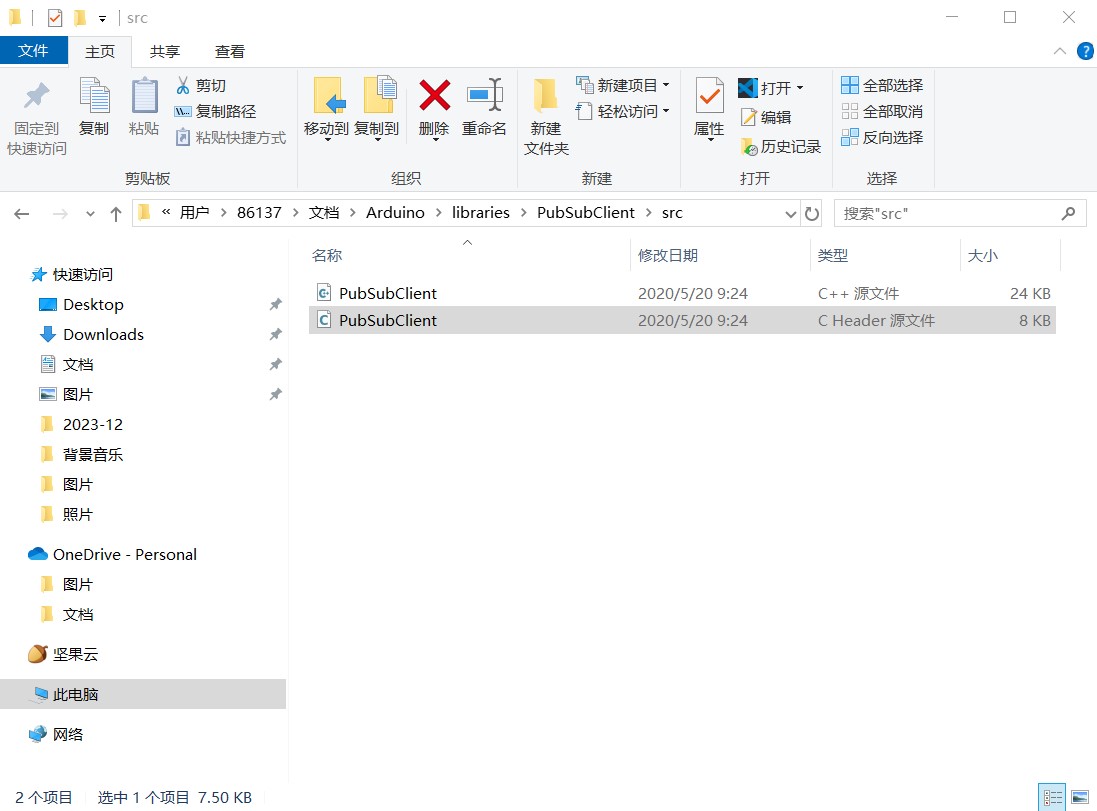
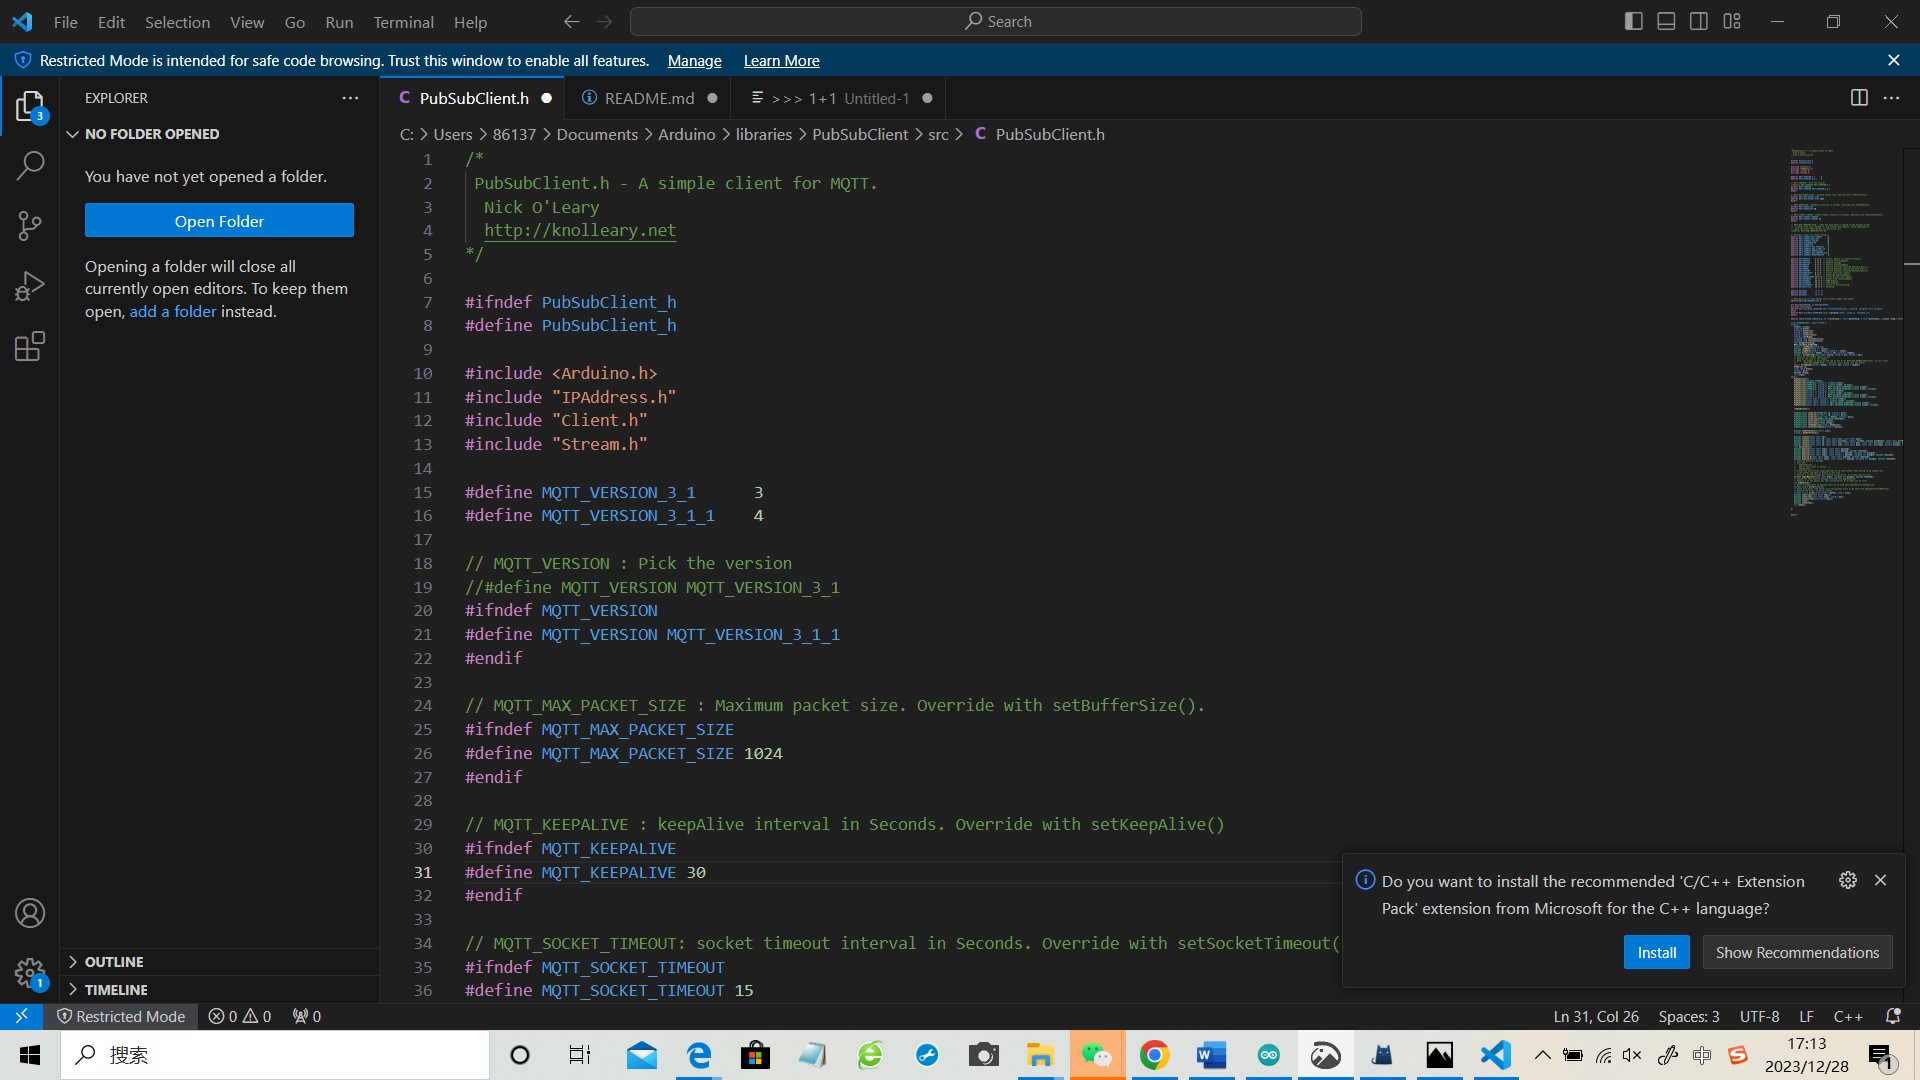
Configuration modification as shown in the figure
1 | // MQTT_MAX_PACKET_SIZE : Maximum packet size. Override with setBufferSize(). |
2.5 Arduino Json & U8g2lib
Install ArduinoJson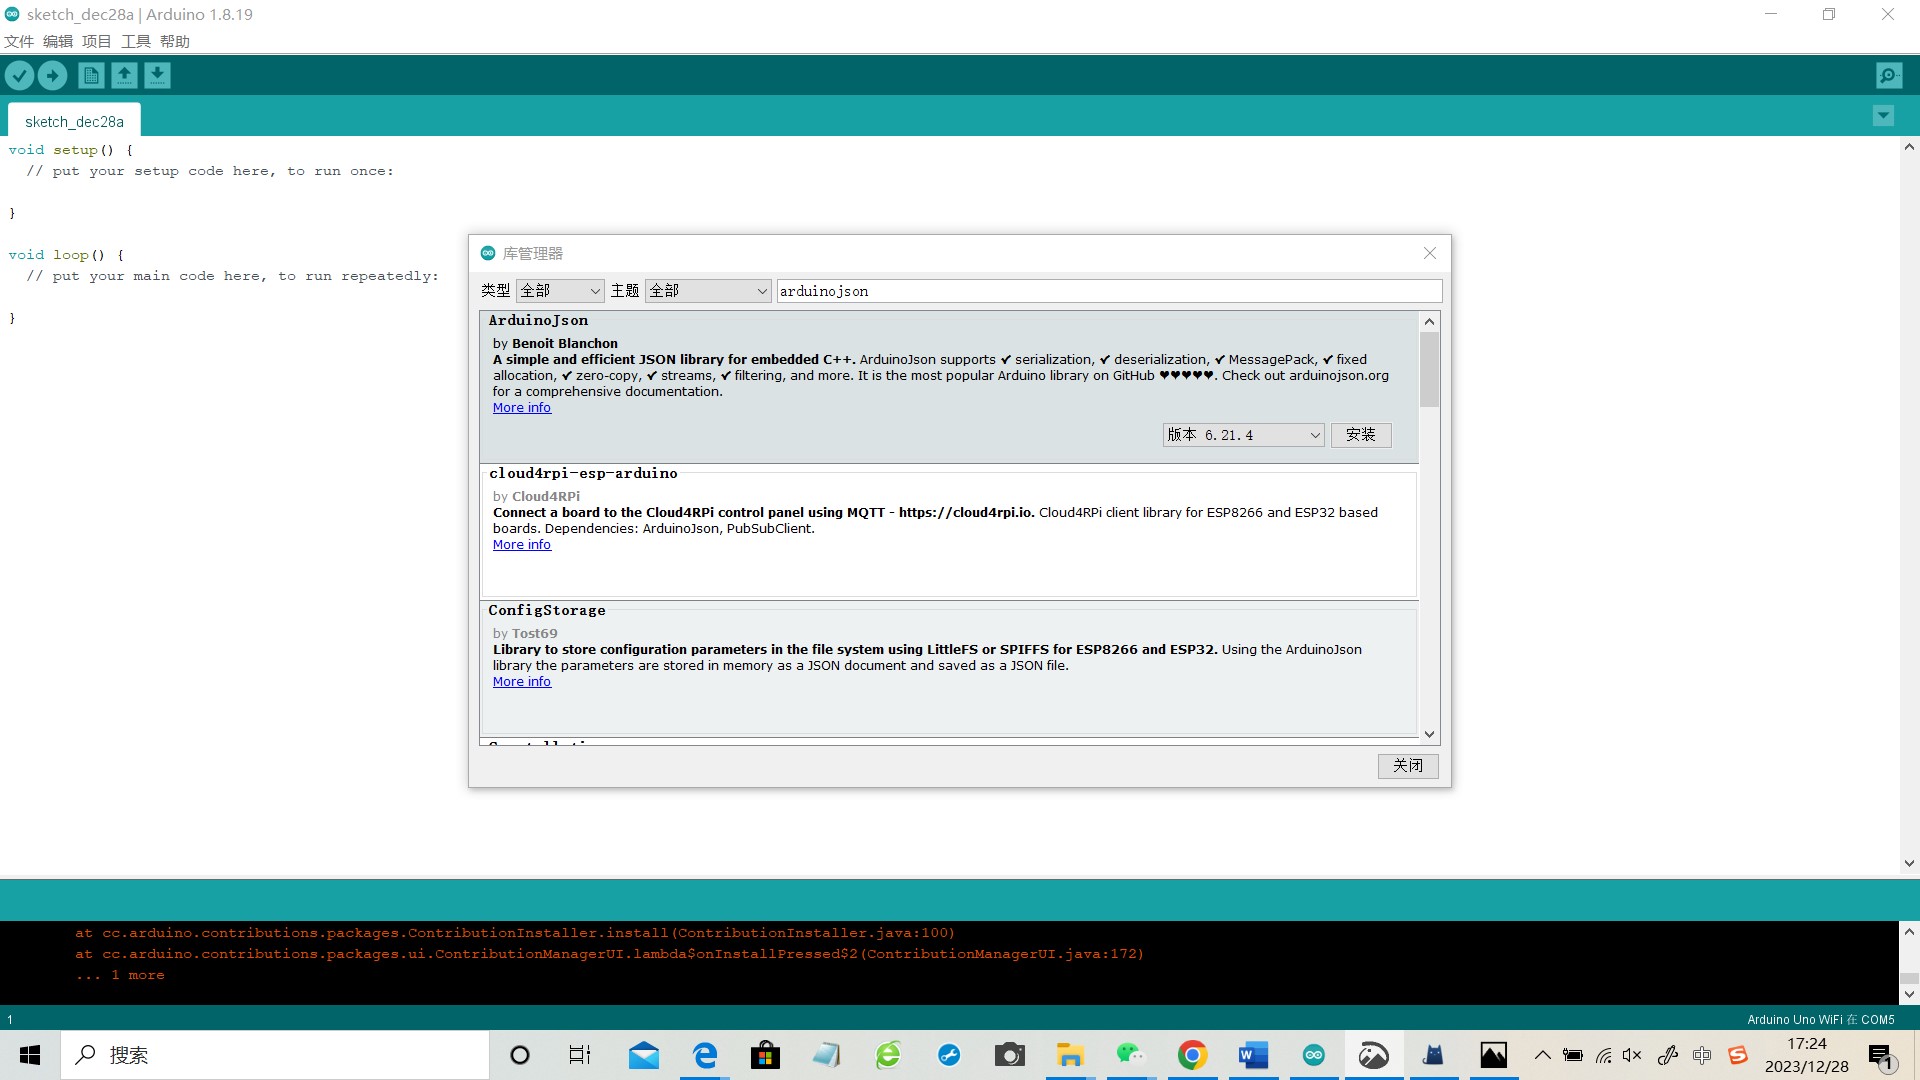
Install U8g2
3 Configure Alibaba Cloud
Search for “Internet of Things Platform” on Alibaba Cloud and select it. Click on “Management Console” to enter the console

Click on “Public Instance” in the console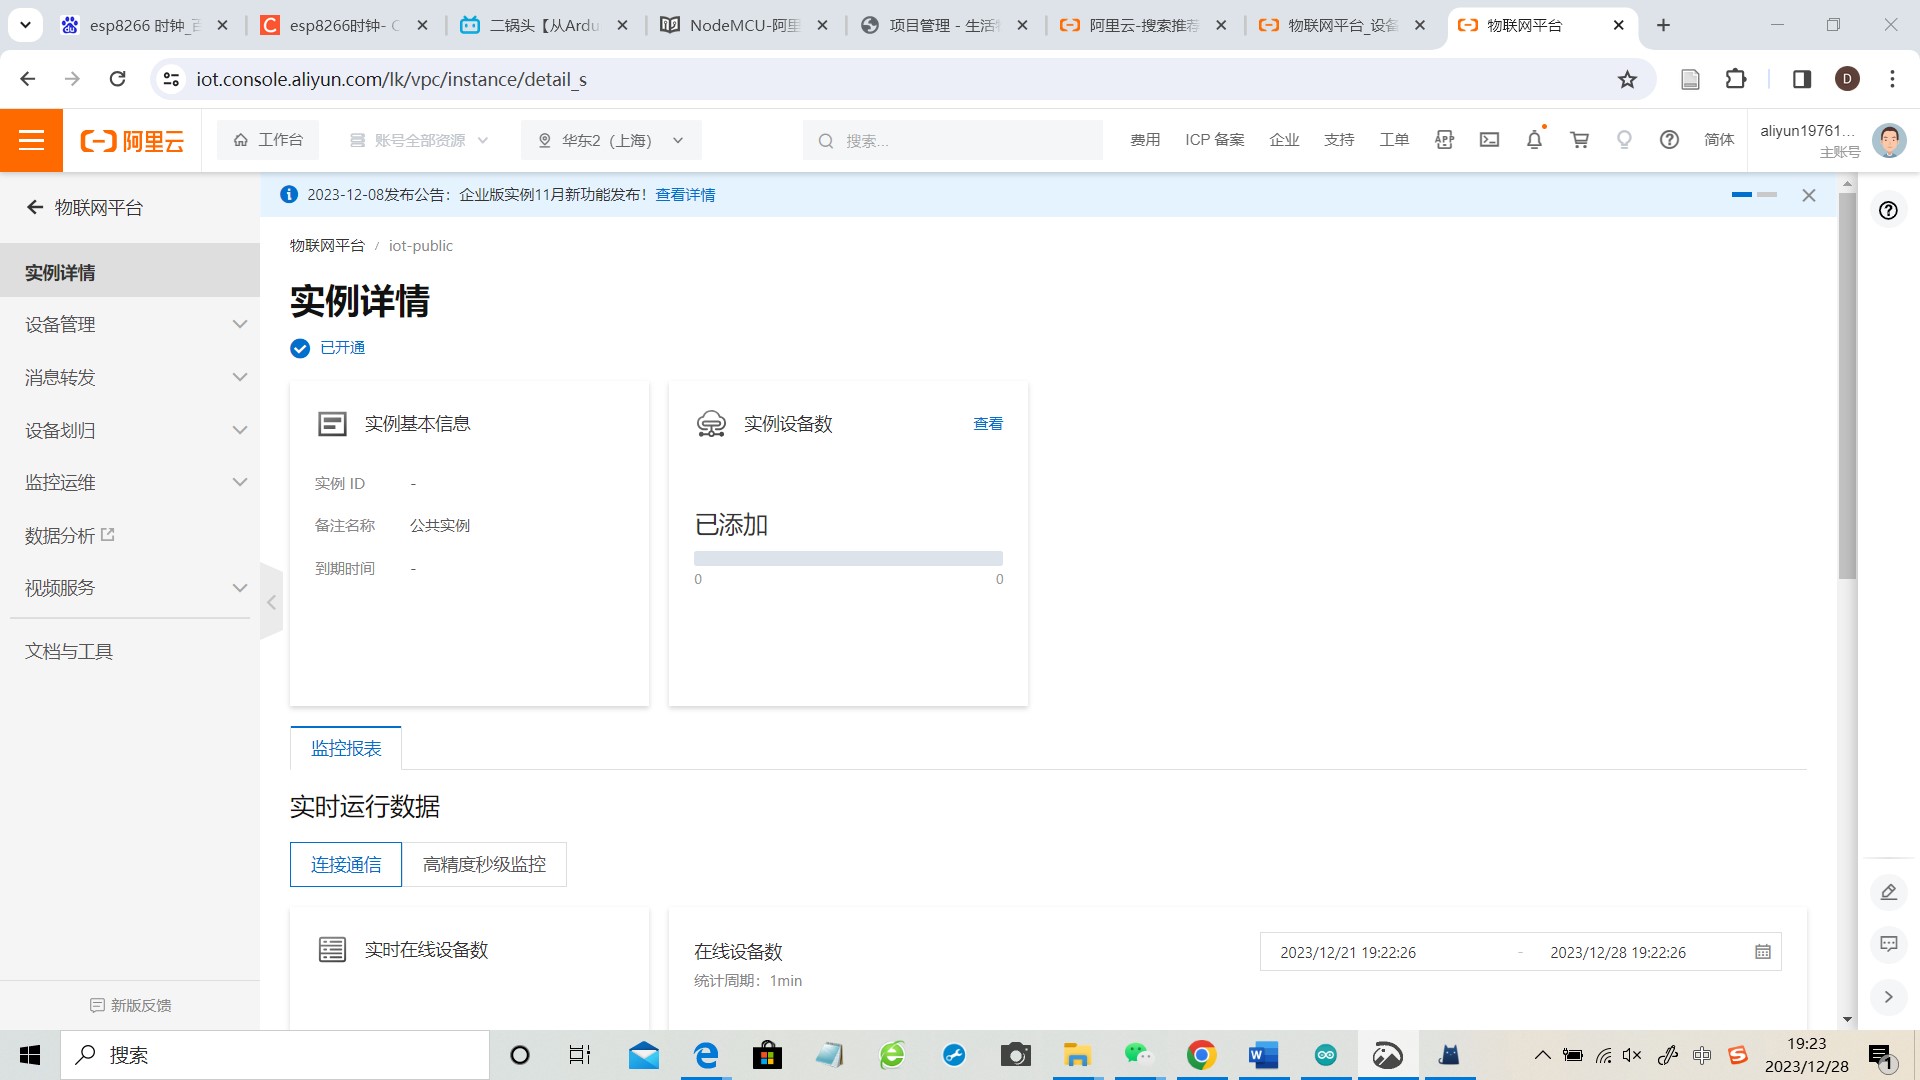
On the left side, there is a “Device Management” option. Click on “Product” and then click on “Create Product”
Click on the project to enter and add a new product to the project, successfully creating it and obtaining ternary information
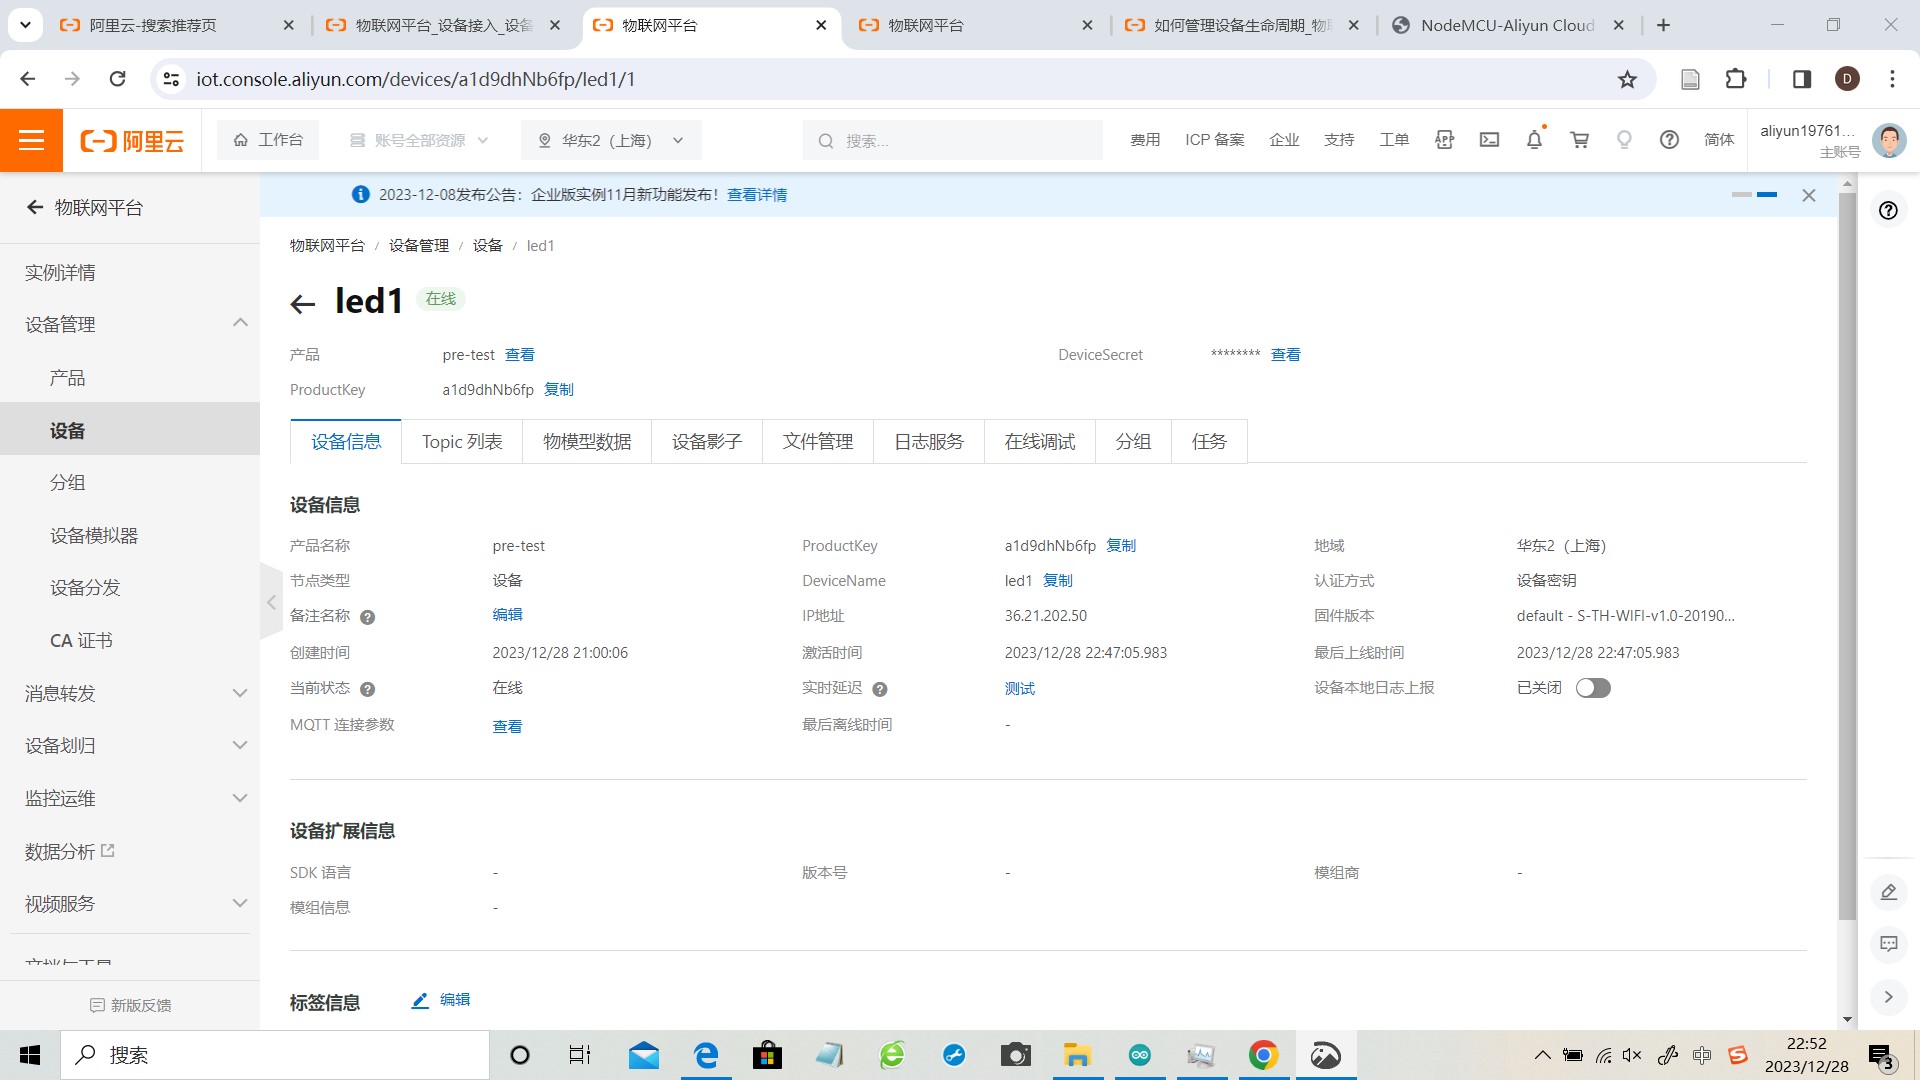
Create a device “pre test”
“Edit Draft” - “Add Custom Features”, add controls for the main light switch function and potentiometer function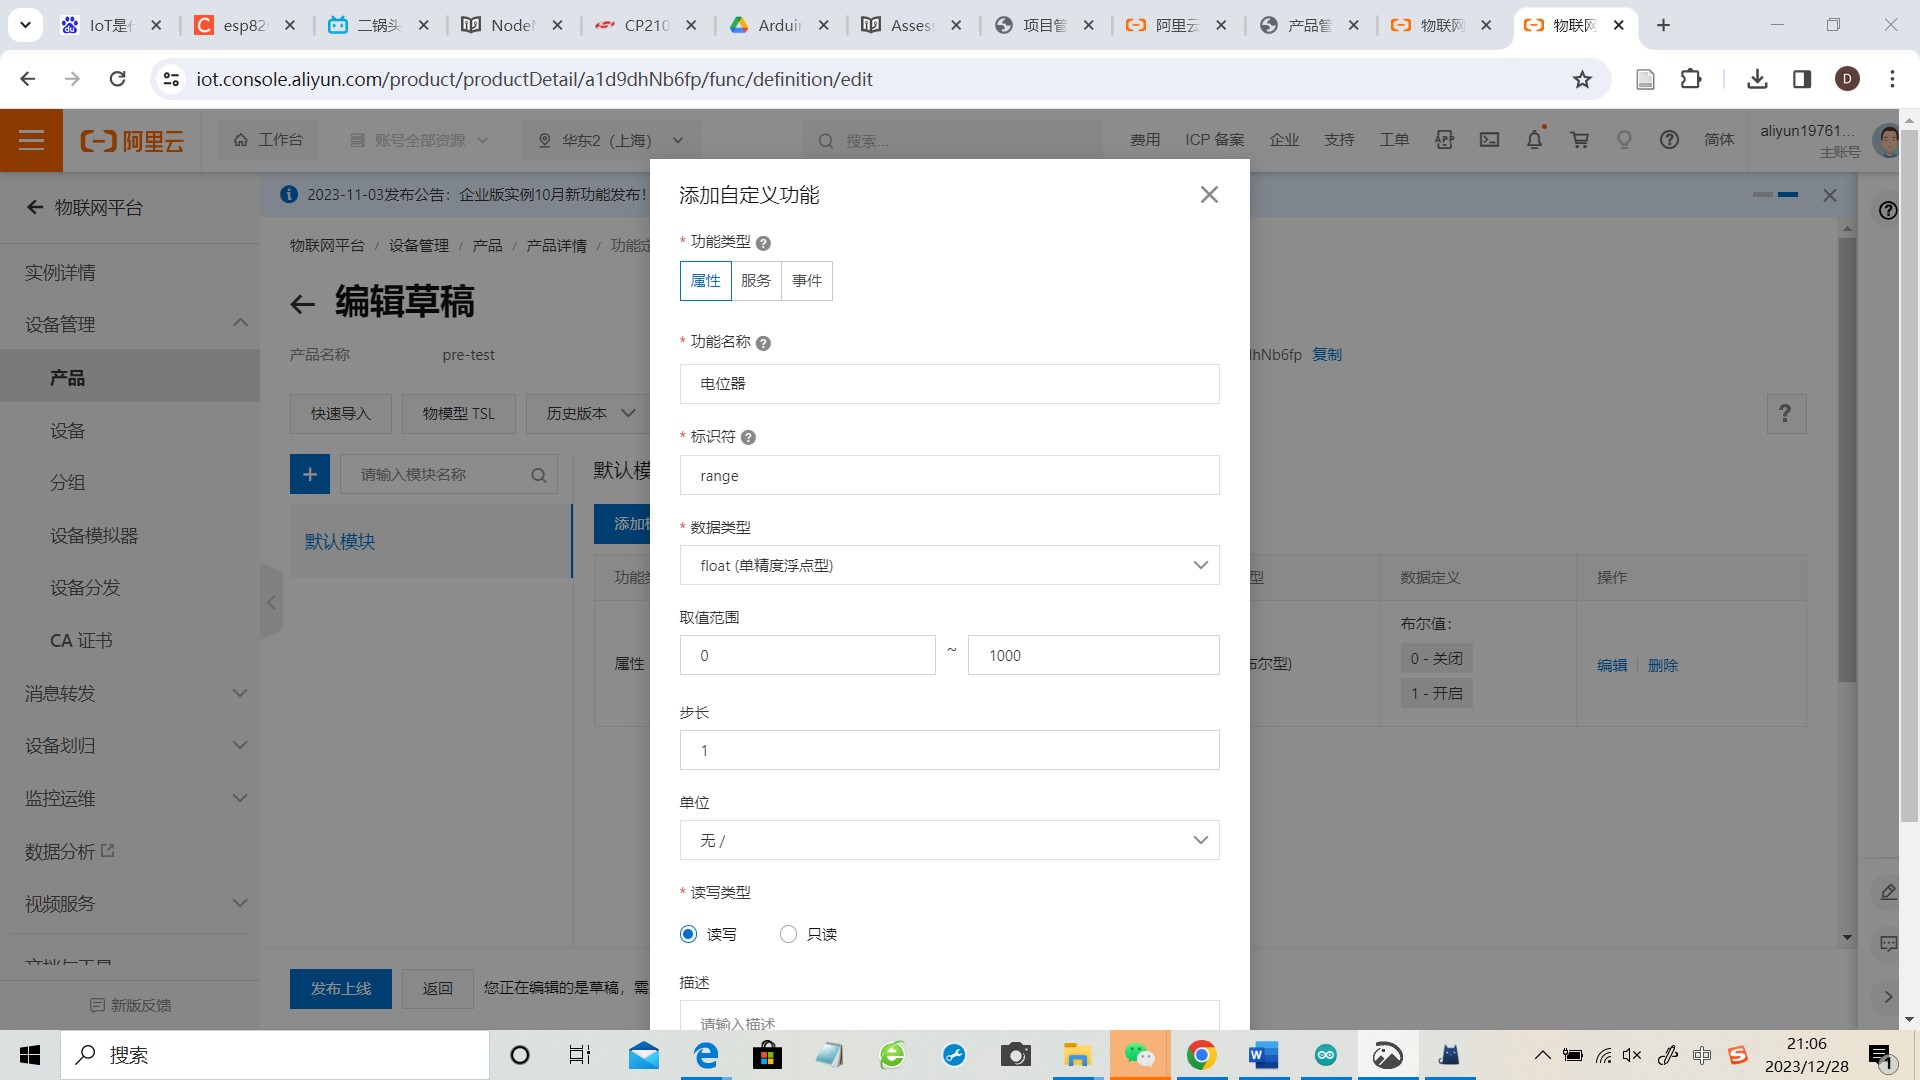

Added successfully
4 Connect ESP8266
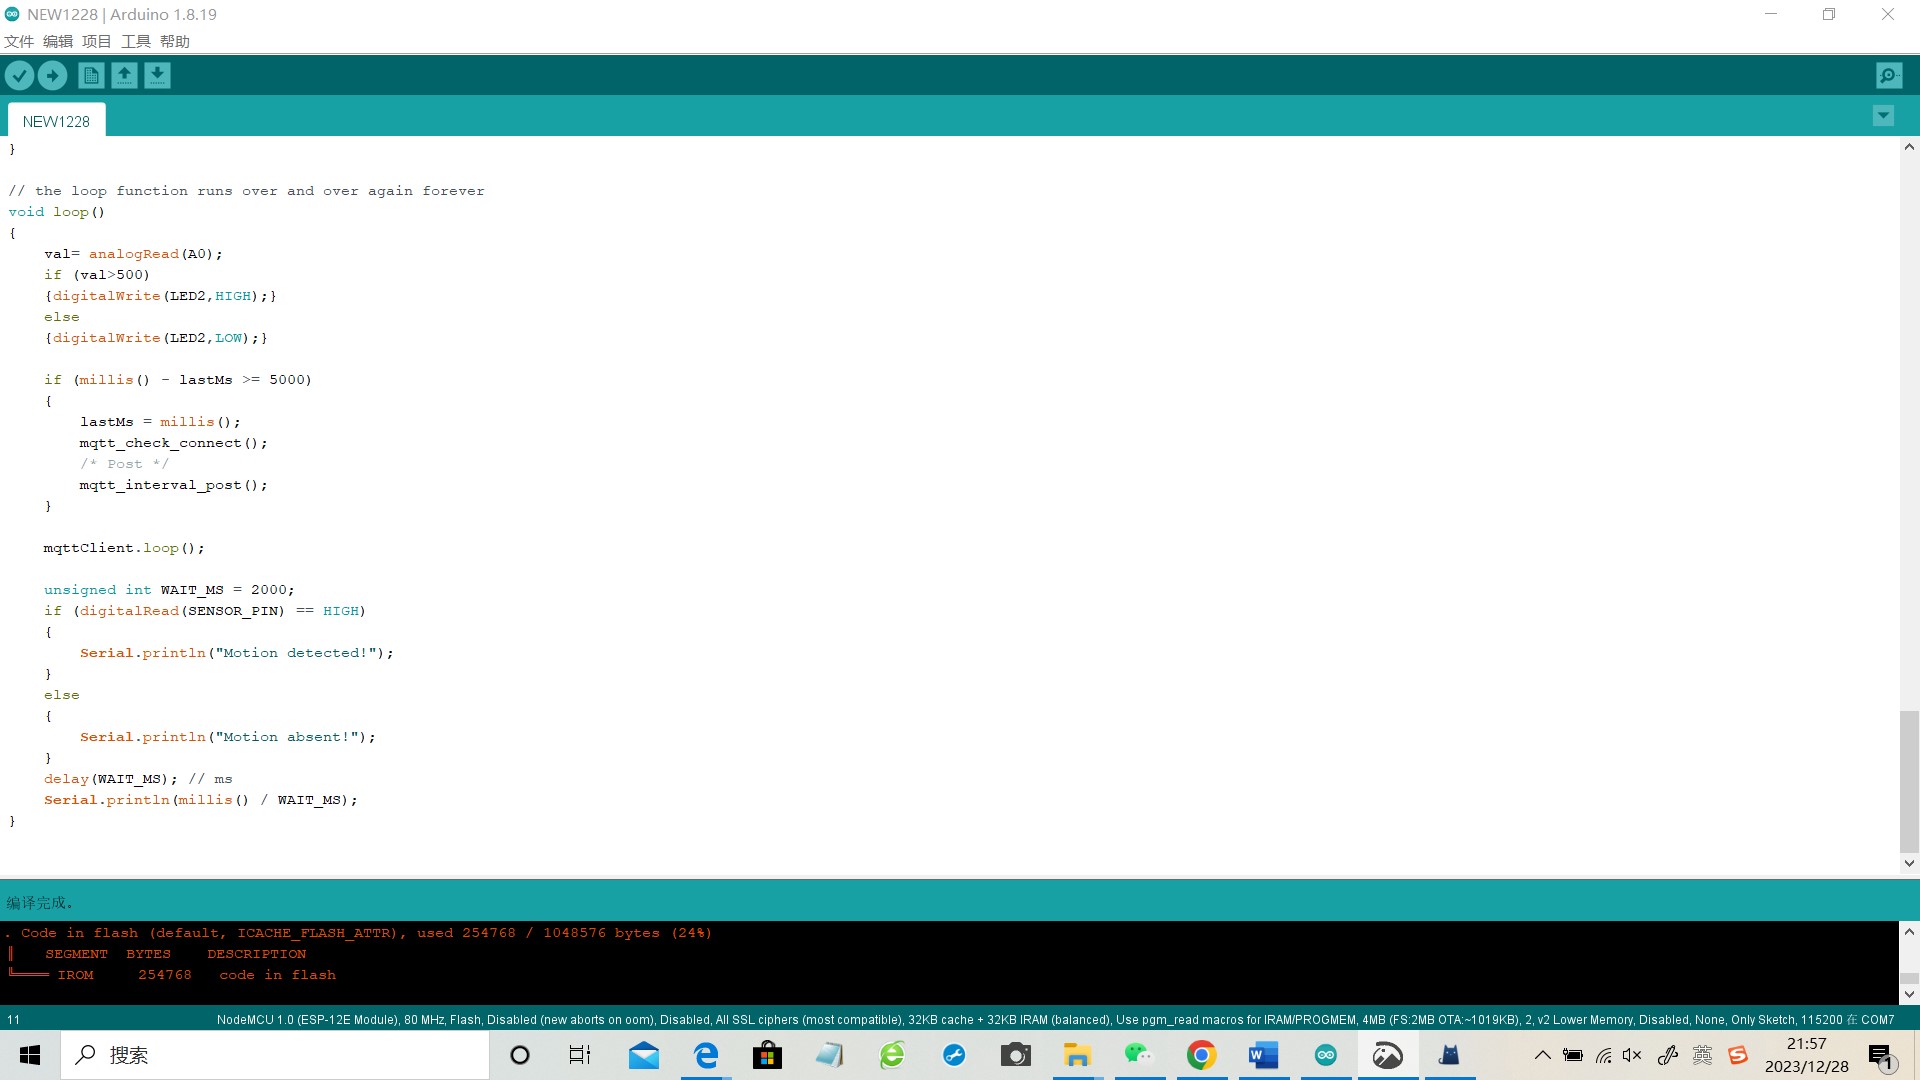
Using code reference, modify and compile the code successfully. Modify the code based on the ternary information of the device and select the mobile hotspot in WiFi, which avoids the problem of requiring user account login on the campus network and allows for quick viewing of the device status connected to the hotspot on the mobile end.
Code:
1 | #include <ESP8266WiFi.h> |
Upload the code to the development board. When the blue light on the development board is constantly on, it indicates that WiFi is connected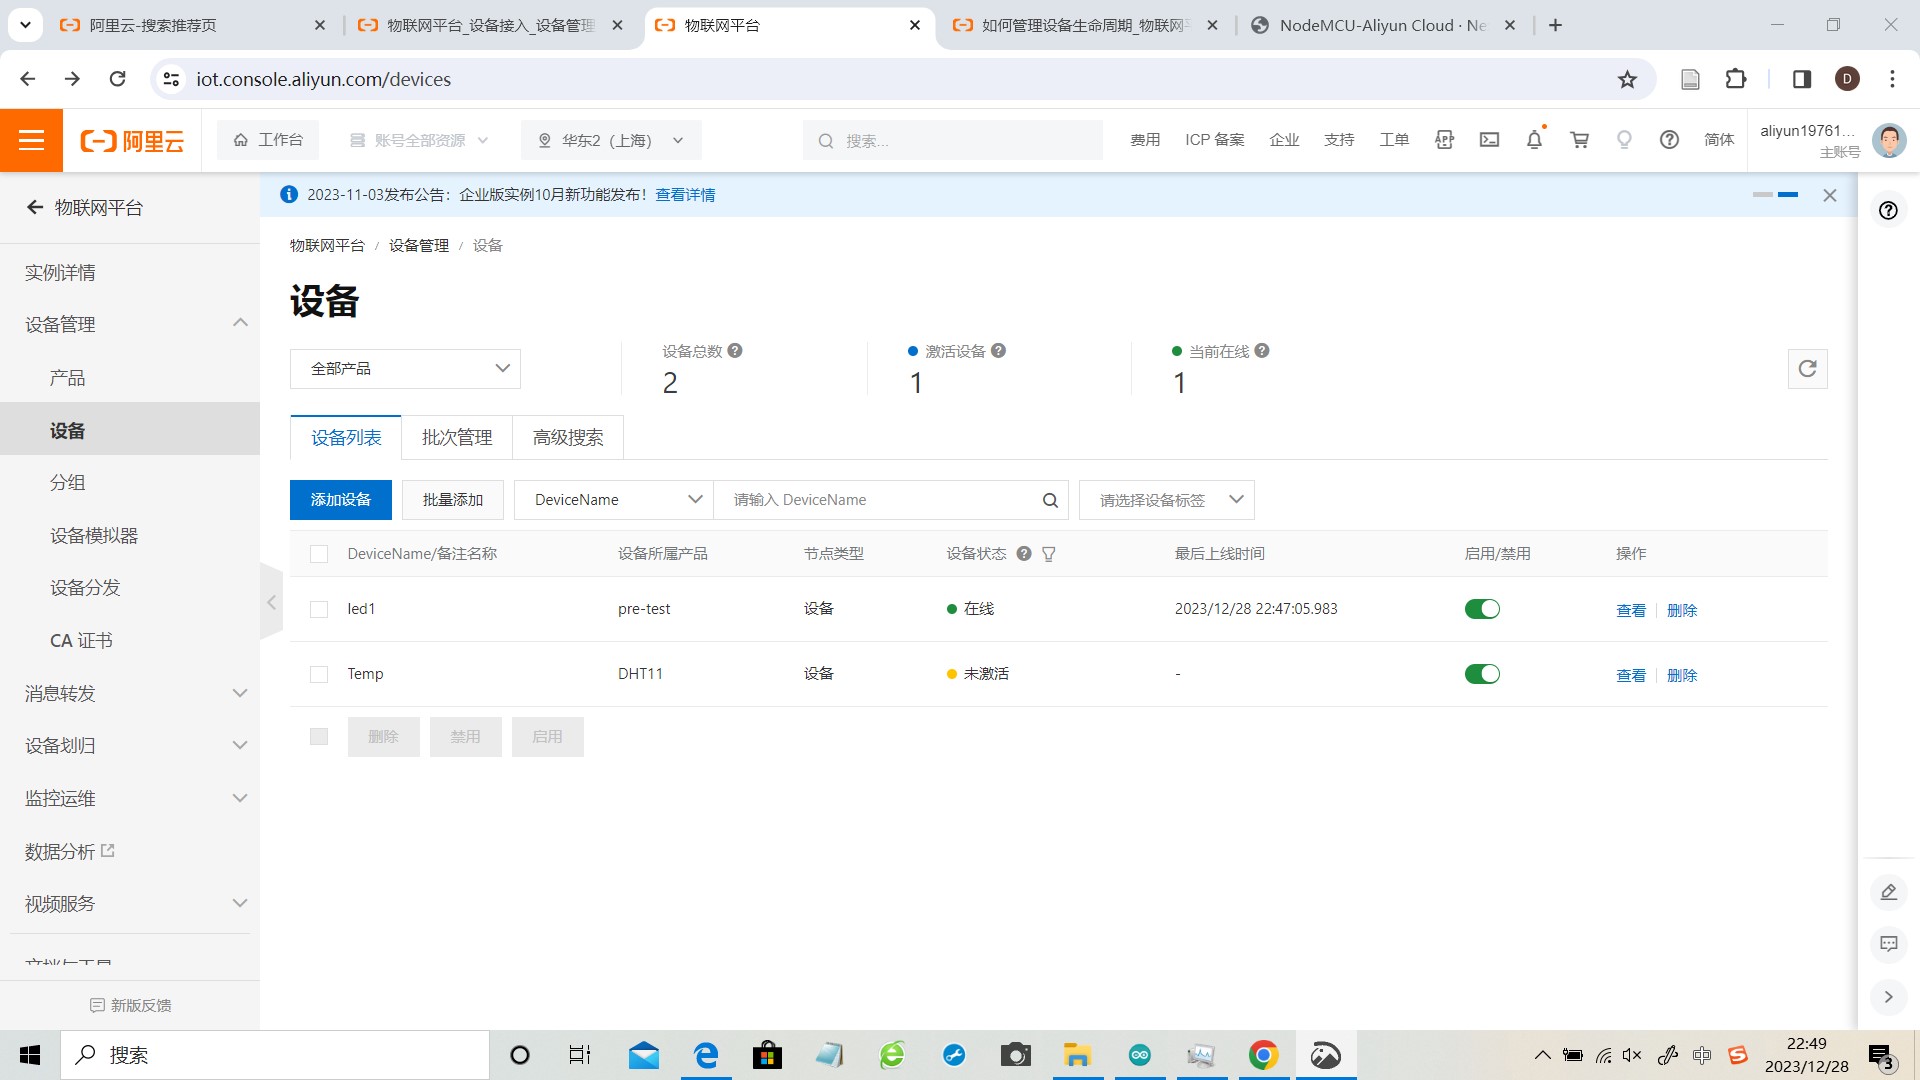

Control of lights through Alibaba Cloud
The layout of the circuit and the arrangement of components are shown in the diagram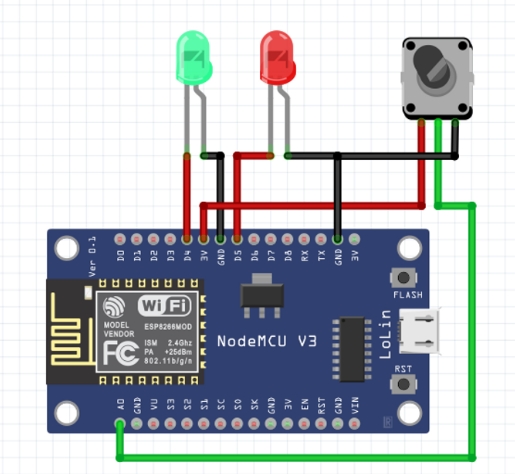
Control light on
Control light off
Can read the value of port A0, LED2 lights up when the value is greater than 500
“Get” to obtain the current potentiometer value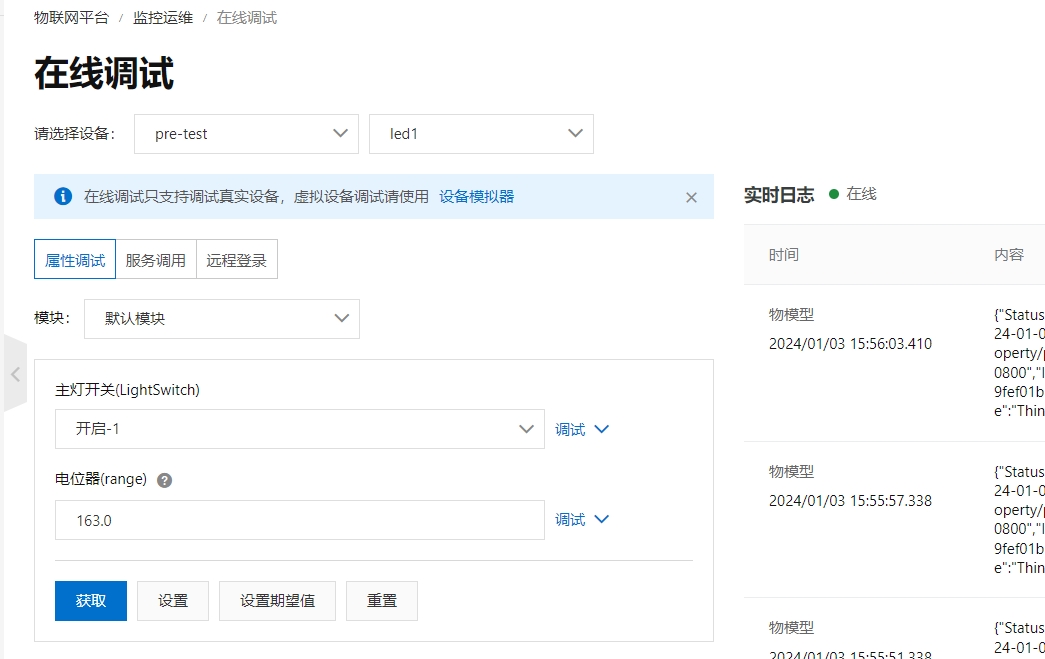
Change the potentiometer value and observe the red light on and off
Reference
https://blog.csdn.net/JAVA_EE_J/article/details/126691230
https://blog.csdn.net/qq_51963216/article/details/121408579
https://perfect-anger-34c.notion.site/2021-Toast-9d52603d5d39409b8337738a551b5df1?p=857a698108444f3e90ae347f7eafccc6&pm=c
https://richengaa.wixsite.com/woohoo/%E5%89%AF%E6%9C%AC-project-2