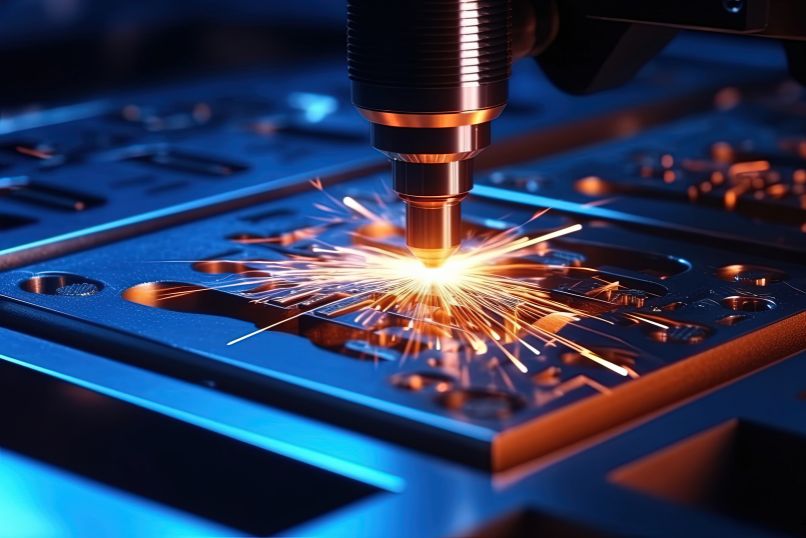
Seventh, We Use Laser Cutting to Make Our Products.
Article Catalog
- Laser Cutting Materials
- Laser Cutting Design Rules and Cuts
- Incision Experiment
- Laser Cutting in Projects
Laser Cutting Materials
1 Different metals
Laser cutting machines can cut all types of metals from mild steel and stainless steel to non-ferrous metals. Highly reflective metals such as aluminum are more difficult to cut, so fiber lasers are a better choice. Today, metals can be cut even up to 100 mm thick, depending on the power of the laser.
2 Wood
Various types of wood, including plywood and MDF, can be cut with lasers, but certain oily woods present a risk of igniting and should be used with special care.
3 Paper and cardboard
Paper is also suitable for laser cutting, and we saw some intricate and beautiful wedding invitations that were probably made by laser cutting.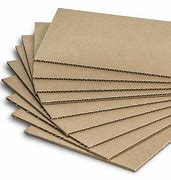
4 Plastic products
Acrylic, PMMA and Lucite are all clear plastics. When using laser cutting, you can ensure that the edges have a nice finish and look like butter cut with a knife.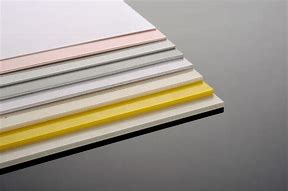
5 Polyacetal
Polyoxymethylene is a highly used plastic in the engineering field and can be used in gears, guide and sliding components, medical equipment, food packaging, etc. The ability to use lasers to perform complex cuts will help make polyoxymethylene more widely used in many fields.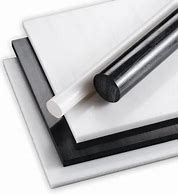
6 Glass
Laser cutting glass may seem like an impossible task due to its fragile and reflective nature. However, laser cutters can cut glass.
7 Metal
Metal is the most commonly used material for laser cutting. This is due to features such as durability, strength, and customizability. Generally speaking, laser cutting is suitable for all metals. However, properties such as thickness and reflective properties can affect the viability of the cutting process.
Thick metal requires a very powerful laser to cut. Additionally, reflective properties are a limiting factor in laser cutting. Therefore, metal laser cutting materials with reflective properties are more difficult to cut.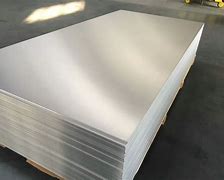
Laser cutting design rules and cuts
Overview
Just like any other computer numerical control (CNC) process, the importance of laser cutting product design cannot be ignored. The design will determine whether the product is ready for production and how neatly the laser cut is finished. This design is the blueprint for making the machine code program that the computer uses to make the product. Since the process cannot be changed midway once started, great attention to detail must be paid when designing for laser cutting.
1 Use software that creates vector files
As mentioned before, the only file type that a laser cutter can read is vector files. To prevent transferring drawings from one software to another, it is recommended to use software that can export vector files. Popular vector file format types are .ai, .svg, .eps, .step, etc.
2 Your details cannot be smaller than the thickness of the metal
You should always pay attention to this laser cutting design guide when estimating the dimensions of design details for your laser cut products. If the design details are smaller than the thickness of the metal, it will leave scars on the surface of the product and the desired finish will not be achieved. This rule applies to all details, such as holes or grooves.
3 There is a minimum distance between cutting lines
This rule is very important in metal laser cutting (although it applies to other types as well). If you don’t pay attention to the distance between the cutting lines, the laser can melt the material and even cause a fire. However, you should also know that applying too much pressure to a detail can cause the material to break. Therefore, you may want to leave a few millimeters beyond the minimum allowable distance of the material.
4 Don’t forget the incision
A kerf is the small portion that is burned away when the laser cuts the material. The measurement of the cut is the width of the laser beam. Failure to account for cutouts in design dimensions may result in a product that does not meet the required dimensions. This is especially important when manufacturing assembled products that must fit together. To compensate for a cutout in an assembled product, subtract half the cutout width from the outside and add half the cutout width to the inside.
5 Convert text to anchor points and curves
Laser cutters cannot read text boxes, so you should change any text boxes in your design to vector values. You can vectorize them by converting them to anchor points and curves. This allows the laser cutter to handle the text box correctly.
6 Choose the right material
No matter how good the design is, it doesn’t make any difference if it doesn’t fit the intended product. Before choosing a product, please answer the following questions: “What is the purpose of this product?”, “Can the material withstand a lot of pressure during use?”. These questions will help you choose the best type of material.
Incision Experiment
1 Preparation
In this part we will test the kerf (the diameter of the laser). Obviously, lasers have diameters. We can measure it with 5 rectangles, the width of the rectangle is 5mm.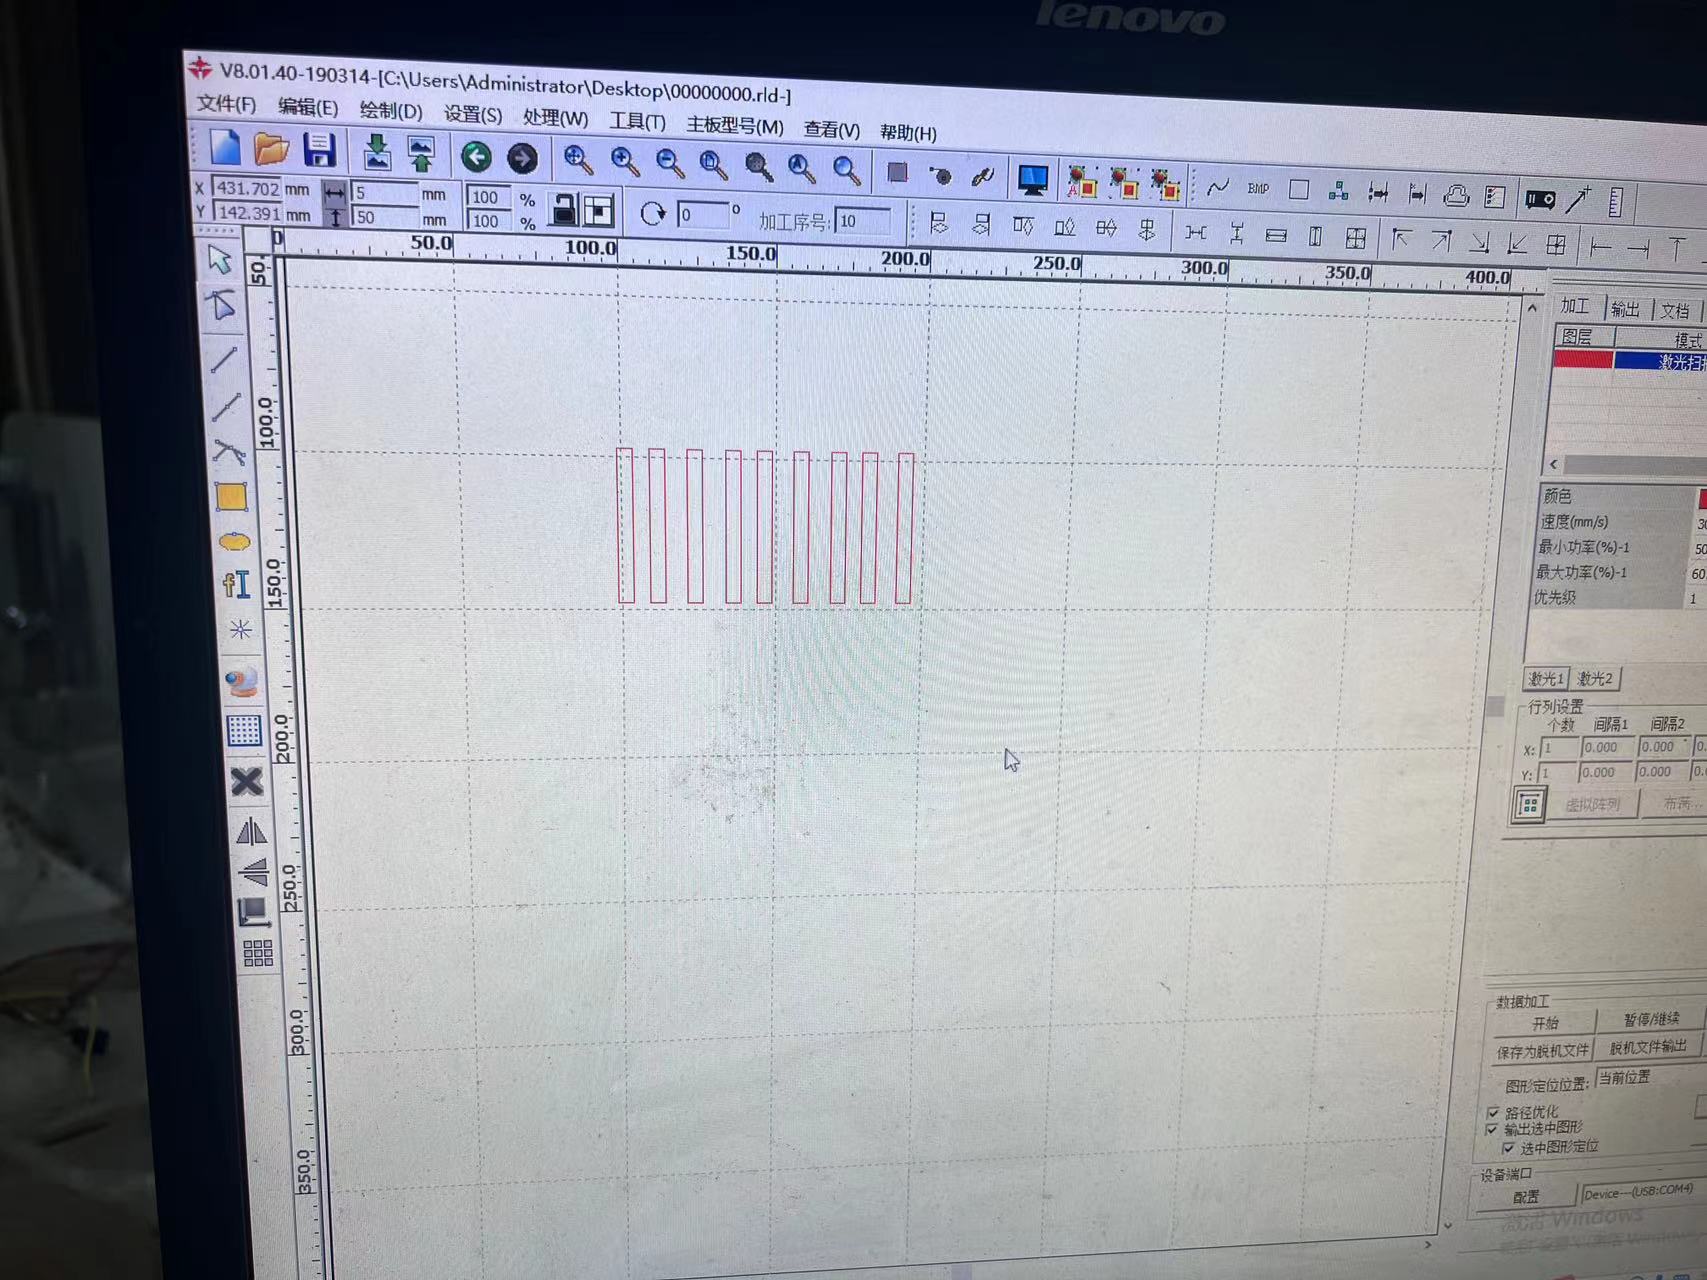
2 Make a cut
Next we find a 3mm acrylic plate for cutting.
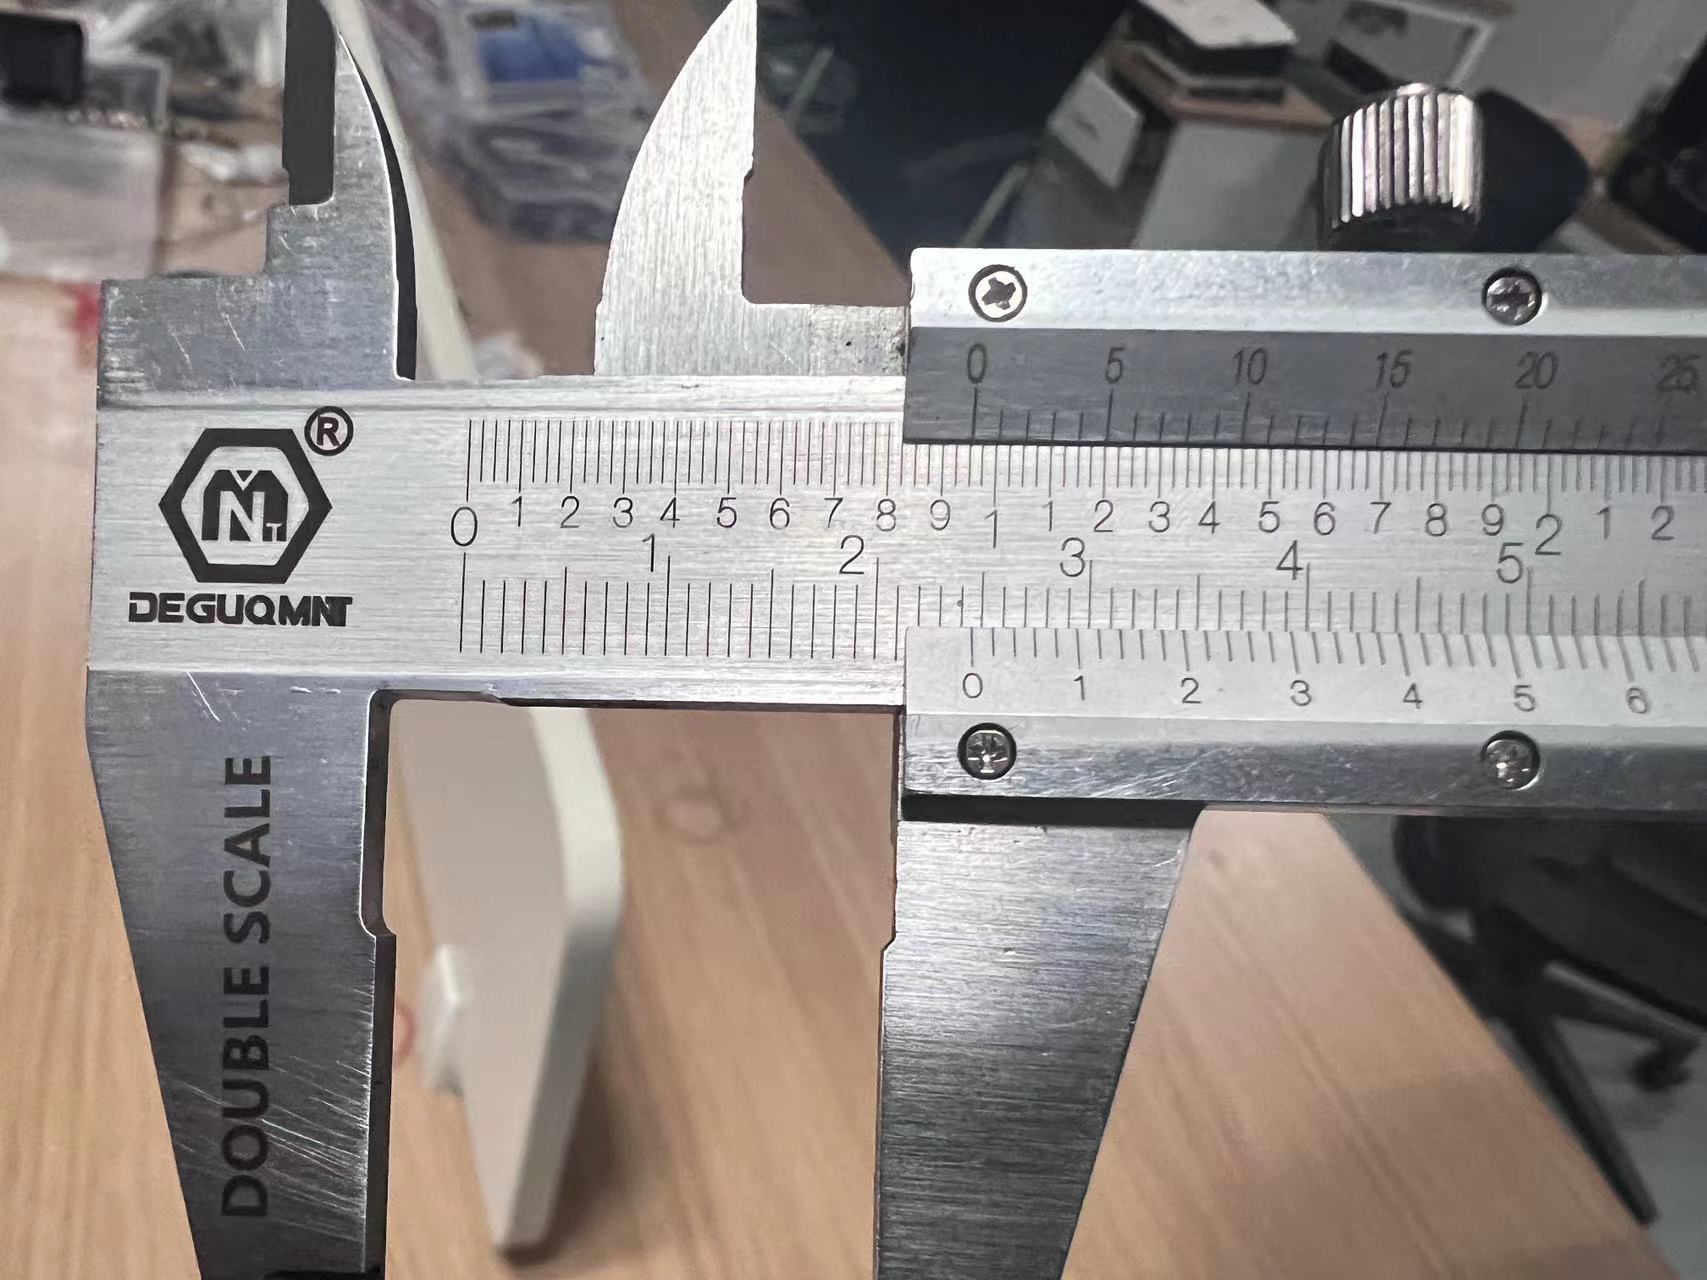
3 Measure and calculate slits
After processing, we measured the size to be 24.18mm, so the slit is:
Cutting seam= (25-24.18)/5=0.164mm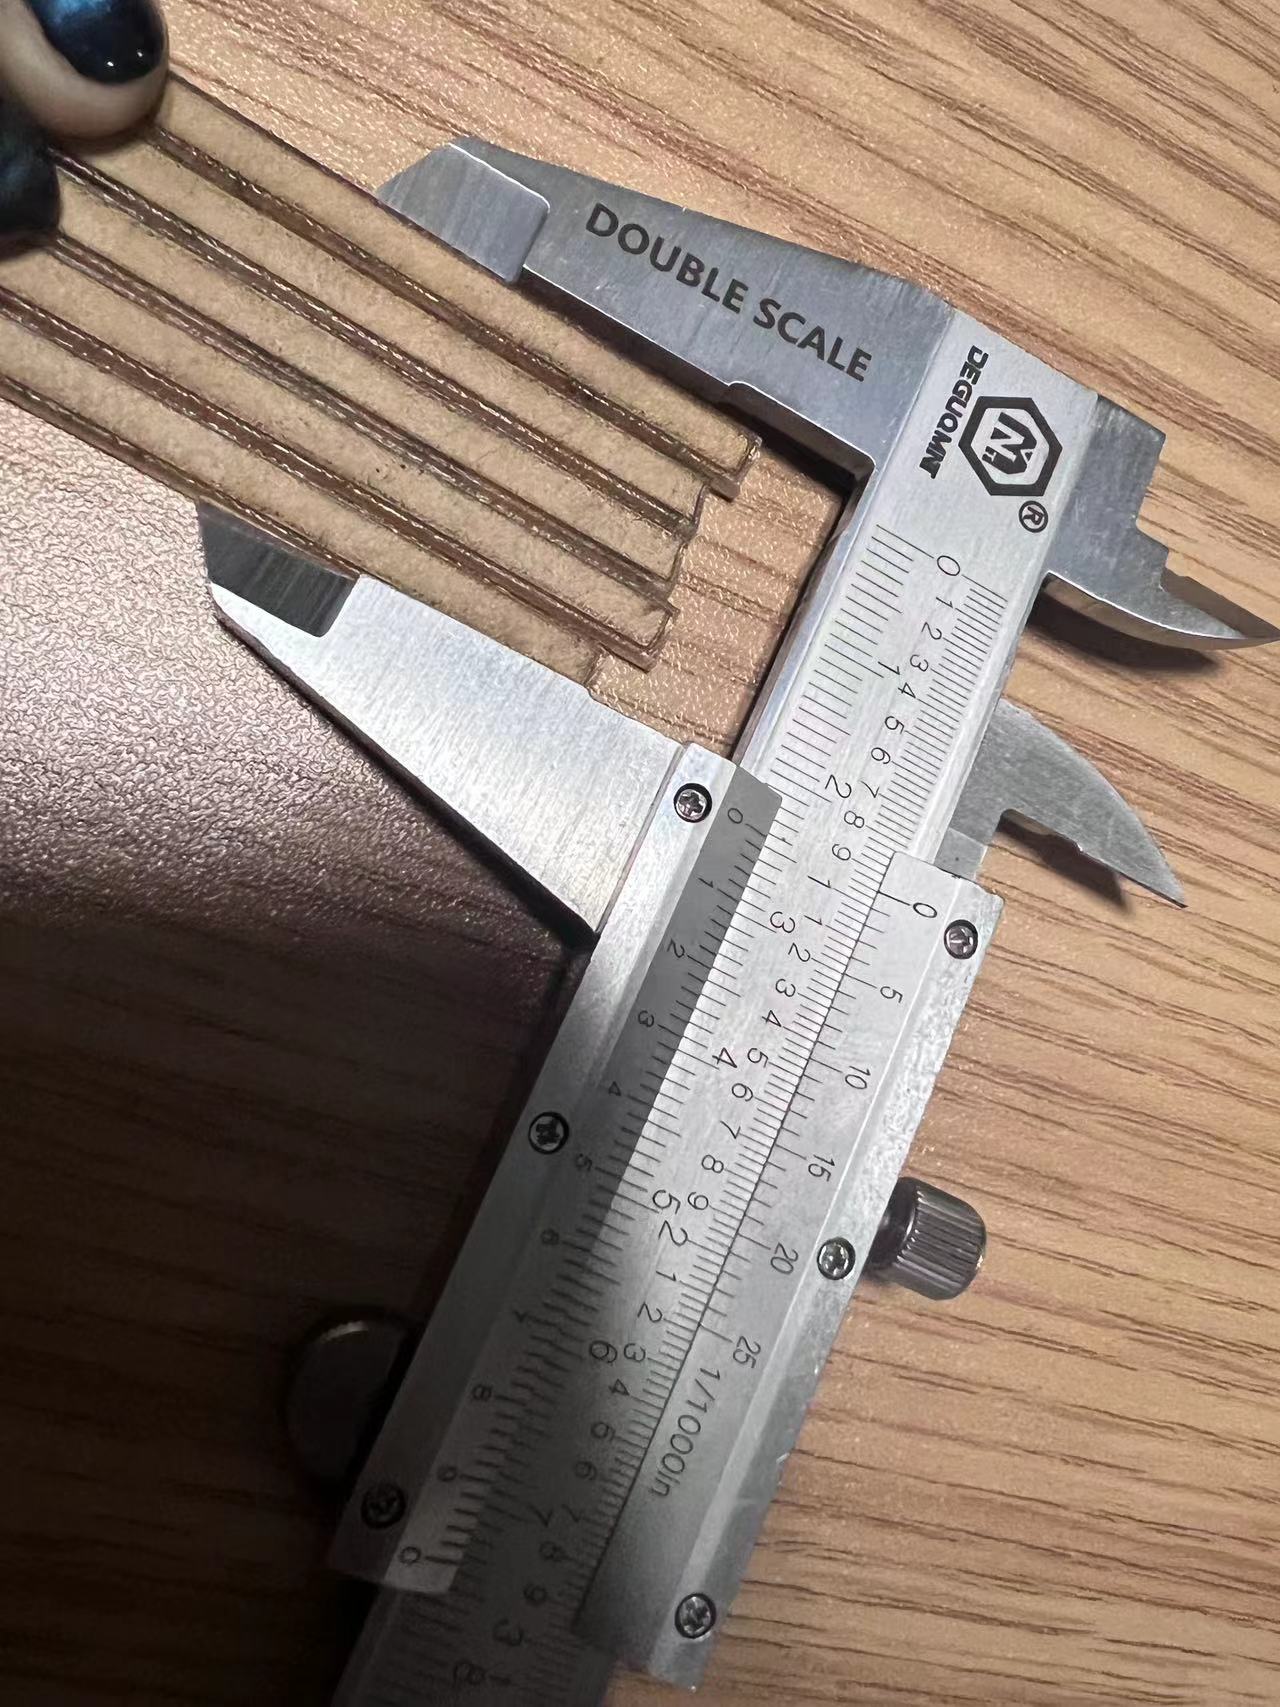
Laser cutting in projects
1 Preparation
(1) Turn on the power, check whether the equipment can be used normally, and connect the ventilation device to the outdoors.
(2) Place materials, use 3mm wooden boards here.
(3) Process the drawings on the computer.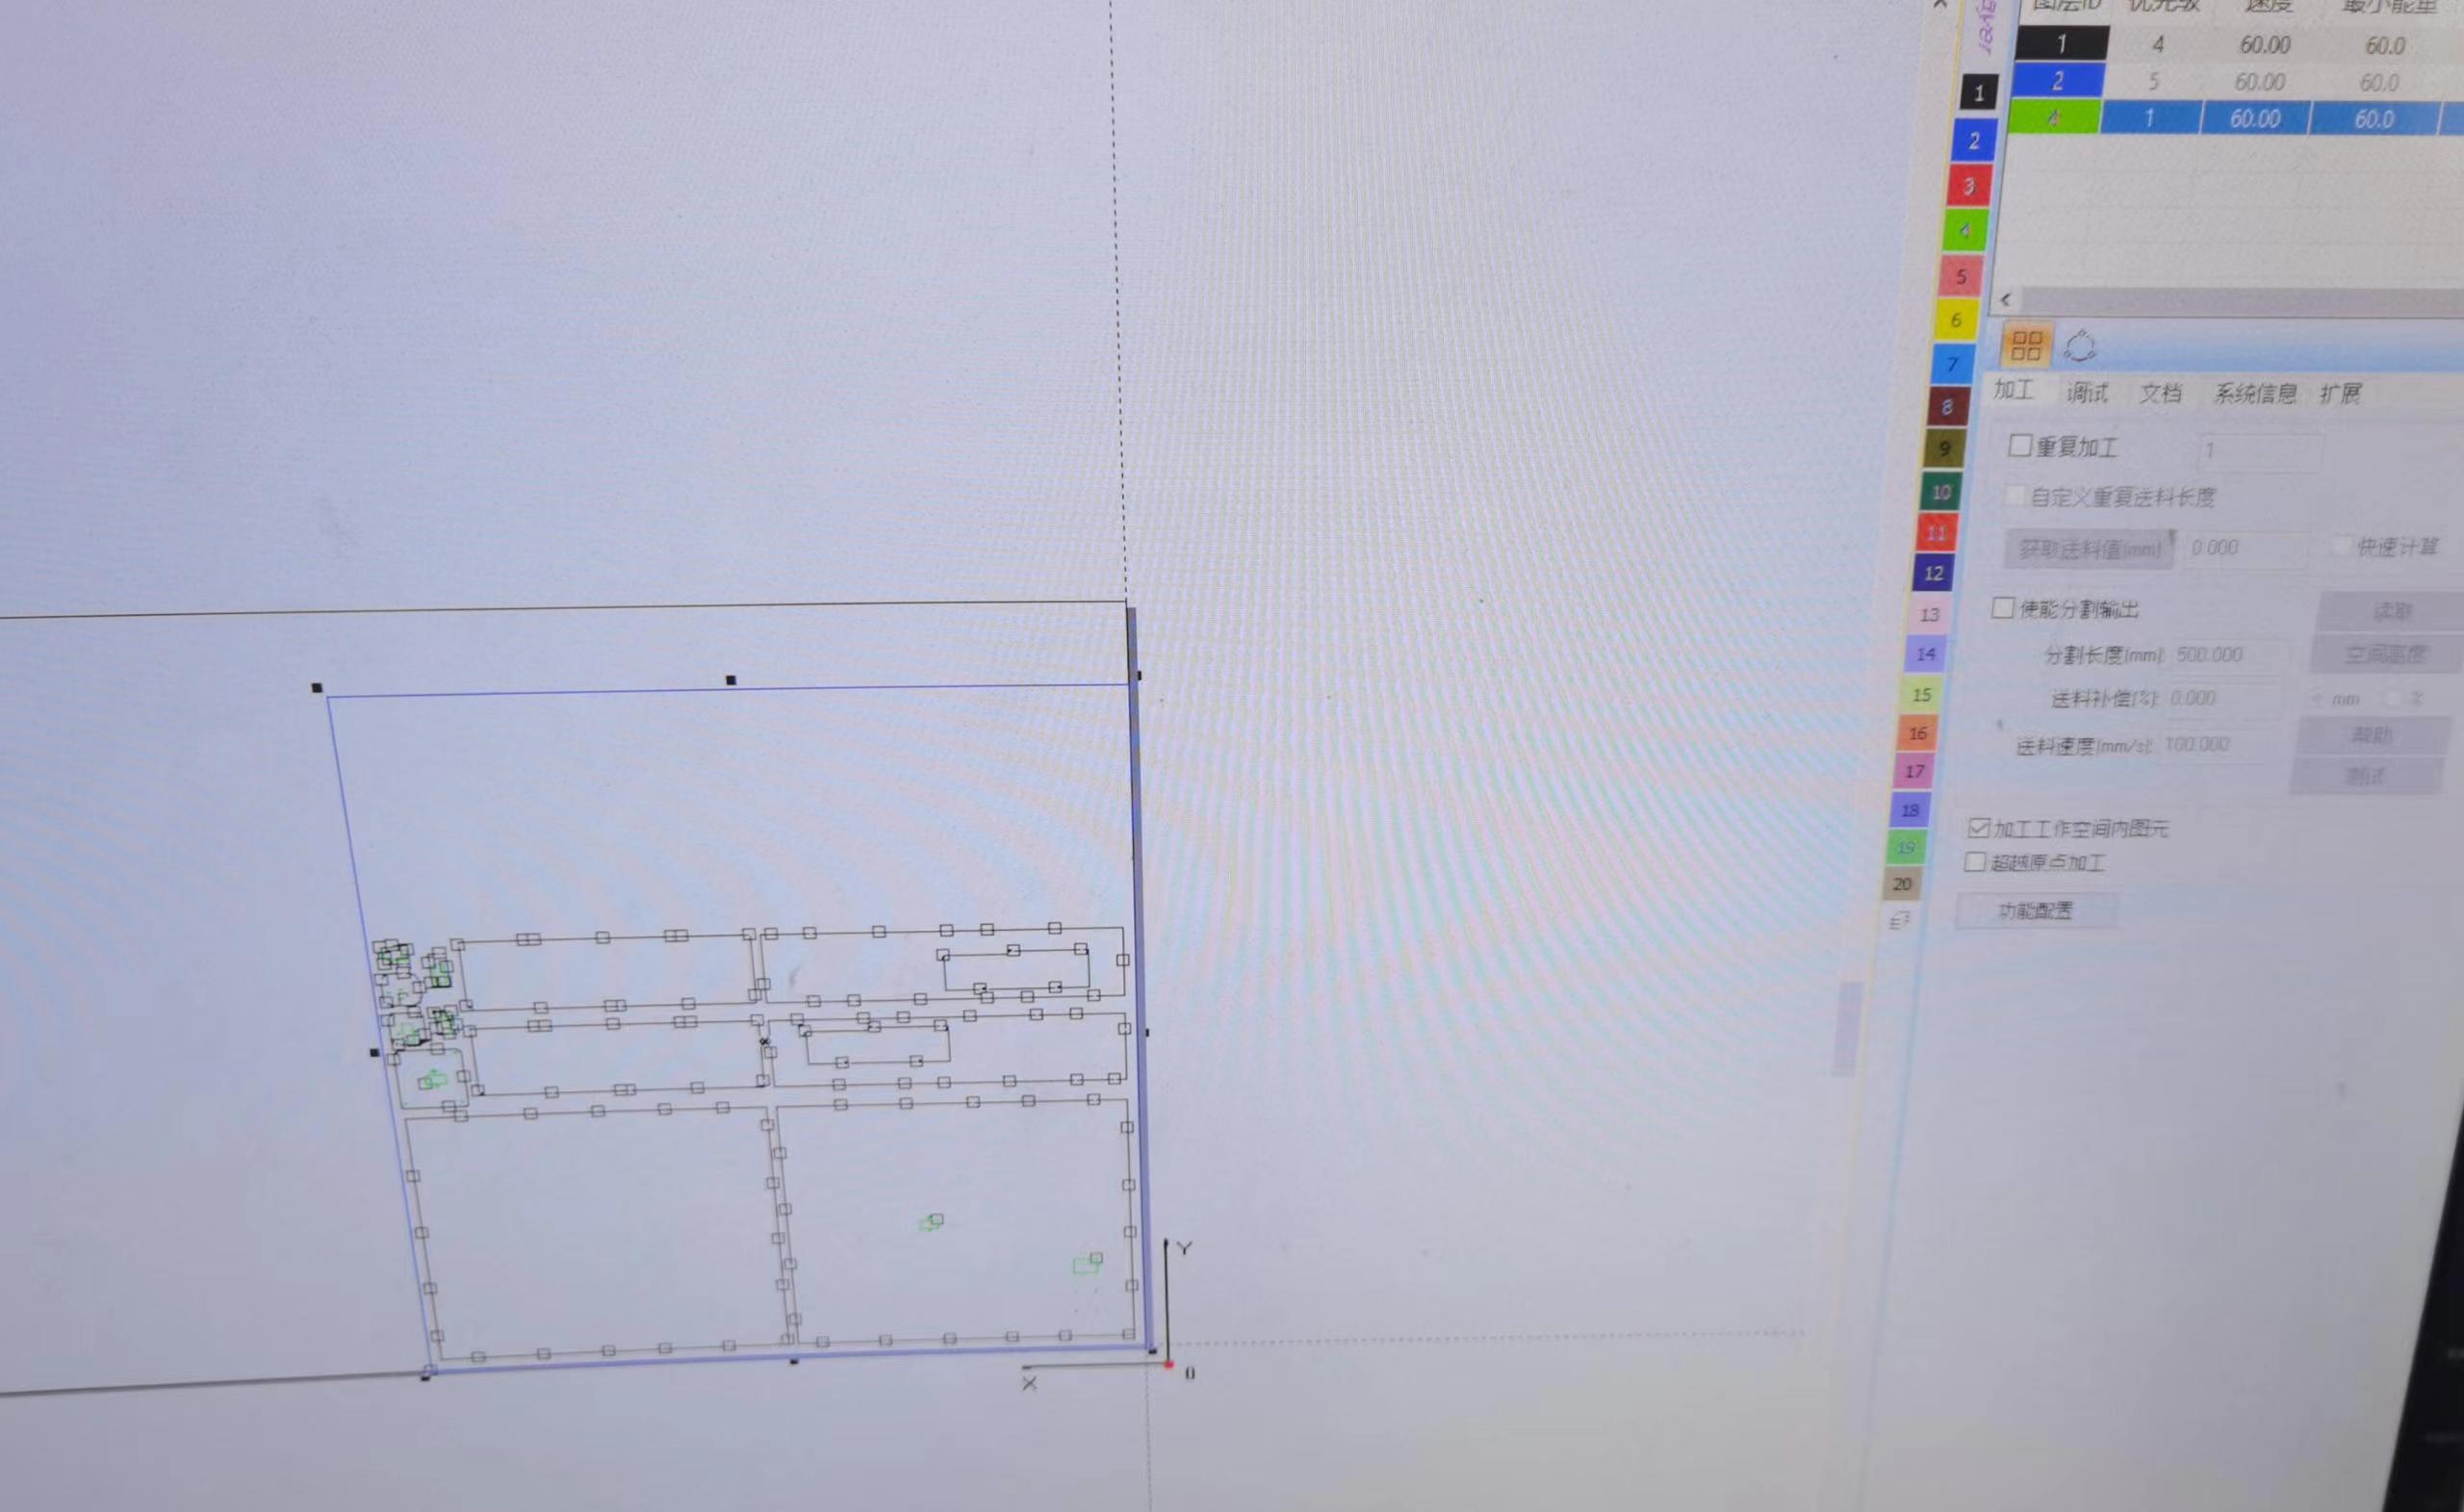
2 Operation process
(1) Connect the computer and laser cutting machine, add files and download them, and set them according to the actual situation.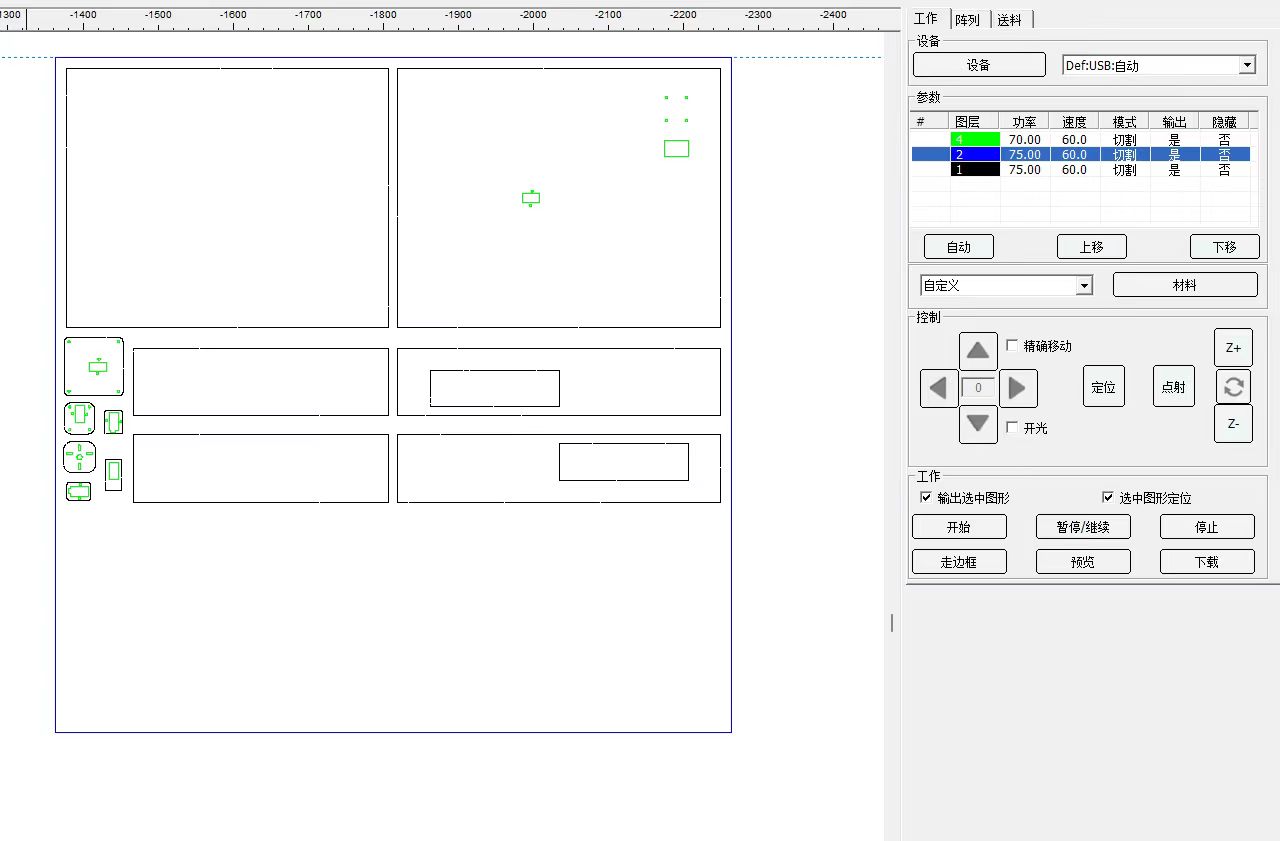
(2) Determine the cutting line and perform cutting.
(3) Obtain the finished product.
3 Combination of laser cutting and Arduino
(1) Select parts of the product that are suitable for laser cutting.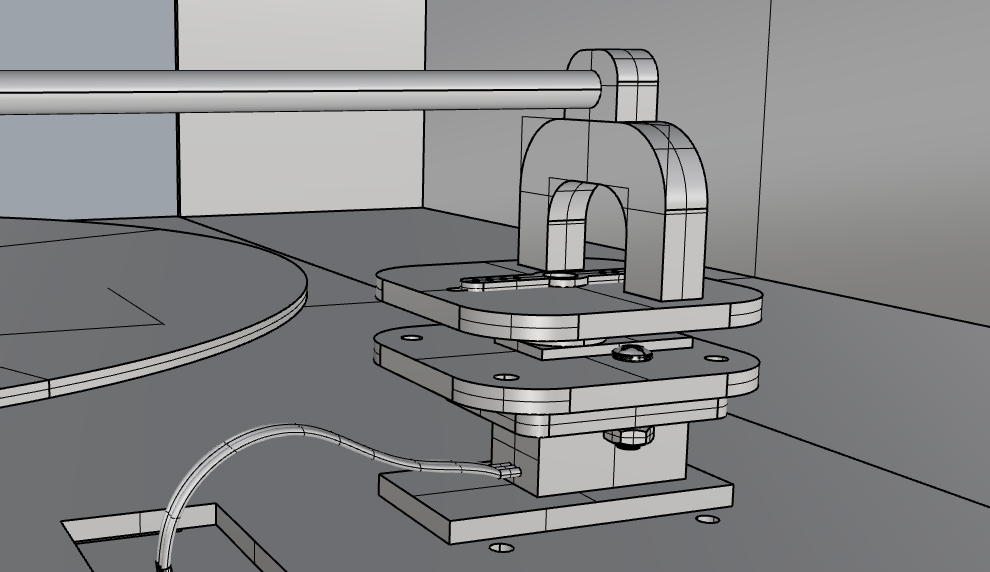
(2) Model parts according to standards.
(3) Laser cutting out parts.
(4) Combine with arduino parts.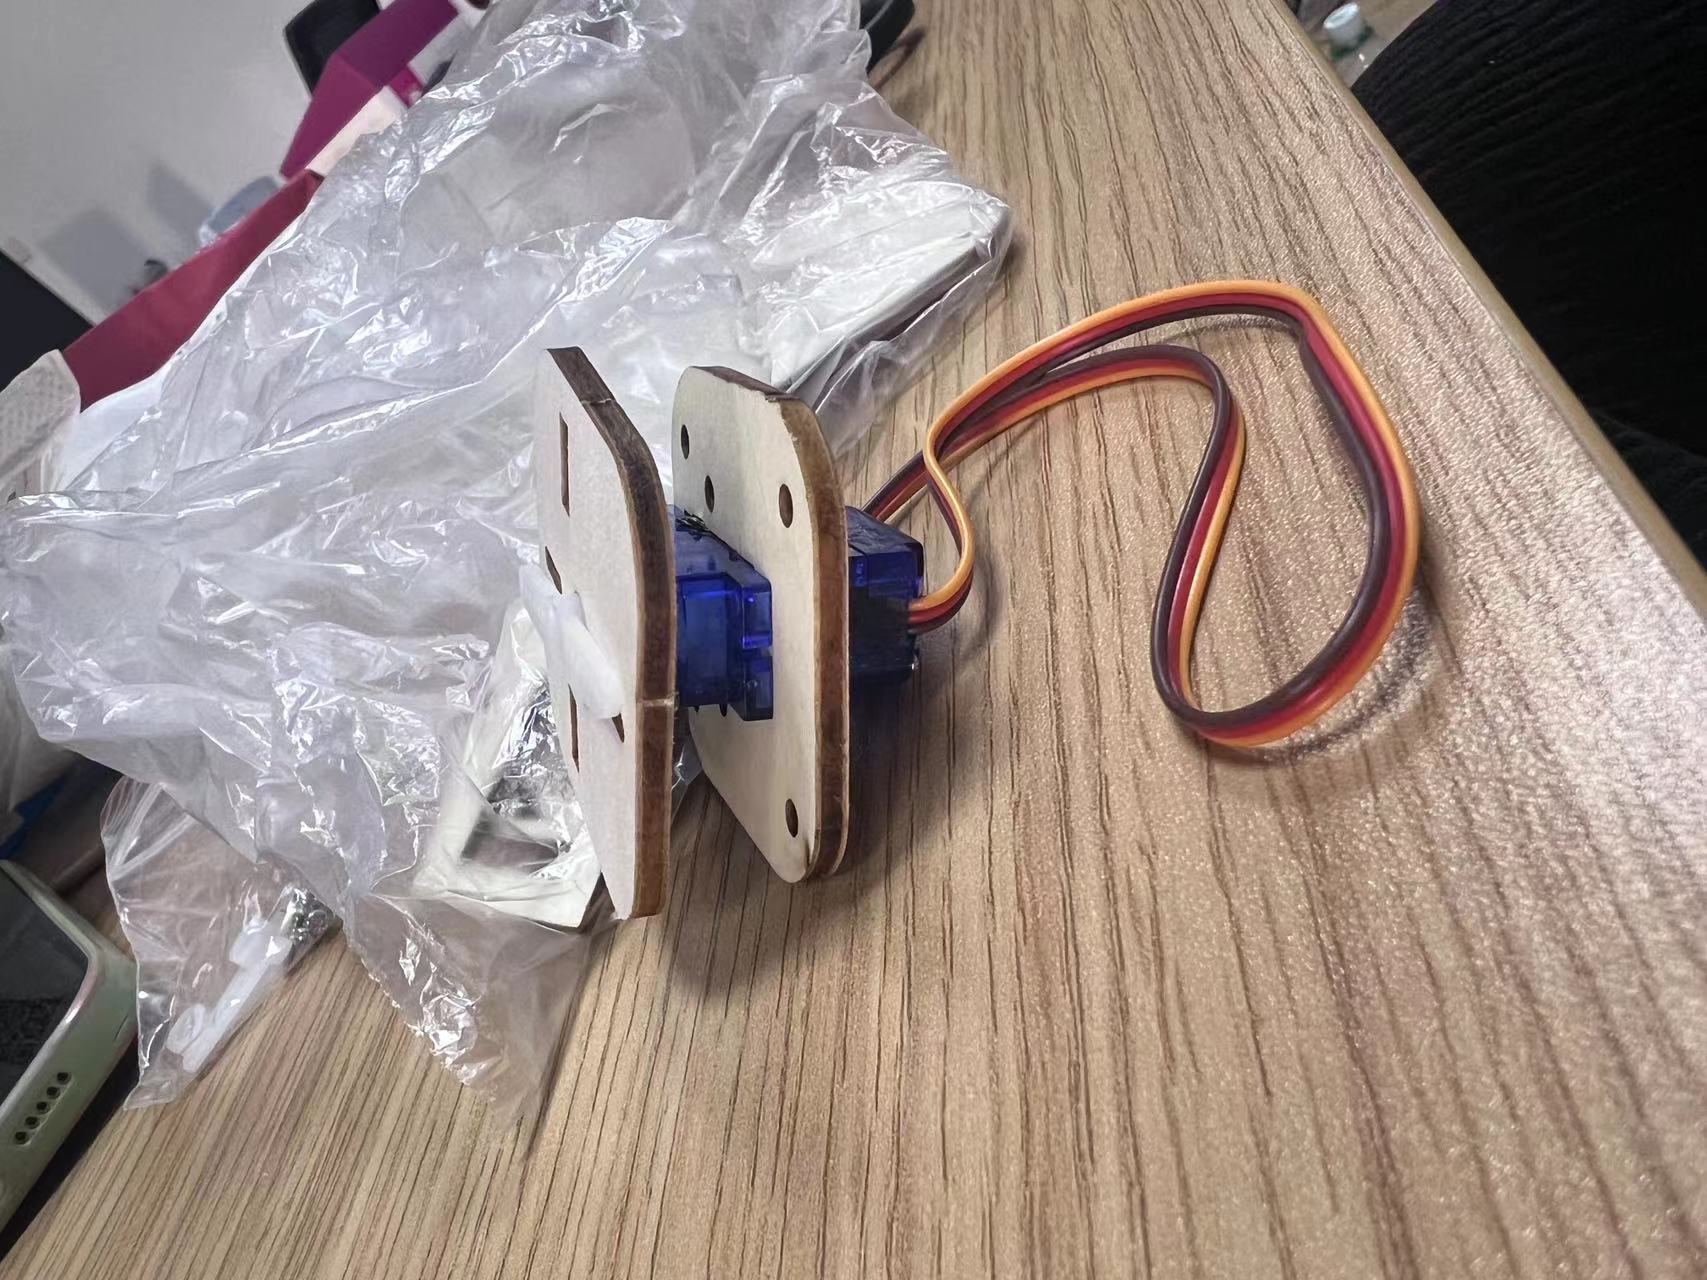
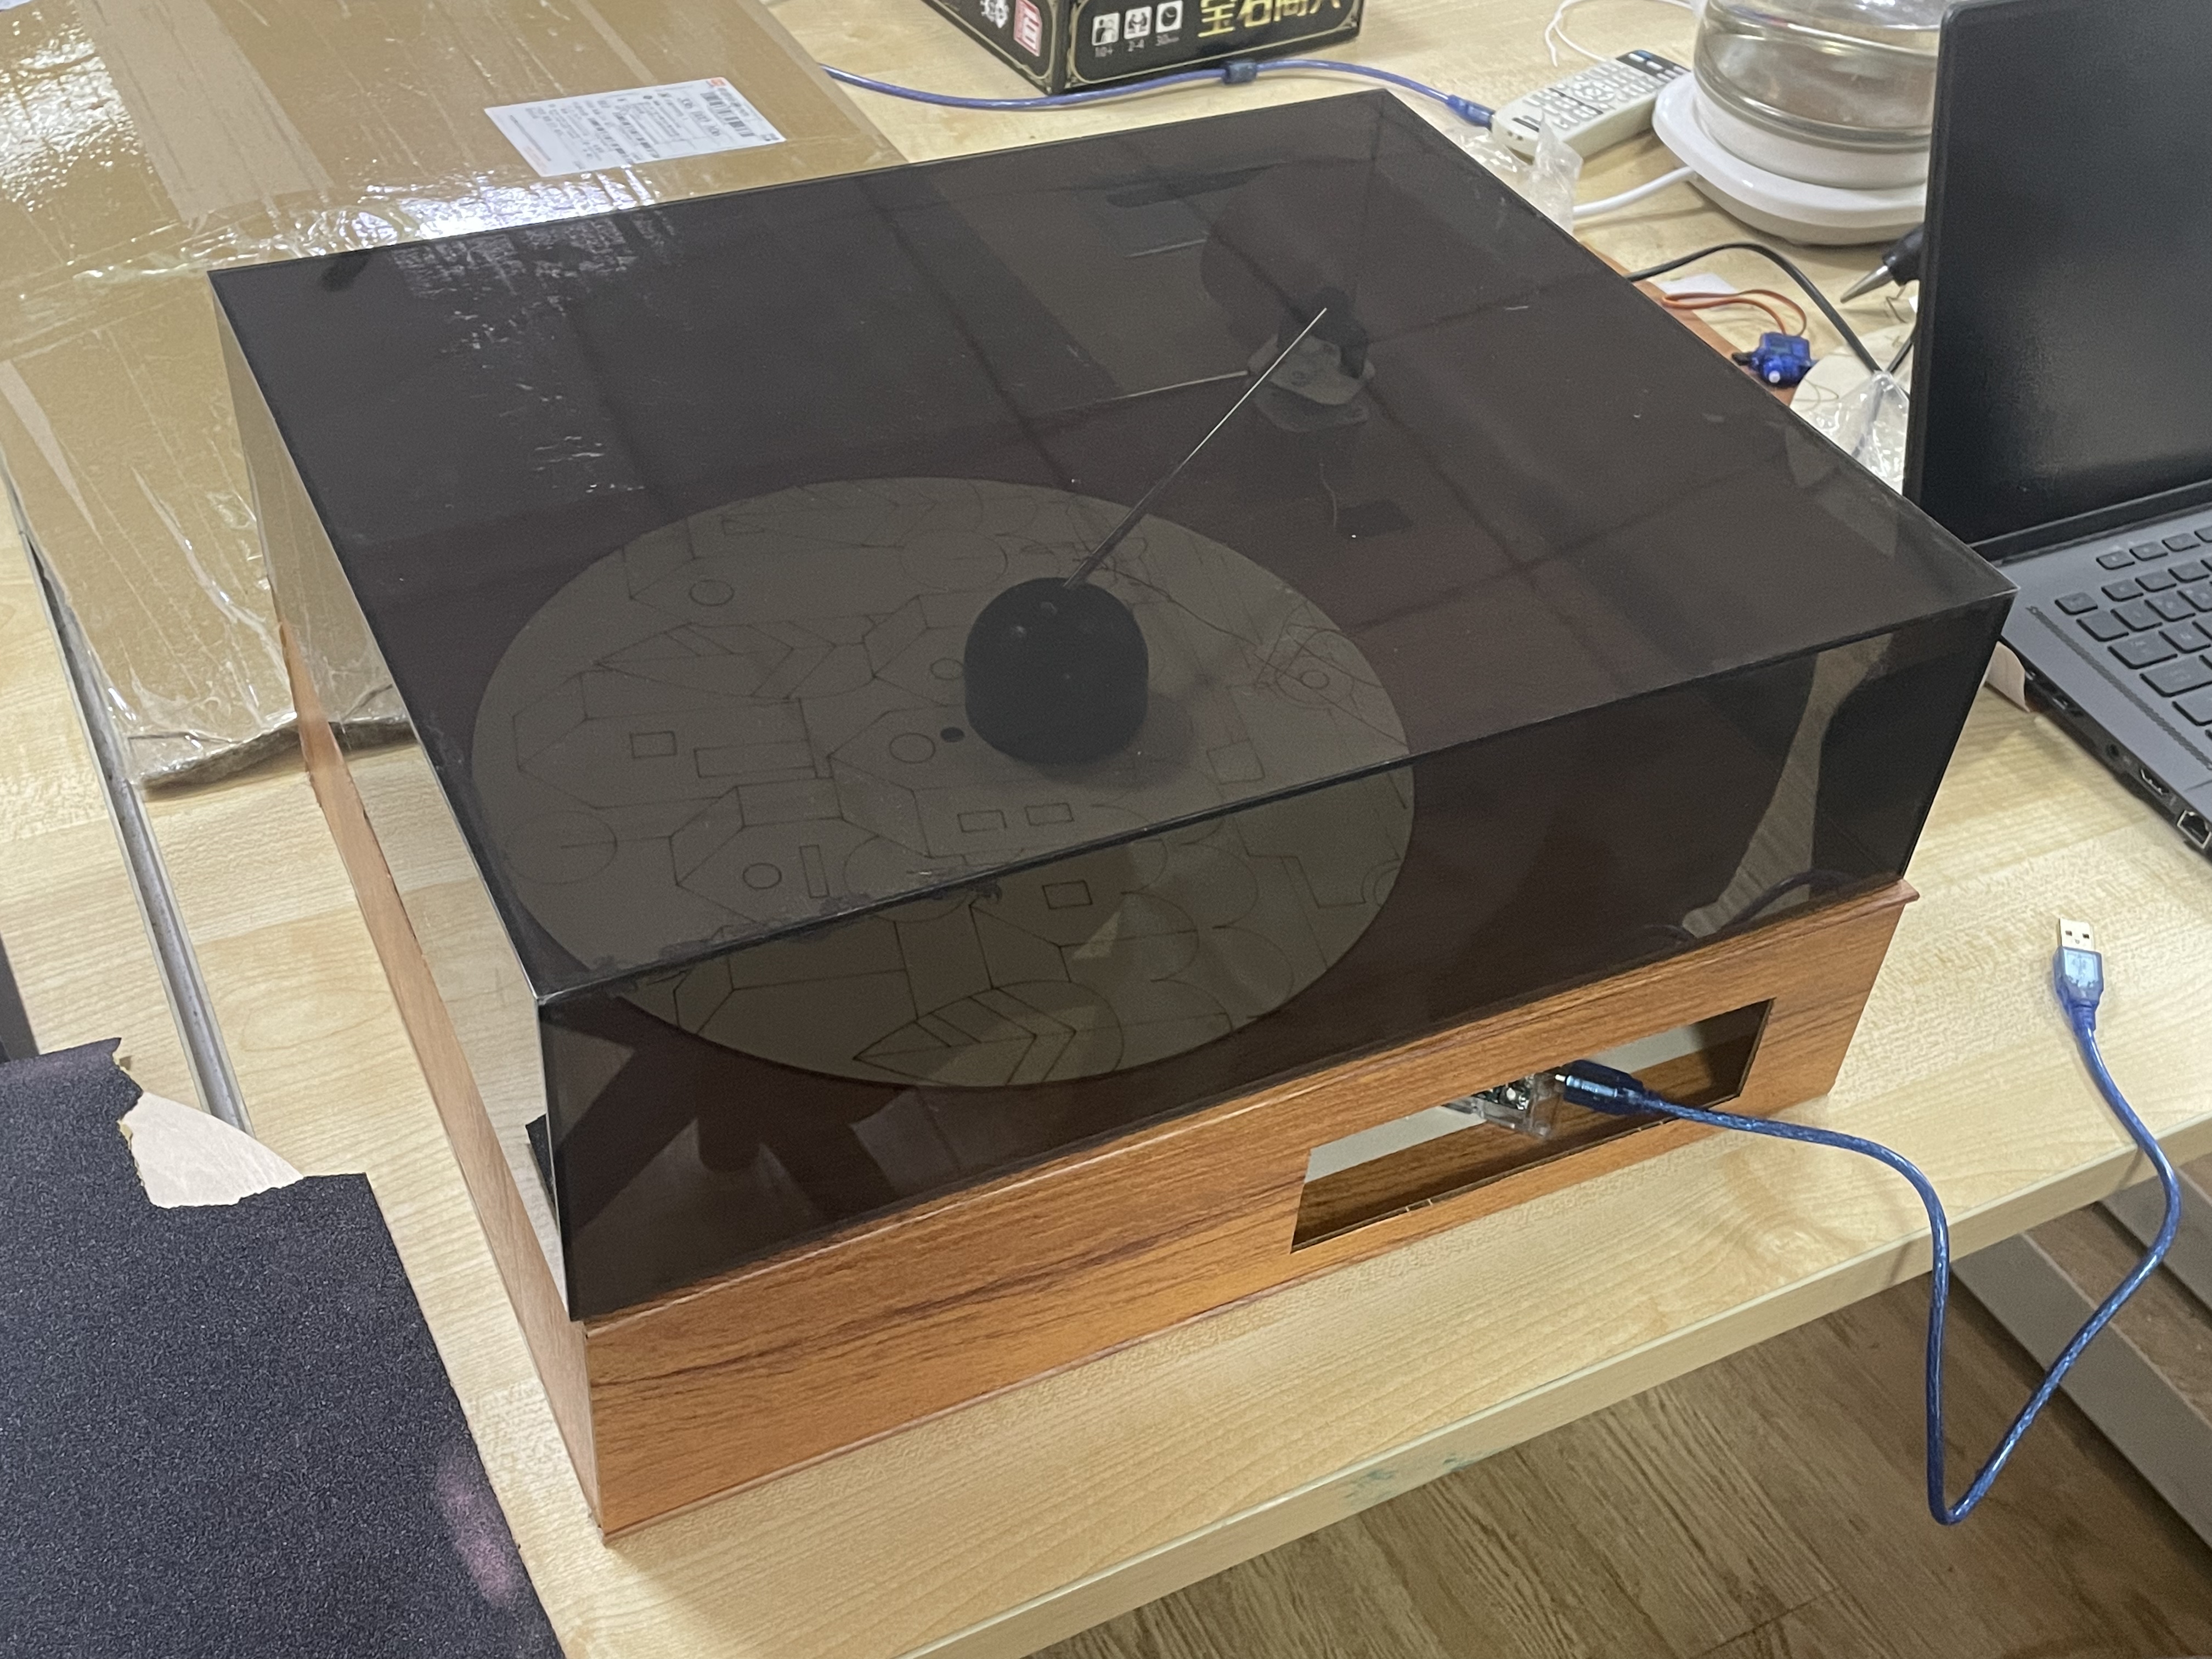
4 Laser cut component assembly process and results
(1) Choose a board of appropriate size and thickness:90cm90cm3mm.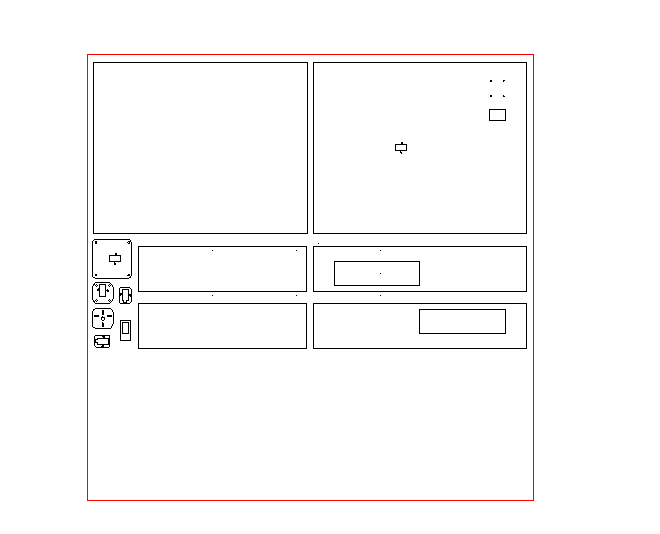
(2) Laser cutting out parts.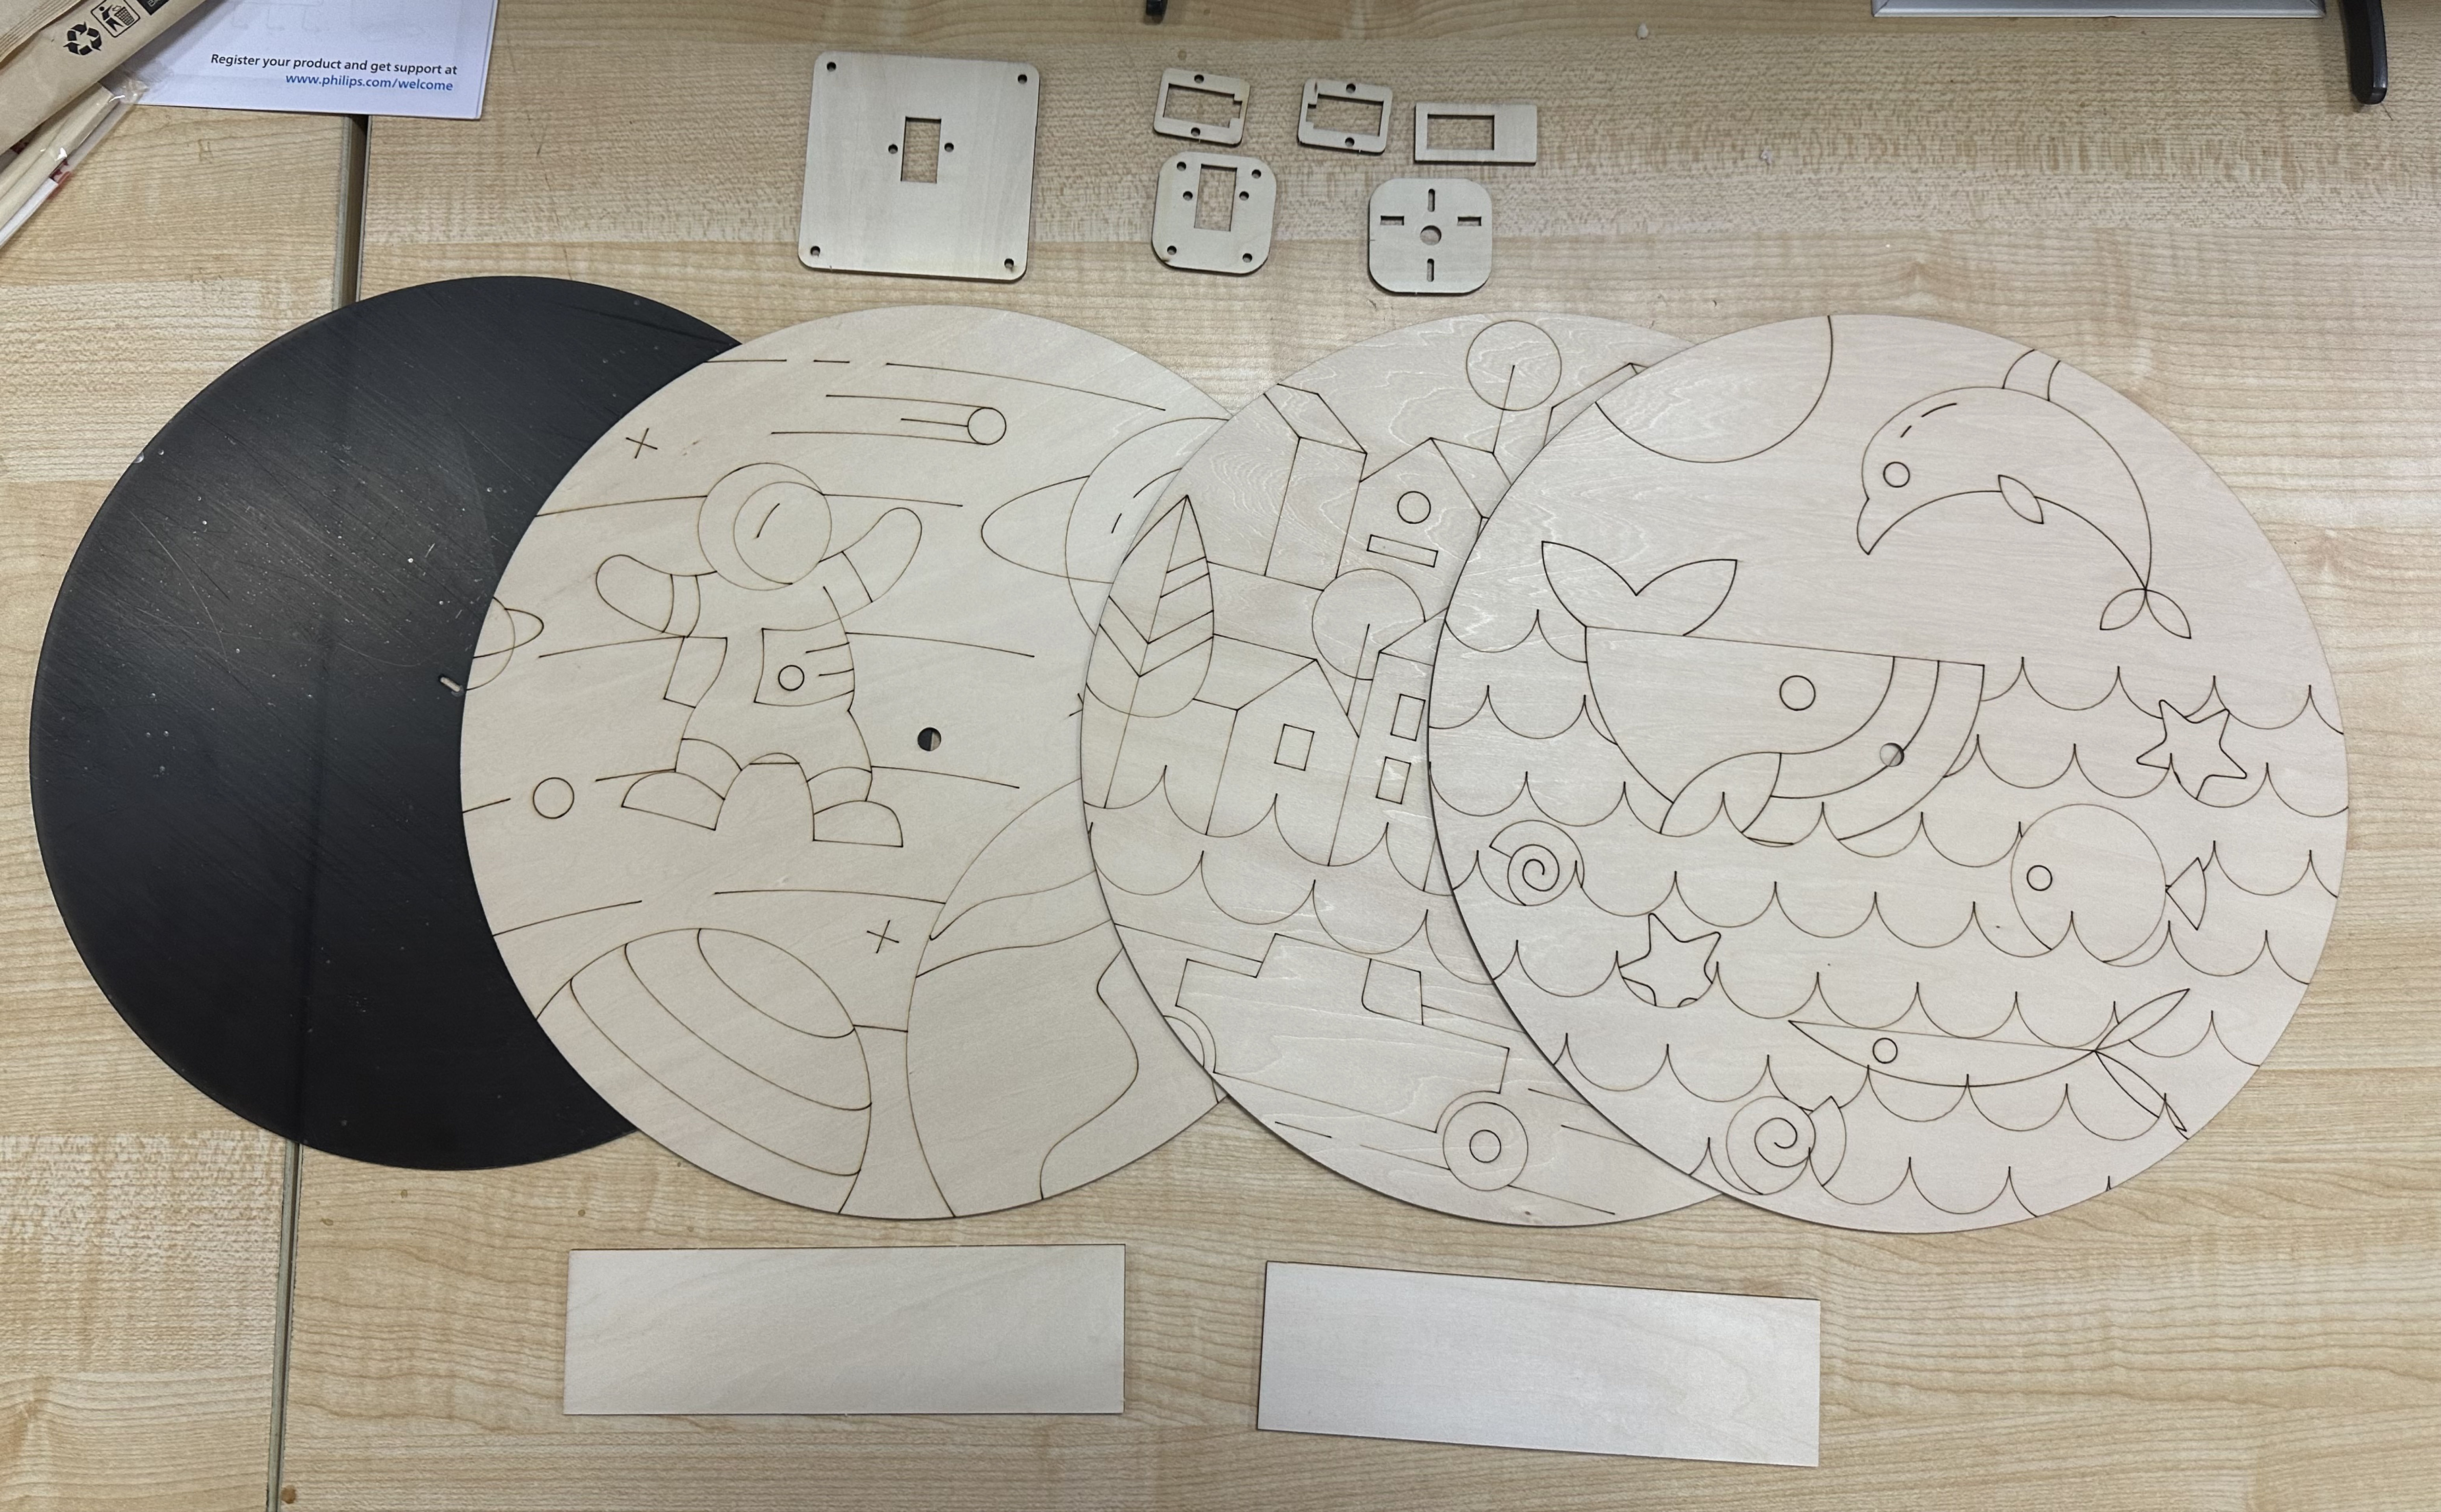
(3) Assemble the parts with the original Arduino parts.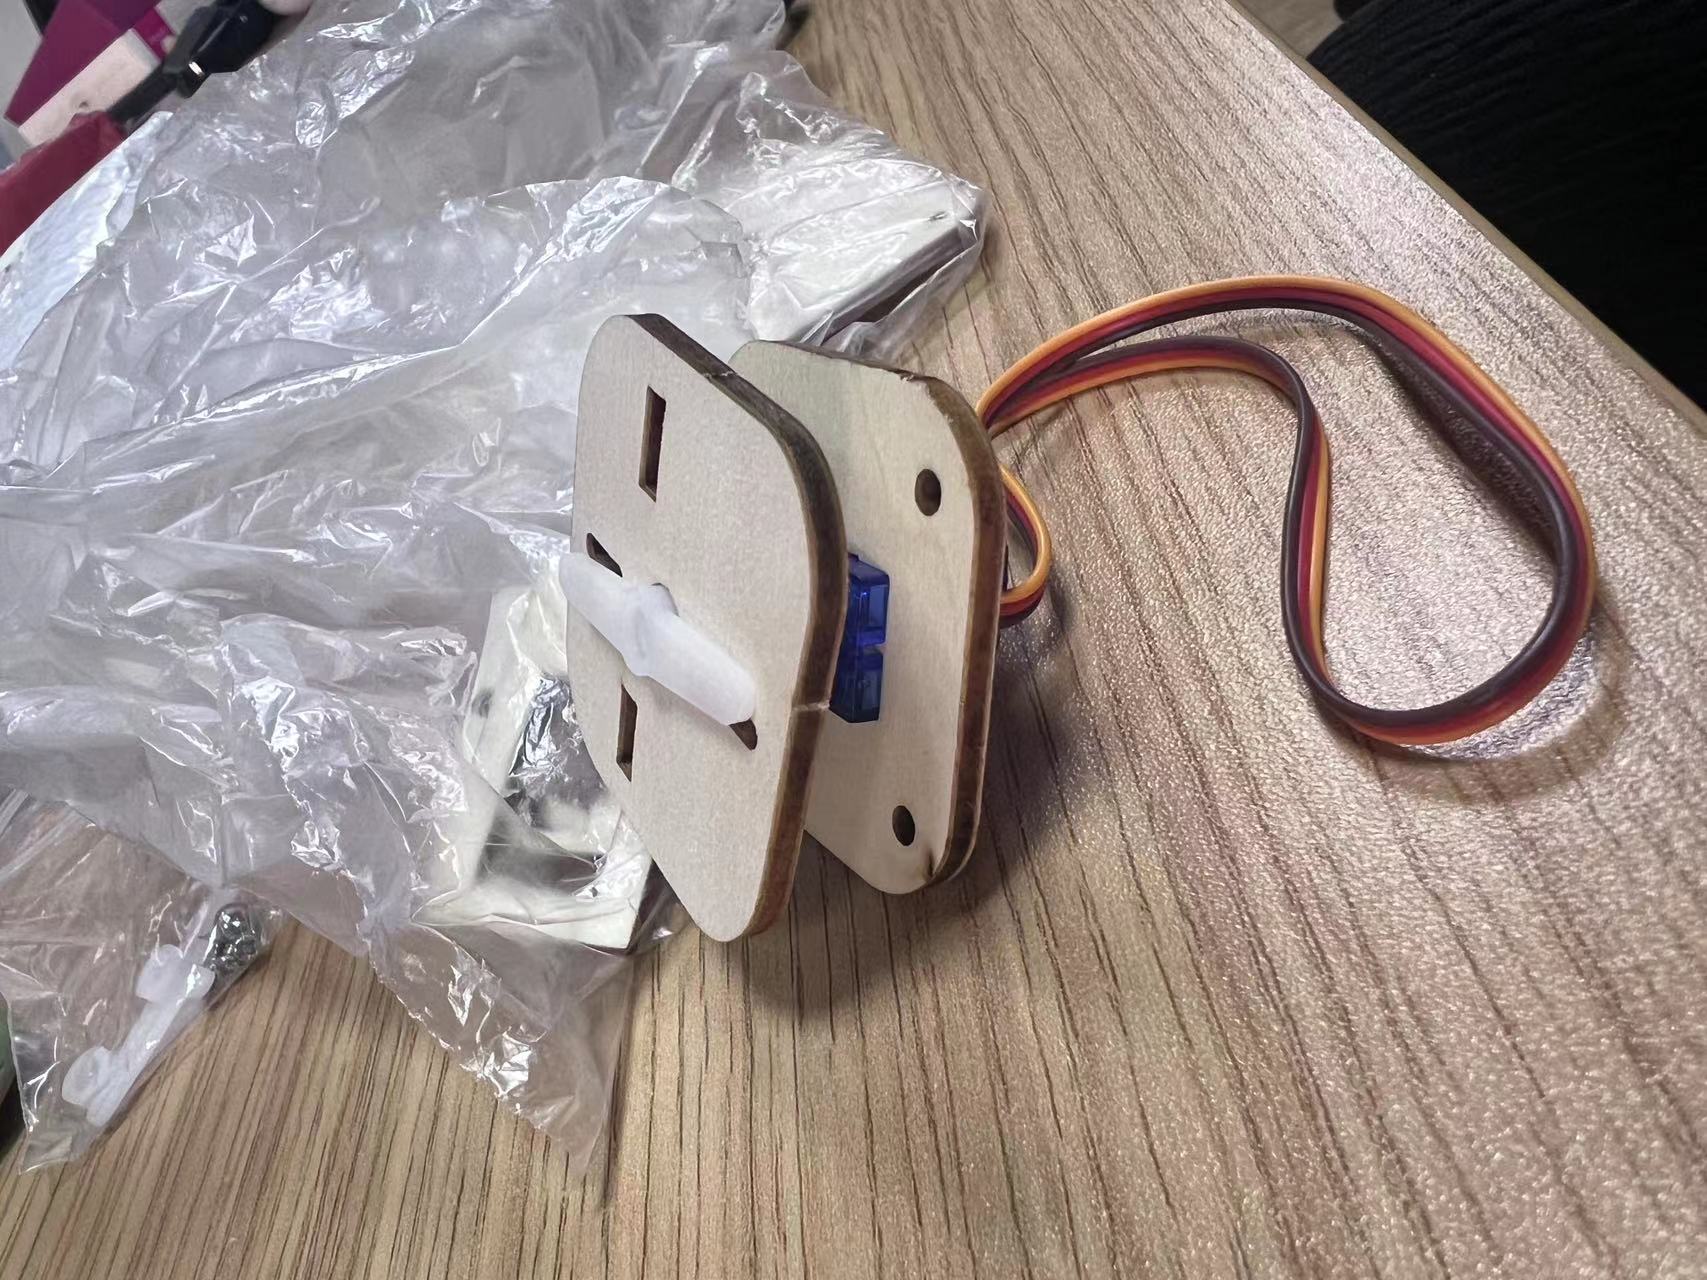
(4) Assemble the laser-cut shell.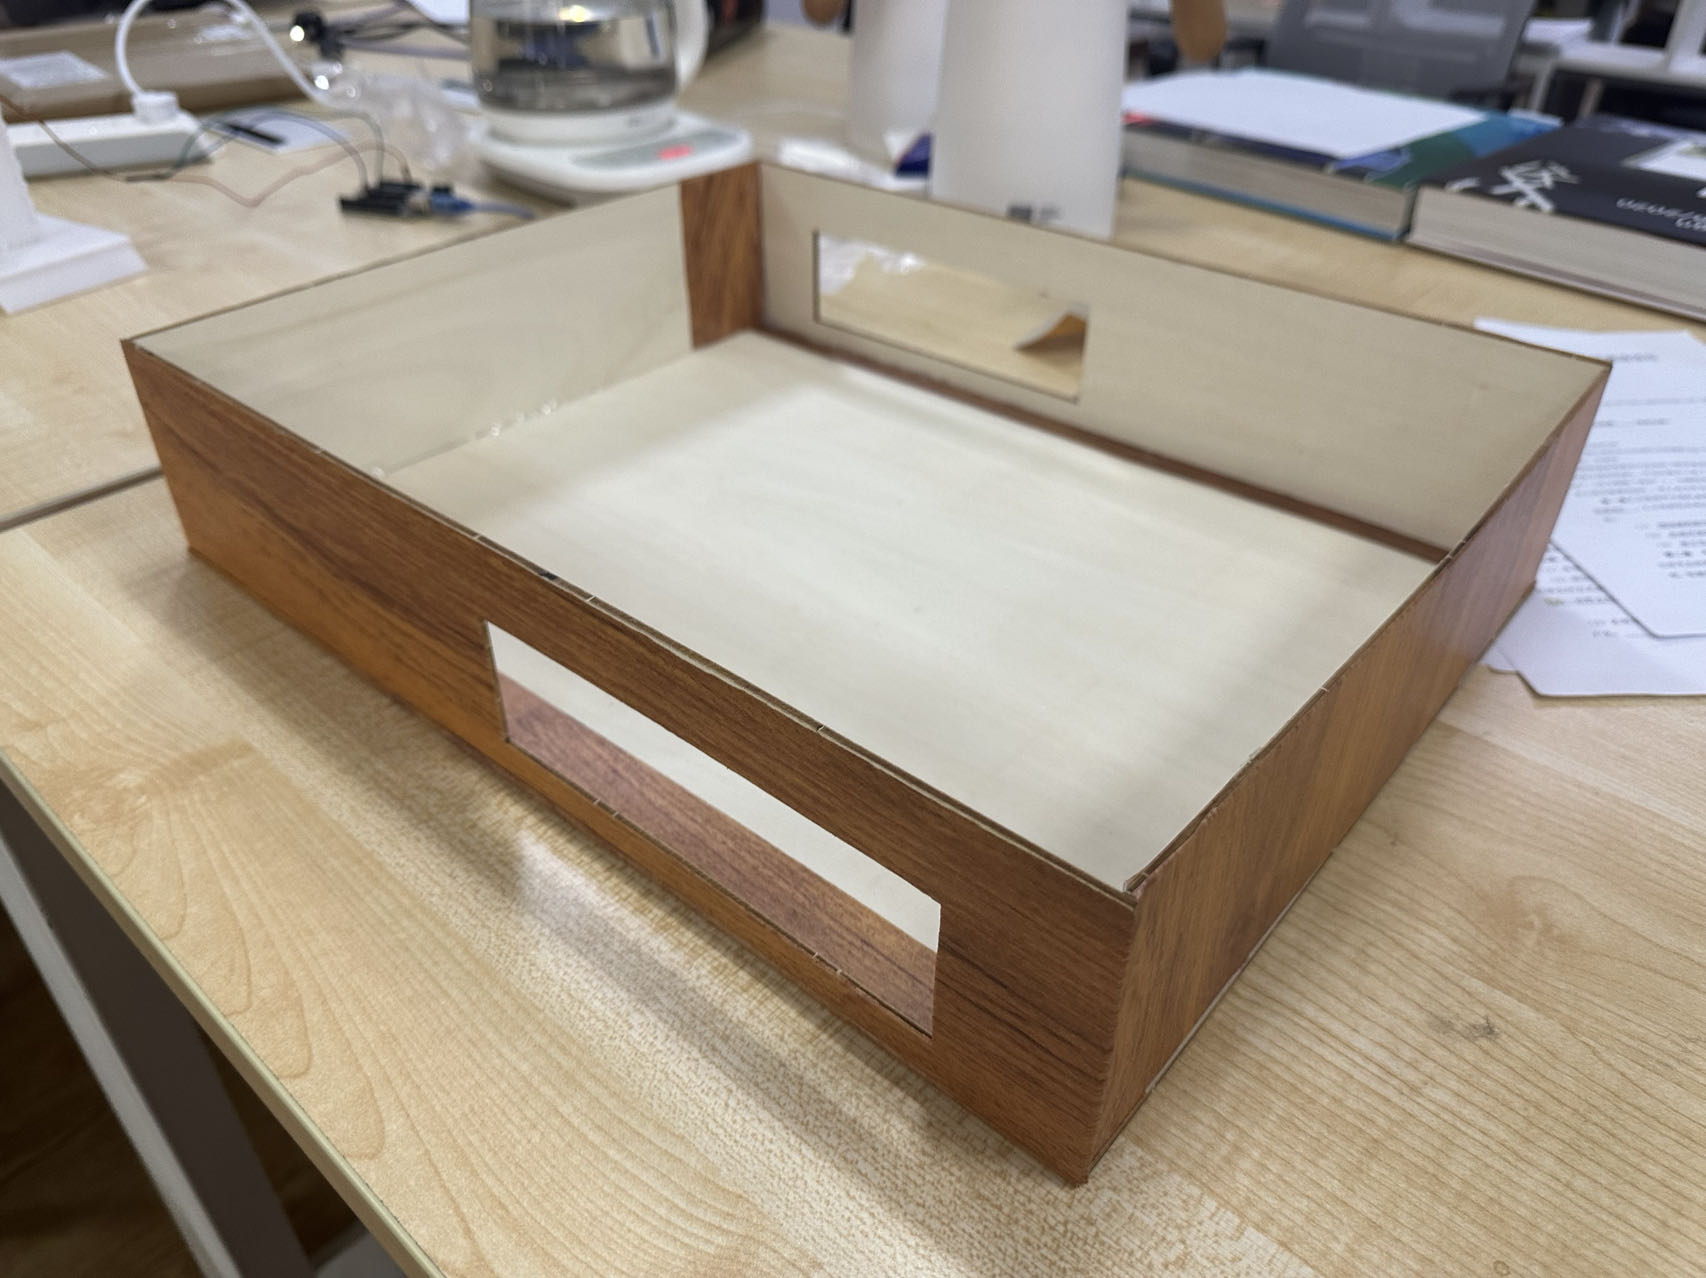
(5) Final assembly result.