3D Printer

3D 打印 · Bambu Lab X2D 使用指南

01

Download Software

下载软件

Bambu Lab Software

图片 4-1

Bambu Lab was founded in Shenzhen in 2020, simplifying the complex operations of traditional 3D printing and implementing industrial grade high-speed and high-precision automation technology on desktop devices, suitable for beginners and professional creators.

Official Website:

https://bambulab.com/zh

Download and Install

图片 4-2 - Download and install

02

Learn How to Use

学习使用方法

Change Equipment

图片 4-3

Change equipment: Tuozhu Bambu Lab X2D

Click on information synchronization to synchronize with the printer

Information Synchronization

图片 4-4

Select what to print from the online model and import it

Import Model

图片 4-5

Floor height:

The slice height of each layer. A smaller layer height means higher accuracy and longer printing time. Adjust as needed.

Seam:

Start printing the position of the exterior wall.

Floor Height and Seam Settings

图片 4-6

Ironing:

Refers to using small flow to print at the same height on the surface, making the surface smoother. This setting allows you to choose which layers to iron, depending on your needs.

Ironing Settings

图片 4-7

Adjust the top pattern, bottom pattern, and internal solid filling pattern according to the requirements.

The top is usually filled with "concentric" patterns, while the recommended solid filling patterns for the interior are "spiral" and "honeycomb".

Pattern Settings

图片 4-8

Printing consumables for the support/raft layer main body (interface). Default "refers to not specifying a specific consumable thread and using the current consumable.

Support/Raft Layer Settings

图片 4-9

Top Z-distance:

The z-gap between the support top and the model.

Bottom Z-distance:

The z-gap between the bottom of the support and the model when the support is generated on the surface of the model.

Z-distance Settings

图片 4-10

Click on Slice Single Disk

Slice Single Disk

图片 4-11

Check the seam position and internal solid filling pattern.

Check Settings

图片 4-12

Additional Image

图片 4-17

Open 'Print Single Disc'

Print Single Disc

图片 4-13

Insert the USB drive and click on 'Export Single Disk Slice File'

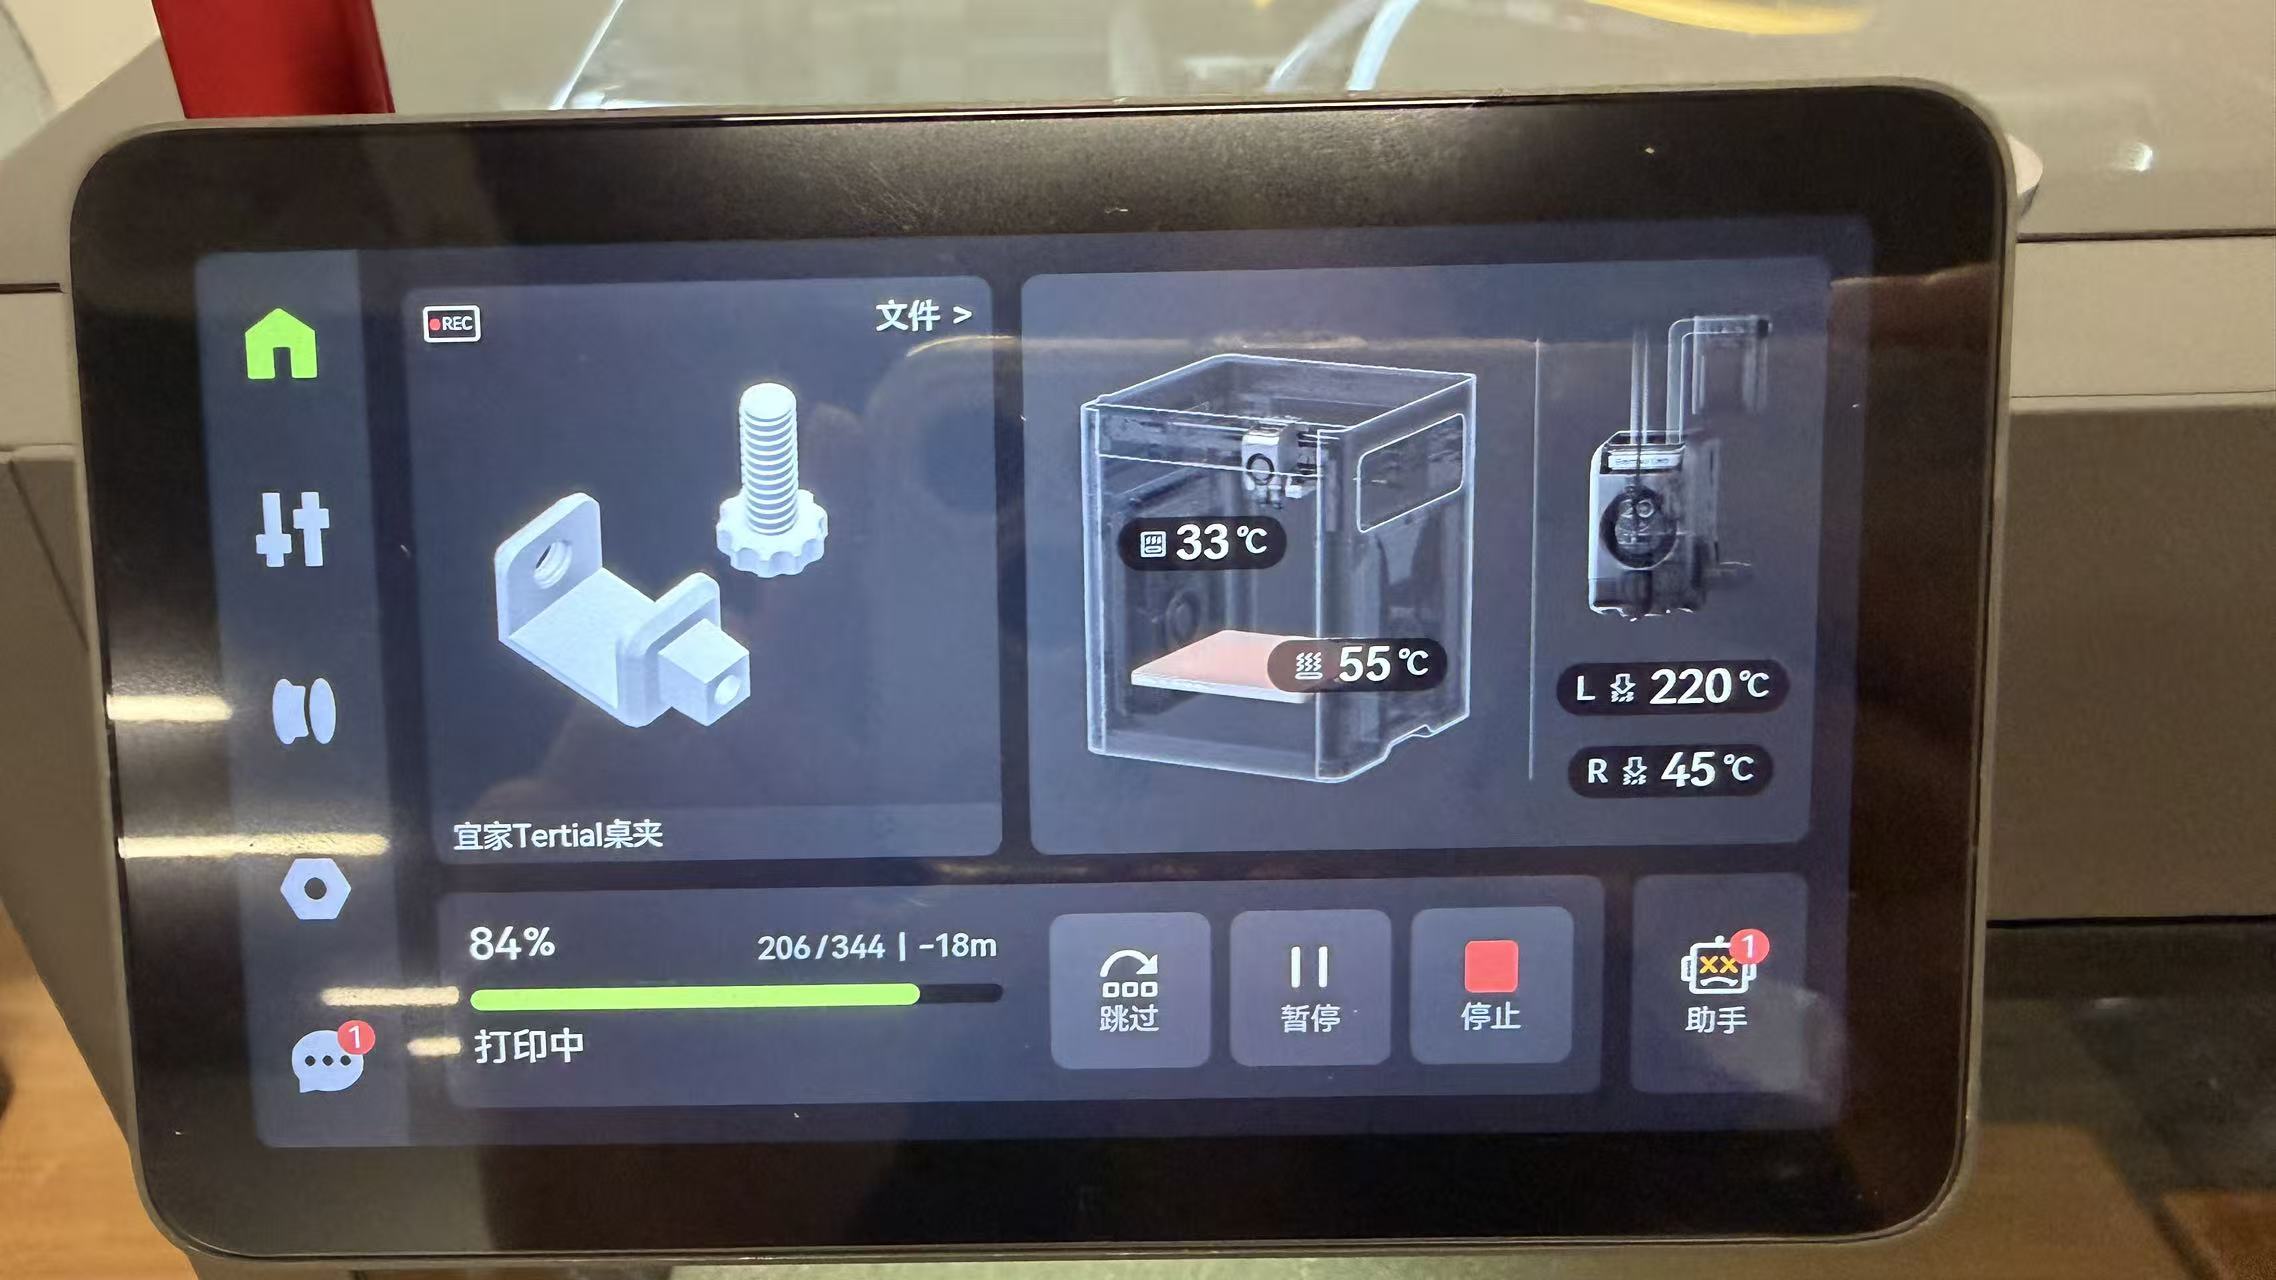
Insert the 3D printer and select the exported model. After confirming that there are no errors, proceed with printing.

Supplement

图片 4-15

Supplement:

If you need to adjust the size of the model, please do so in the "Preparation" interface.