Exercise 4: Computer Aided Design
AI-Assisted Car Parts Creation
AI-Made Car Parts
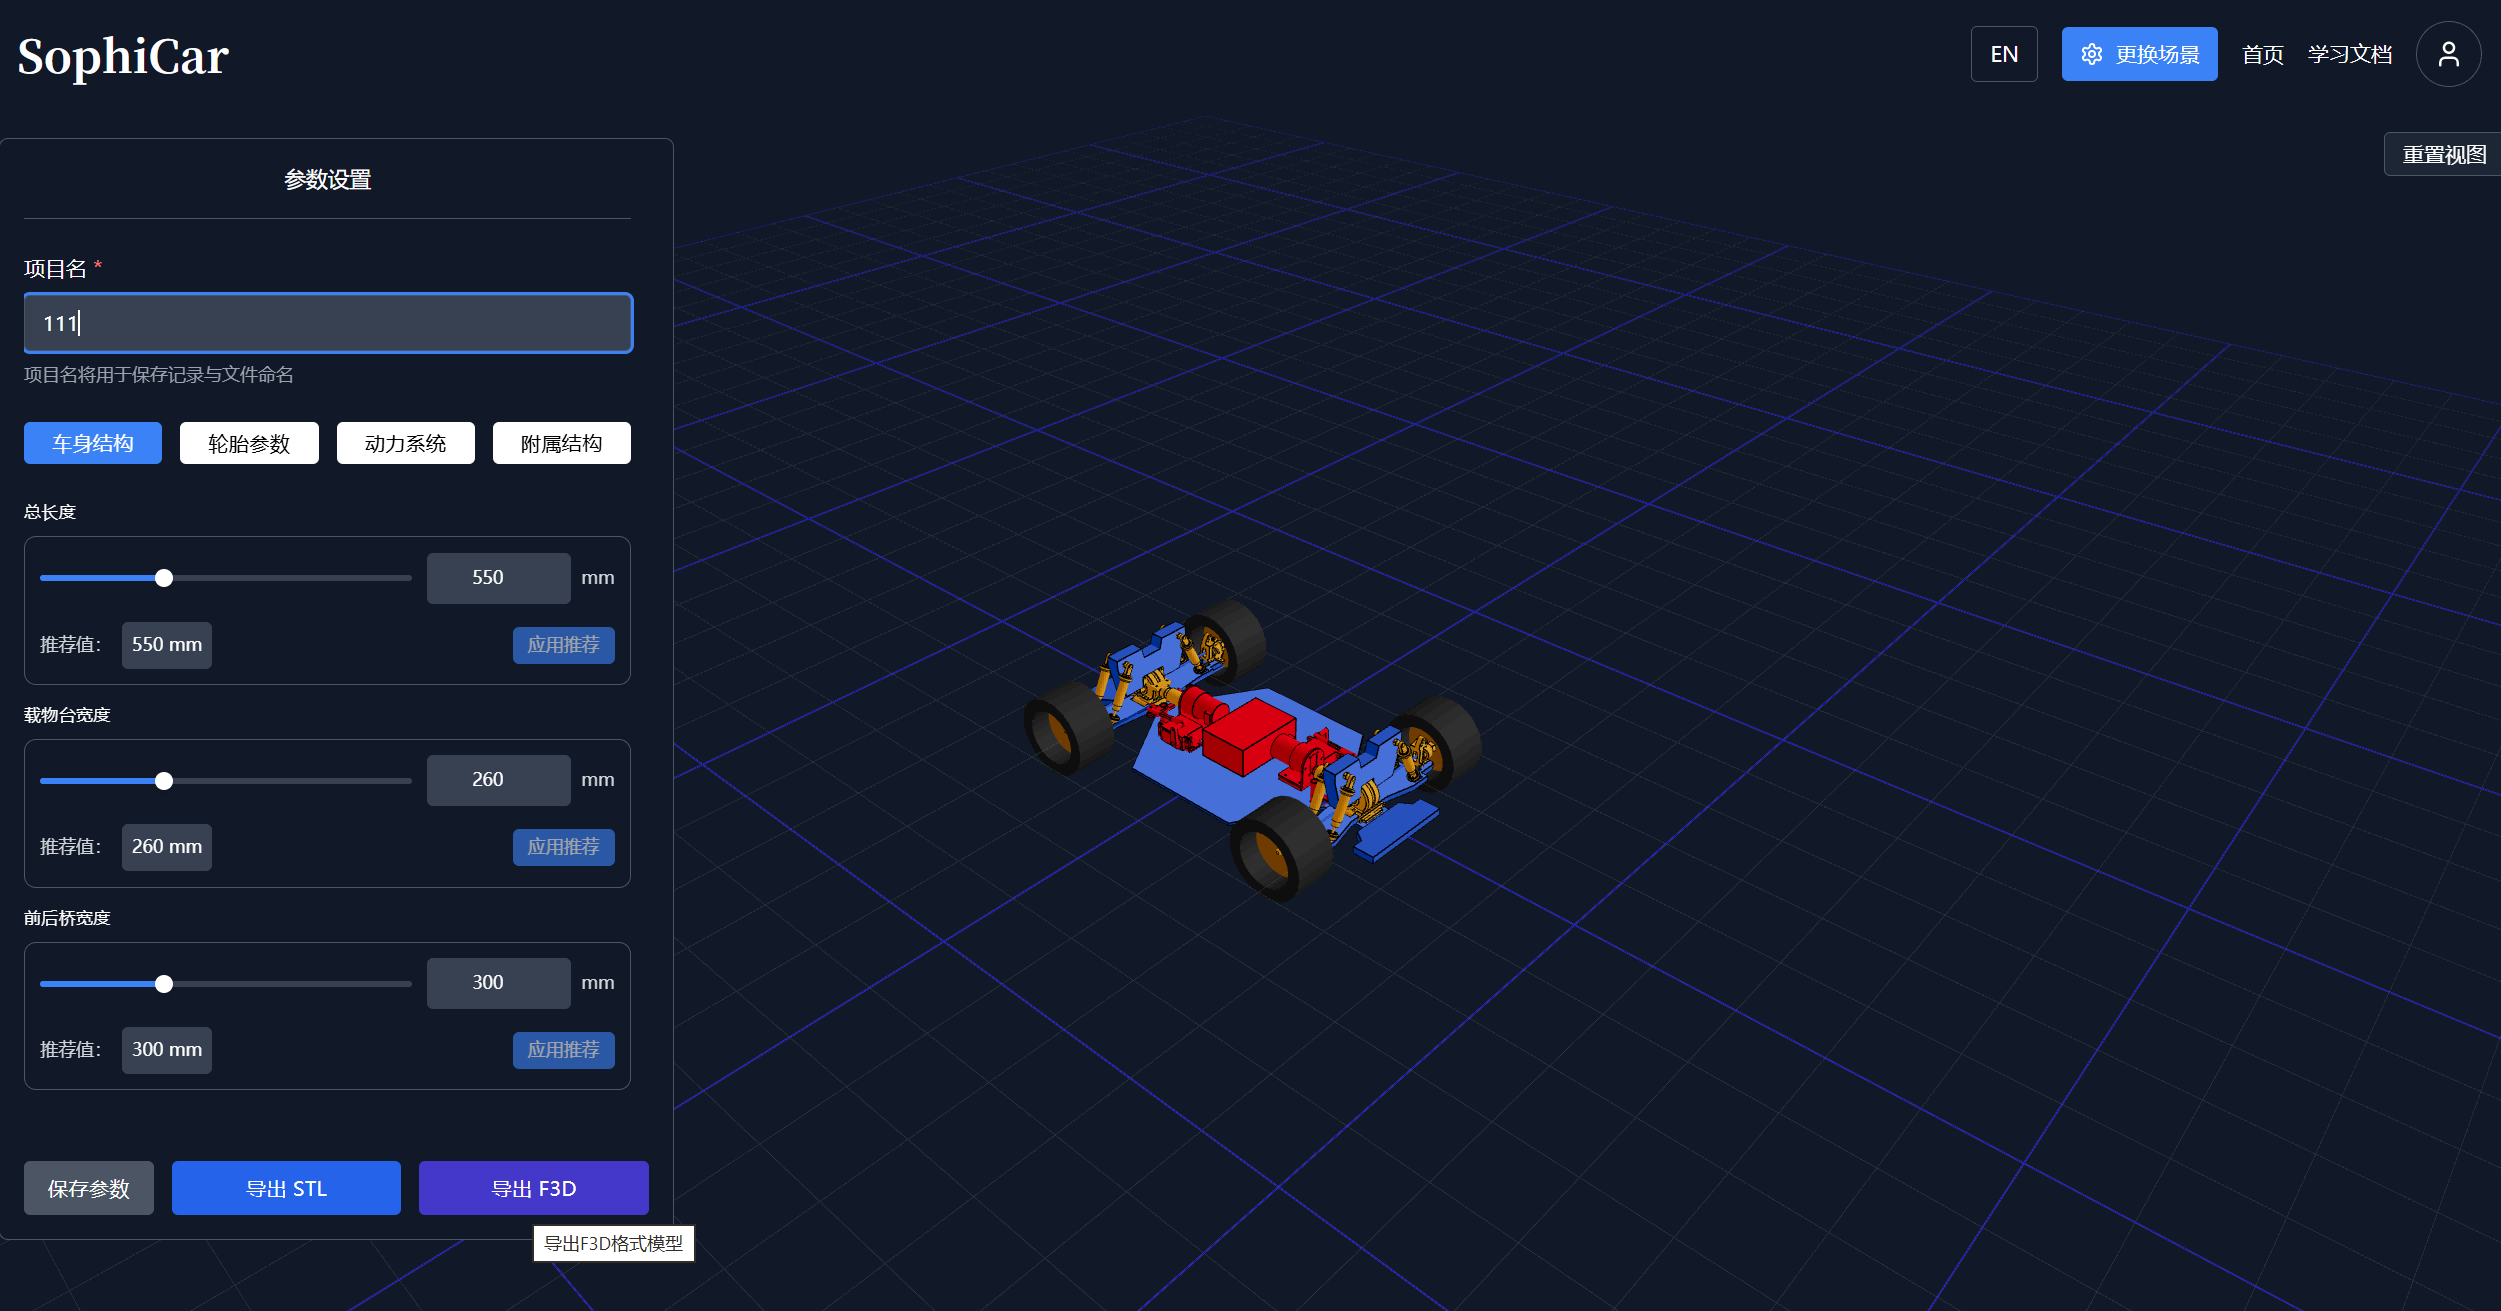
Register and log in to SophiCar website at http://www.sophicar.com/parametric-modeling, then export the F3D car model to Fusion 360.
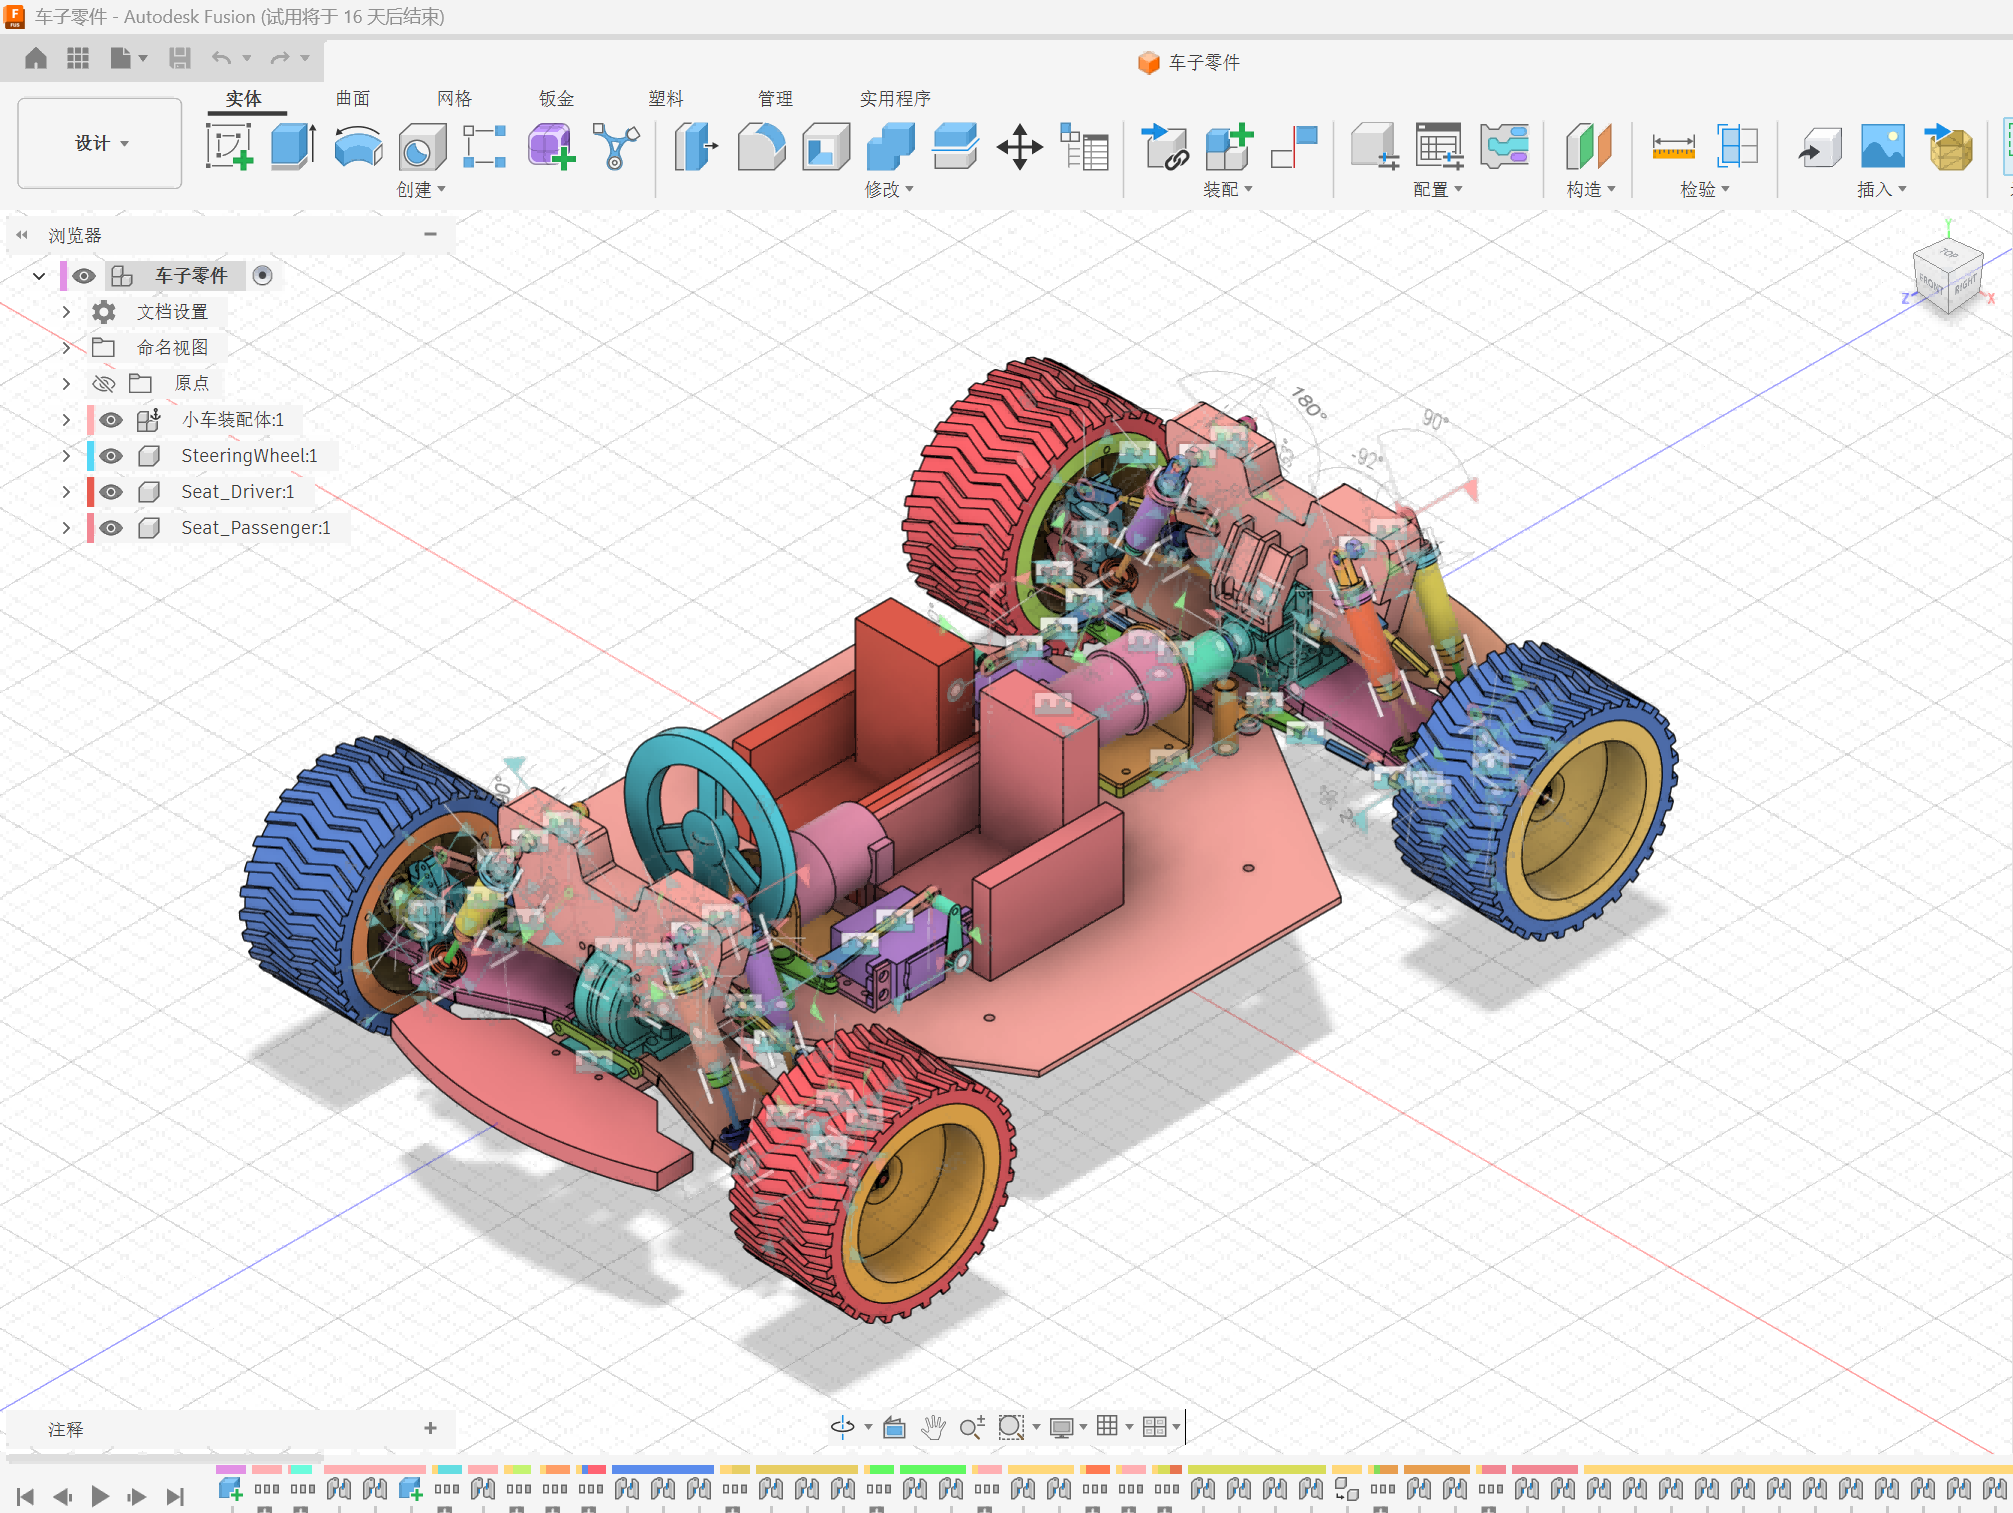
In Fusion 360, import the F3D car download file and open the car model.
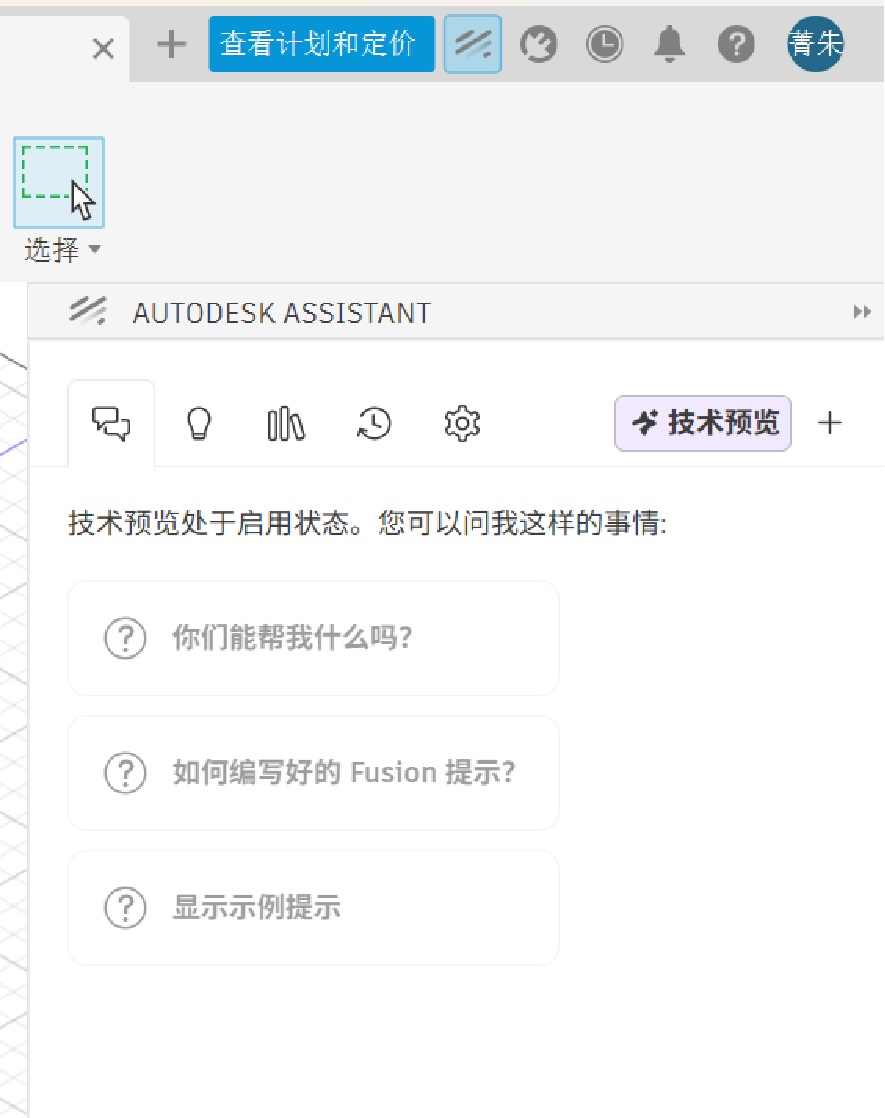
AI Prompt, Generation and Adjustment Process
Prompt:
Help me make a steering wheel and seats on this car, with more detailsFeedback:
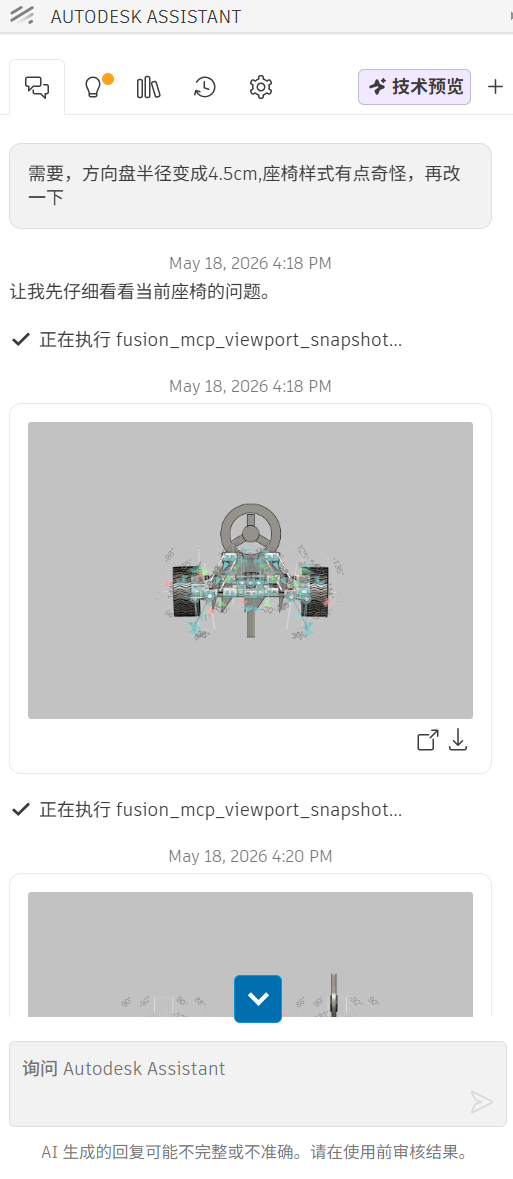
Need to change the steering wheel radius to 4.5cm, the seat style is a bit strange, let's modify it again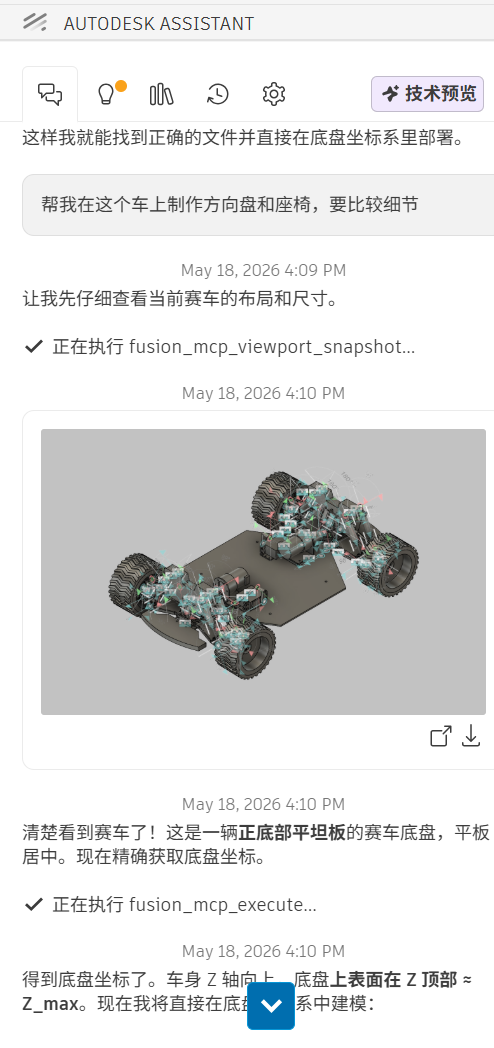
Prompt:
Why is the chair clipping through? Move both the steering wheel and chair backward by 4cm; the steering wheel position is wrong, the rod and disk are separated; this steering wheel doesn't look right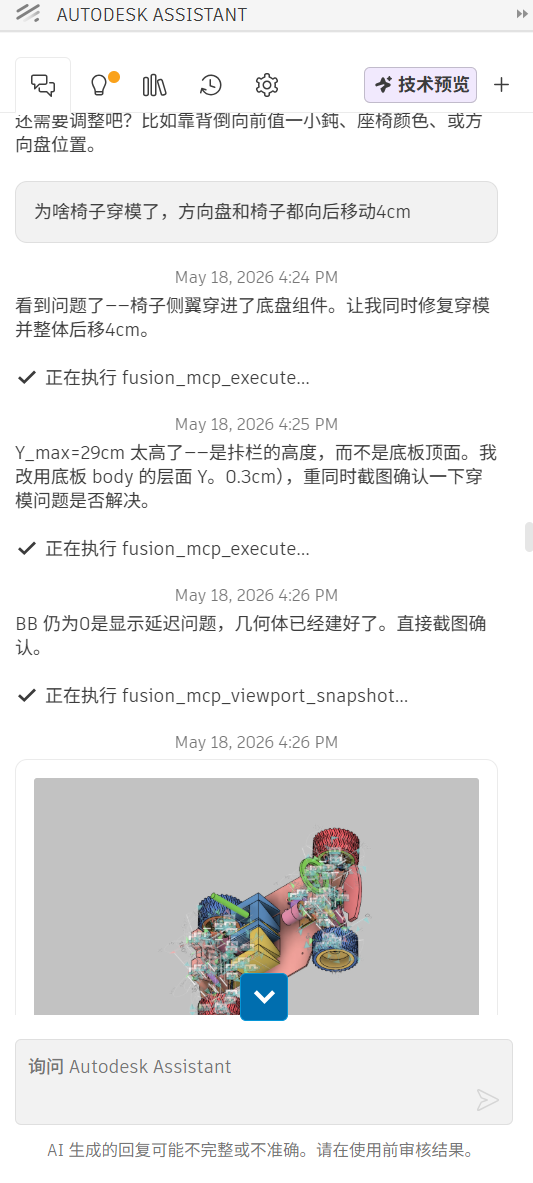
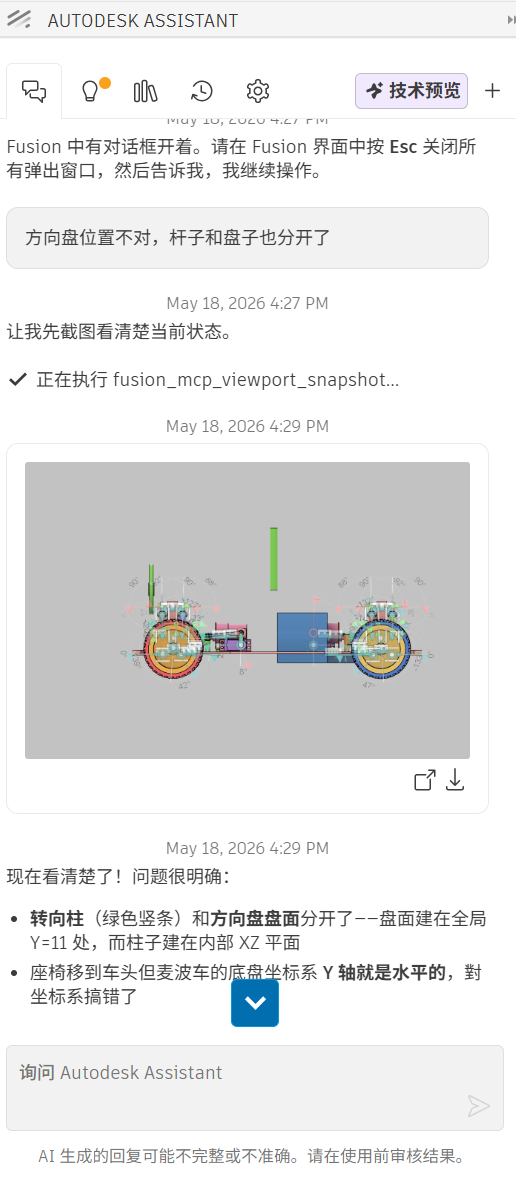
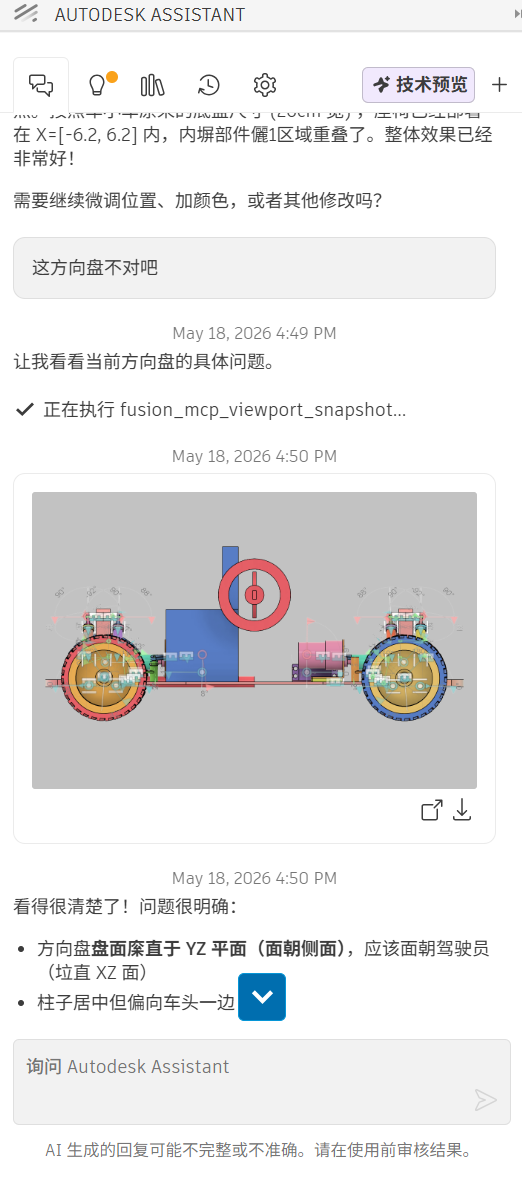
Prompt:
Move the seat further away from the steering wheel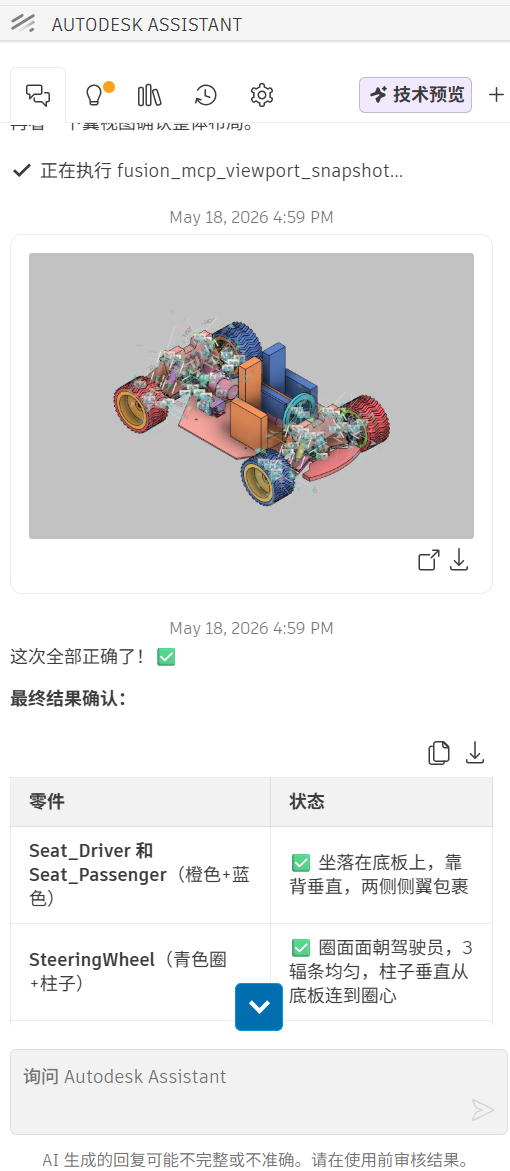
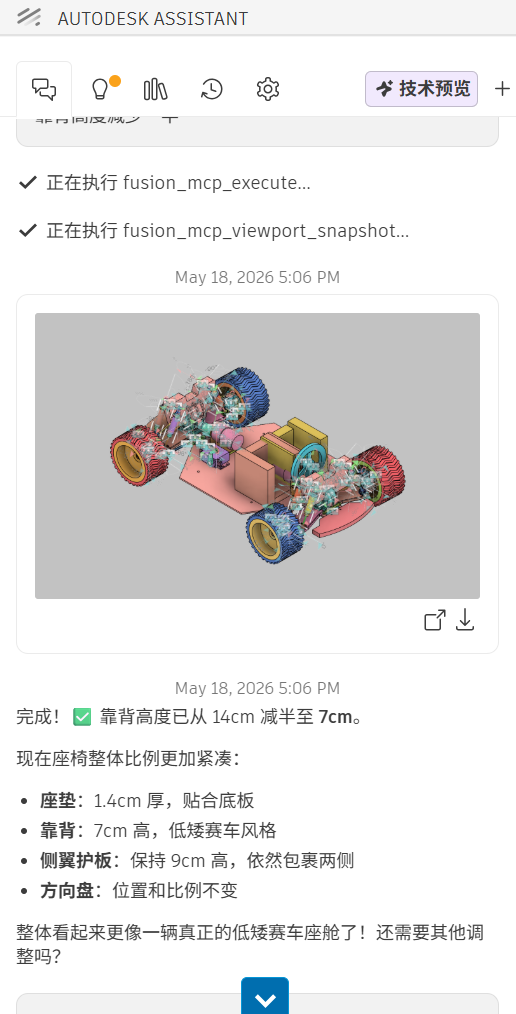
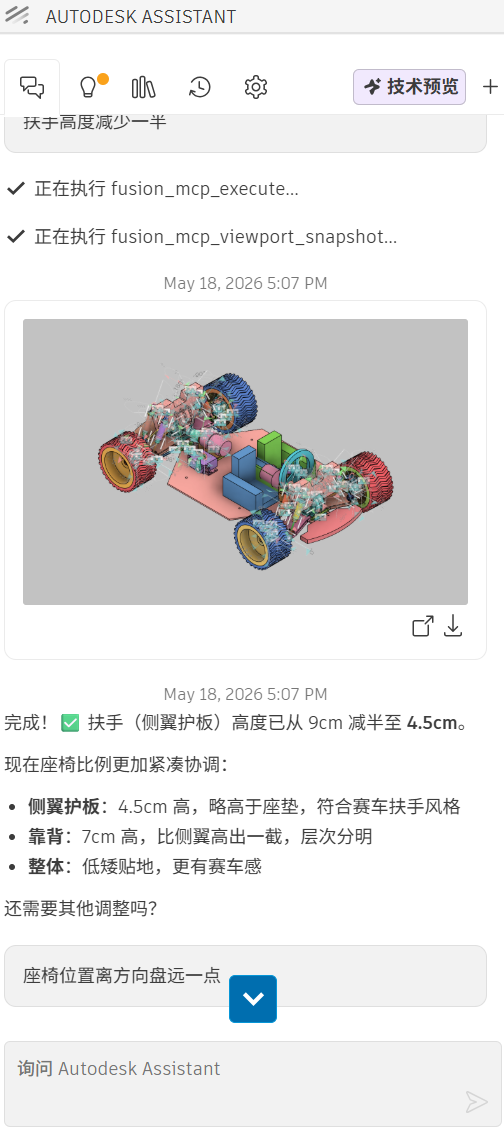
Prompt:
Reduce the seat armrest thickness by half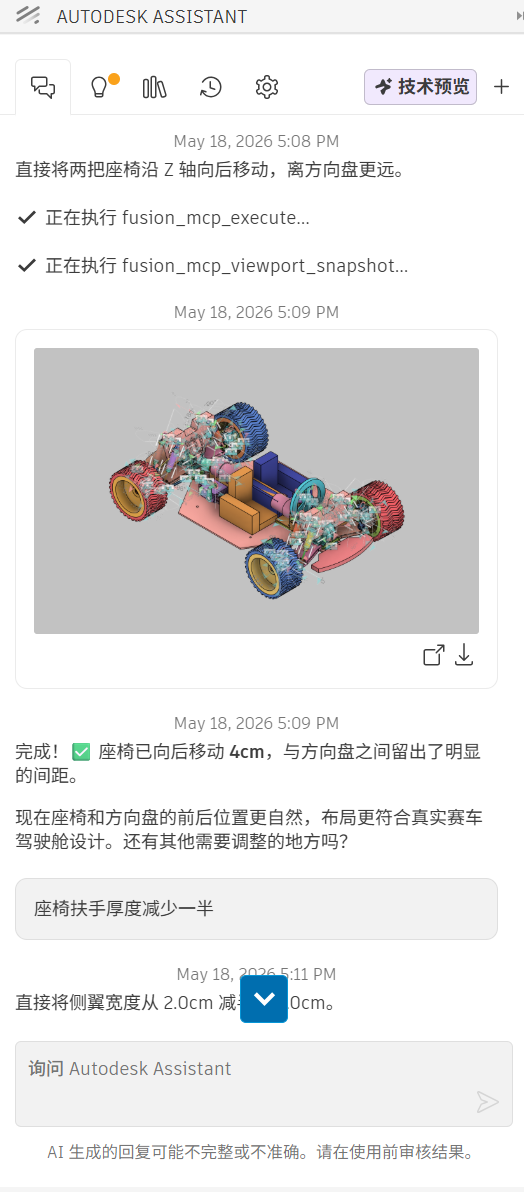
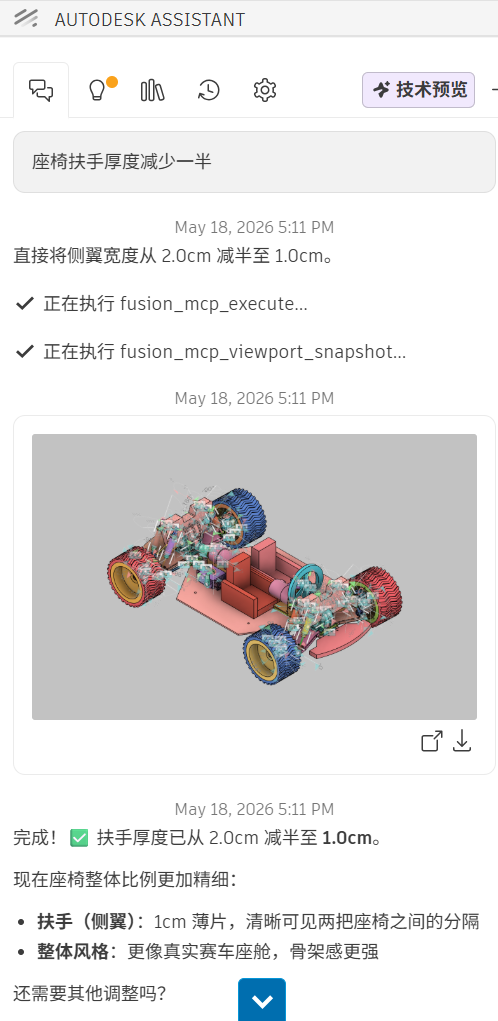
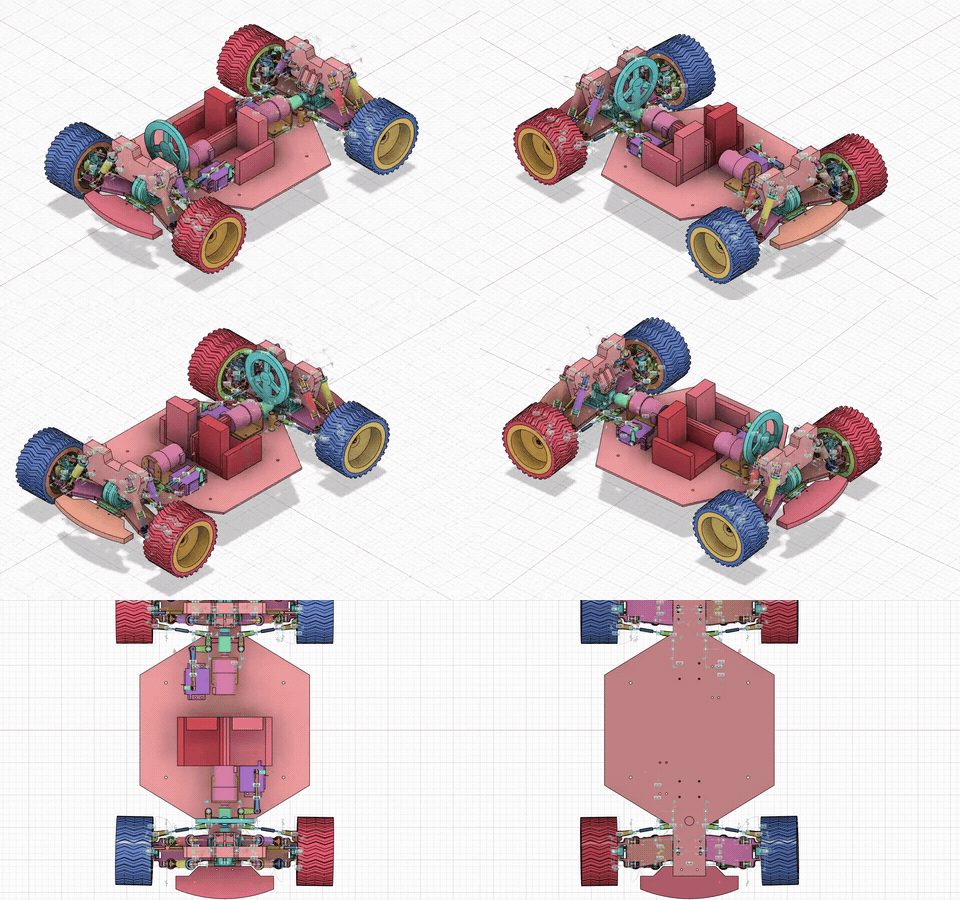
By writing prompts to AUTODESK ASSISTANT, we helped create two parts: a steering wheel and a car seat. Specific positions and dimensions need to be specified for easy modification later. I shortened the seat length and reduced the armrest thickness, finally completing the part creation.
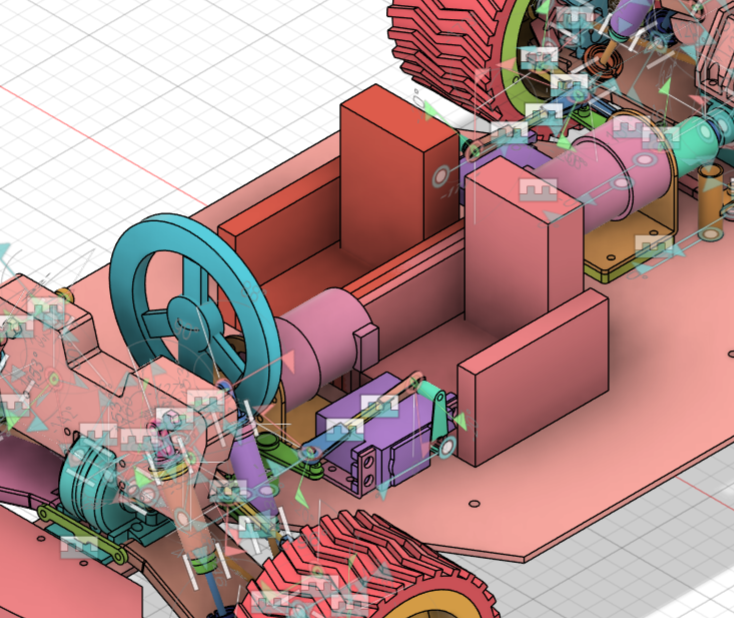
GIF Animation Display
Homemade Car Parts
Create a small box as a container that can be used for transporting items.
Step 1:
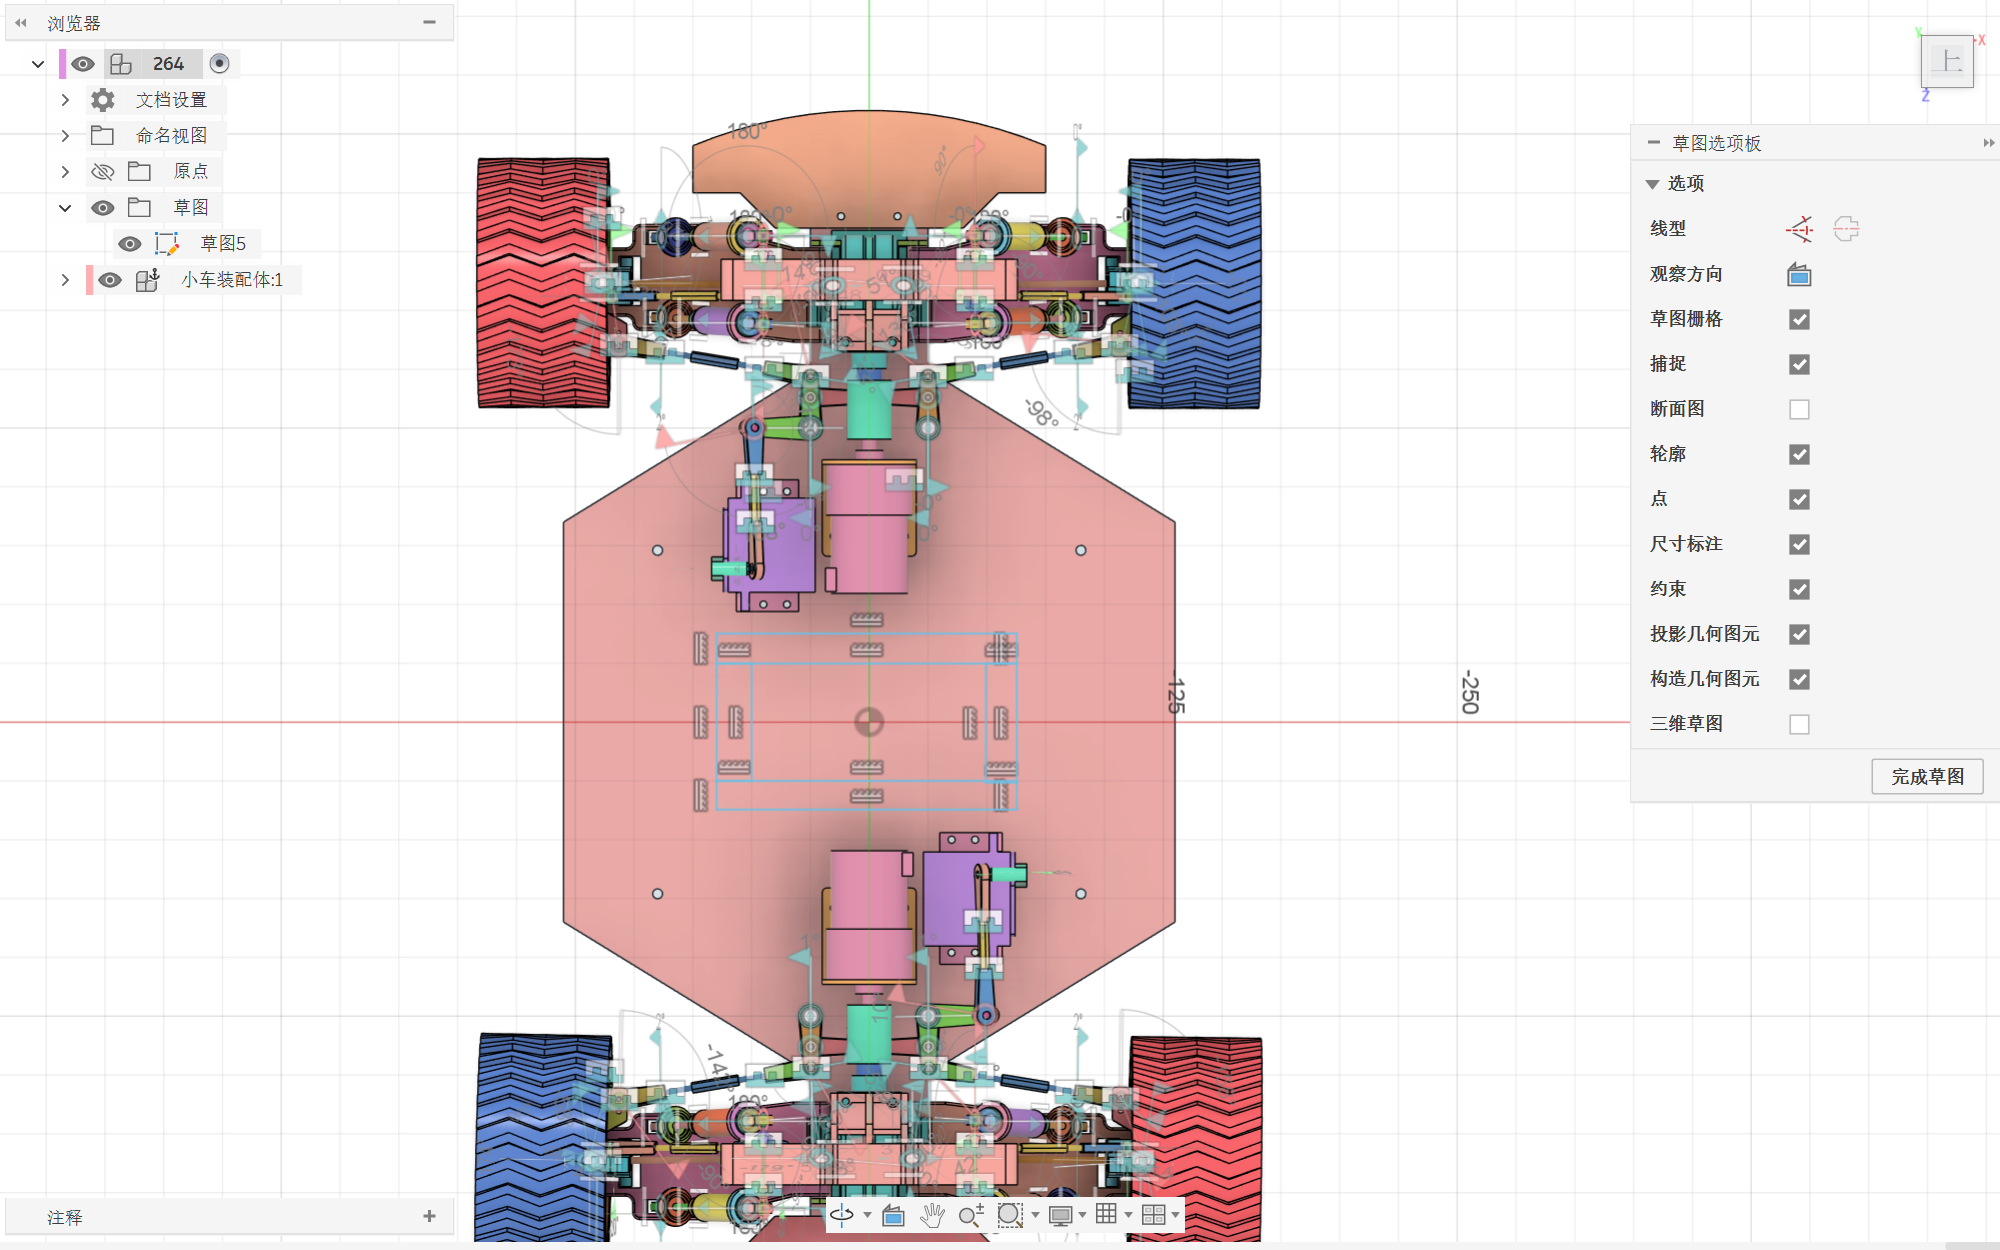
Click the "Create Sketch" icon, select the plane directly above the car, draw the box area, and click "Finish Sketch" when done.
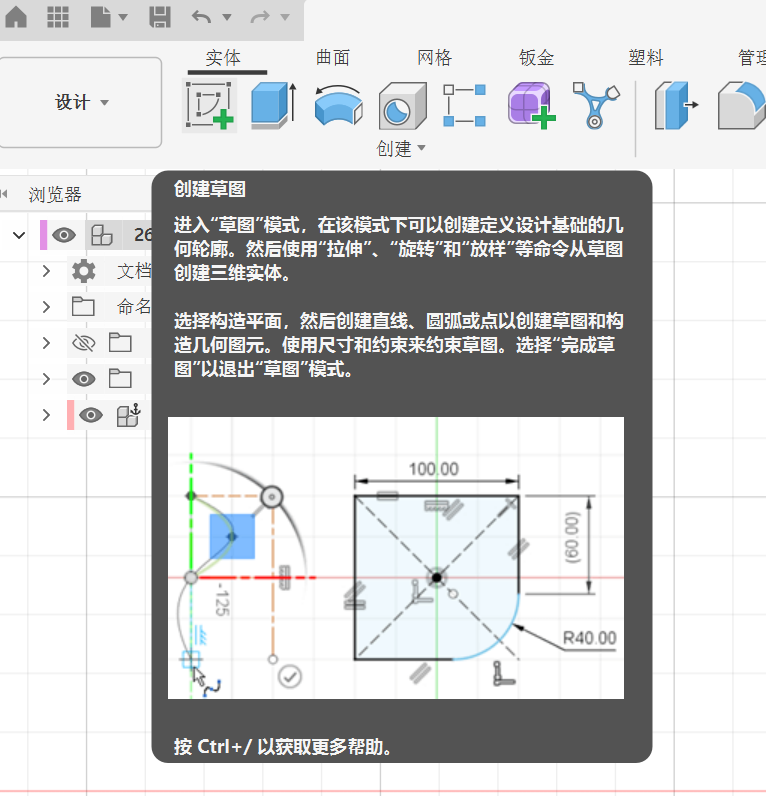
Step 2:
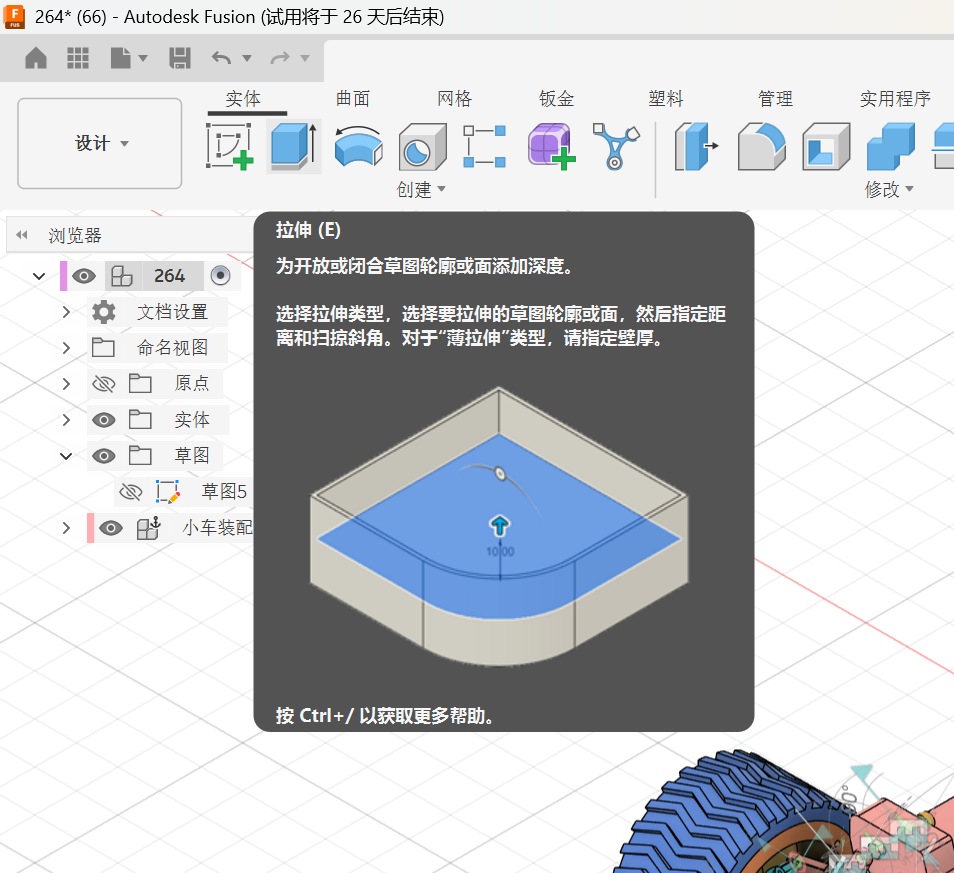
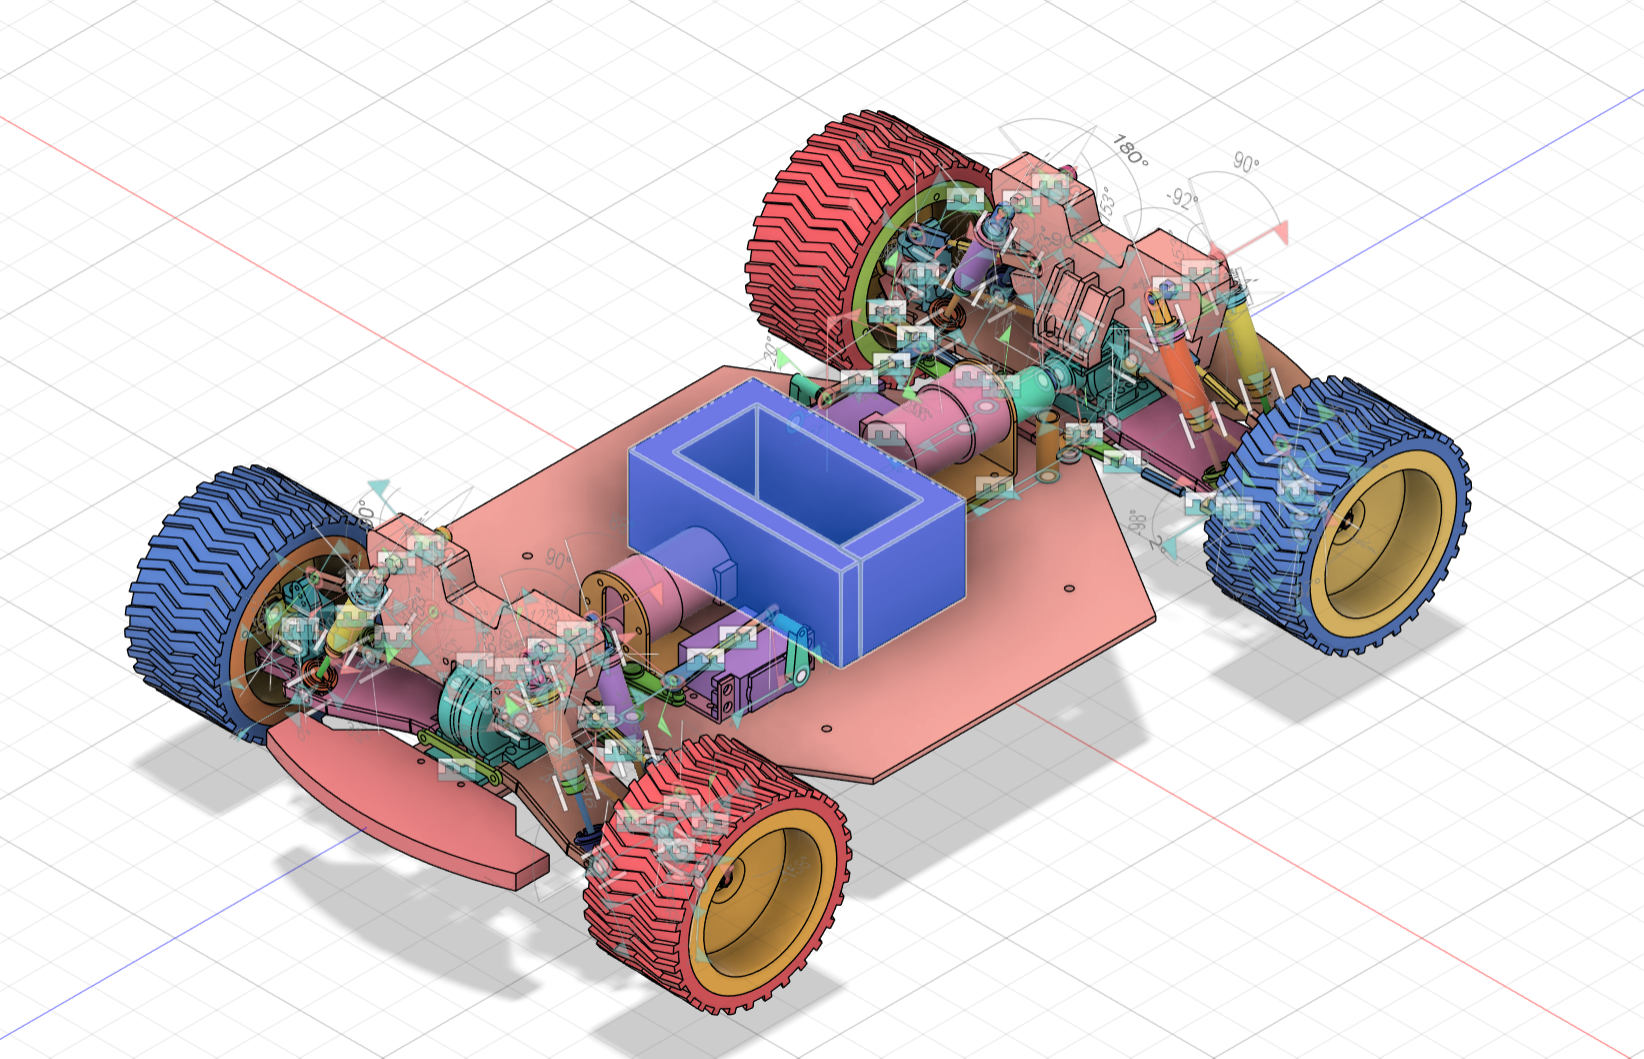
Click the "Extrude" icon, select the shape to be extruded, set the height. Here the height is set to 45cm.
Step 3:
Create a lid to prevent items from falling out due to bumps. The connection method is magnetic attachment.
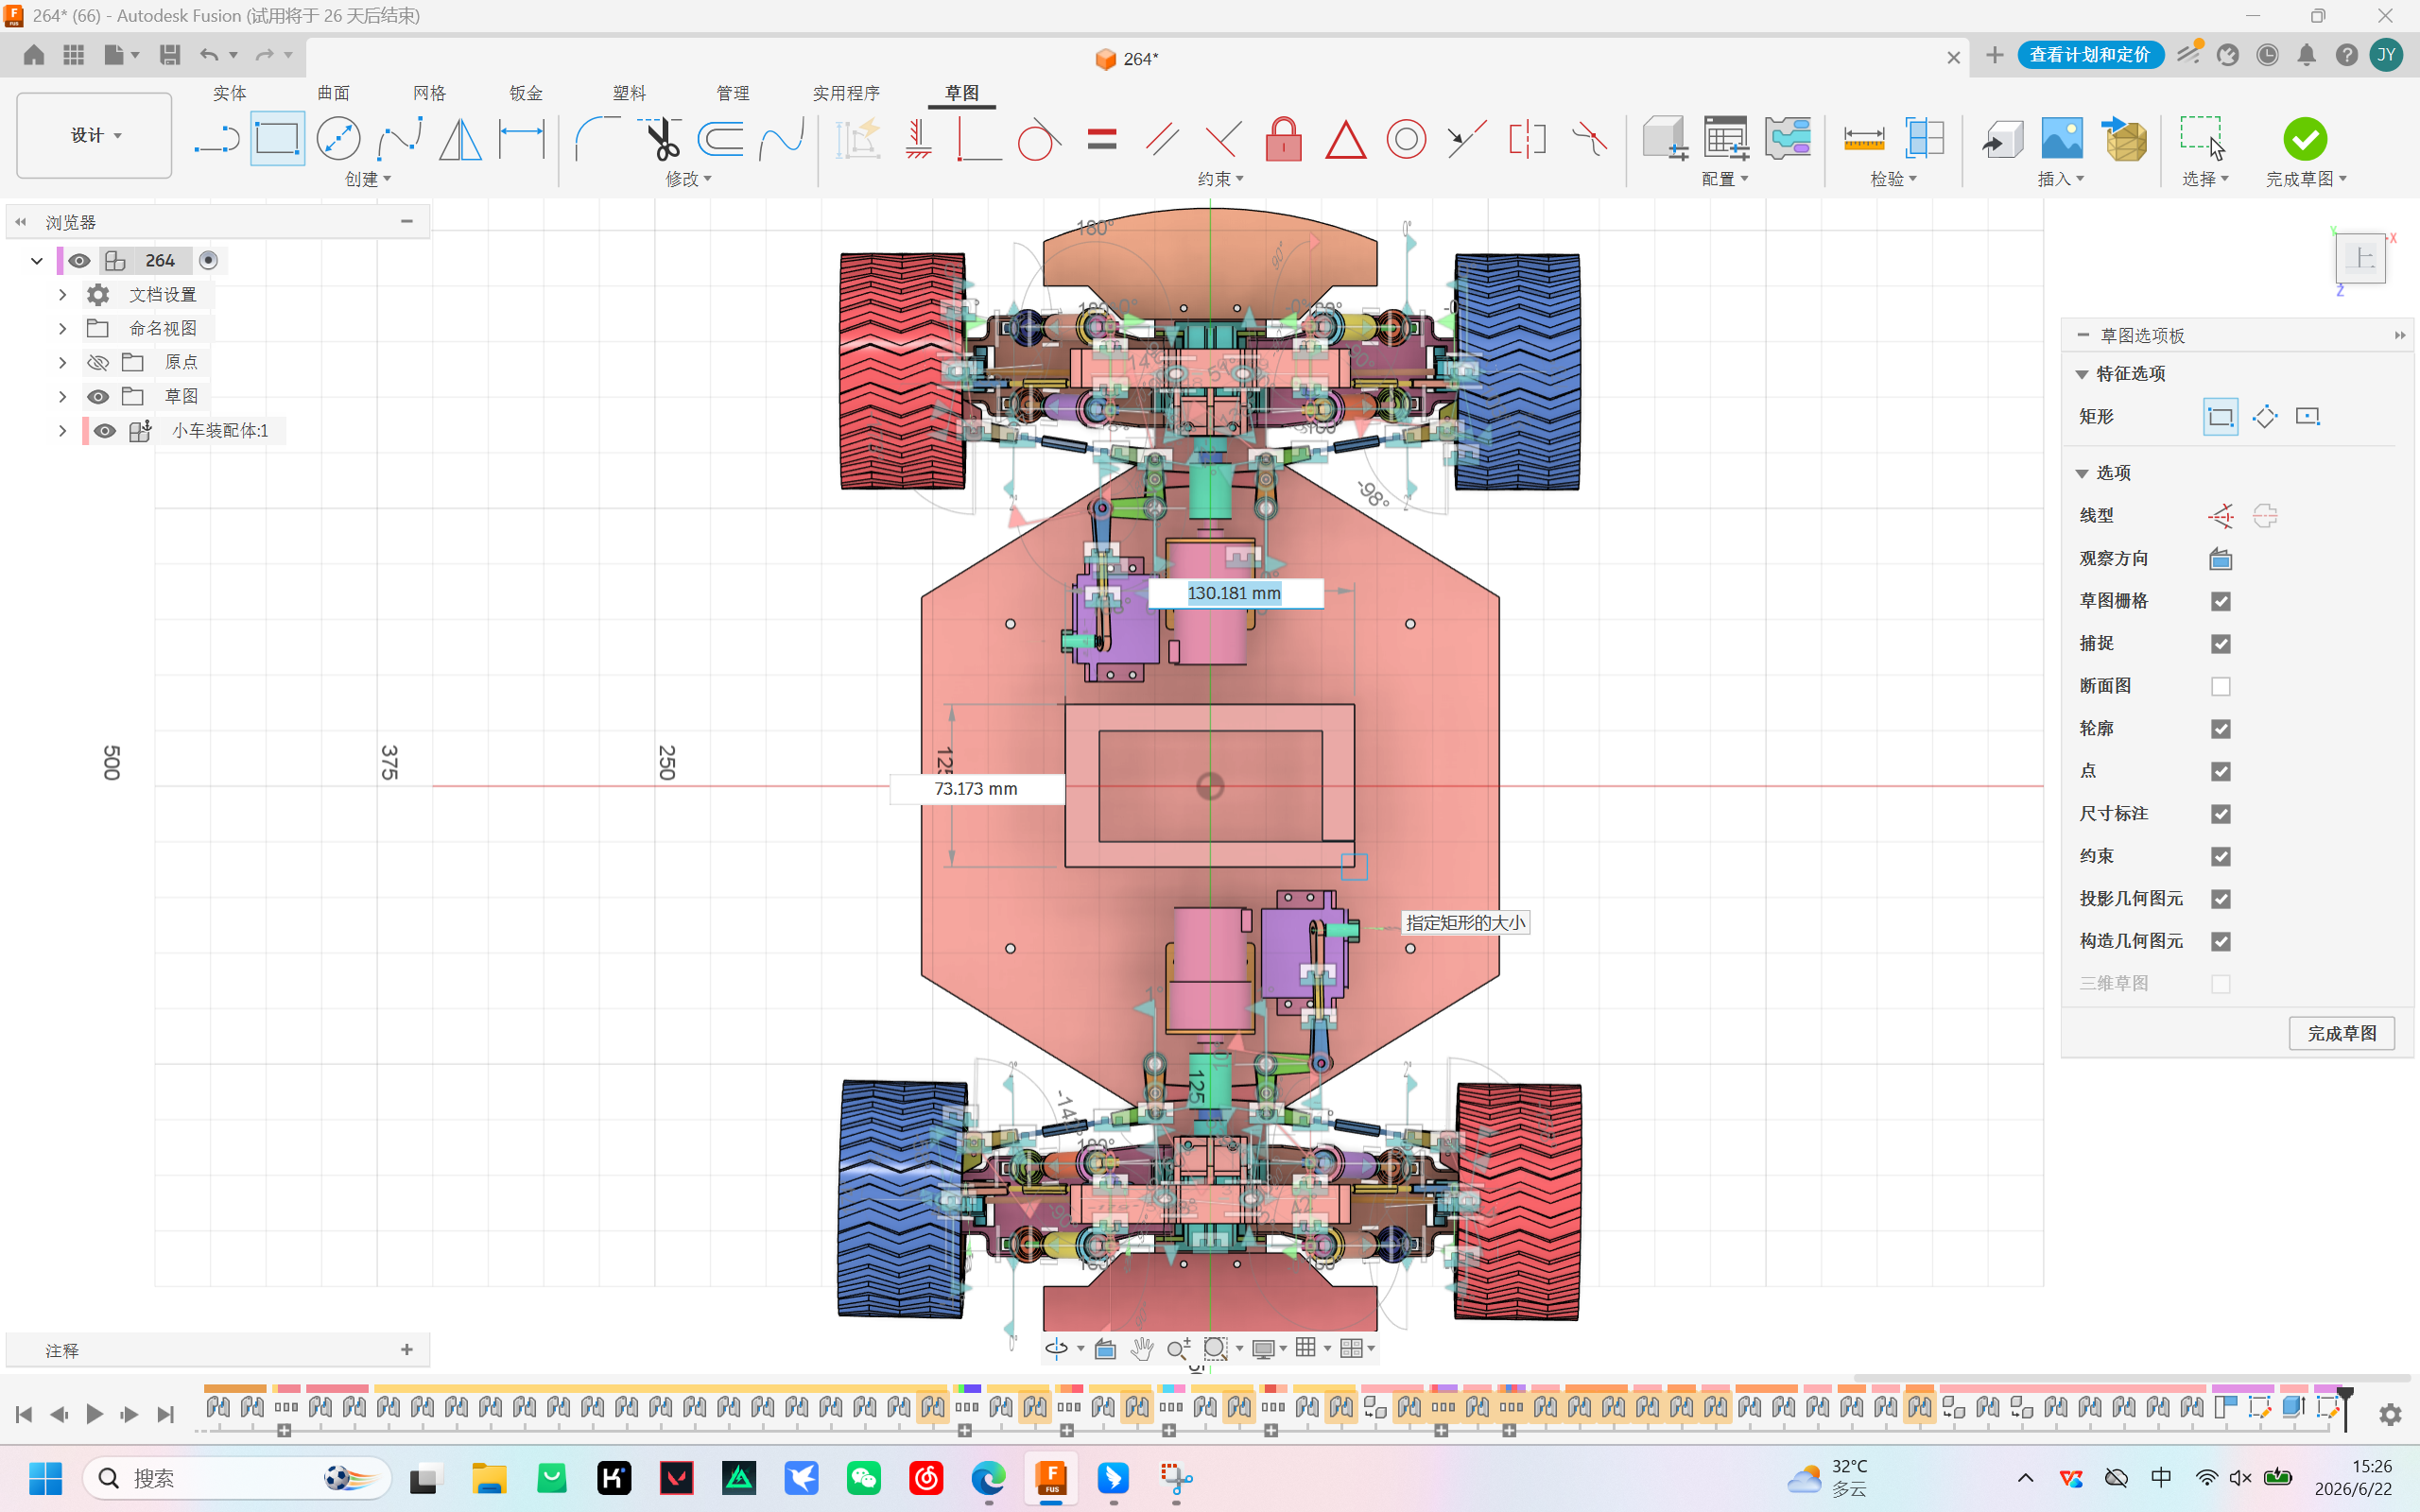
Click the "Create Sketch" icon again, select the upper plane of the box, draw the same area as the box, and click "Finish Sketch" when done.
Step 4:
Click the "Extrude" icon, select the lid's plan view. Here set the height to 5cm, which is relatively light and convenient to lift and cover. Set the height and click "Finish".
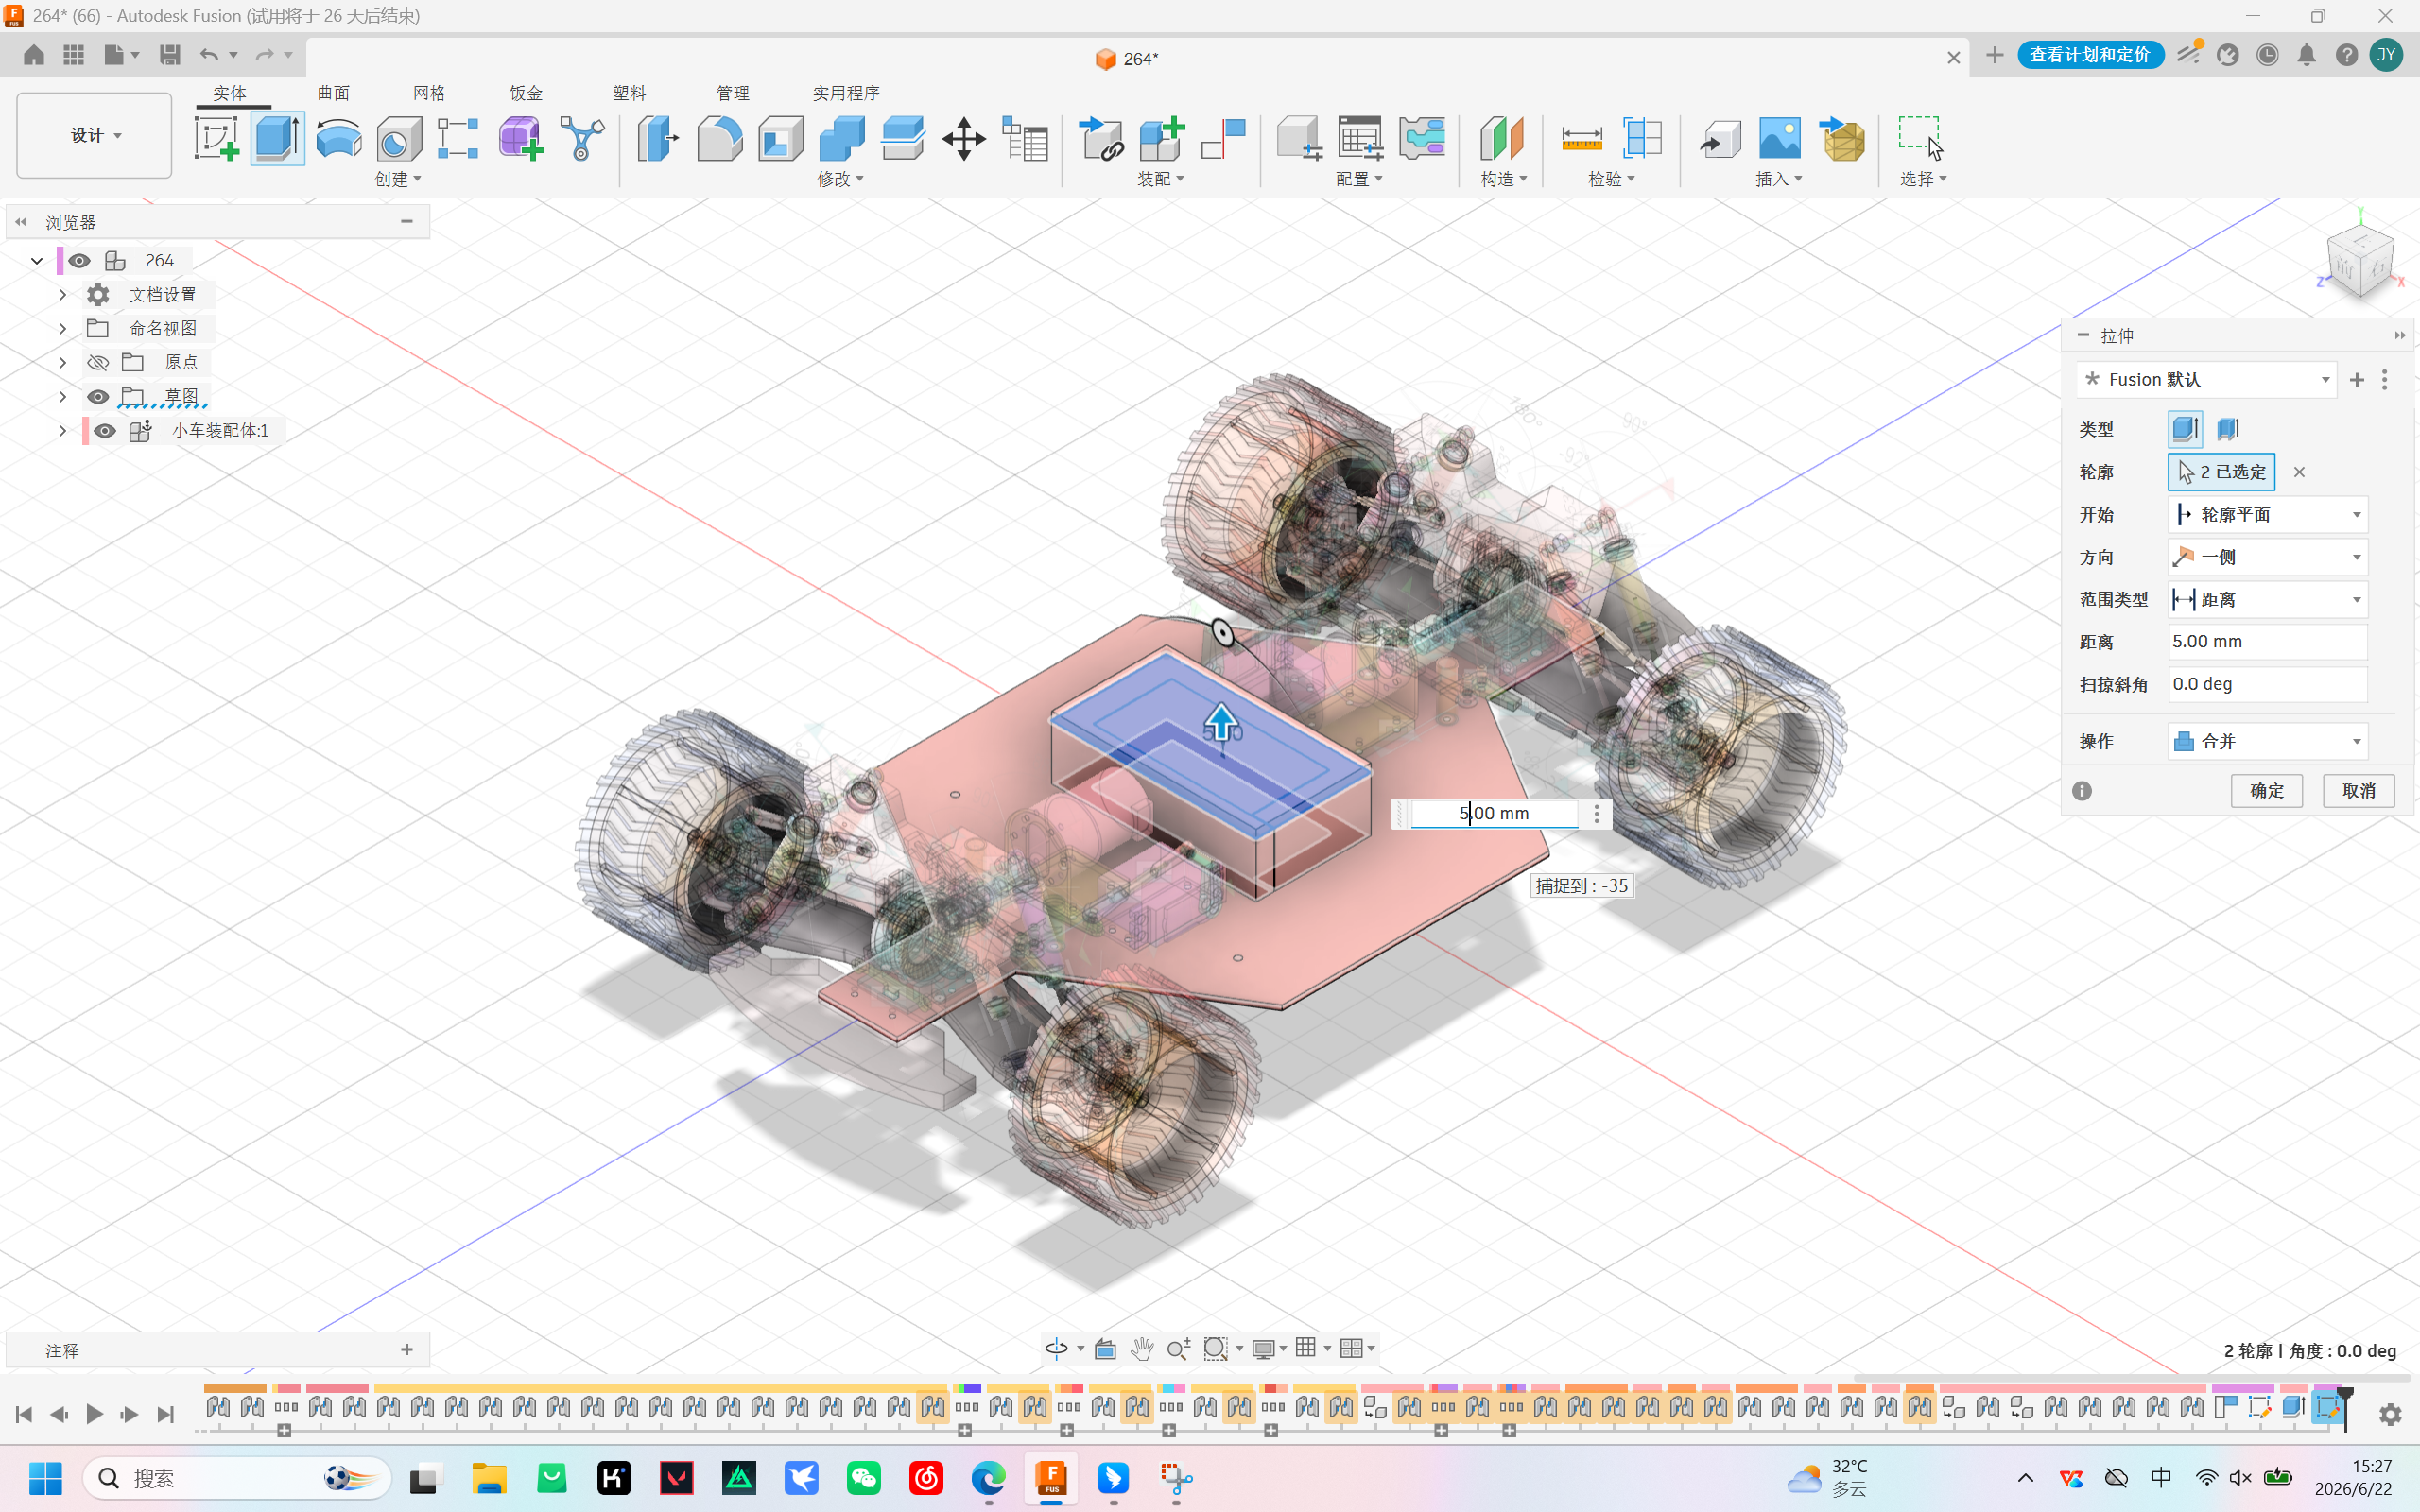
Final Product
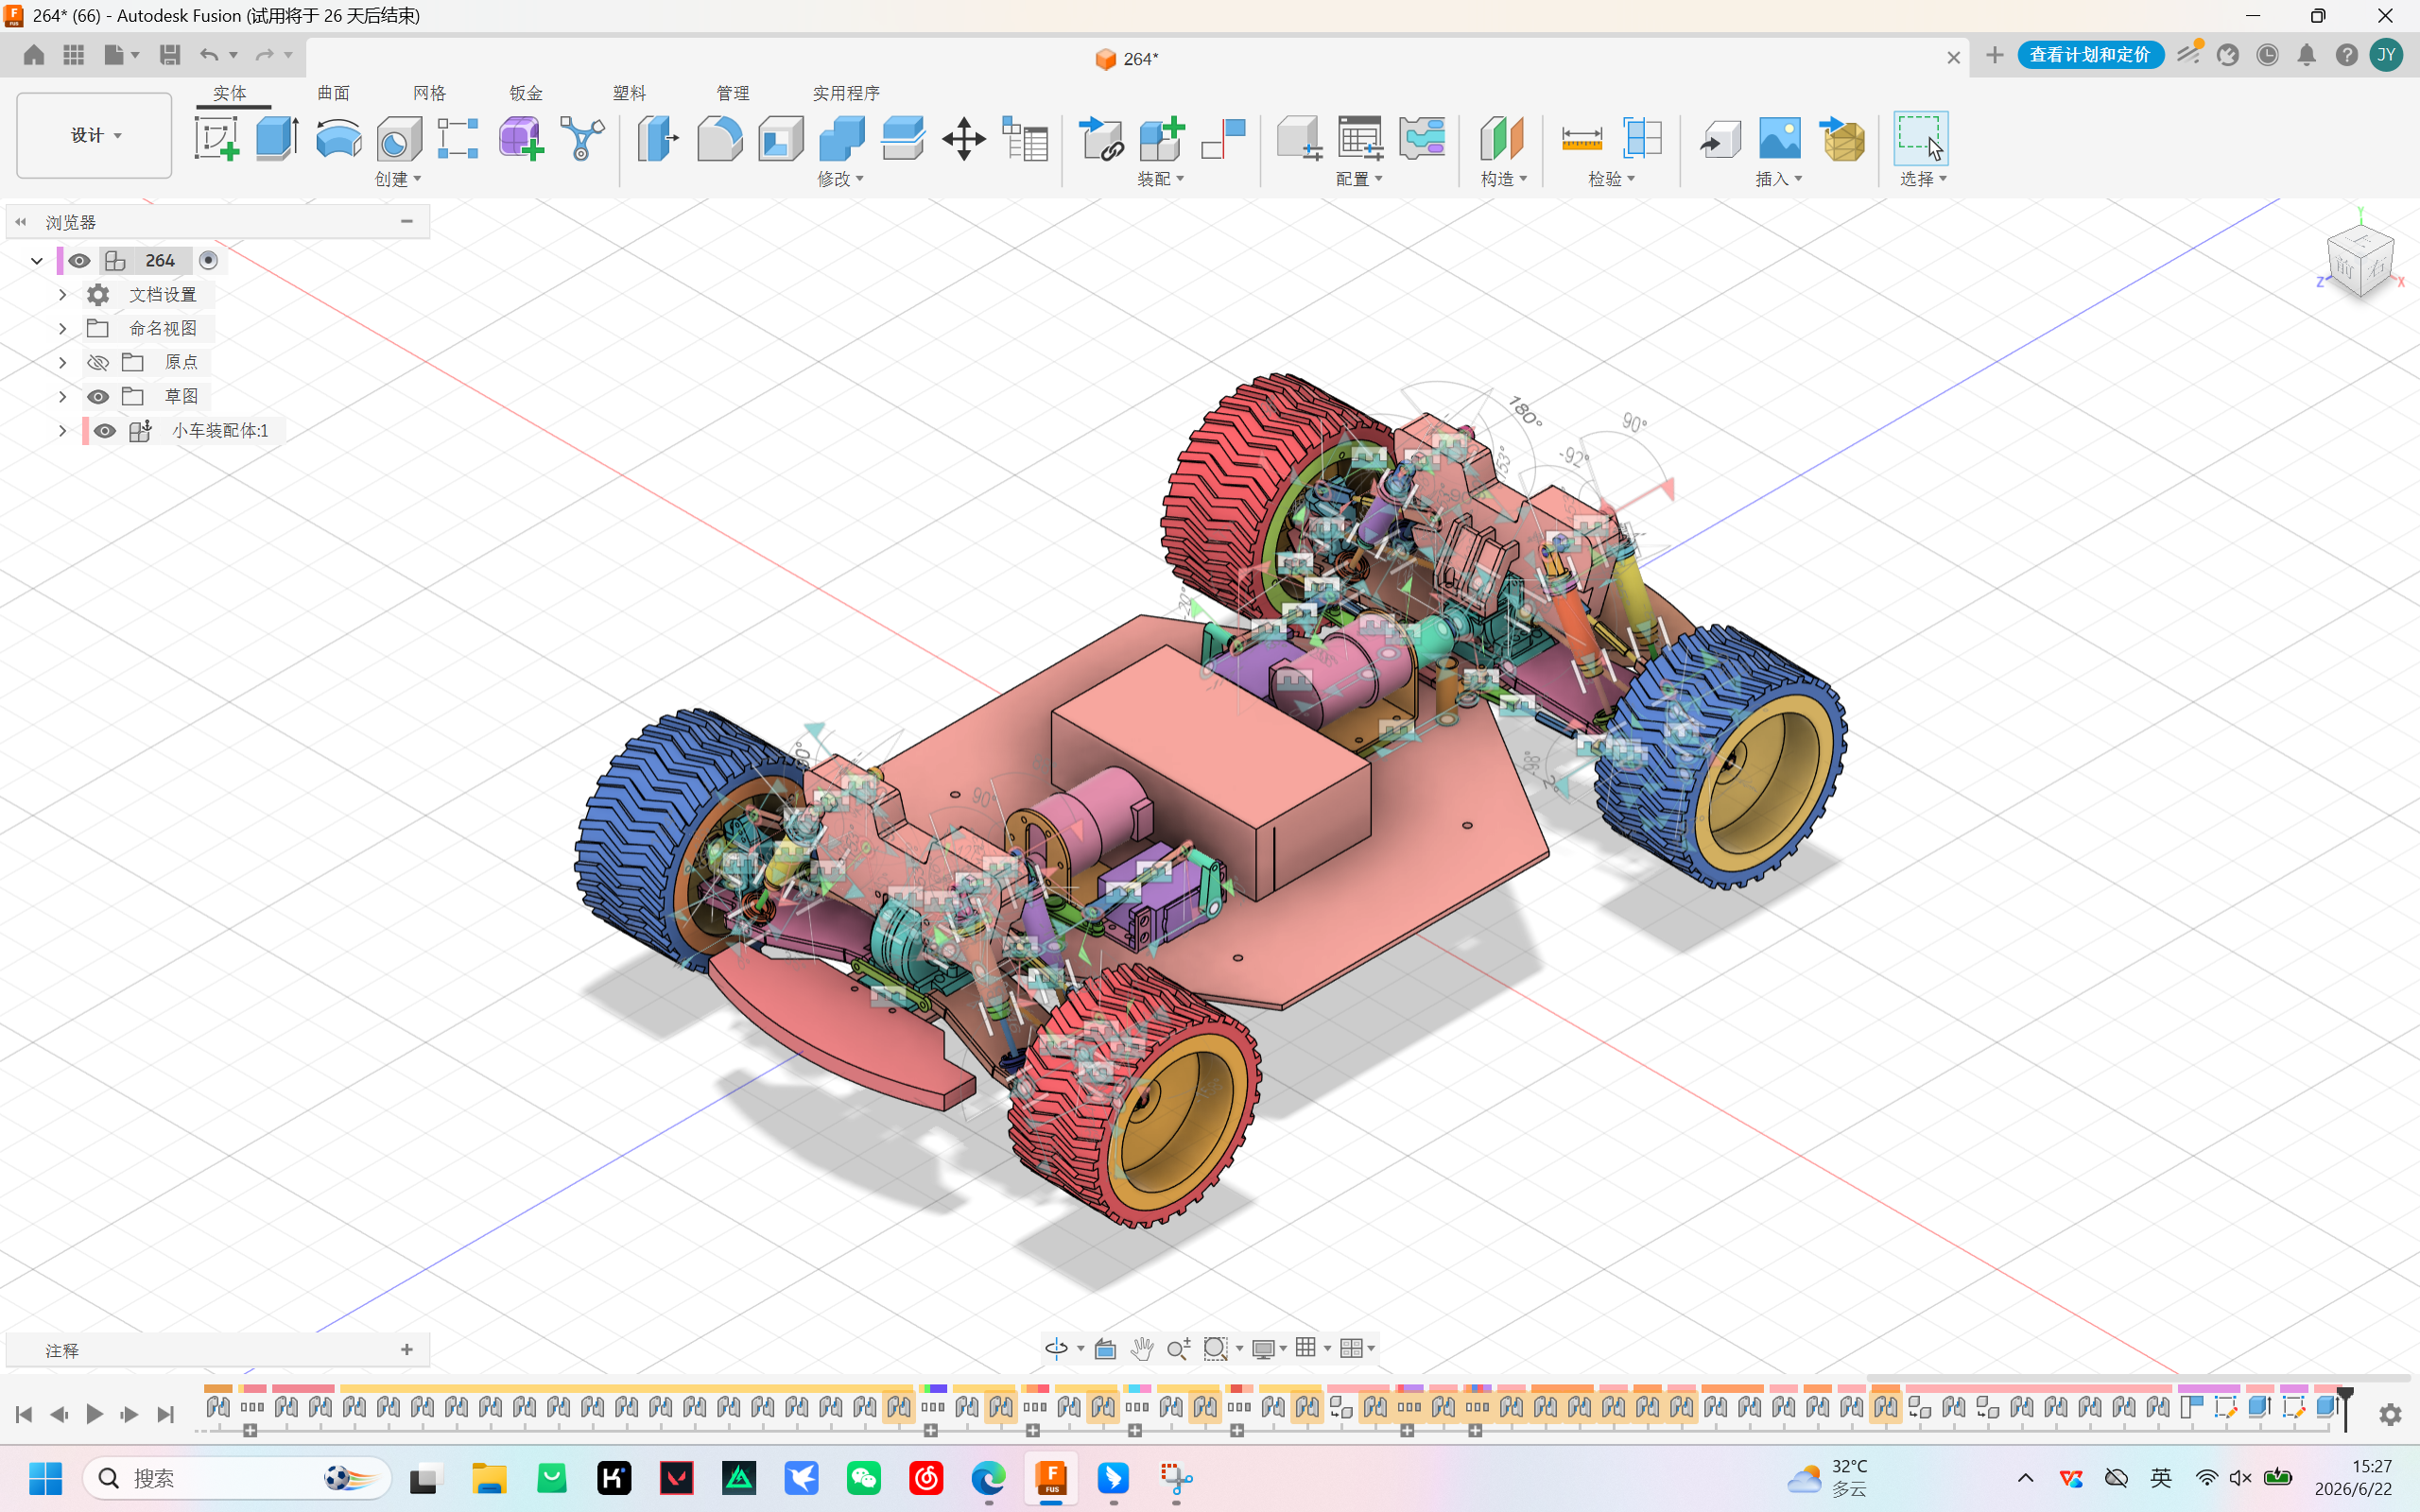
GIF Animation Display
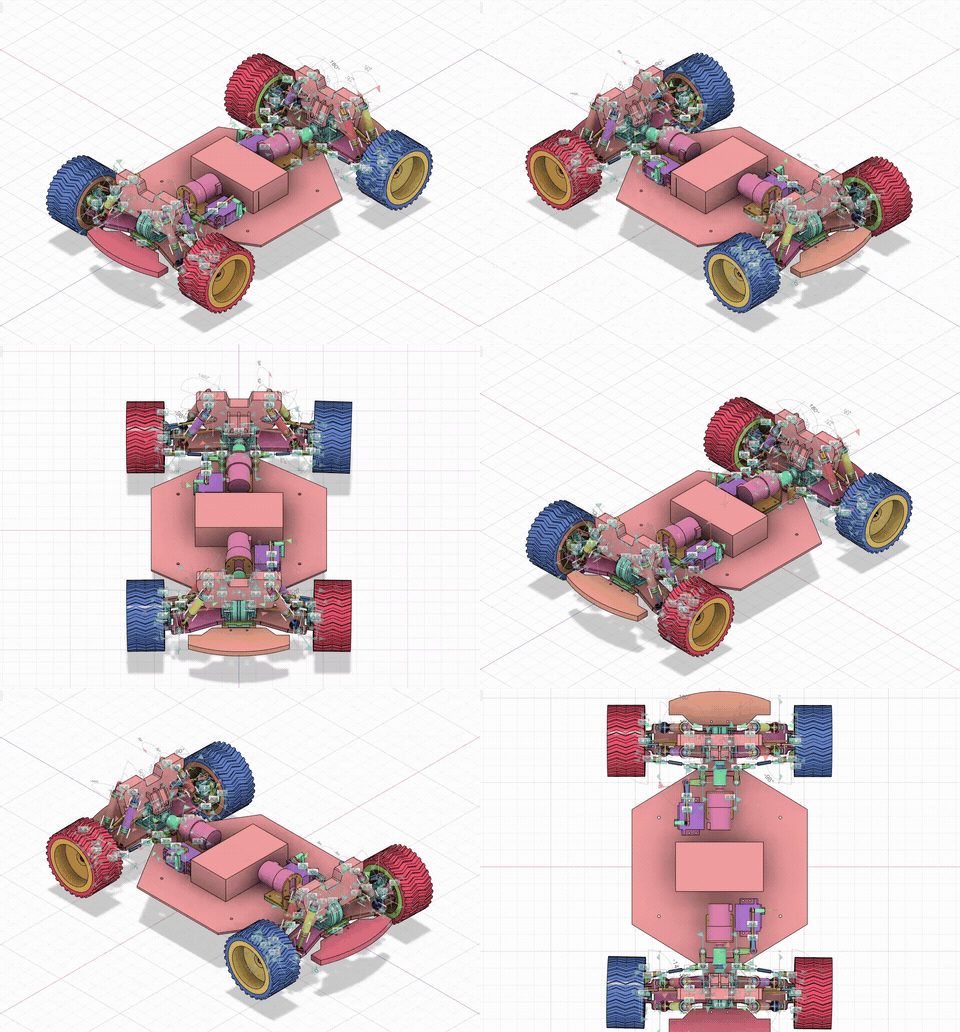
Summary
Through this exercise, we learned:
- How to export F3D models from SophiCar website to Fusion 360
- Using Autodesk Assistant AI to generate custom parts with specific prompts
- Specifying precise dimensions and positions for easy modification
- Iterative refinement through multiple prompt-feedback cycles
- Creating customized steering wheel and car seat parts
- Designing and modeling a storage box with magnetic lid
- Using sketch and extrude tools in Fusion 360