Course → Output

BBST
BSST Team | ZWU
2024.6
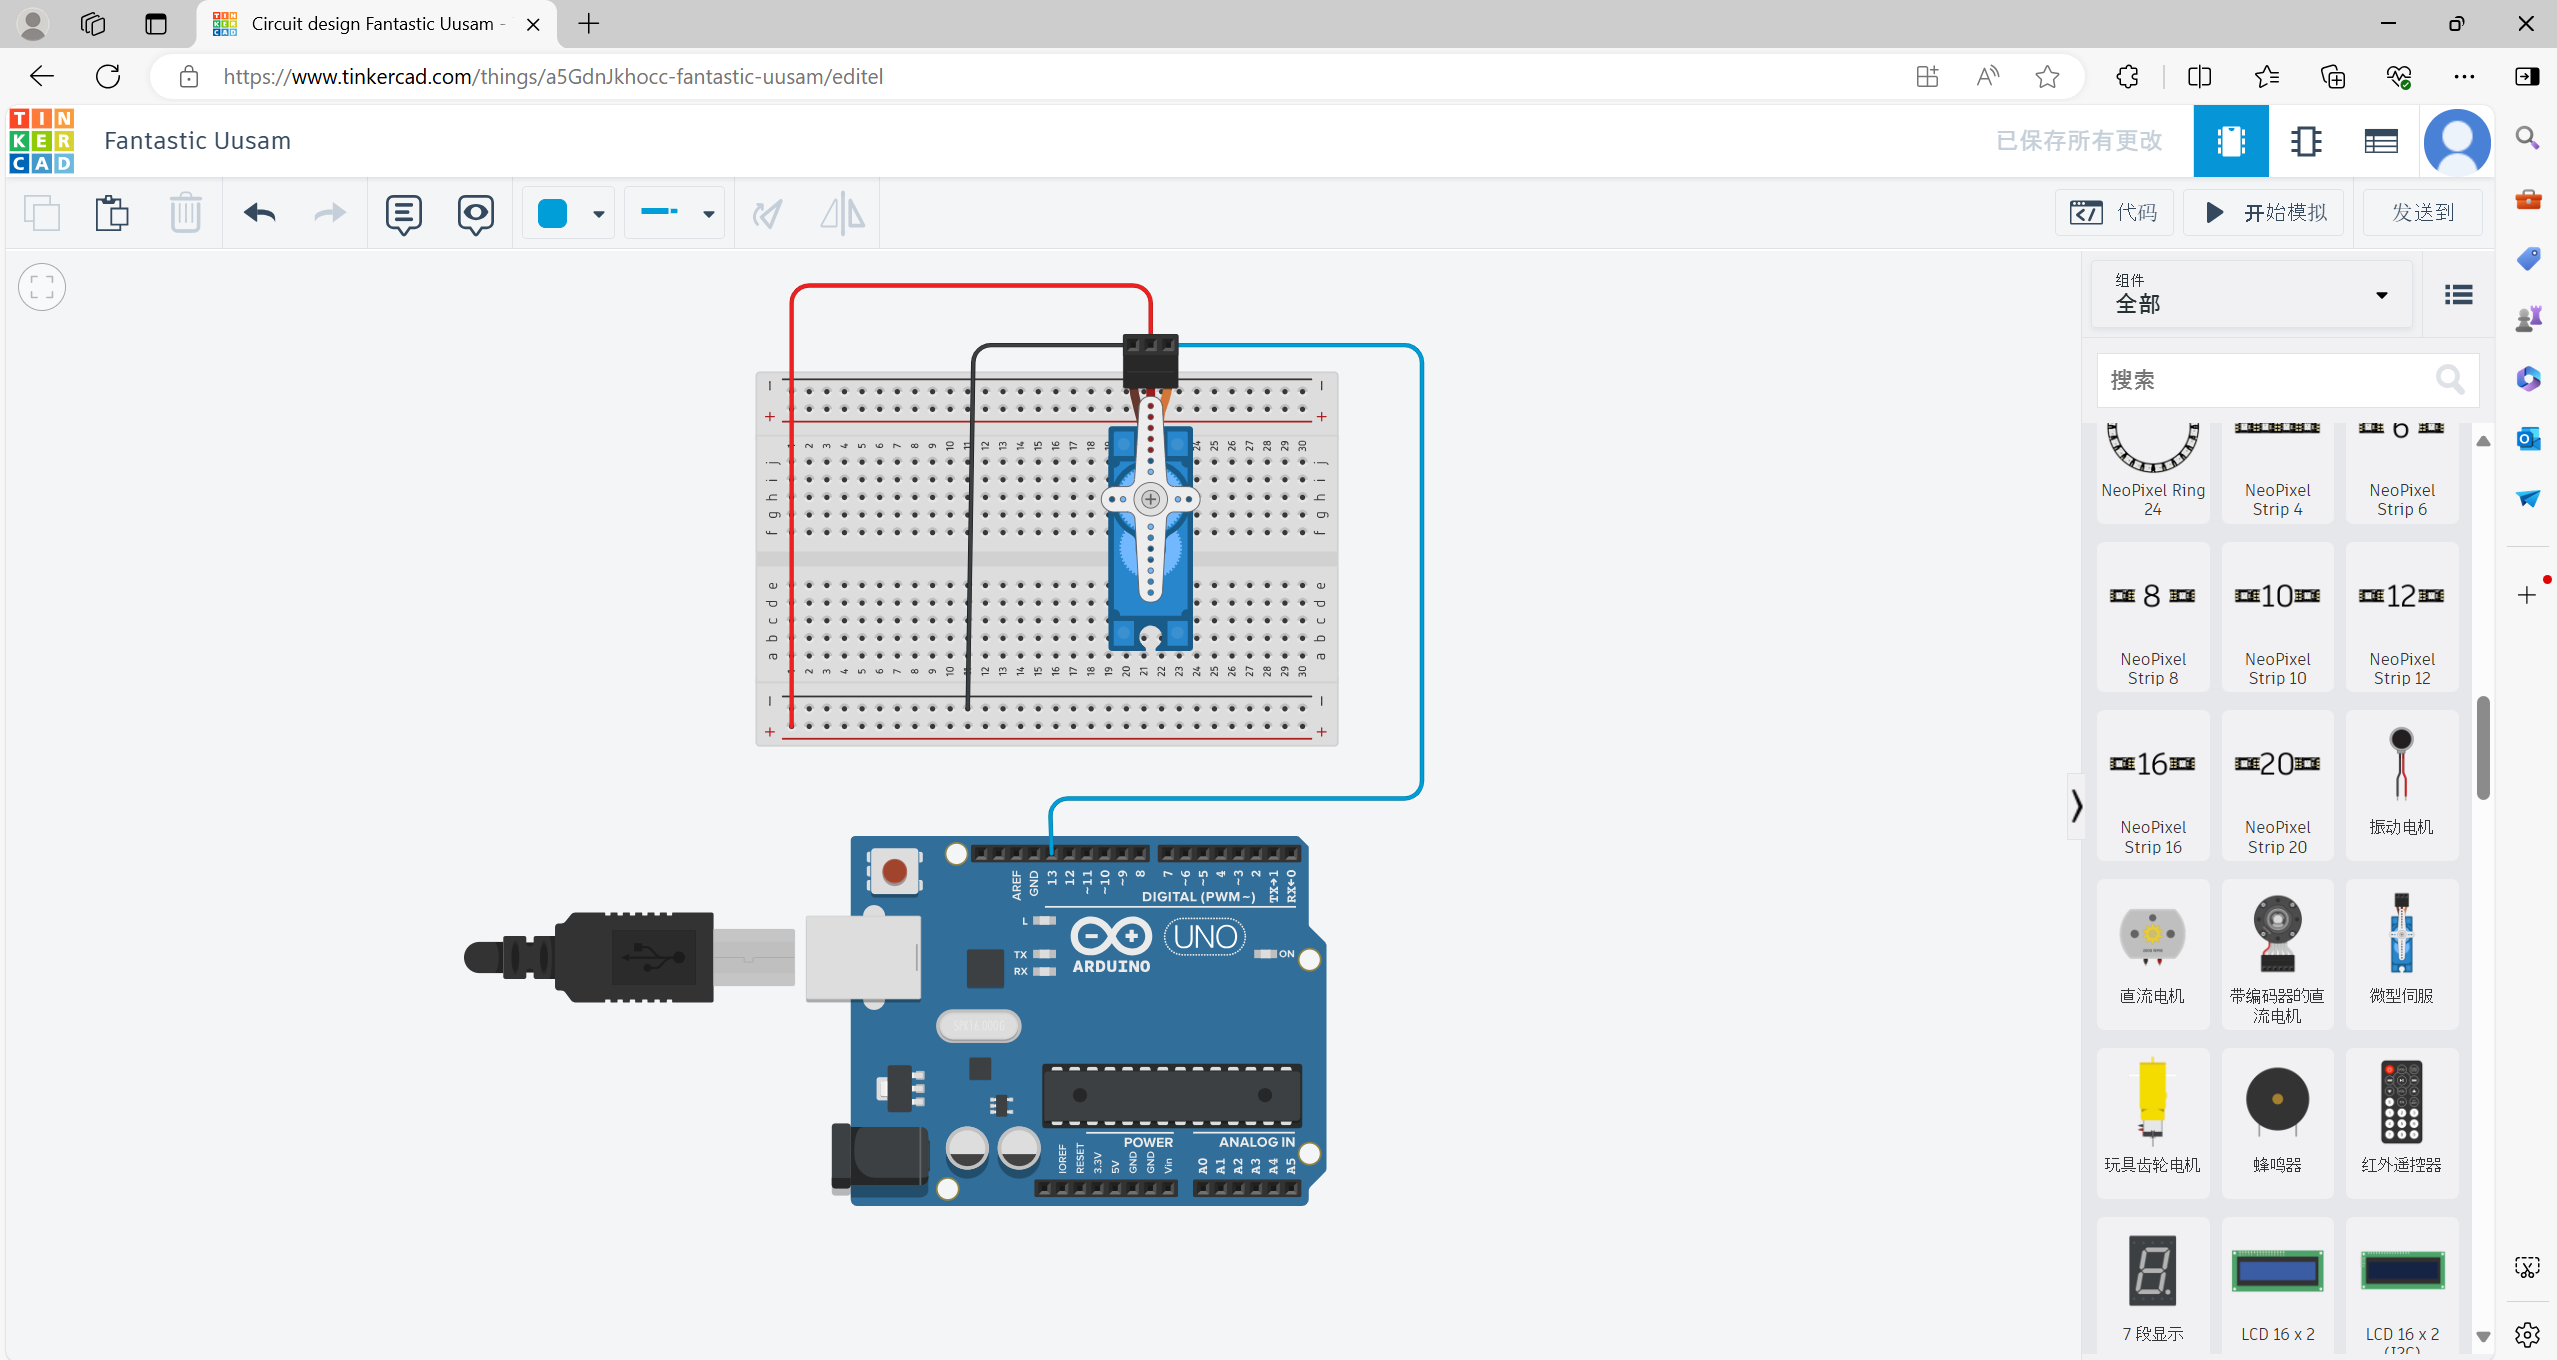
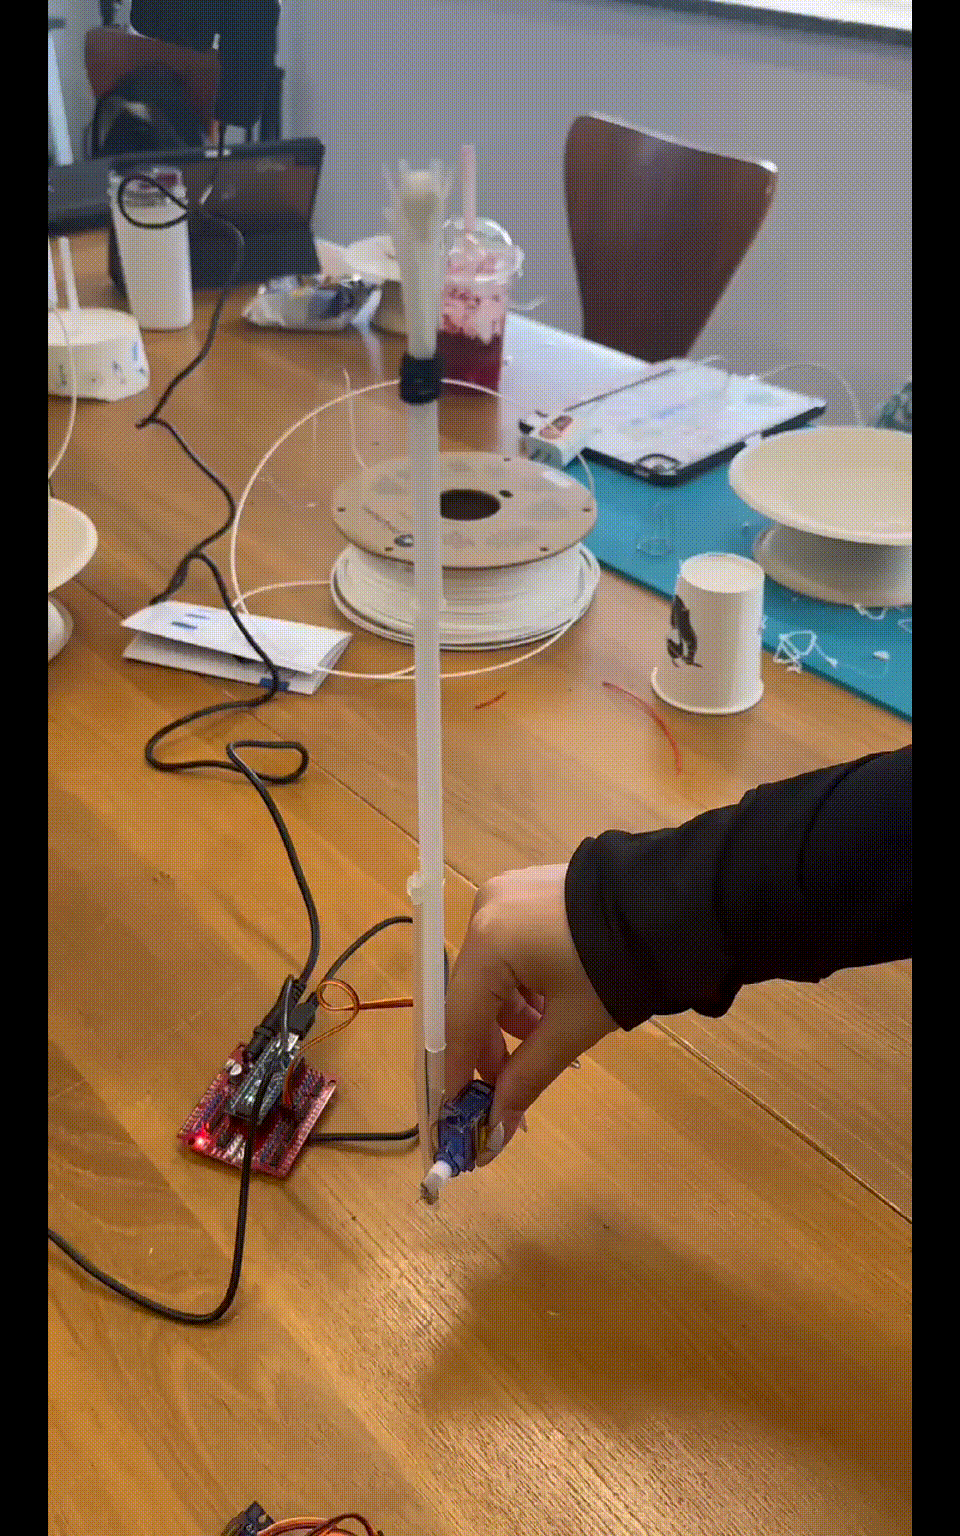
1.Servo controls the linkage
Objective: Use the Arduino to control the servo, and drive the connecting
rod to control the opening and closing of the flower through the servo swing
arm.
Effect display
Circuit diagram connection
Arduino Code
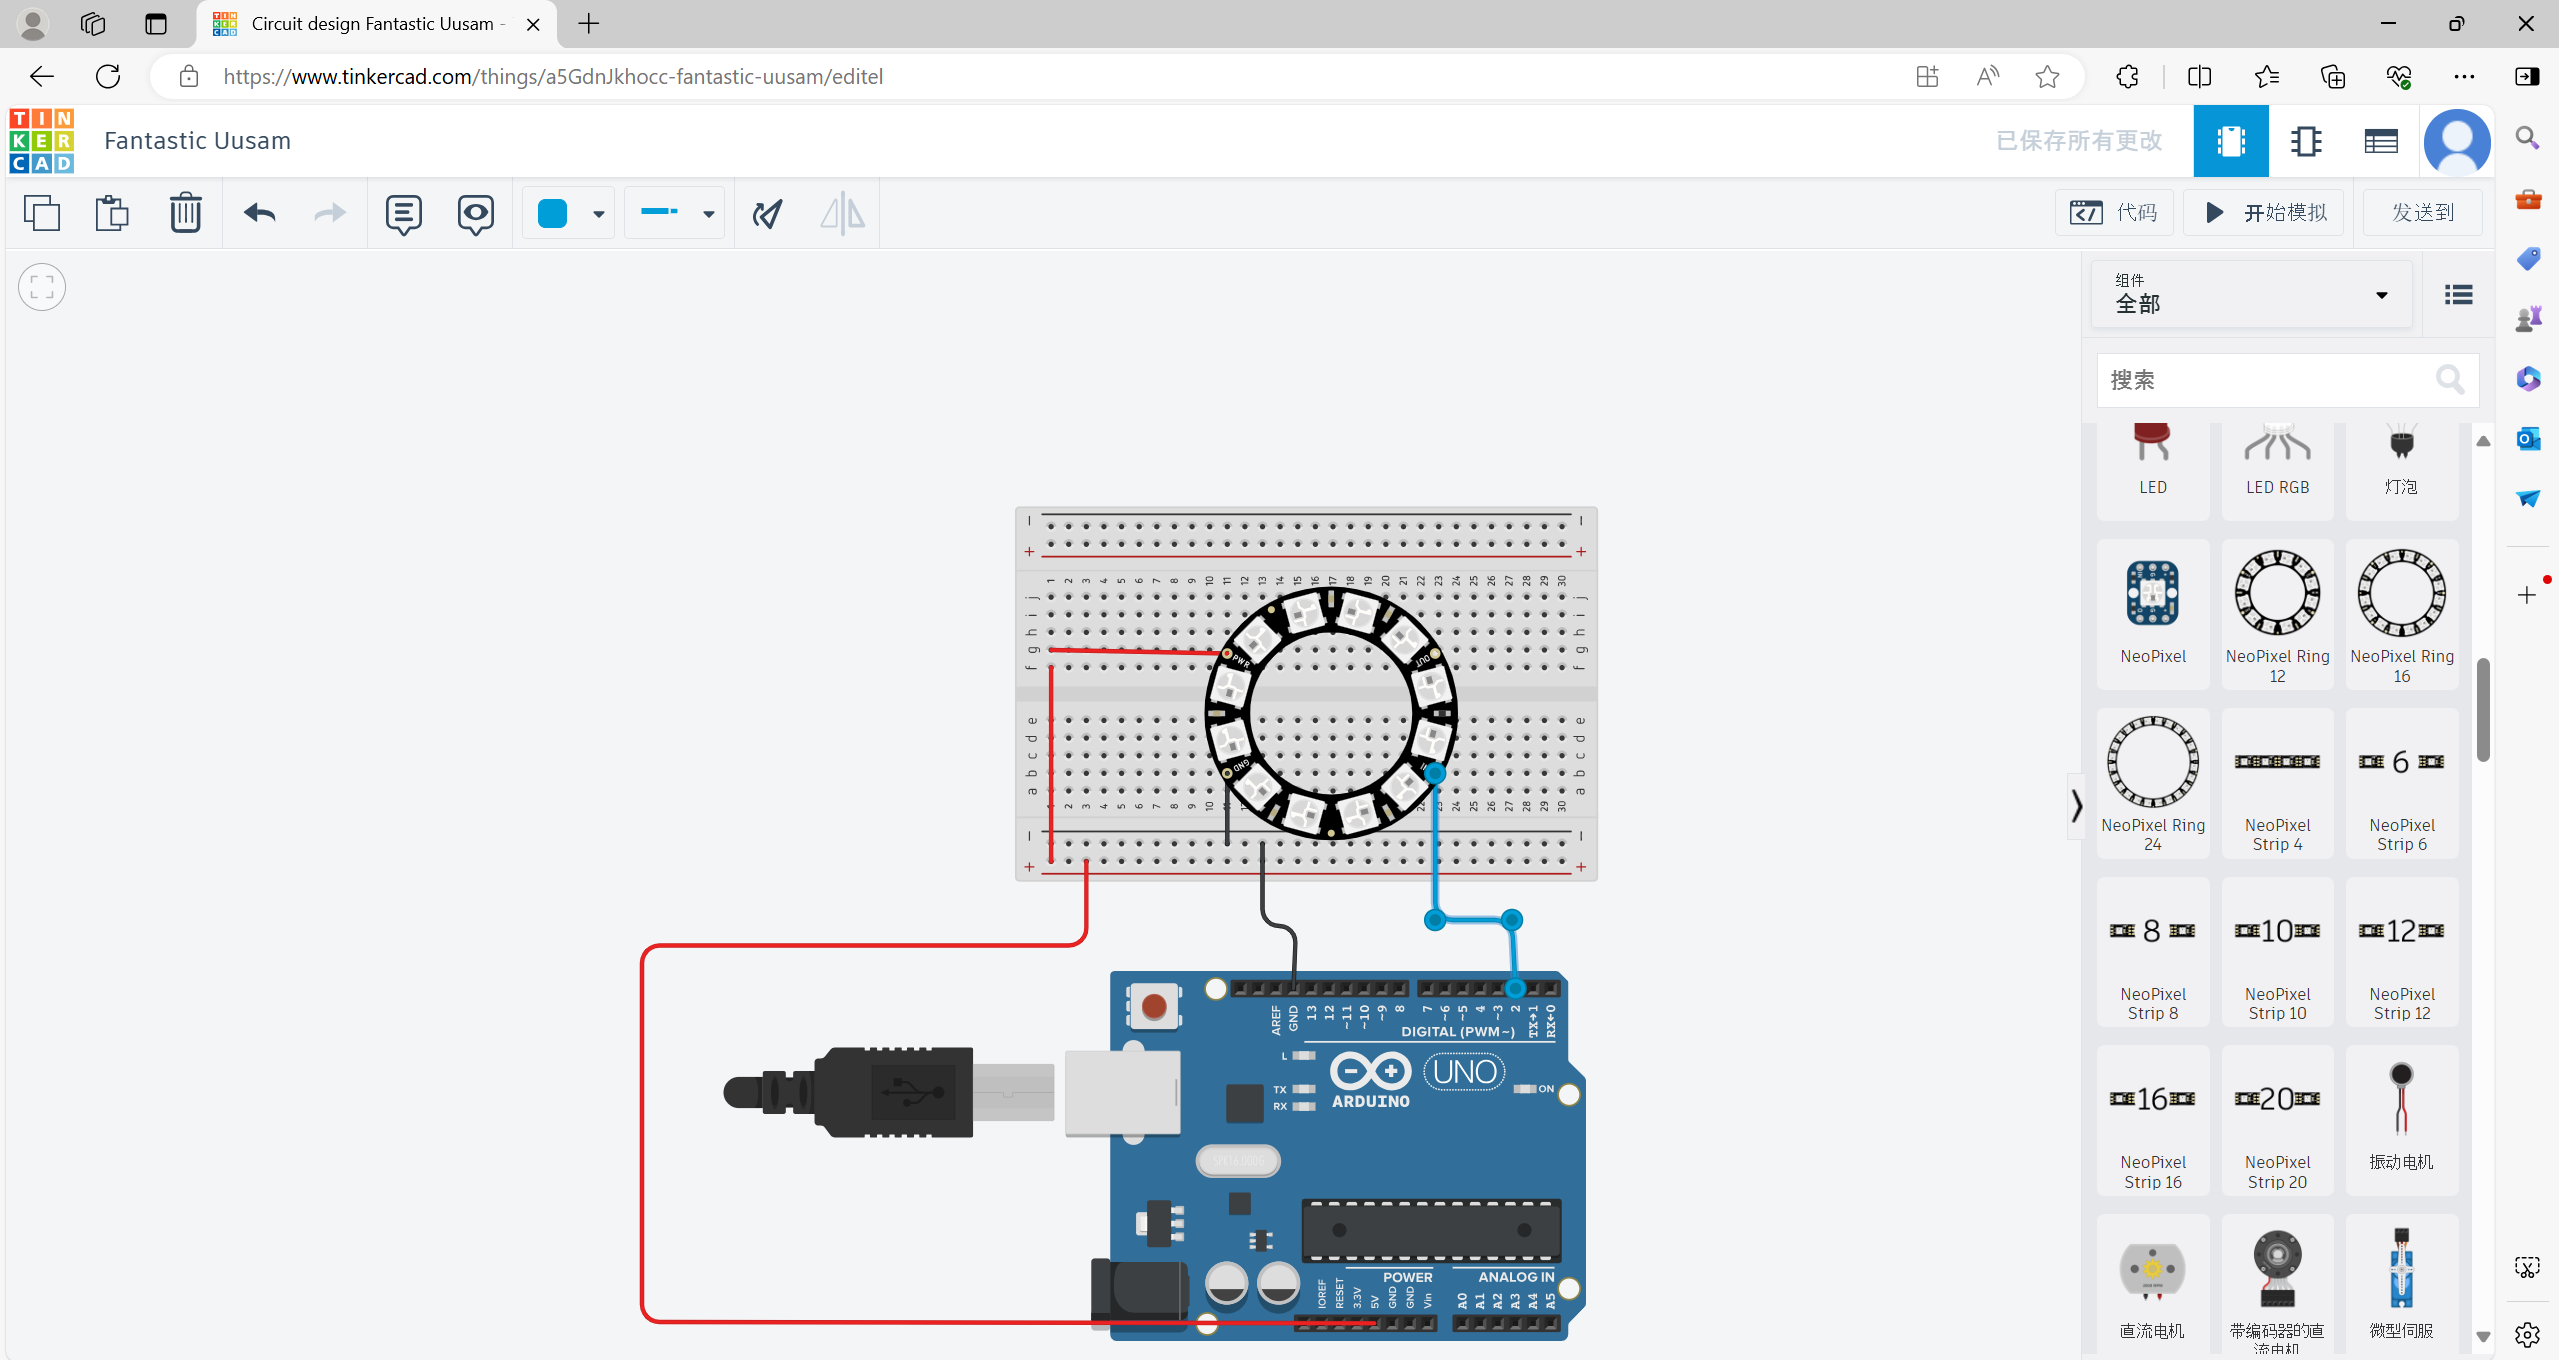
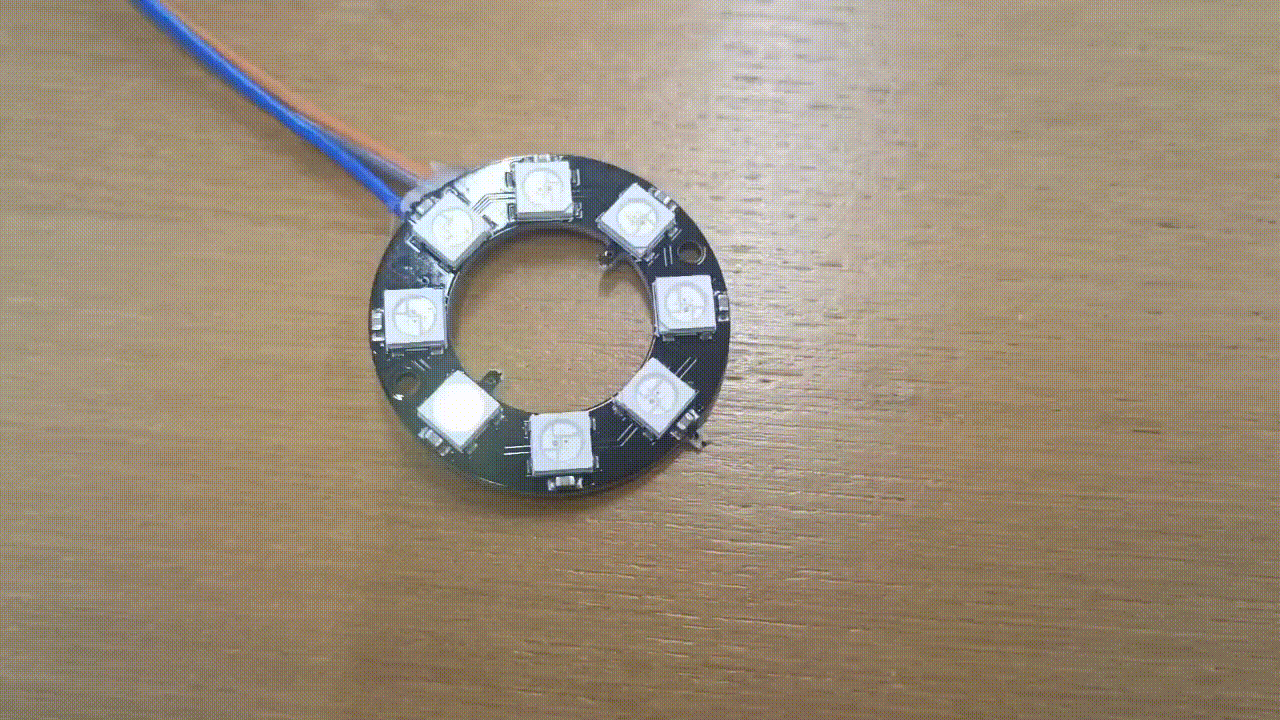
2.Arduino controls the lights
Objective: Use the Arduino to control the servo, and drive the connecting
rod to control the opening and closing of the flower through the servo swing
arm.
Effect display
Circuit diagram connection
Arduino Code
1
2
3
4
5
6
7
8
9
10
11
12
13
14
15
16
17
18
19
20
21
22
23
24
2
3
4
5
6
7
8
9
10
11
12
13
14
15
16
17
18
19
20
21
22
23
24
#include
"Freenove_WS2812B_RGBLED_Controller.h"
#define I2C_ADDRESS 0x20
#define LEDS_COUNT 10
Freenove_WS2812B_Controller strip ( I2C_ADDRESS , LEDS_COUNT , TYPE_GRB );
u8 m_color[ 5 ][ 3 ] = {{ 255 , 0 , 0 }, { 0 , 255 , 0 }, { 0 , 0 , 255 }, { 255 , 255 , 255 }, { 0 , 0 , 0 }};
int delayval = 100 ;
void setup () {
while ( ! strip. begin ());
}
void loop () {
for (int j = 0 ; j < 5 ; j ++ ) {
for (int i = 0 ; i < LEDS_COUNT ; i ++ ) {
strip. setLedColor (i, m_color[j][ 0 ], m_color[j][ 1 ], m_color[j][ 2 ]);
delay (delayval);
}
delay ( 500 );
}
}
1
2
3
4
5
6
7
8
9
10
11
12
13
14
15
16
17
18
19
20
21
22
2
3
4
5
6
7
8
9
10
11
12
13
14
15
16
17
18
19
20
21
22
#include
<
Servo.h
>
Servo myservo; // create servo object to control a servo
// twelve servo objects can be created on most boards
int pos = 0 ; // variable to store the servo position
void setup () {
myservo. attach ( 9 ); // attaches the servo on pin 9 to the servo object
}
void loop () {
for (pos = 0 ; pos <= 120 ; pos += 1 ) { // goes from 0 degrees to 180 degrees
// in steps of 1 degree
myservo. write (pos); // tell servo to go to position in variable 'pos'
delay ( 50 ); // waits 15 ms for the servo to reach the position
}
for (pos = 180 ; pos >= 0 ; pos -= 1 ) { // goes from 180 degrees to 0 degrees
myservo. write (pos); // tell servo to go to position in variable 'pos'
delay ( 50 ); // waits 15 ms for the servo to reach the position
}
}