Prepare
Install Git
Go to the Git website and click Downloads: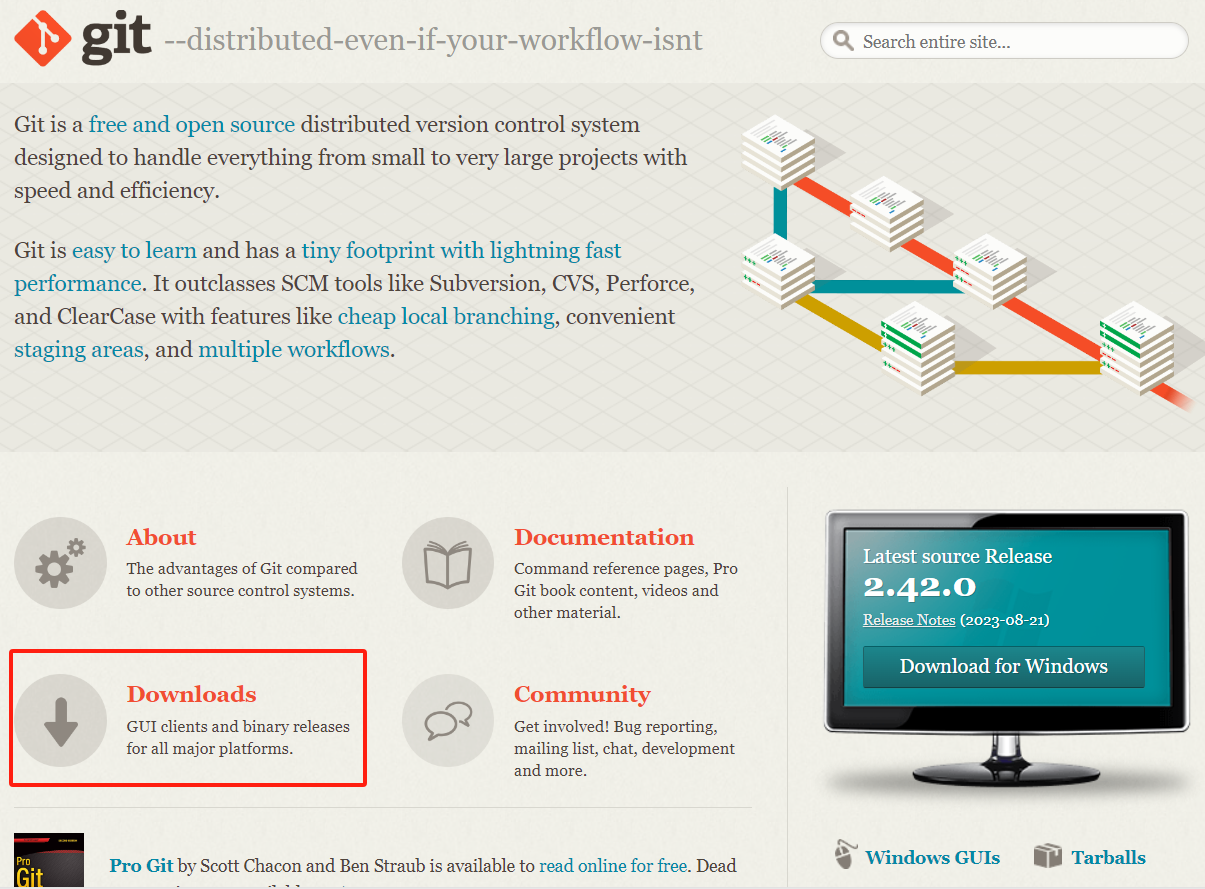
Select the version for your system to download: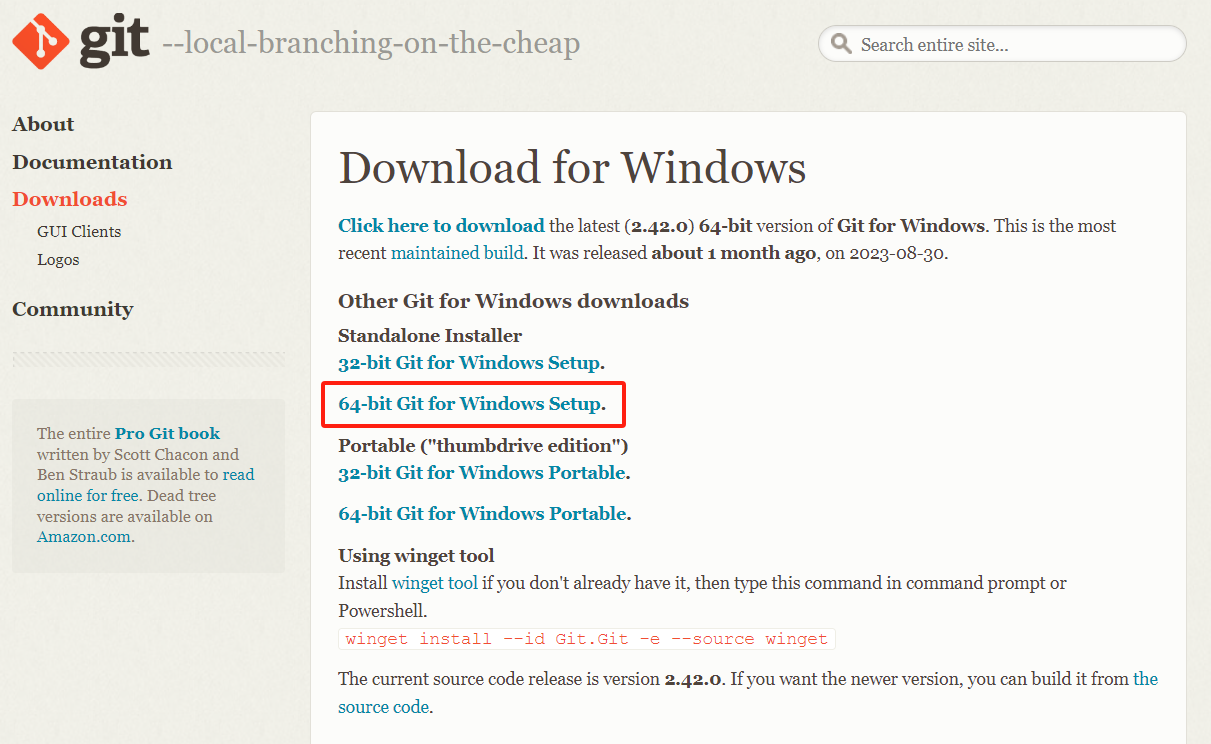
In any folder, click the right button of the mouse, the icon in the picture below indicates that the download is completed: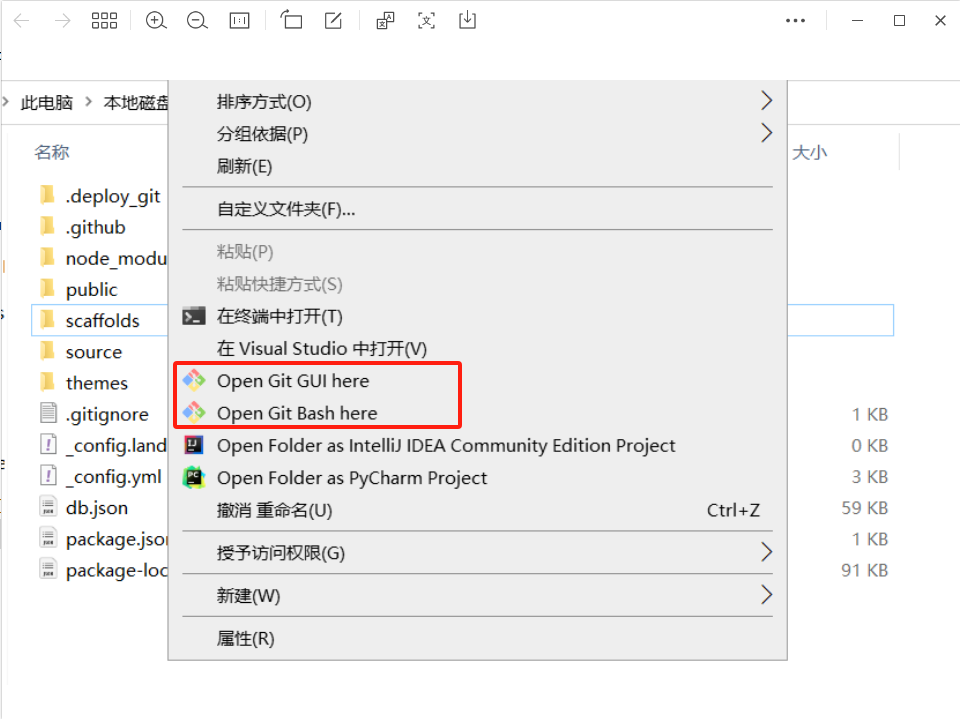
You can click “Open Git Bash here” to open the terminal and follow up.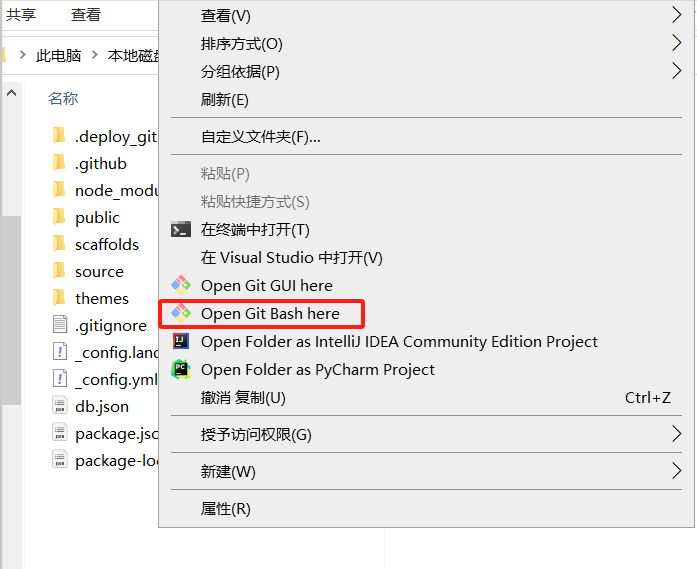
Install Node.js
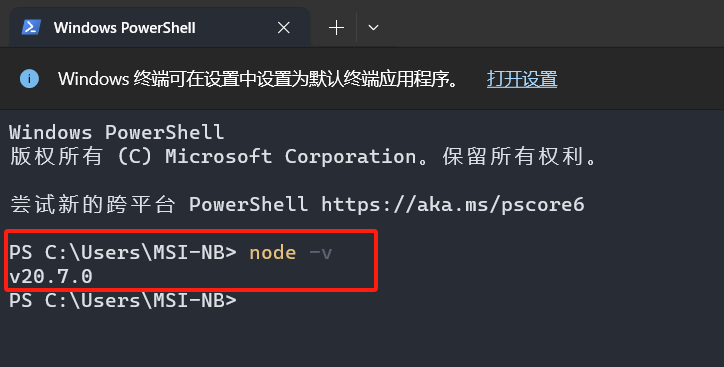
Install Node.js to configure environment, and you can check if the installation is complete in the terminal.
Install Hexo
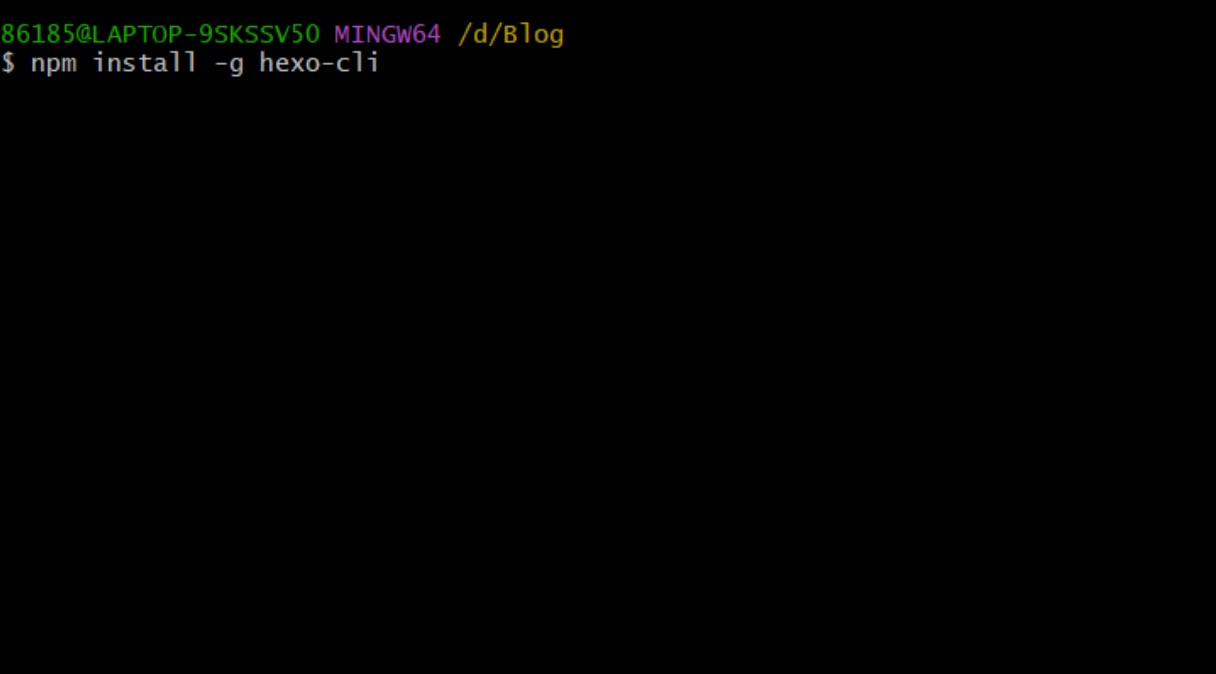
Start by creating a Blog folder, open Git Bash, and install Hexo by typing npm:
1 | npm install -g hexo-cli |
Once installed, type hexo init to initialize the blog: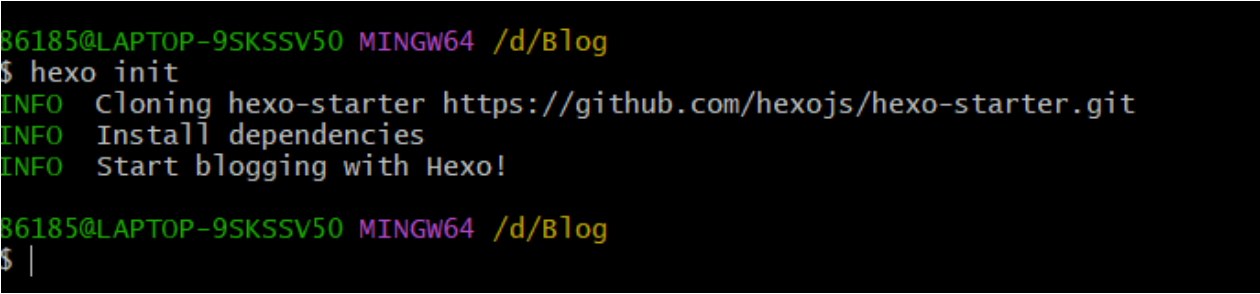
Then type hexo g for static deployment: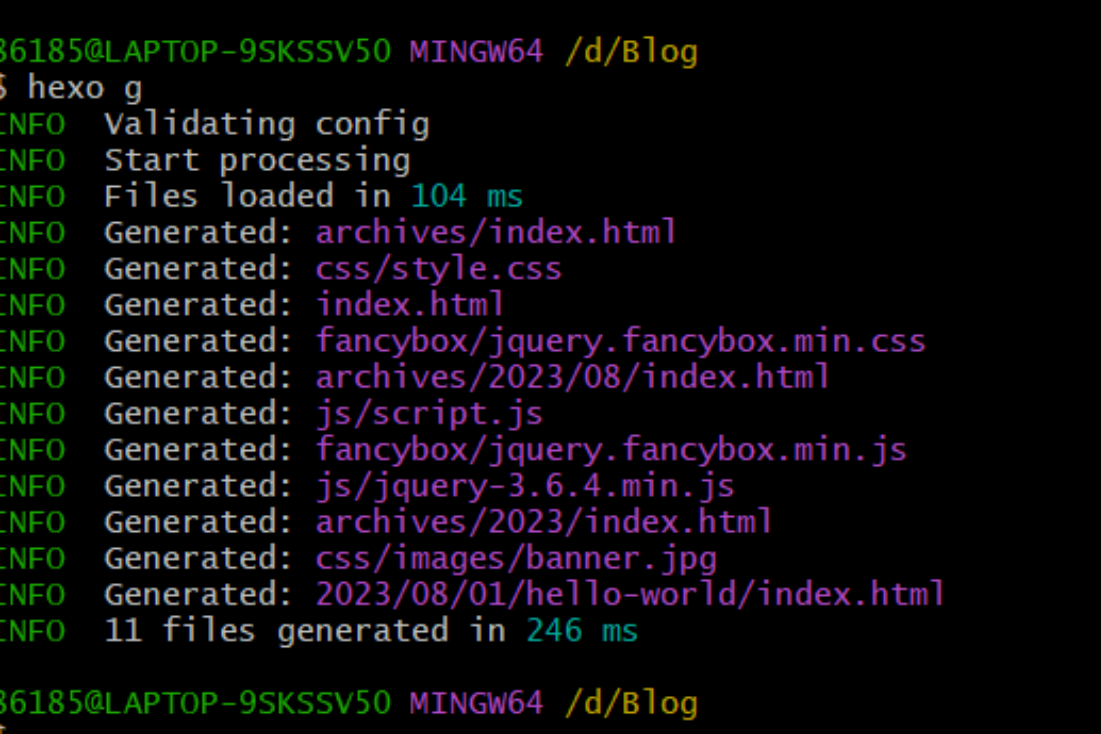
At this point, the web page has been deployed, enter the hexo s command, the browser type localhost:4000 to open the newly deployed web page for local viewing: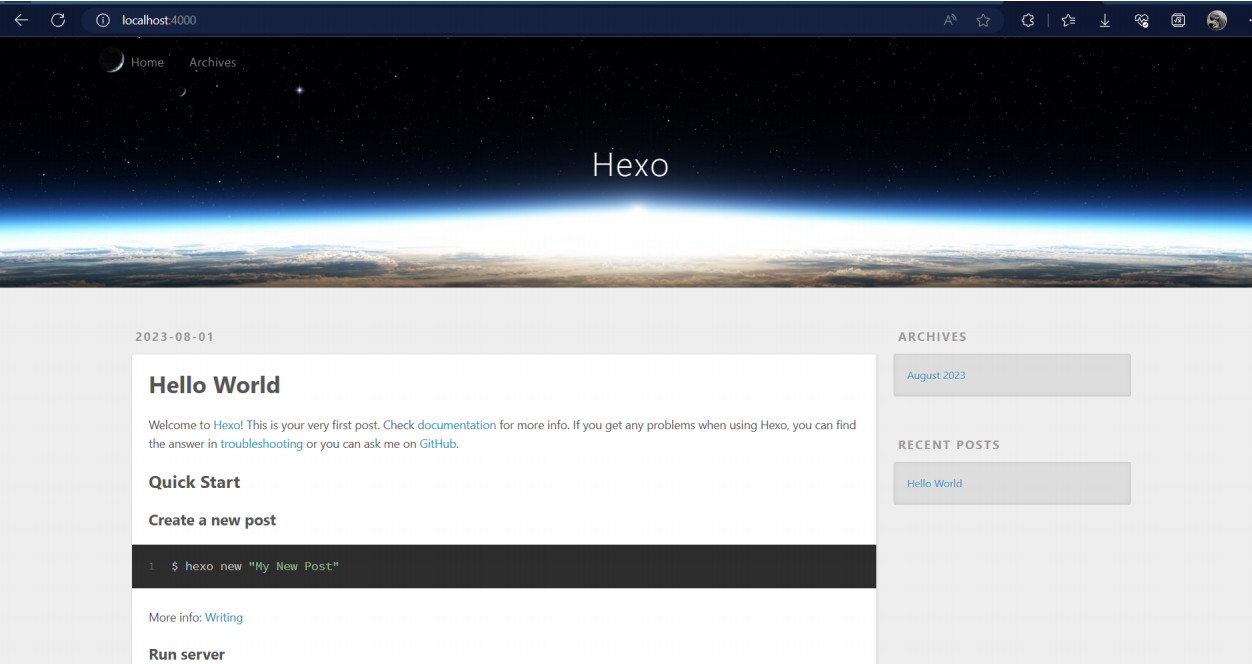
File Specification
Once created, the following is what happens in the specified directory:
1 | ├── _config.yml |
_config.yml
Site configuration information, where you can configure most of the parameters.
package.json
Information about the application and the modules that need to be installed.
scaffolds
Templates folder. When you create a new post, Hexo creates a new file based on the template file in scaffold. Hexo’s template is what is filled in by default in a newly created markdown file. For example, if you change the Front-matter in scaffold/post.md, you’ll include the change every time you create a new post. This means that every new post created by the hexo command will contain the contents of the specified template file.
source
The resources folder is where user resources, such as markdown articles, are stored. Markdown and HTML files are parsed and placed in the public folder, while other files are copied over.
(Note: Except the _posts folder, files/folders that start with _ (underscore) and hidden files will be ignored.)
themes
Theme folders. Hexo parses markdown files in the source directory to generate static pages based on topics.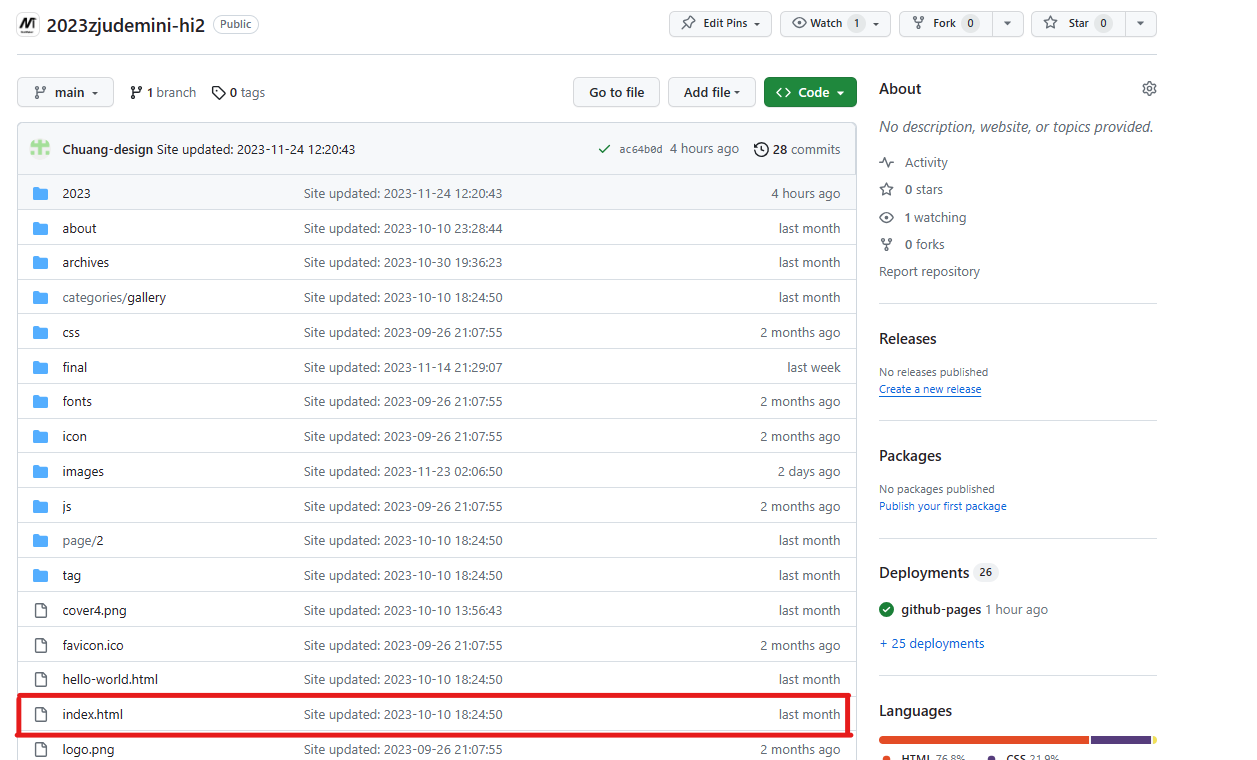
Choose Theme
Installing Theme
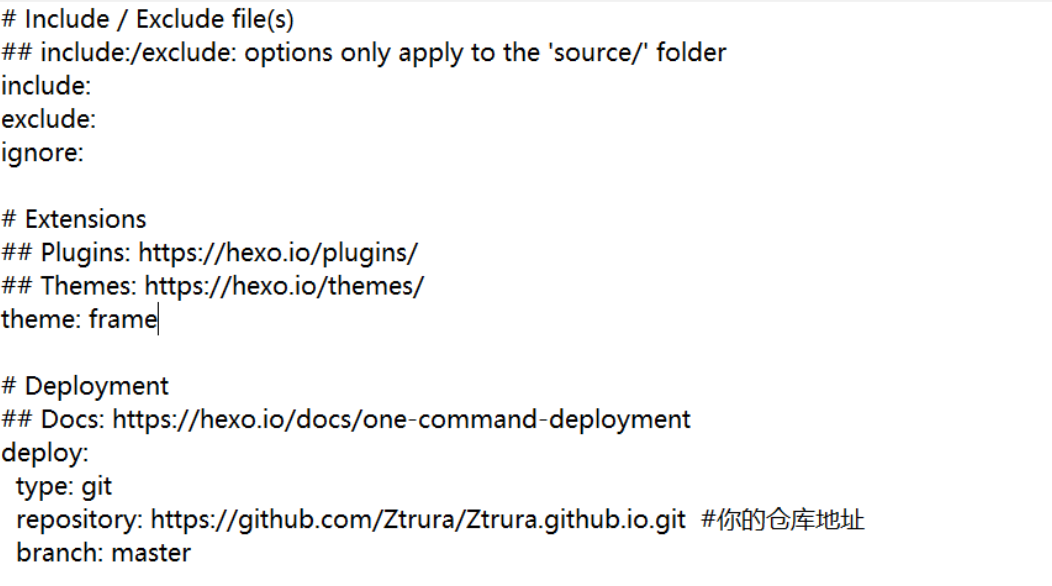
There are many themes in Hexo, but here we introduce the Frame theme.
Open Git Bash in themes folder and enter the following command to install Frame: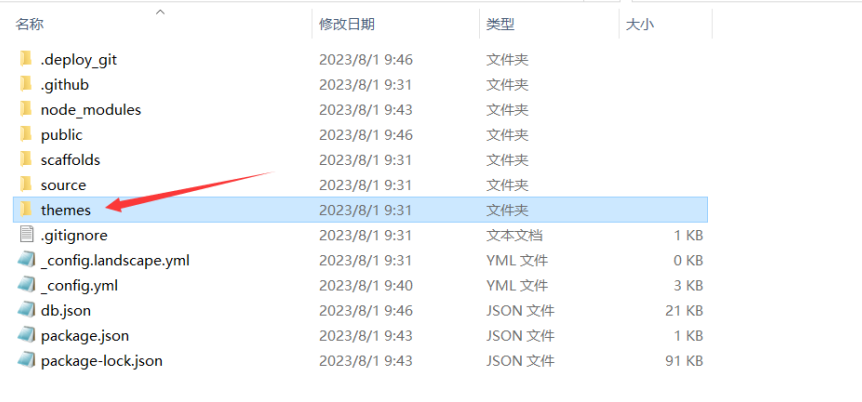
1 | git clone https://github.com/zoeingwingkei/frame.git |
Deploying Theme
In the hexo project’s _config.yml file, replace the project theme with Frame: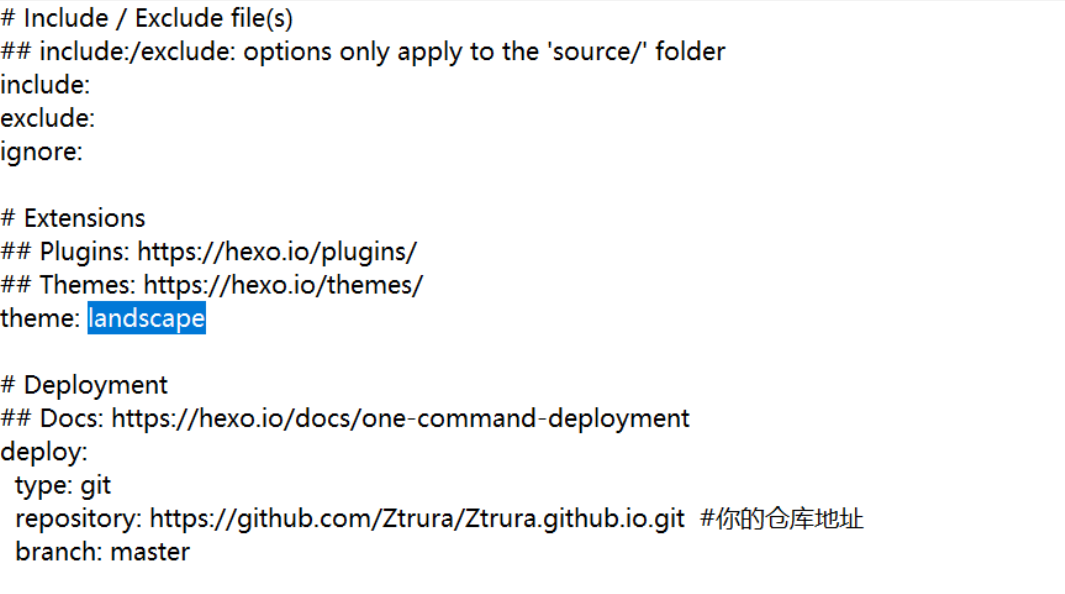
Visit hexo theme, where there are many themes to choose from, choose your favorite and follow the steps above to deploy it.
Teamwork
Github Cooperation
To directly invite team members to manage the project, you need to add administrative permissions.
Start by adding collaborators and teams in the project Settings, inviting team members and adding them as maintenance roles.
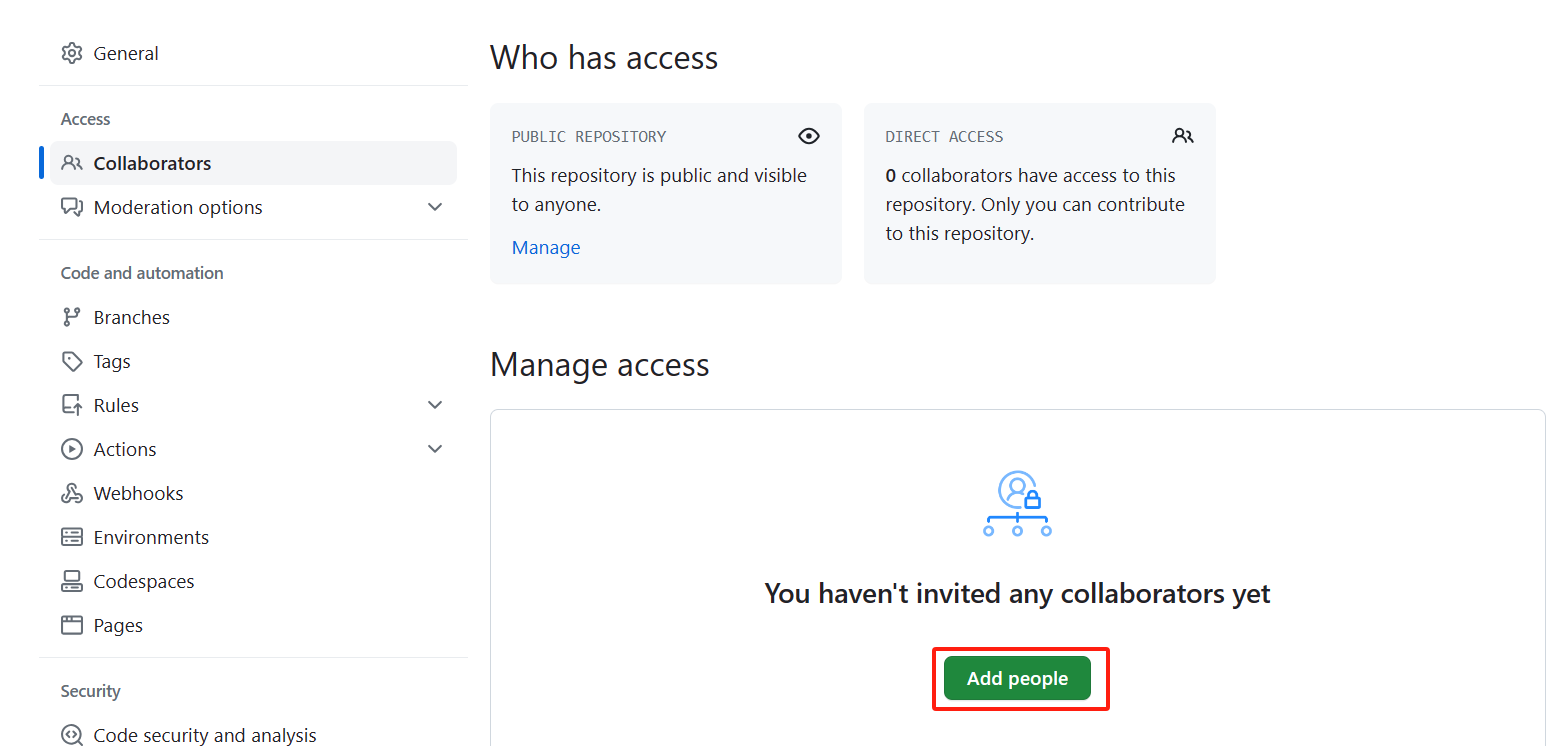
After team members accept the invitation, they can manage the project.
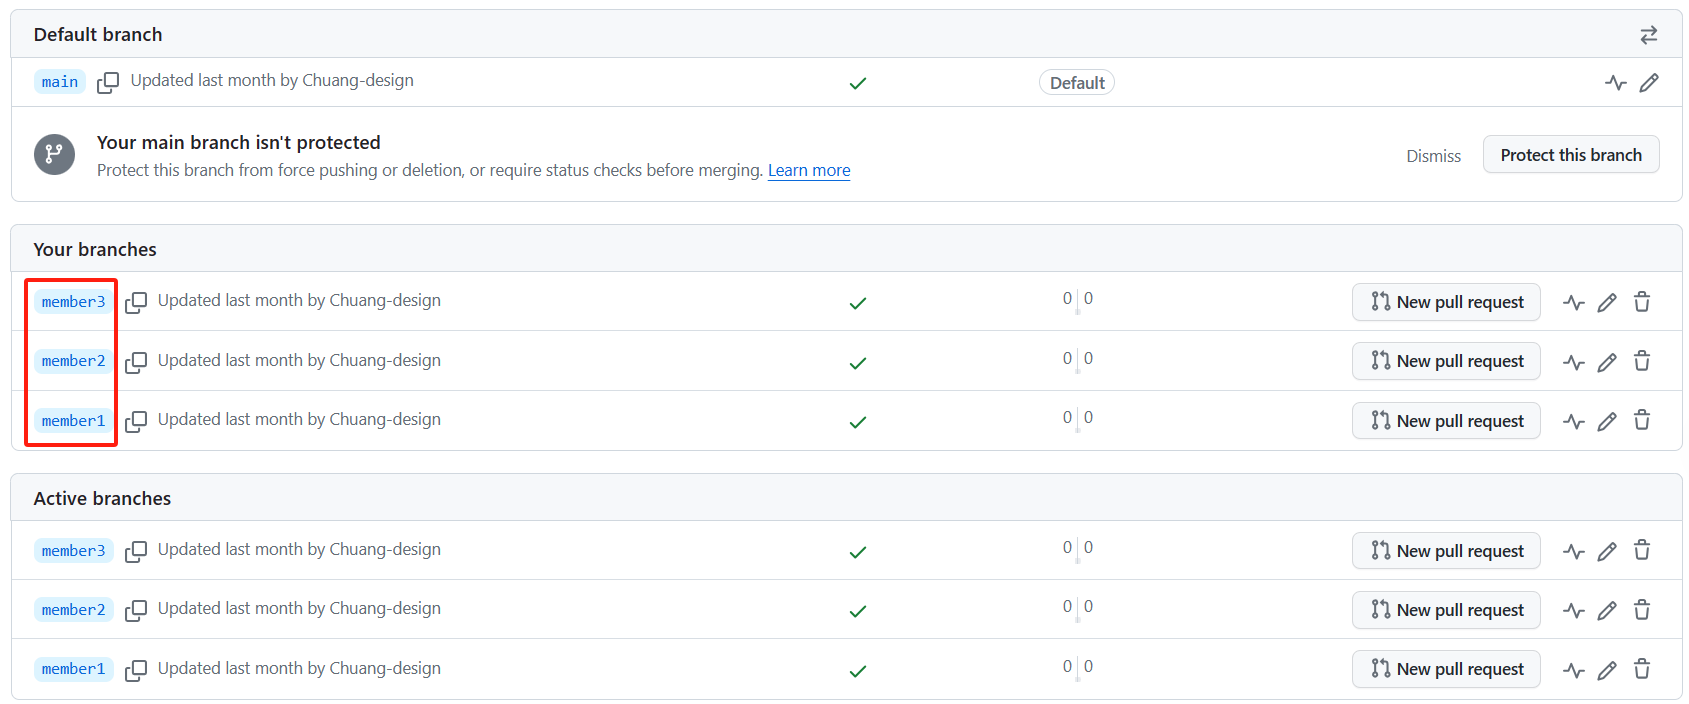
GitHub Branch Management
Using Git for branch management is an effective way. Each team member can work on their own branch and then create Pull Requests to merge changes to the master branch. This allows team members to work independently while ensuring the stability of the master branch.
For team members, it is important to change the deployment path and branch in the _config.yml file to make it easier for the project manager to manage.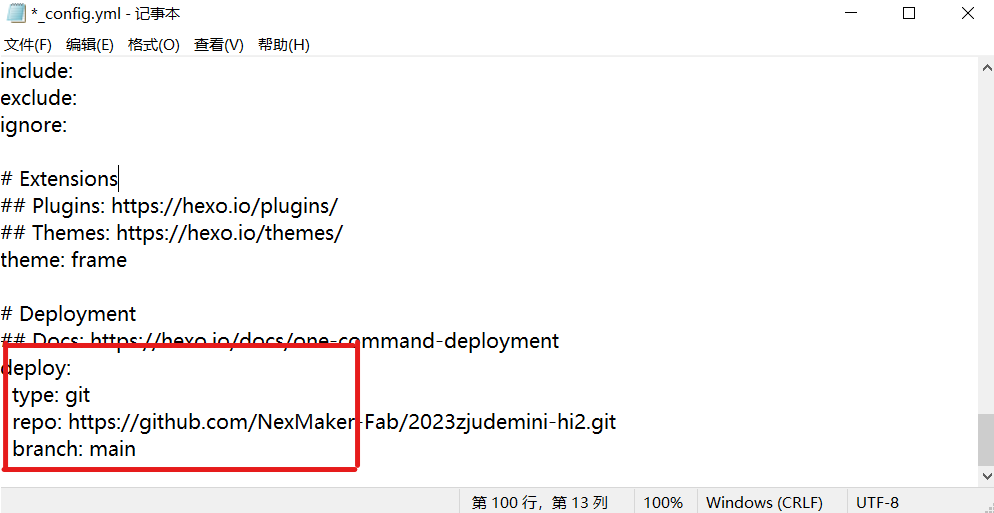
Markdown File Separation
Hexo usually uses Markdown files to write its content. You can assign different Markdown files to different team members, each responsible for their own part. When they are done editing, use a version control system to merge the changes.
Building Website
Set Home Page
(manage the sidebar, title, and main image)
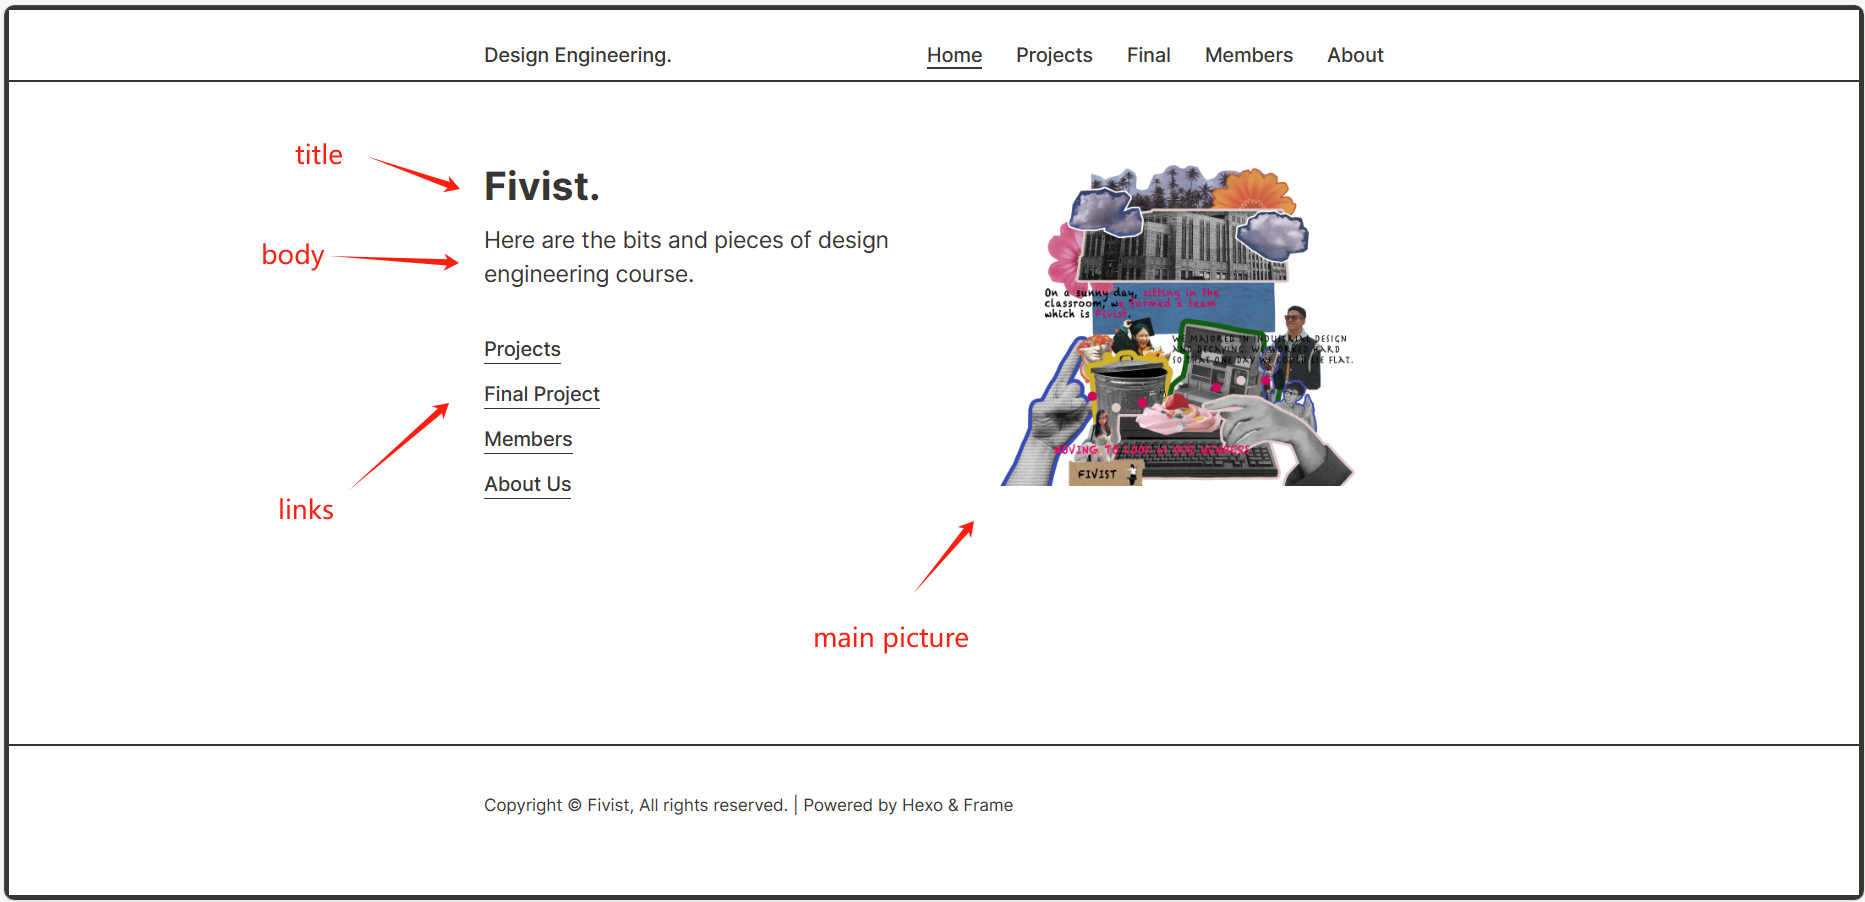
By default, your homepage will show a title, body text, some links, and a cover art. You can modify these configurations in the config.yml file under the theme folder (/themes/frame/) :
If you want to change the cover image, place your image in the thems/frame/source directory and then change the image file path accordingly.
If you want to adjust the sidebar, change the links file path accordingly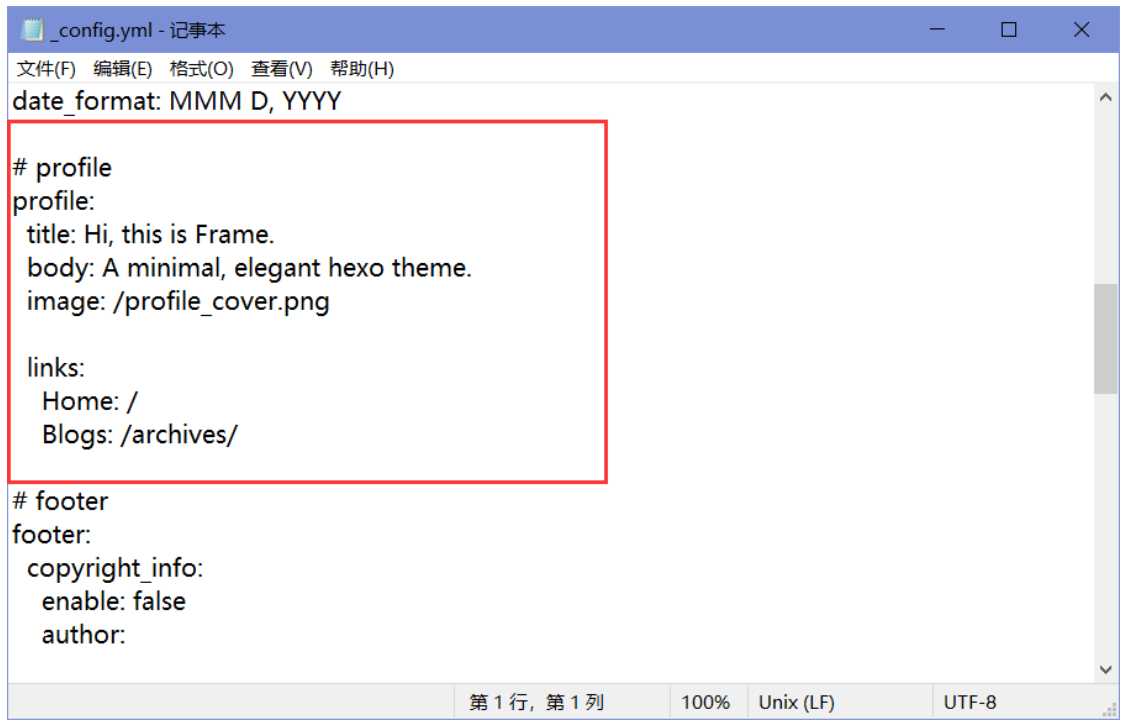
Manage Pages
(manage the navigation bar)
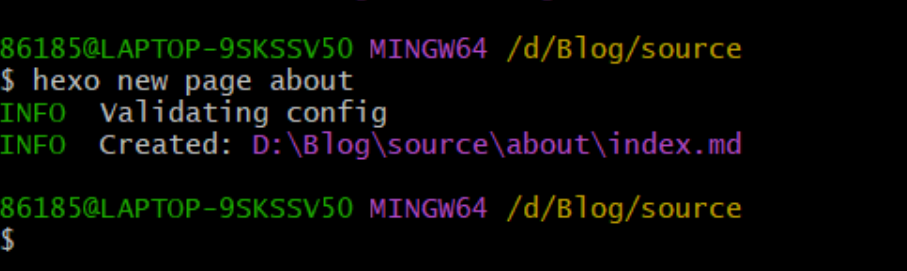
There is a need to add or remove pages from a website. For the example of adding an introduction page, firstly you need to create a hexo page called about.
1 | hexo new page about |
Then, open the -config.yml file in the Blog/themes/frame/ directory and create a new entry under the menu property as shown below.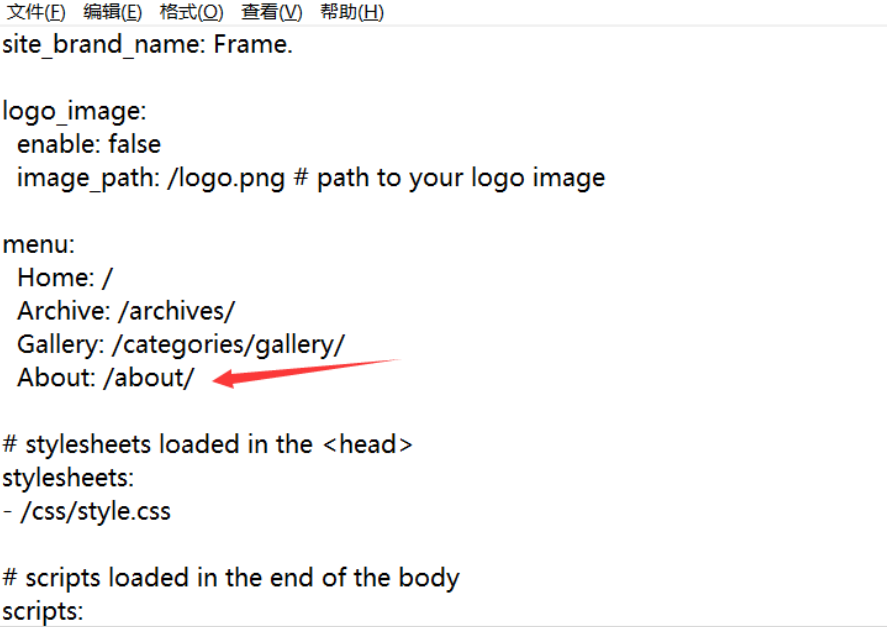
Then, in the source/about/index.md file, enter what you want as a profile: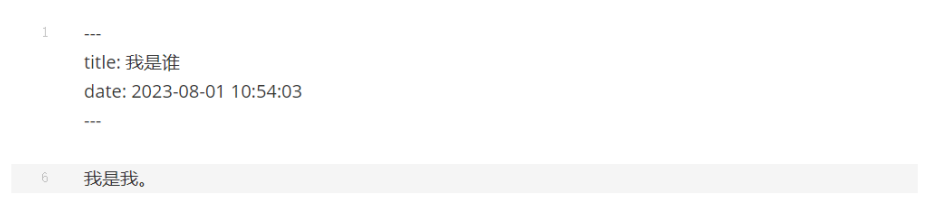
You can see that the profile page has been added to the site.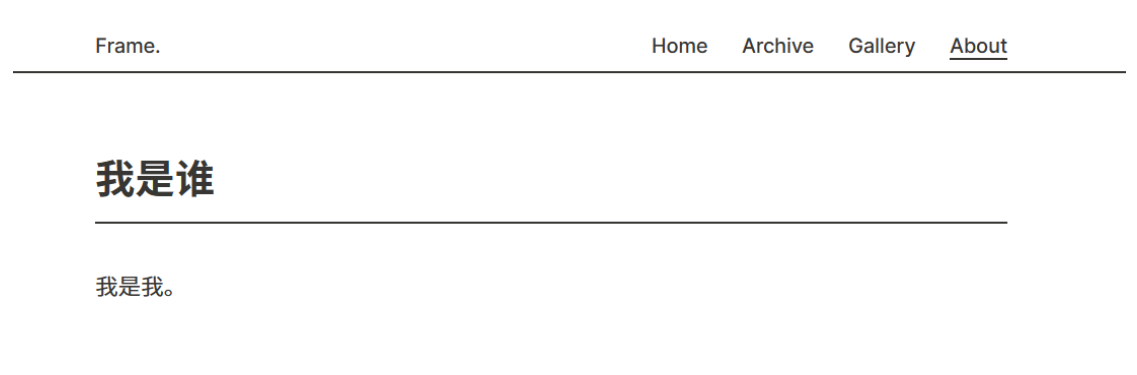
Write First Document
Create a new markdown file in the Blog/source/_posts/ path (If you do not have a markdown editor, directly create a txt file or other files, rename the suffix to md, when editing, right-click → open mode → Notepad, or modify the file suffix after editing).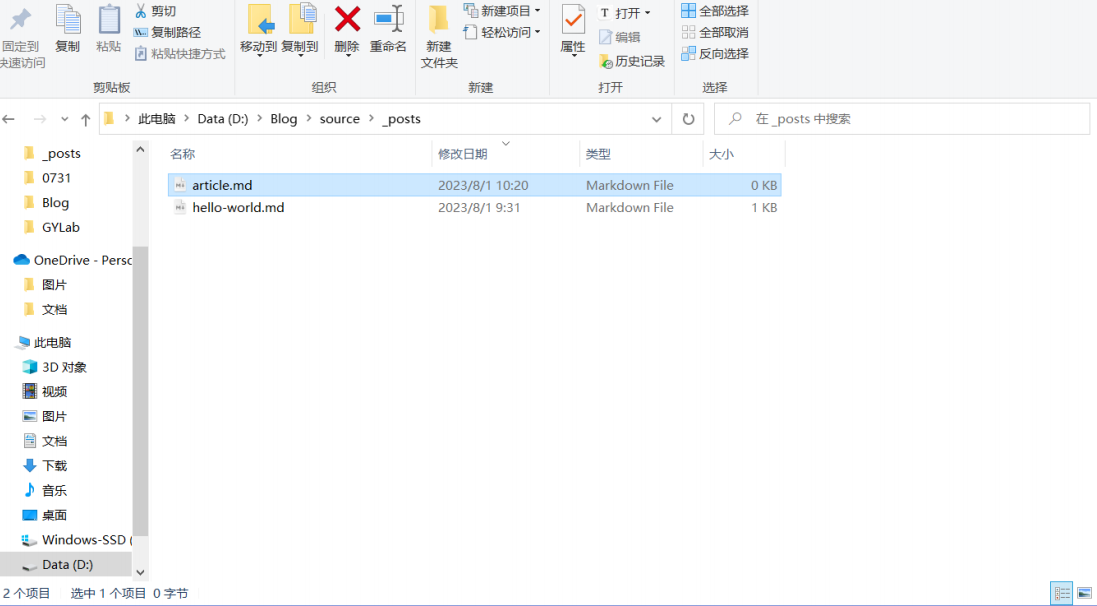
Add the following declaration at the beginning of the file, and then feel free to add some body parts such as: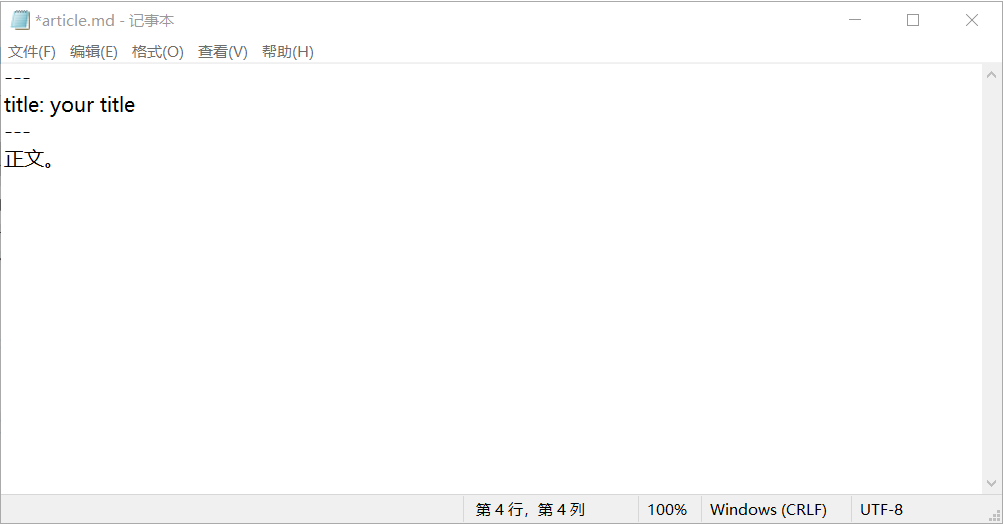
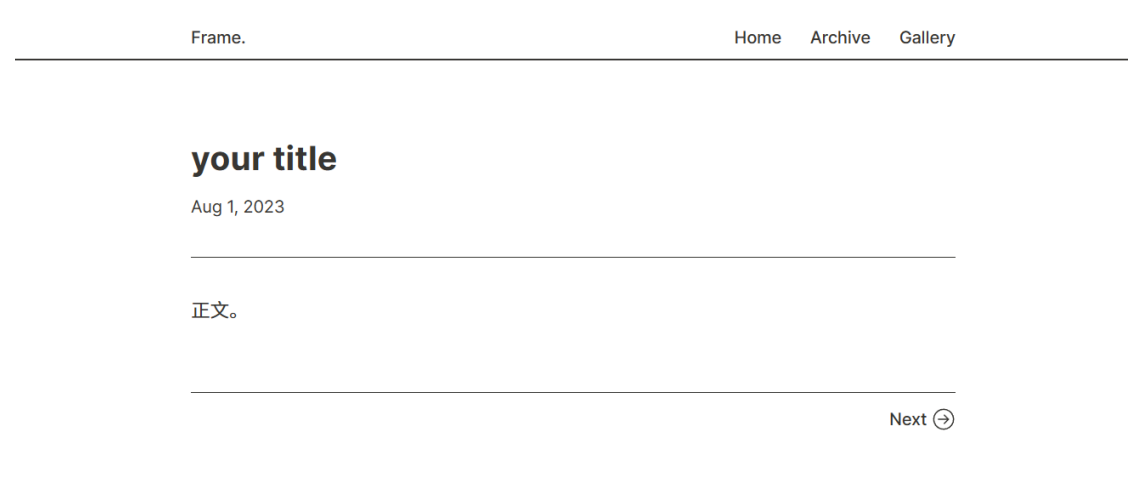
You can see that we have the new document in our website list.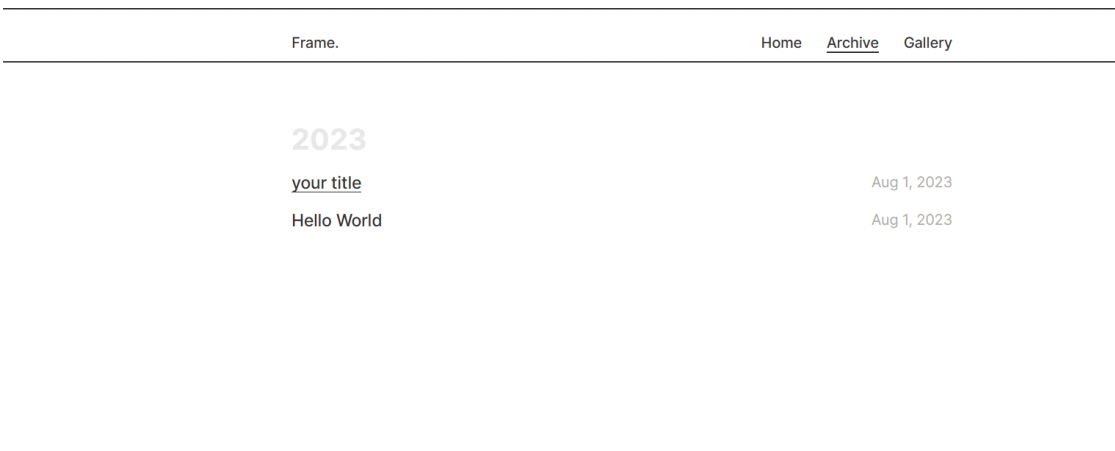
Clone, Pull and Push to Github
Set up a GitHub repository
Hexo is the framework for the project management website, but before you install it, make a repository on GitHub: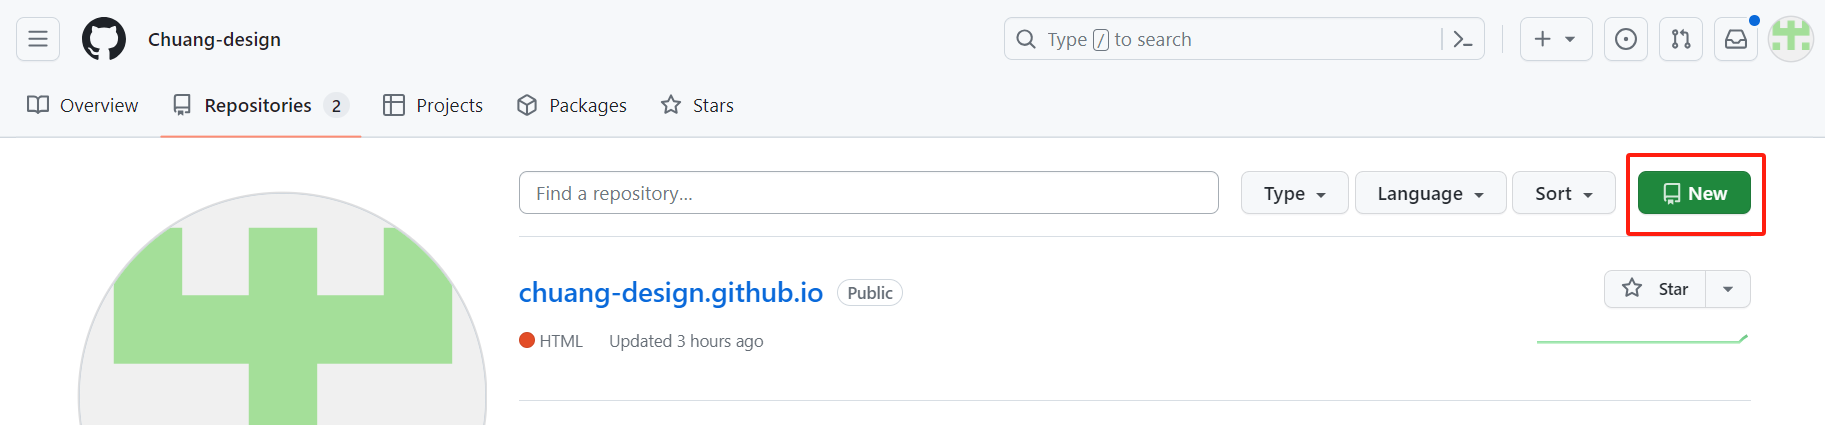
Name it <yourname>.github.io: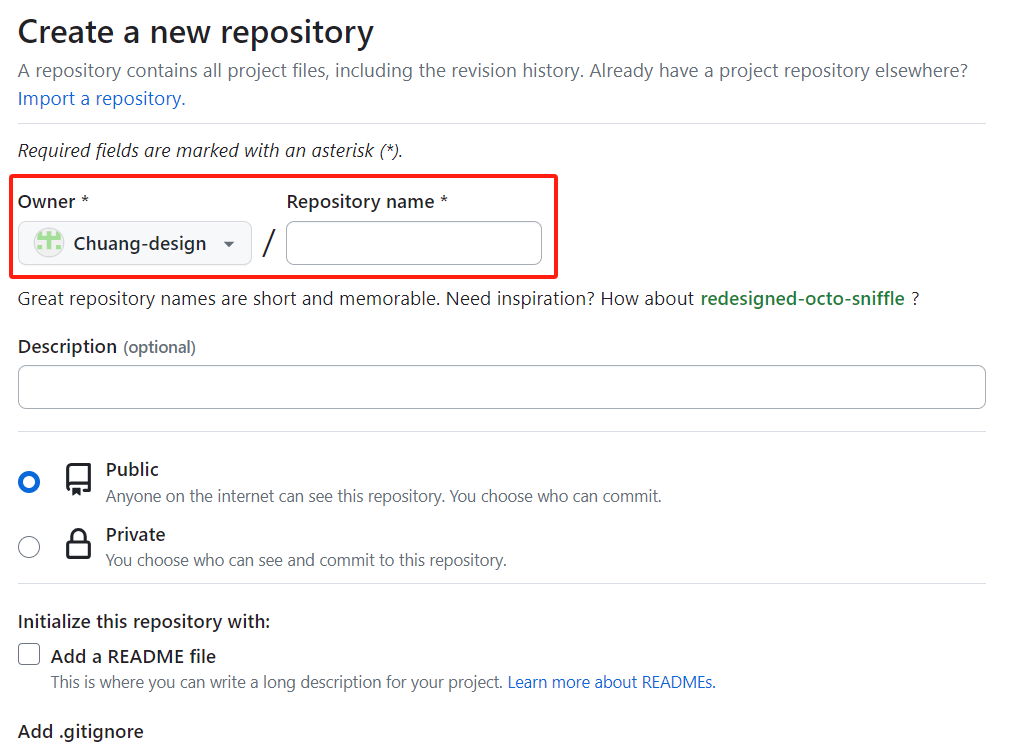
Binding GitHub
Start by adding the SSH key configuration on GitHub, which should come with SSH if you have Git Bash installed.
We can check if SSH is installed by opening Git Bash in any folder: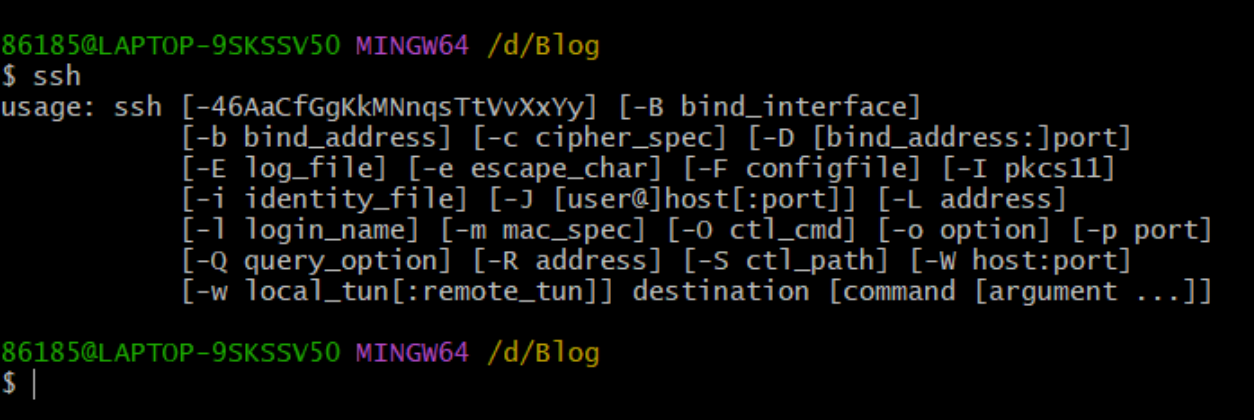
Type in this code:
1 | ssh-keygen -t rsa |
Pressing the Enter key four times will generate two files: the secret key id_rsa and the public key id_rsa.pub. Files are generated in the following directories by default:
Linux: ~/.ssh
Mac: ~/.ssh
Windows 10: C:/Users/ASUS/.ssh
Let’s copy the file and go to our GitHub home page, click on the avatar and then settings: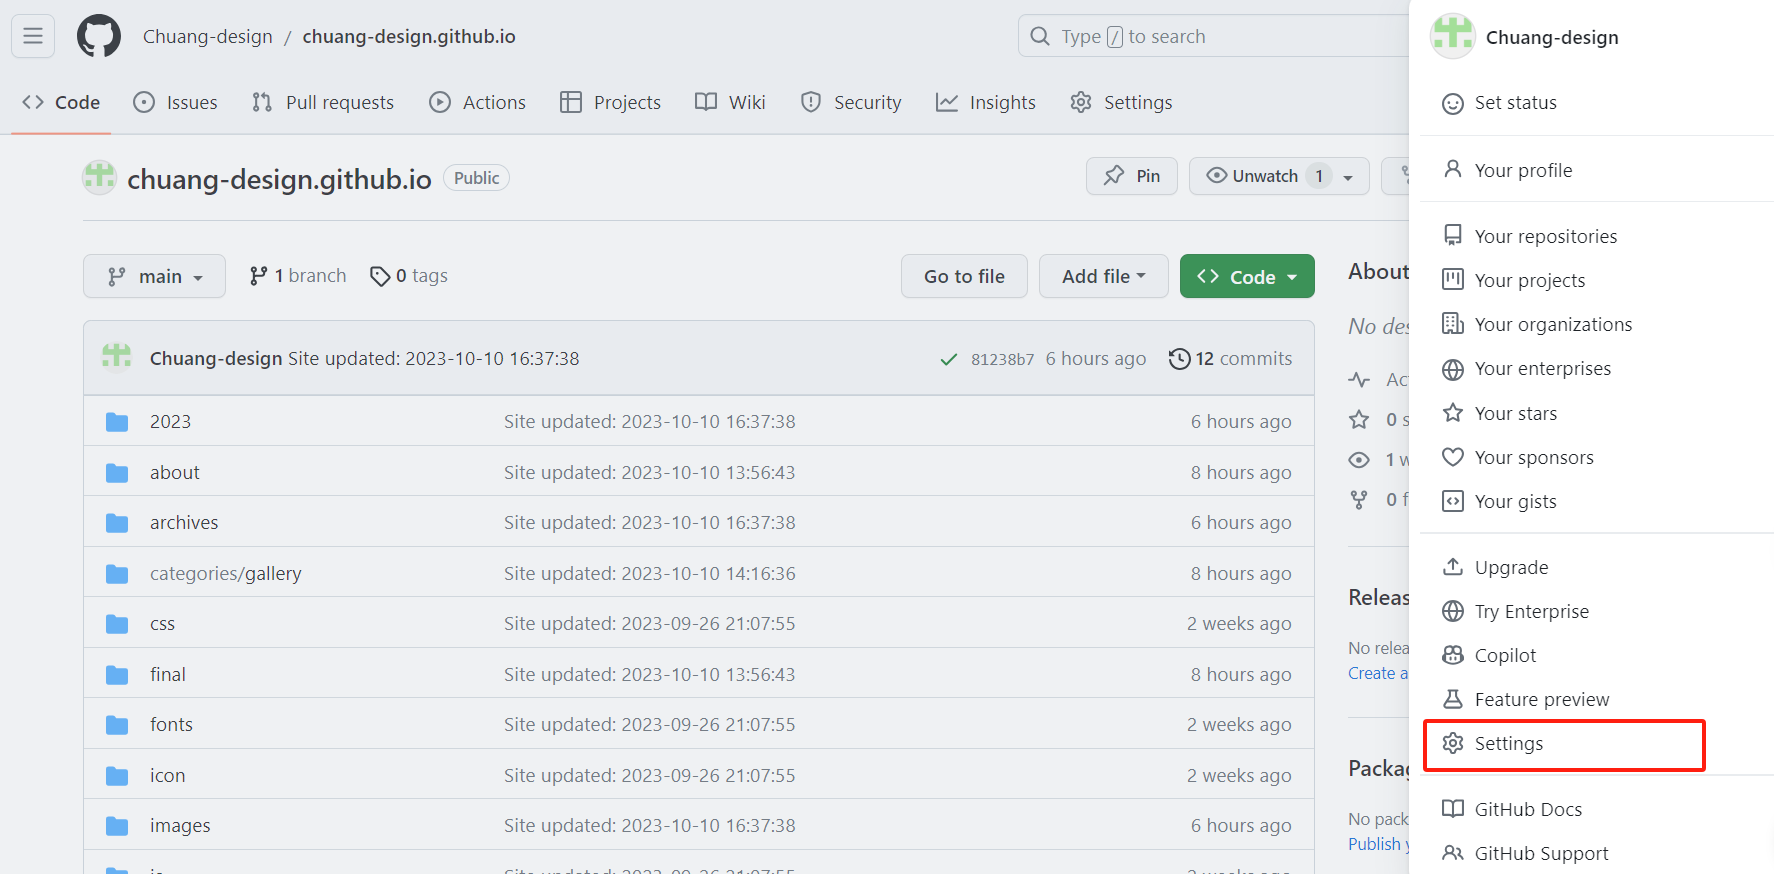
Create a new SSH key, paste the contents of the copied public key id_rsa.pub into the key, and click Add SSH key: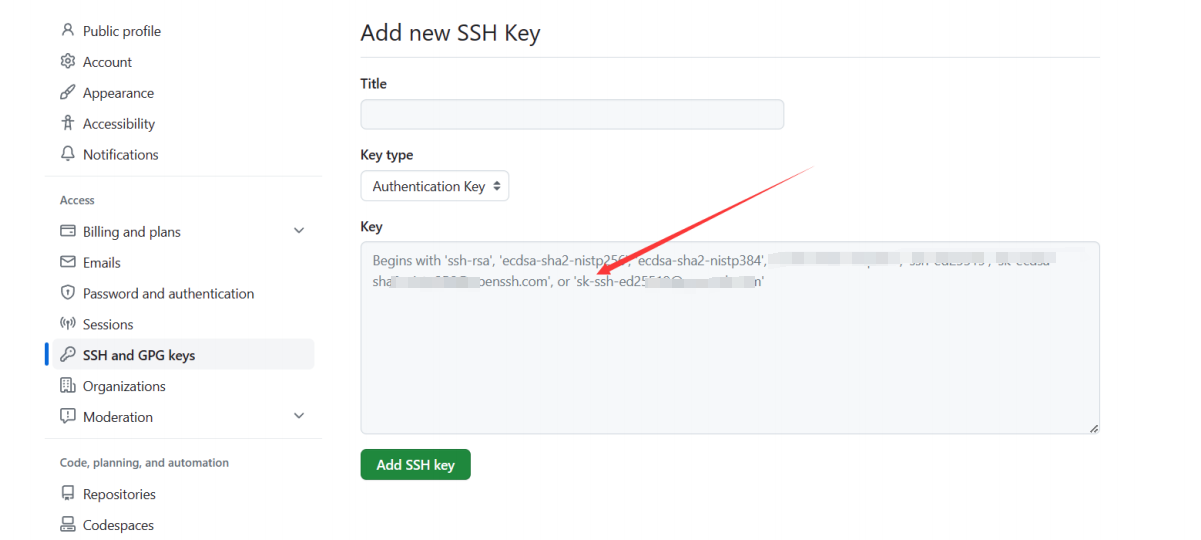
Deploying Hexo to GitHub
Now back in our Blog folder, open the _config.yml file and change the selected part as follows: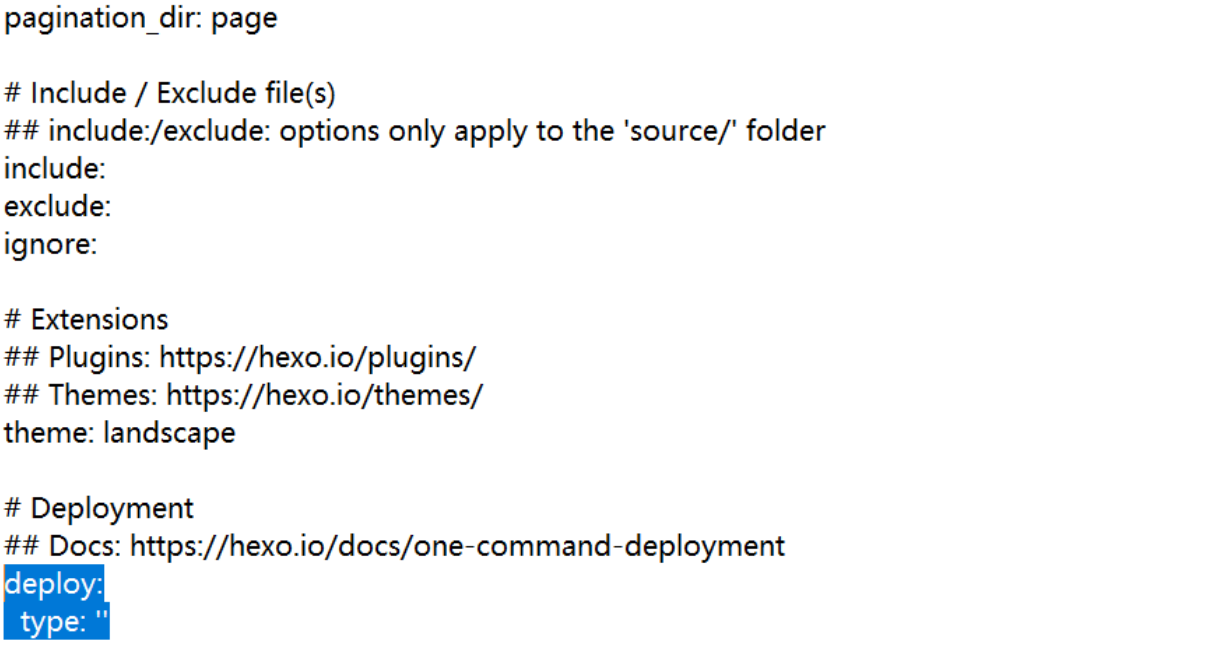
1 | deploy: |
Back in the Blog folder, open Git Bash, and enter the following command to install the Git deployment plugin:
1 | npm install hexo-deployer-git --save |
Then enter each of the following three commands:
1 | hexo clean #清除缓存文件 db.json 和已生成的静态文件 public |
Then open the browser, type https://yourname.github.io can open your web page.
Push to github
After each update, you will only see the changes locally. If you repeat the deployment (as shown below), the GitHub Page you deploy will also change for everyone to see.
1 | hexo g |