IOT and Interaction
Arduino IOT
Internet of Things (IOT)
The Internet of Things (IoT) is a transformative concept that involves connecting everyday objects to the internet, allowing them to collect and share data. This interconnection facilitates enhanced efficiency and intelligence in diverse domains, from smart homes and industrial systems to healthcare and agriculture. IoT devices, equipped with sensors and actuators, communicate via various protocols, enabling seamless interoperability. The data generated by these devices undergoes processing, often employing advanced analytics and edge computing, to derive meaningful insights.
Security and privacy considerations are crucial due to the sensitive nature of IoT data. The scalability and diverse applications of IoT, ranging from smart cities to wearables, underscore its potential to revolutionize how we interact with our surroundings and leverage technology for improved experiences and outcomes. Despite facing challenges, the ongoing evolution of IoT holds the promise of creating interconnected ecosystems that respond intelligently to changing conditions and user needs.
IOT development board
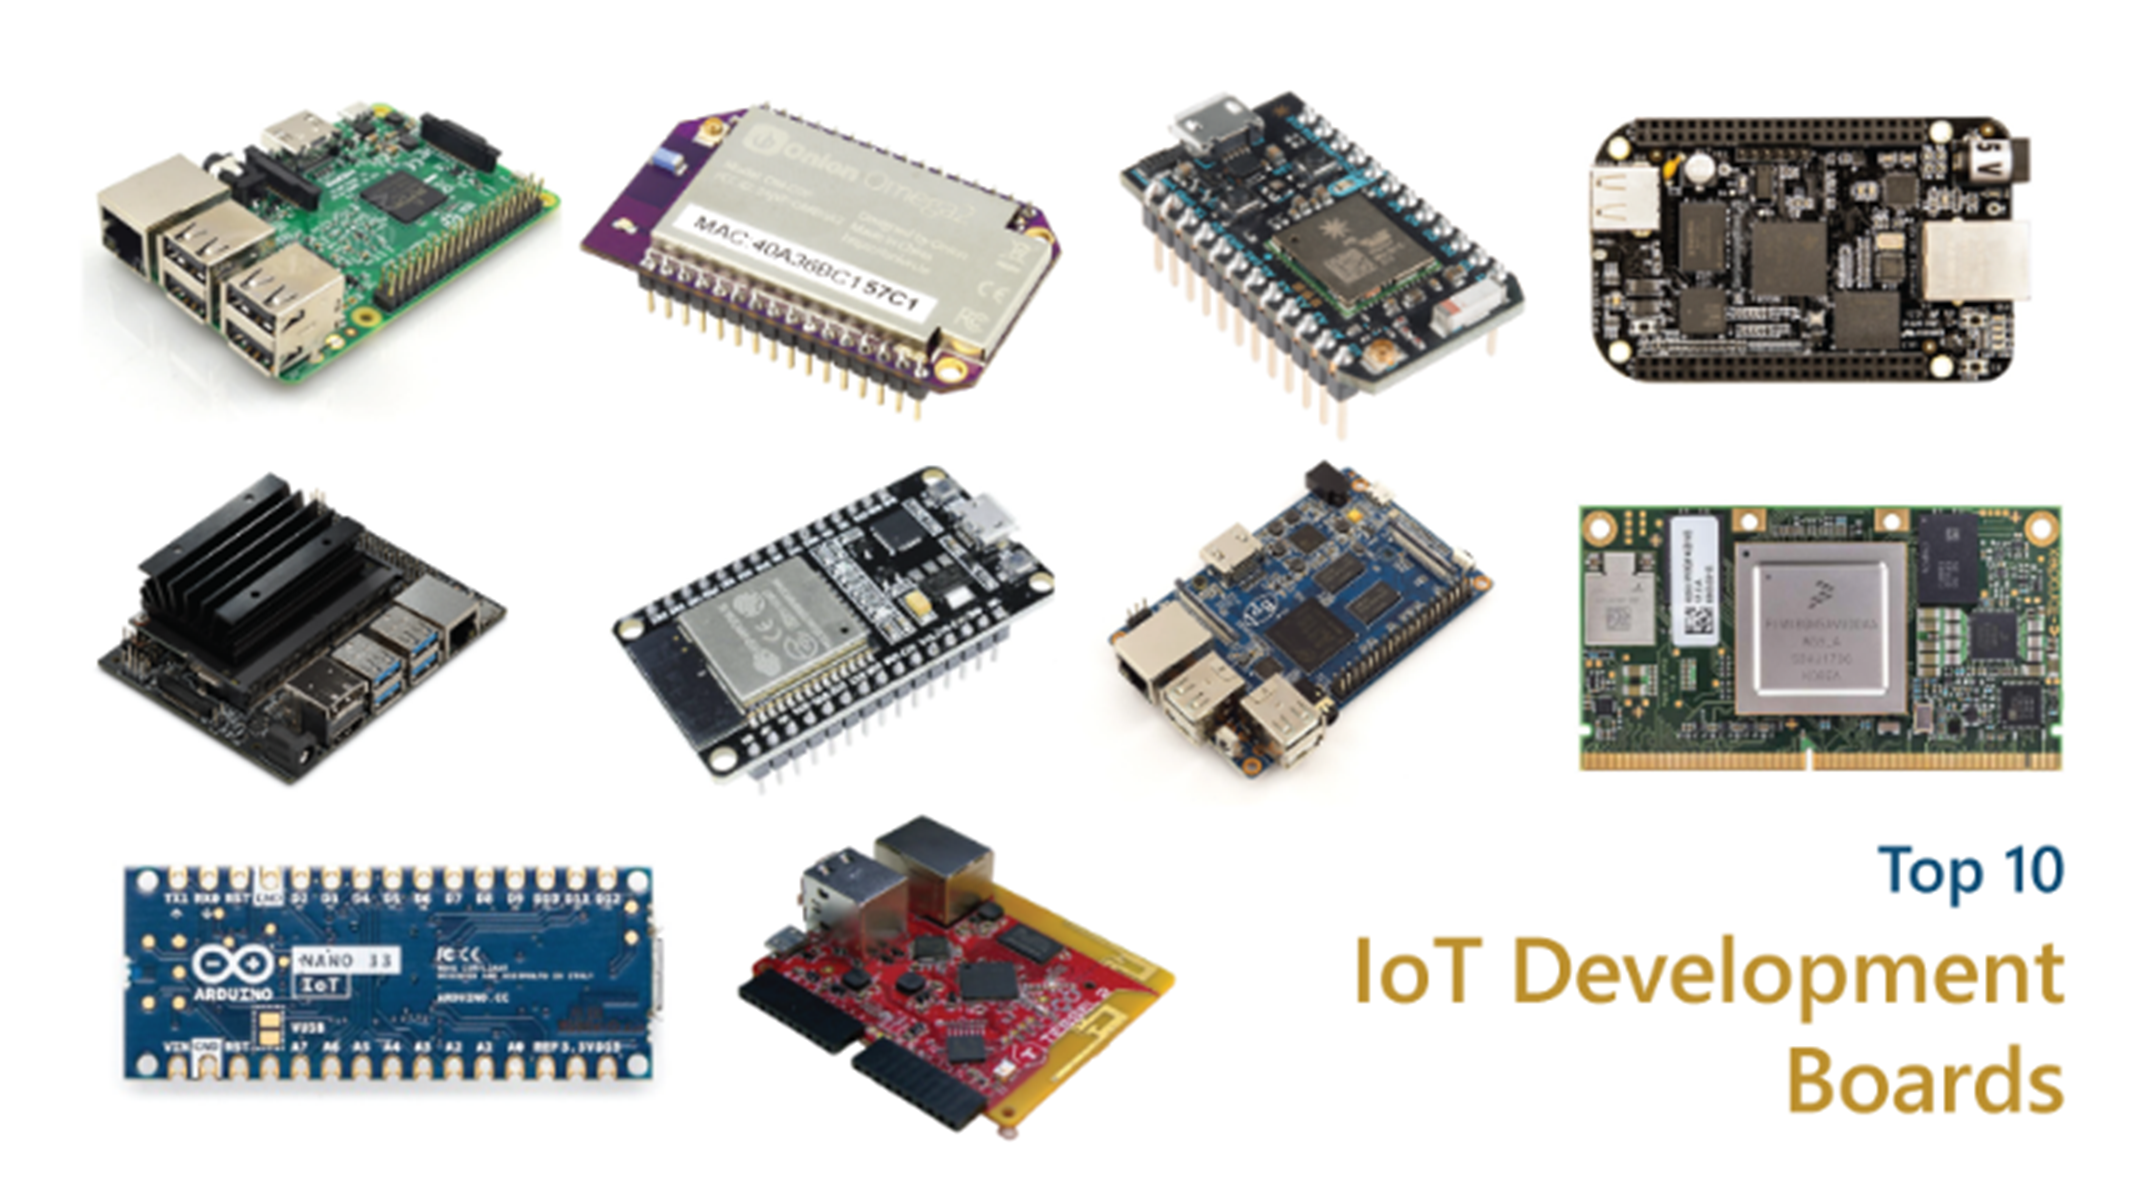
IoT boards are useful hardware structures that we use to prototype a new IoT project. Custom hardware results is expensive to design and manufacture, and development boards come to the rescue to avoid that.Regarding IoT development boards, they mainly refer to development boards with WiFi and Bluetooth functions. Although some development boards do not have Wi-Fi function, you can also add a Wi-Fi module to realize the networking function. There are mainly Arduino, Esp8266, Esp32, Raspberry Pi, Raspberry Pi Zero W, etc. on the market.
What is more common now is Espressif 's esp32 series. For example, Xiaomi's smart socket uses Espressif's Esp32 solution. The Esp32's capability to enable wireless communication, its relatively low power consumption, and its compatibility with a range of sensors make it well-suited for diverse IoT projects and contribute to its popularity in the development community.
Reference:
hashstudioz.com
IoT platform:
Arduino has now launched the official cloud platform Arduino IOT cloud. There are also domestic platforms such as Alibaba Cloud IOT, ThinkSpeak, Blynk and Tencent Cloud.
Among these IOT platform Blynk IoT Cloud stands out as a comprehensive platform that facilitates seamless interaction between Internet of Things (IoT) devices and the cloud, empowering users to remotely manage and monitor their connected devices with remarkable ease. With compatibility spanning a diverse range of hardware, including Arduino, ESP8266, ESP32, and Raspberry Pi, Blynk offers a versatile solution adaptable to various project needs. The heart of the Blynk experience lies in its user-friendly mobile app interface, which allows users to create tailored dashboards featuring an array of widgets like buttons, sliders, gauges, and LEDs. These dashboards are highly customizable, allowing for intuitive arrangement, color adjustments, and efficient organization of data displays. Blynk's IoT Cloud serves as a secure conduit for real-time communication between devices and the cloud, with robust authentication measures and secure connections ensuring the integrity of data transfer. Noteworthy features such as real-time notifications, alert mechanisms, and automation capabilities enhance users' ability to stay informed and create intelligent, responsive IoT applications.
Additionally, Blynk supports integration with third-party services, further extending its capabilities for data storage, analysis, and interoperability. The platform's active community and support infrastructure contribute to a collaborative environment, fostering knowledge-sharing and innovation within the dynamic field of IoT development. Recognized for its scalability, Blynk accommodates projects of varying complexities, making it equally suitable for hobbyist endeavors and commercial applications. Overall, Blynk IoT Cloud stands as a powerful and accessible tool that simplifies the intricacies of developing, managing, and scaling IoT projects.
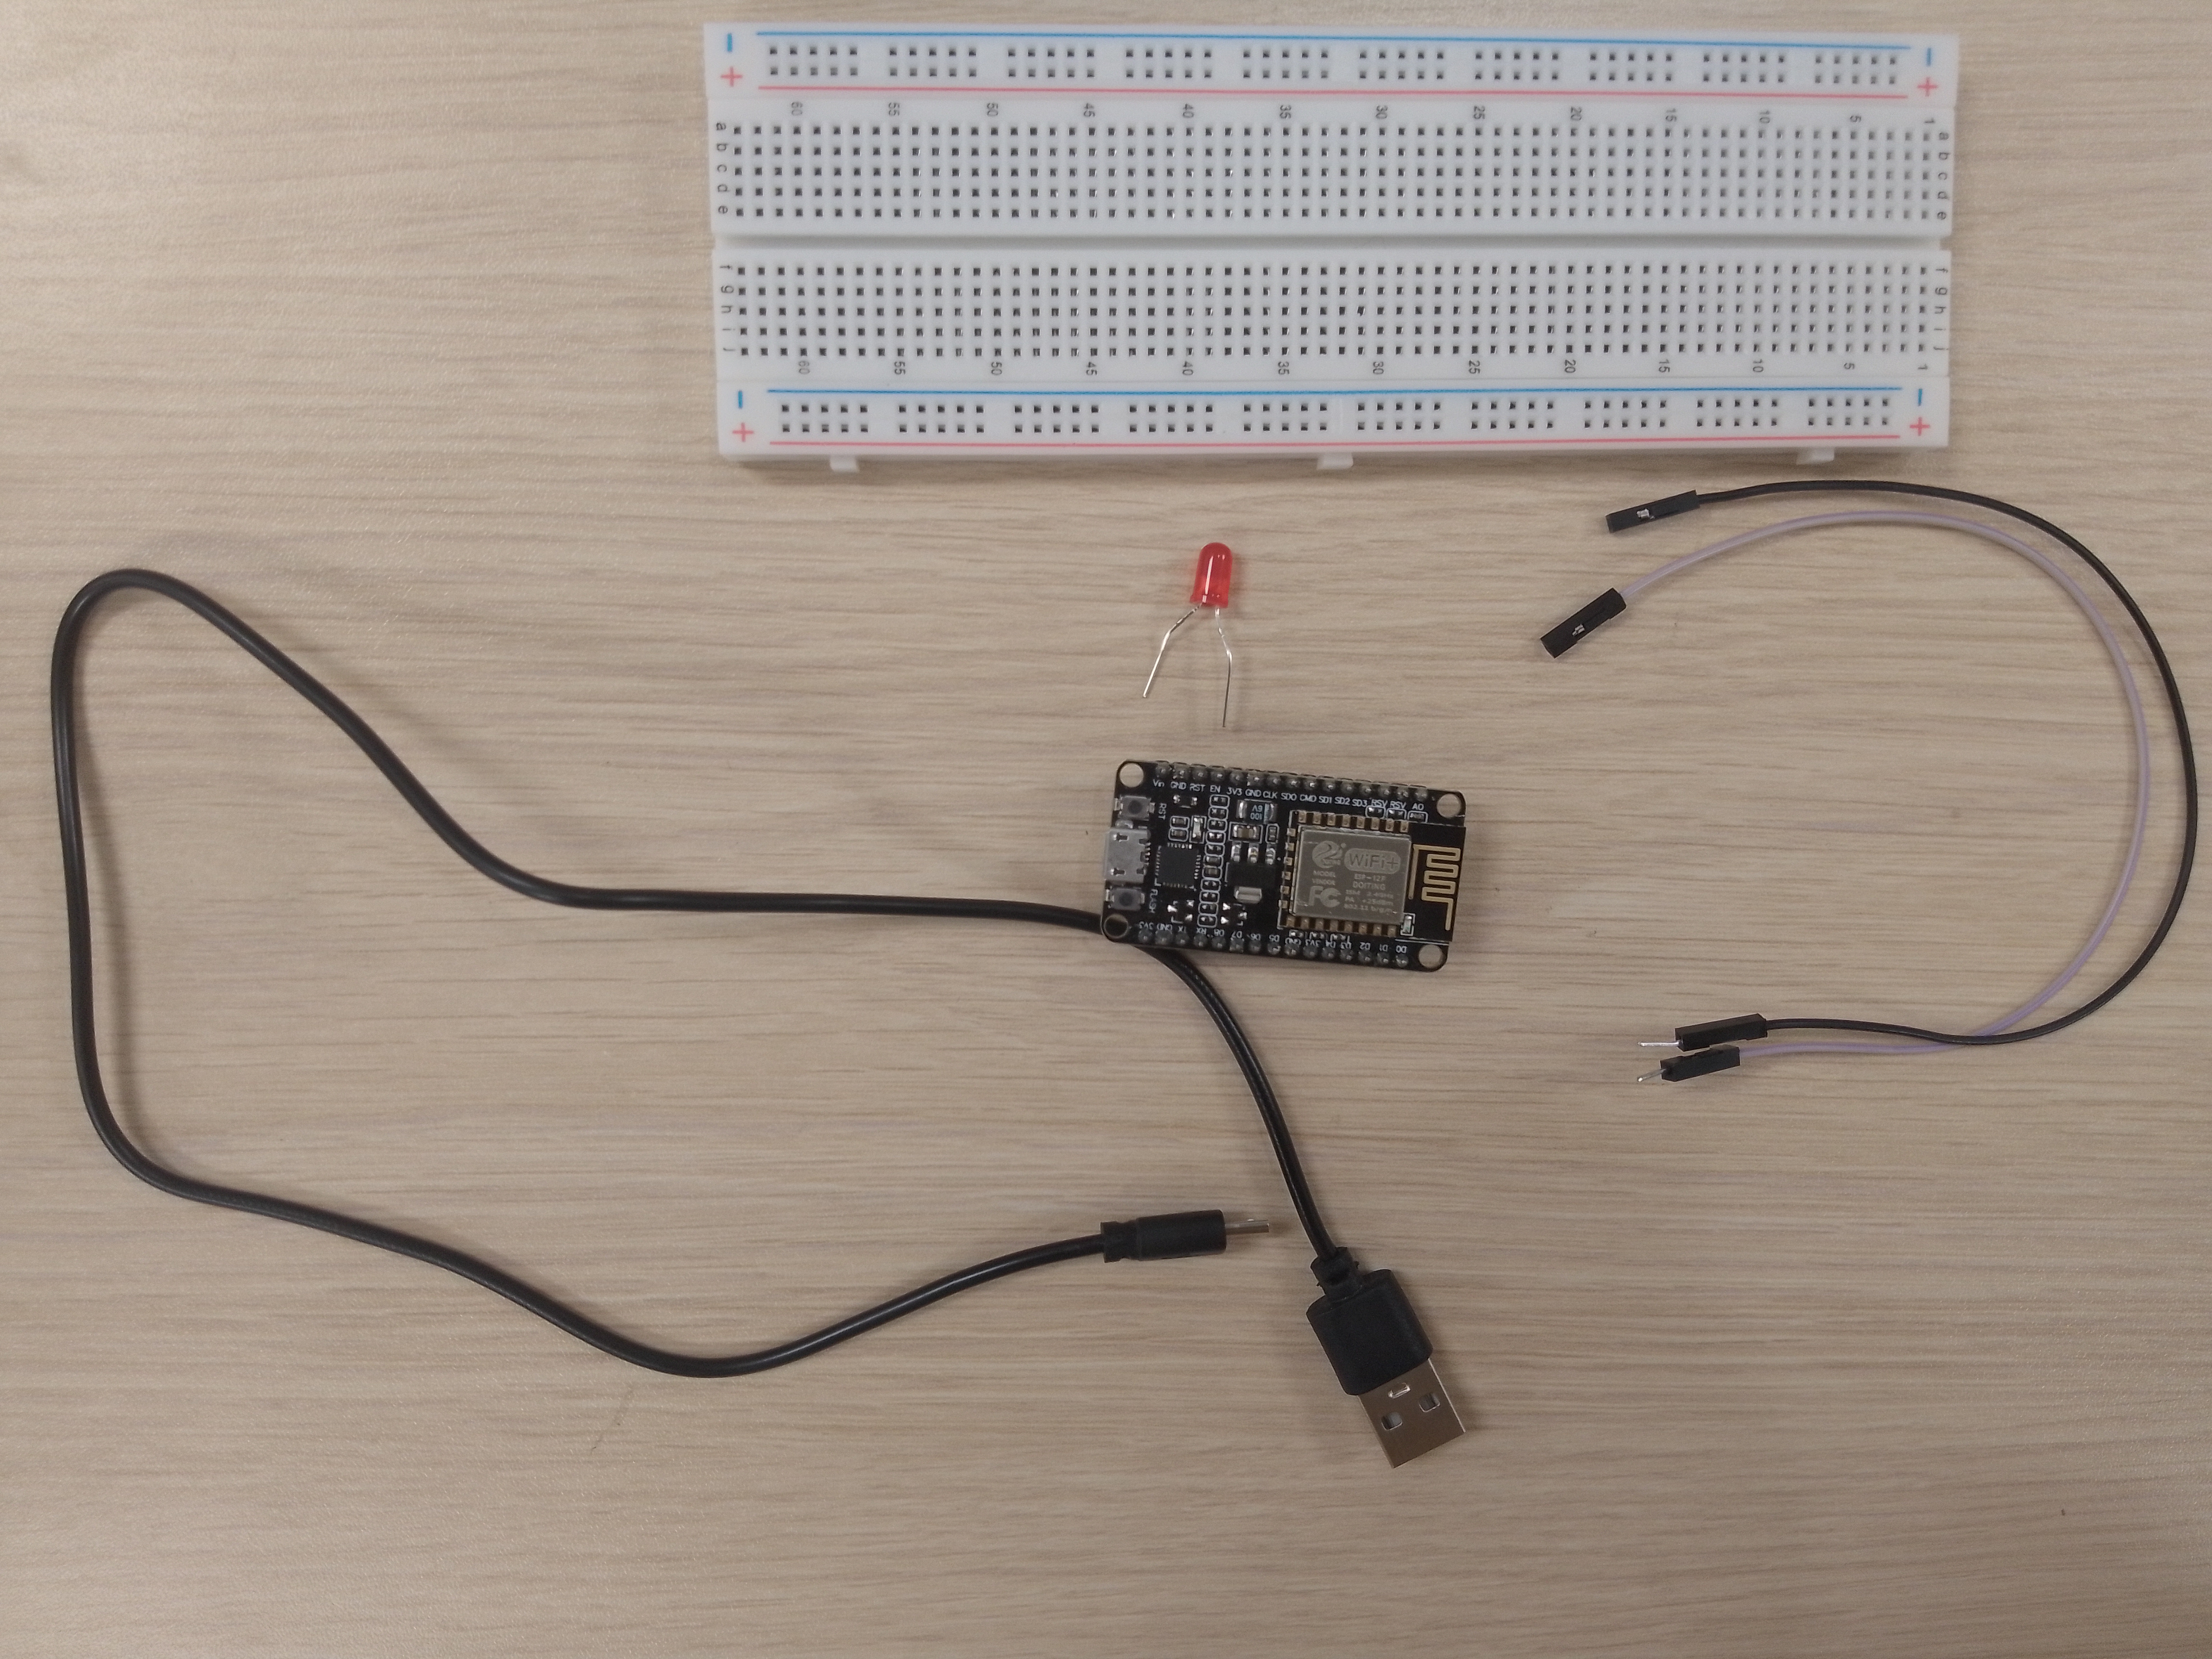
Components Required:
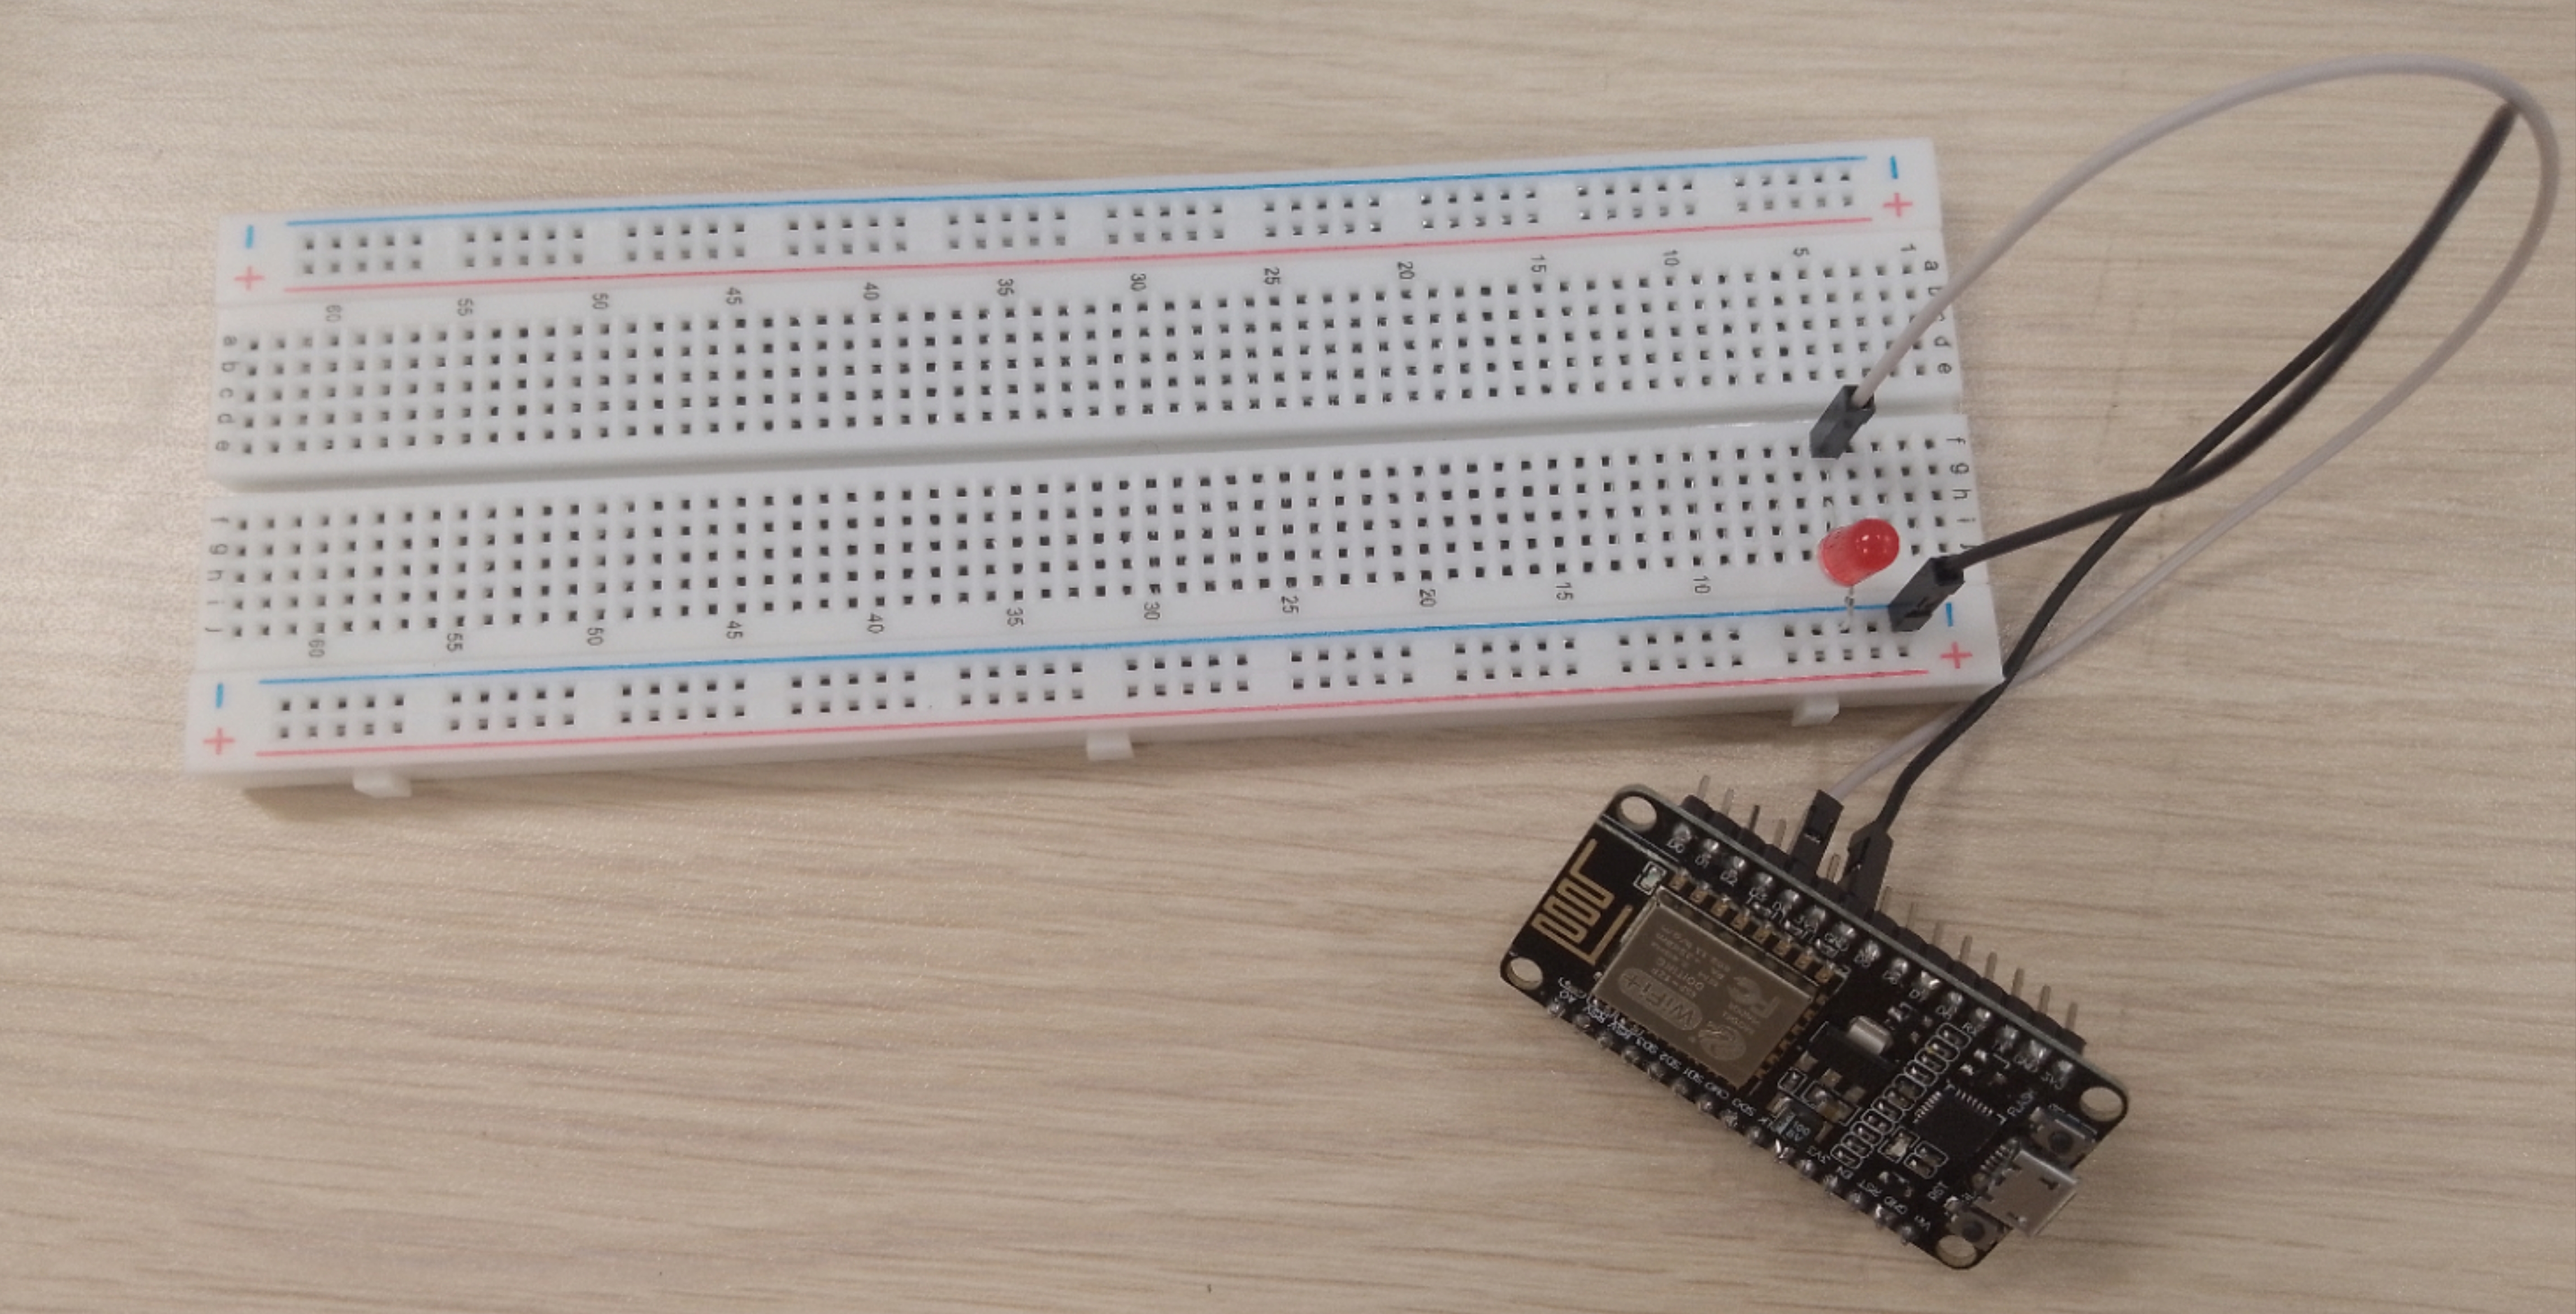
Wiring scheme:
Software Required
Arduino IDE
We need to change additional Boards Manages URL and it will help us to install ESP8266 libraries.

Arduino IDE's libraries


Blynk Cloud IOT Platform Settings

1. Go to Blynk (https://blynk.io) official website to start free

2. Sign up with your email

3. After you successfully active your account you find this dashboard. From Developer Zone click on My Templates to create your own template.

4. Give a template name, choose hardware as “ESP8266”, Connection Type set as “WiFi” and fill the description

5. After you finish creating template click on the Datastreams. When you click on New Datastream choose Digital Pin.

6. Give a Pin name and choose Pin 2 to create datastream

7. Next one Web Dashboard, here you need to choose switch as button and drag it to add as a widget

8. When you click on switch go to its setting

9. Give a switch name and choose Datastream that we created earlier

10. Save the Widget Box

11. Next you have to add device. Go to Devices to add a new device

12. When you click on New Device you have to choose a way. Here we will choose From template

13. Choose the template that you have created

14. After choosing template you can check Device info and Firmware configuration (Template ID, Template Name, and AuthToken should be declared at the very top of the firmware code). You need to copy the Firmware Configuration code.

15. Next we need to go to Arduino IDE for uploading code for controlling the led. First choose esp8266 board and port COM4 (When you connect the cable with NodeMcu board).

16. Copy this code and paste
    #define BLYNK_TEMPLATE_ID "TemplateID"
    #define BLYNK_DEVICE_NAME "Device Name"
    #define BLYNK_AUTH_TOKEN "Auth Token"


    #define BLYNK_PRINT Serial
    #include <ESP8266WiFi.h>
    #include <BlynkSimpleEsp8266.h>


    char auth[] = BLYNK_AUTH_TOKEN;
    char ssid[] = "Wifi Username";  // Enter your Wifi Username
    char pass[] = "Wifi Password";  // Enter your Wifi password

    int ledpin = D4;
    void setup()
    {
      Serial.begin(115200);
      Blynk.begin(auth, ssid, pass);
      pinMode(ledpin,OUTPUT);
    }

    void loop()
    {
      Blynk.run();
    }
Source:
https://github.com/Tech-Trends-Shameer/Esp-8266-Projects/blob/main/Control-LED-Using-Blynk-IOT/control-led-using-blynk-iot.ino
17. You just need to change your Firmware Configuration code that you got from Blynk and change User name and Password.

18. After that make sure you connect NodeMcu Esp8266 with cable then upload the code on NodeMcu Esp8266.

19. After you successfully upload the code then go to Blynk Device and check Dashboard to find your device Online. Now, you can use the Led switch to control the Led (Turn it on and off).

20. For Blynk Cloud we can control hardware using Mobile as well. First you can download Blynk Mobile app on Android or iOS.
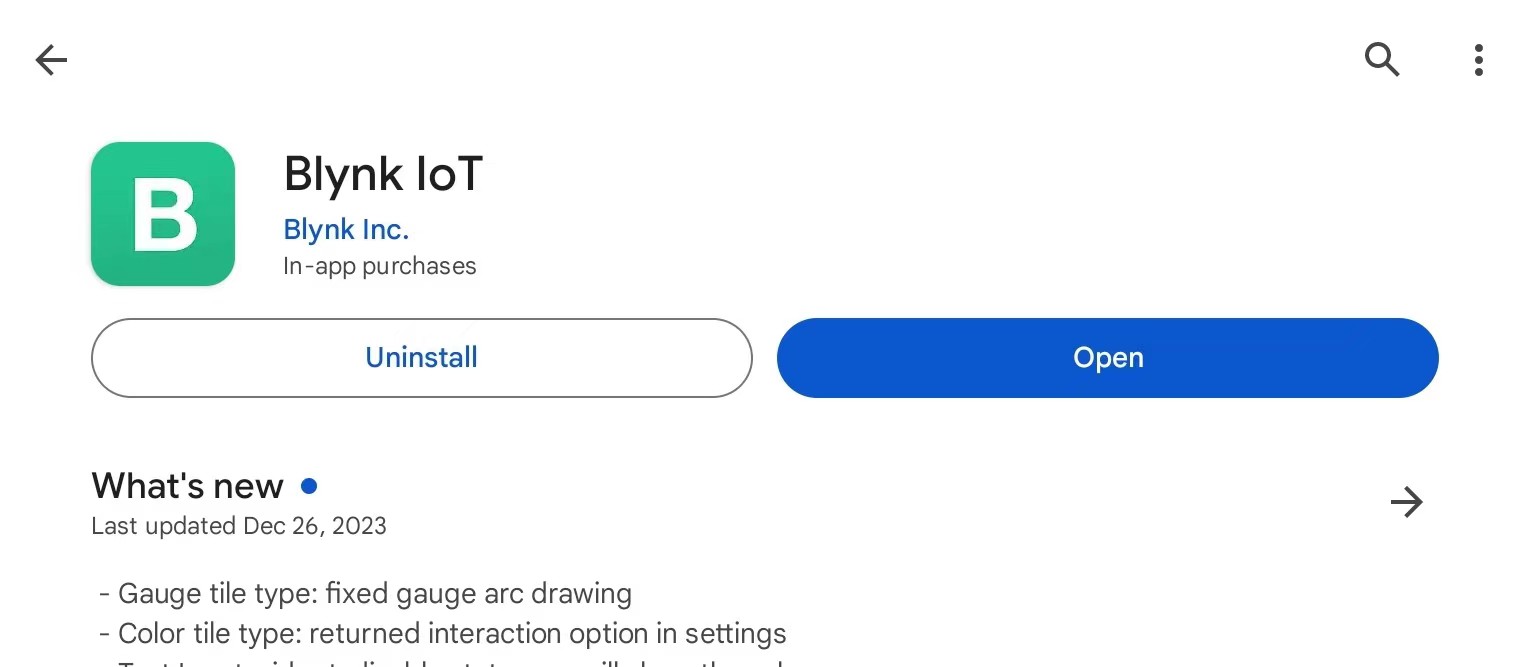
21. After you download the app you just need to login to your Blynk Account. Next you can find your template on there just have to add a widget button for Led.
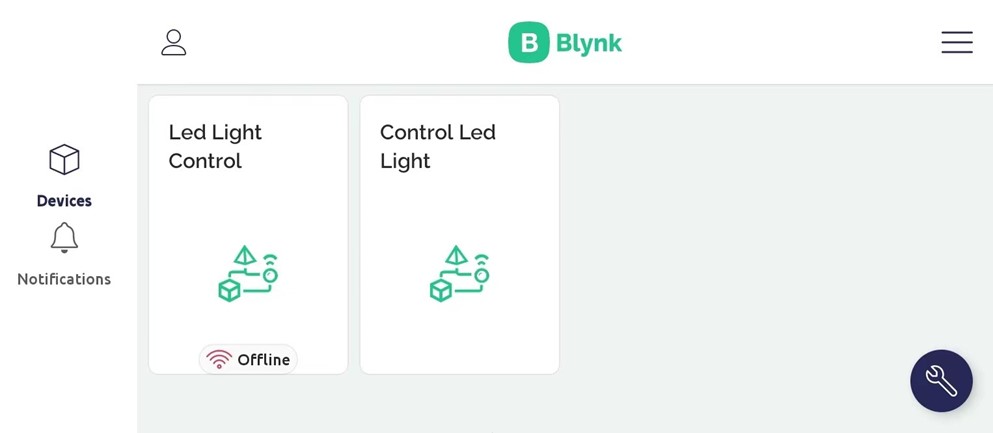
22. Add Button to control Led
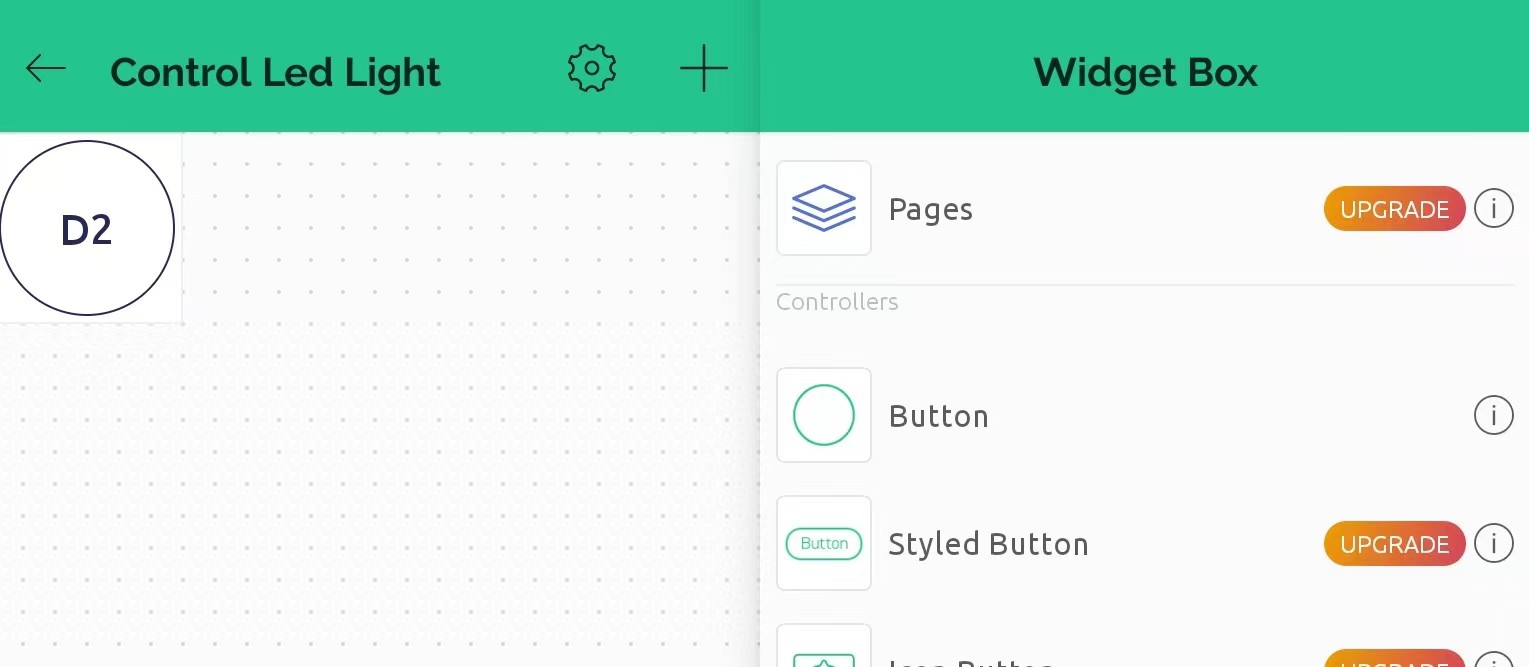
23. Now you can control Led with your Mobile.
Reference:
Nexmaker
Blynk
Arduino IDE