Trim the excess arcs using the trimming tool;

Move and copy to create duplicates;

Create a new arc and modify its diameter;

Create a complete slot, and adjust the dimensions;

Extrude the sketch;
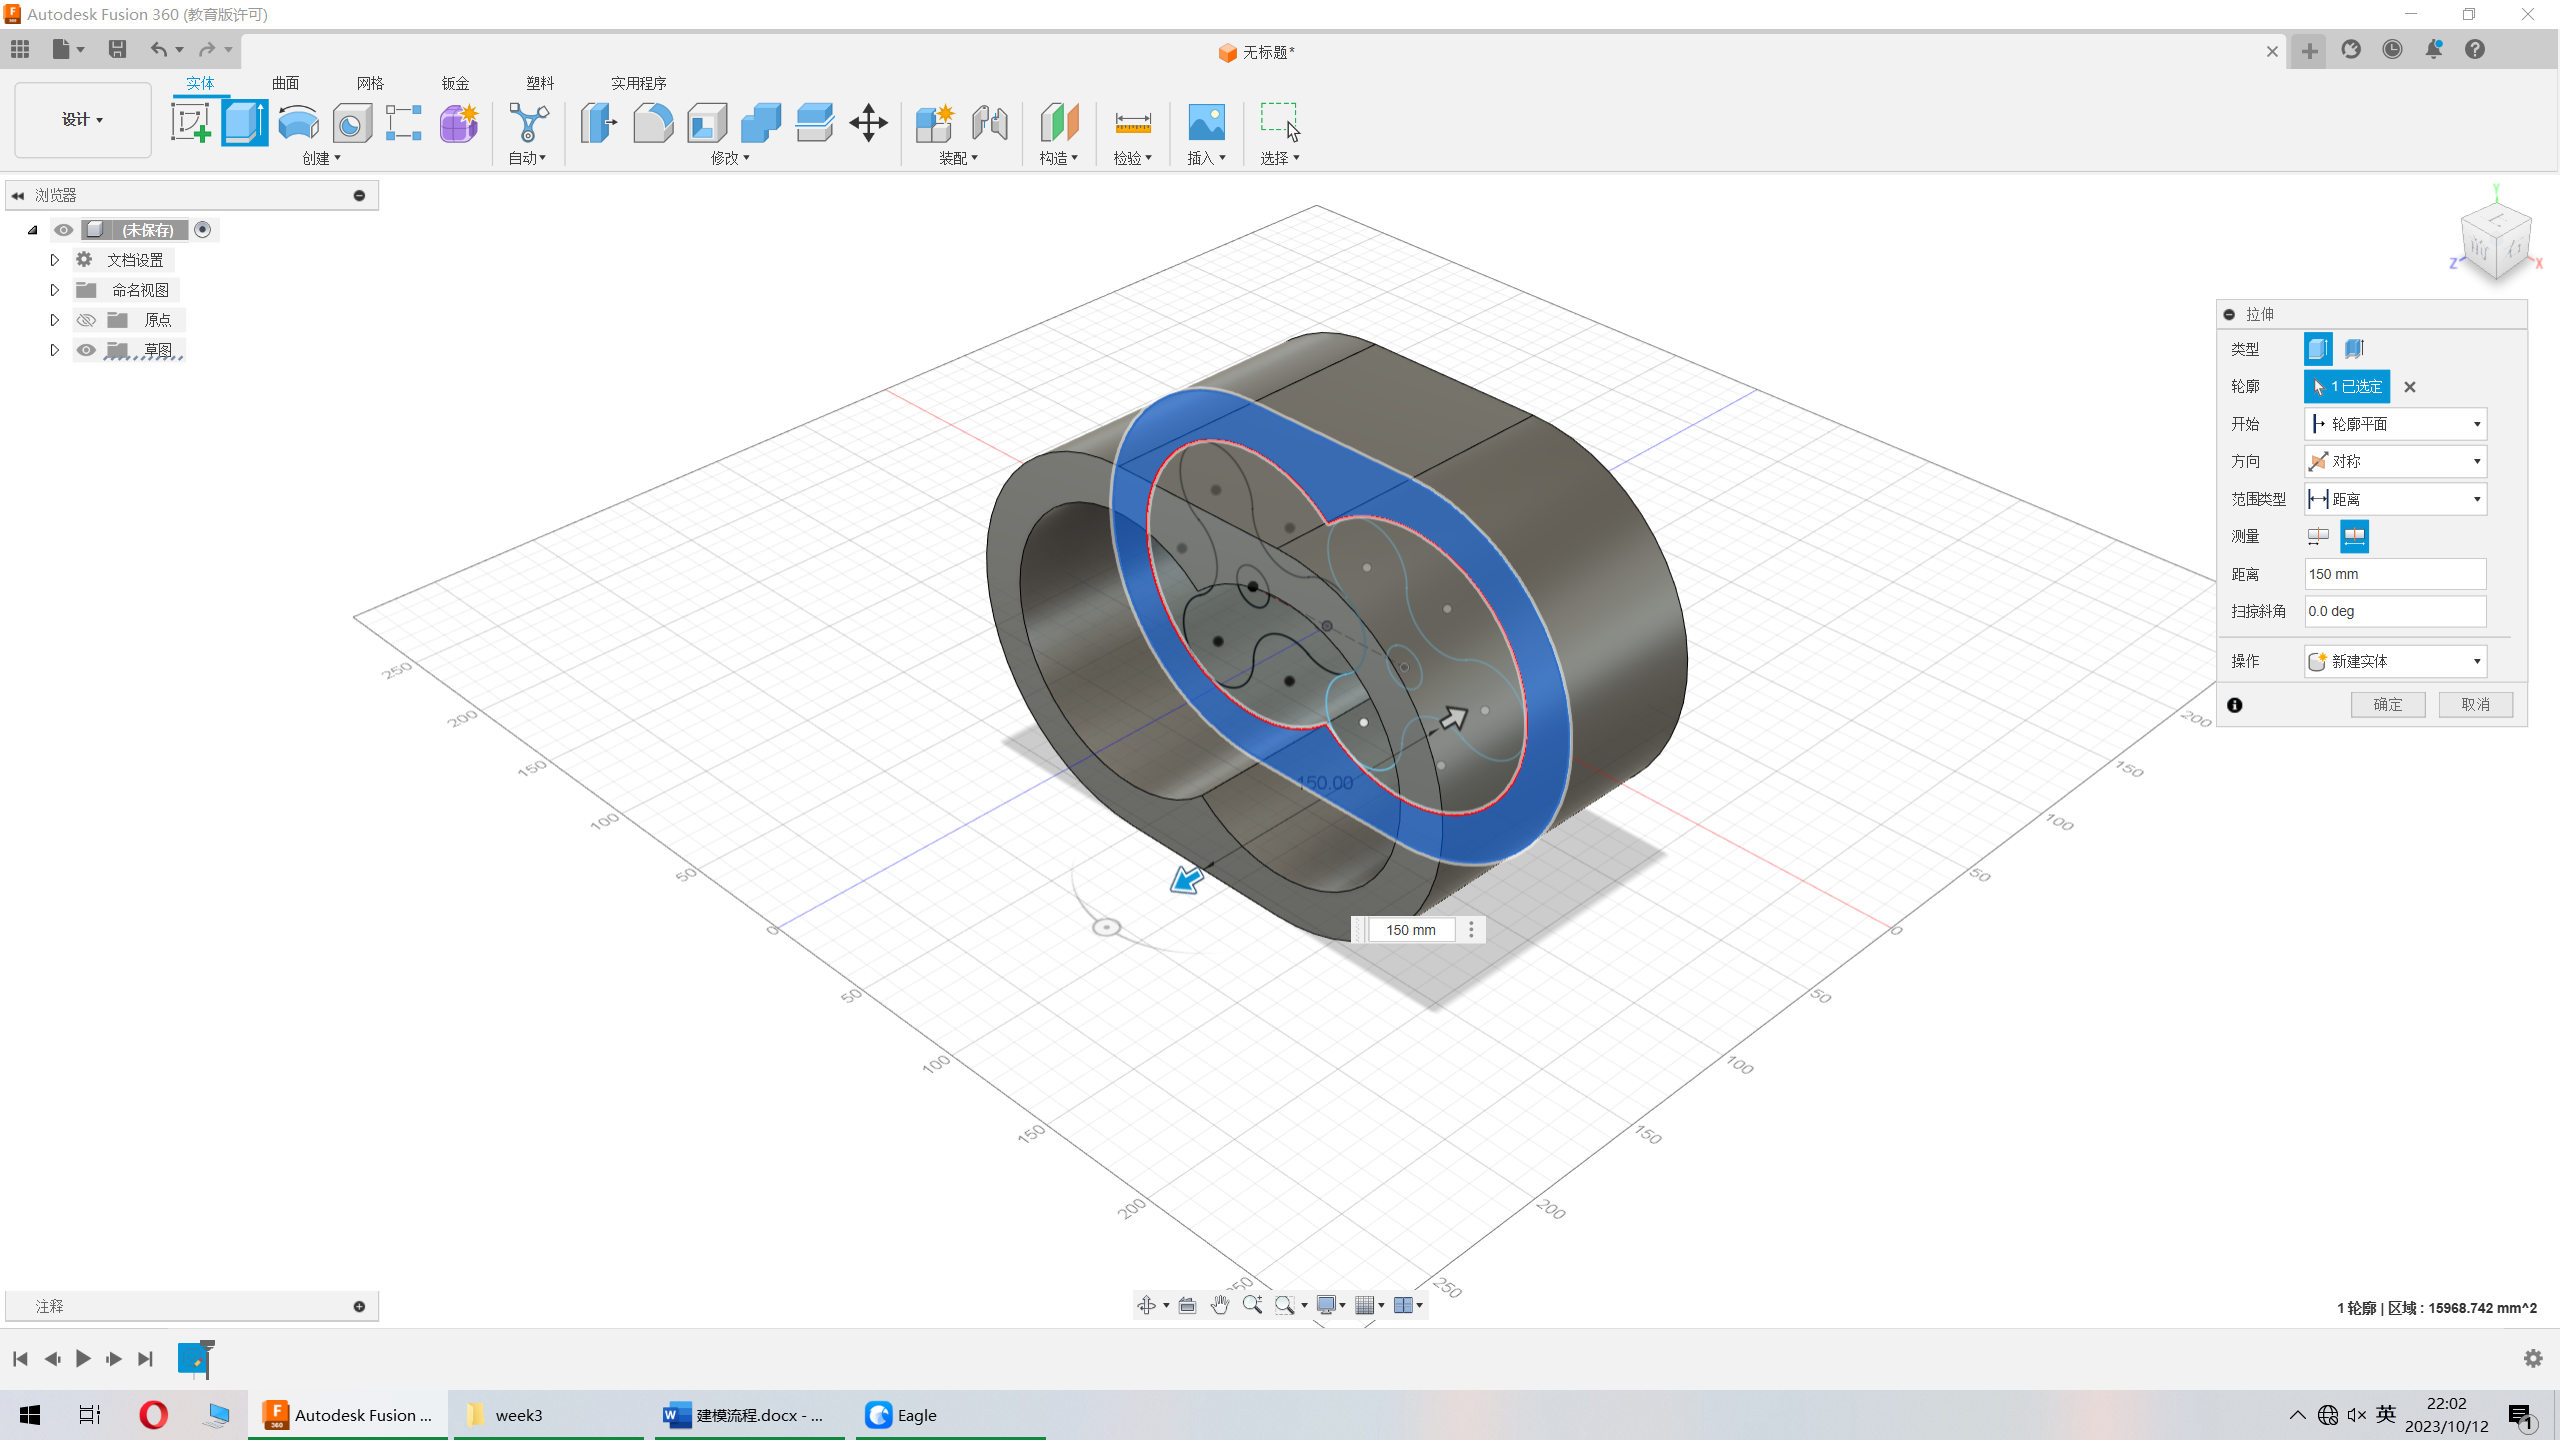
Continue to extrude the object in the image;
Select the surface as shown in the image to create a sketch;

After constructing auxiliary lines, create a new circle;

Choose path array, select feature as the object type, choose the object and path, direction select path direction;

Select the shape, create a sketch, generate projection;

Create rectangles and array them;

Select the chosen part, and extrude;

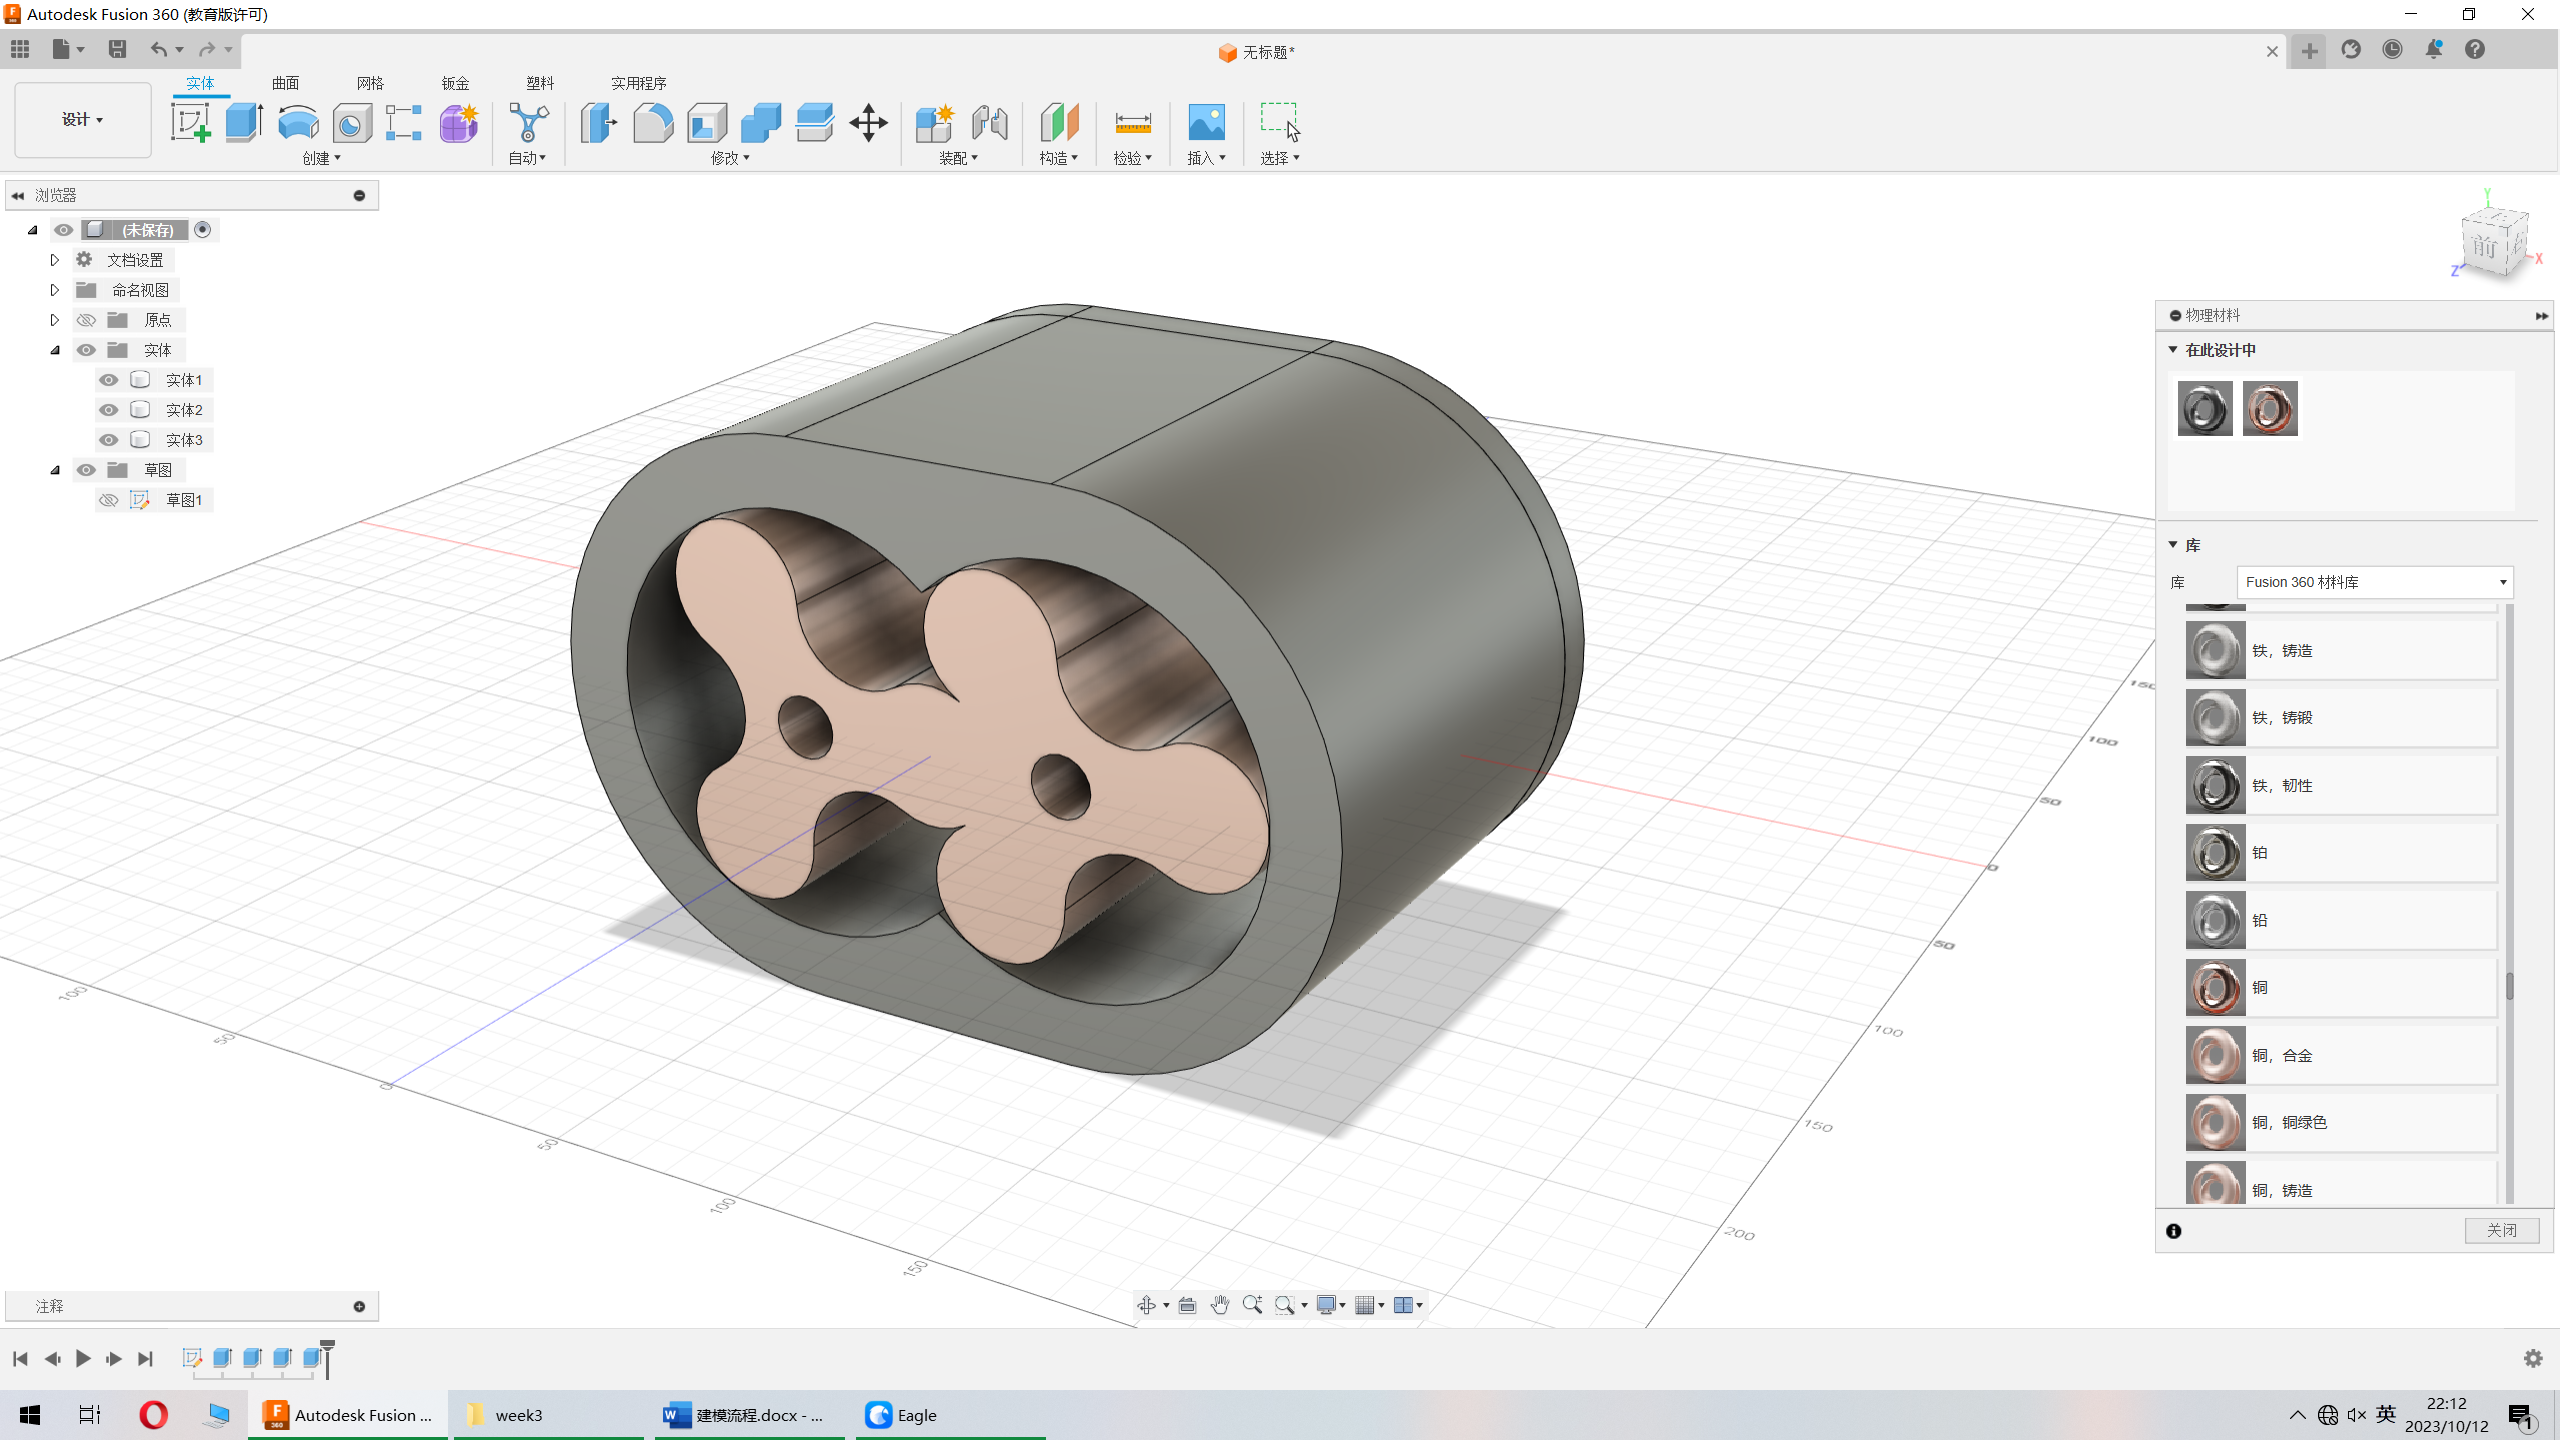
Continue to extrude and assign materials;

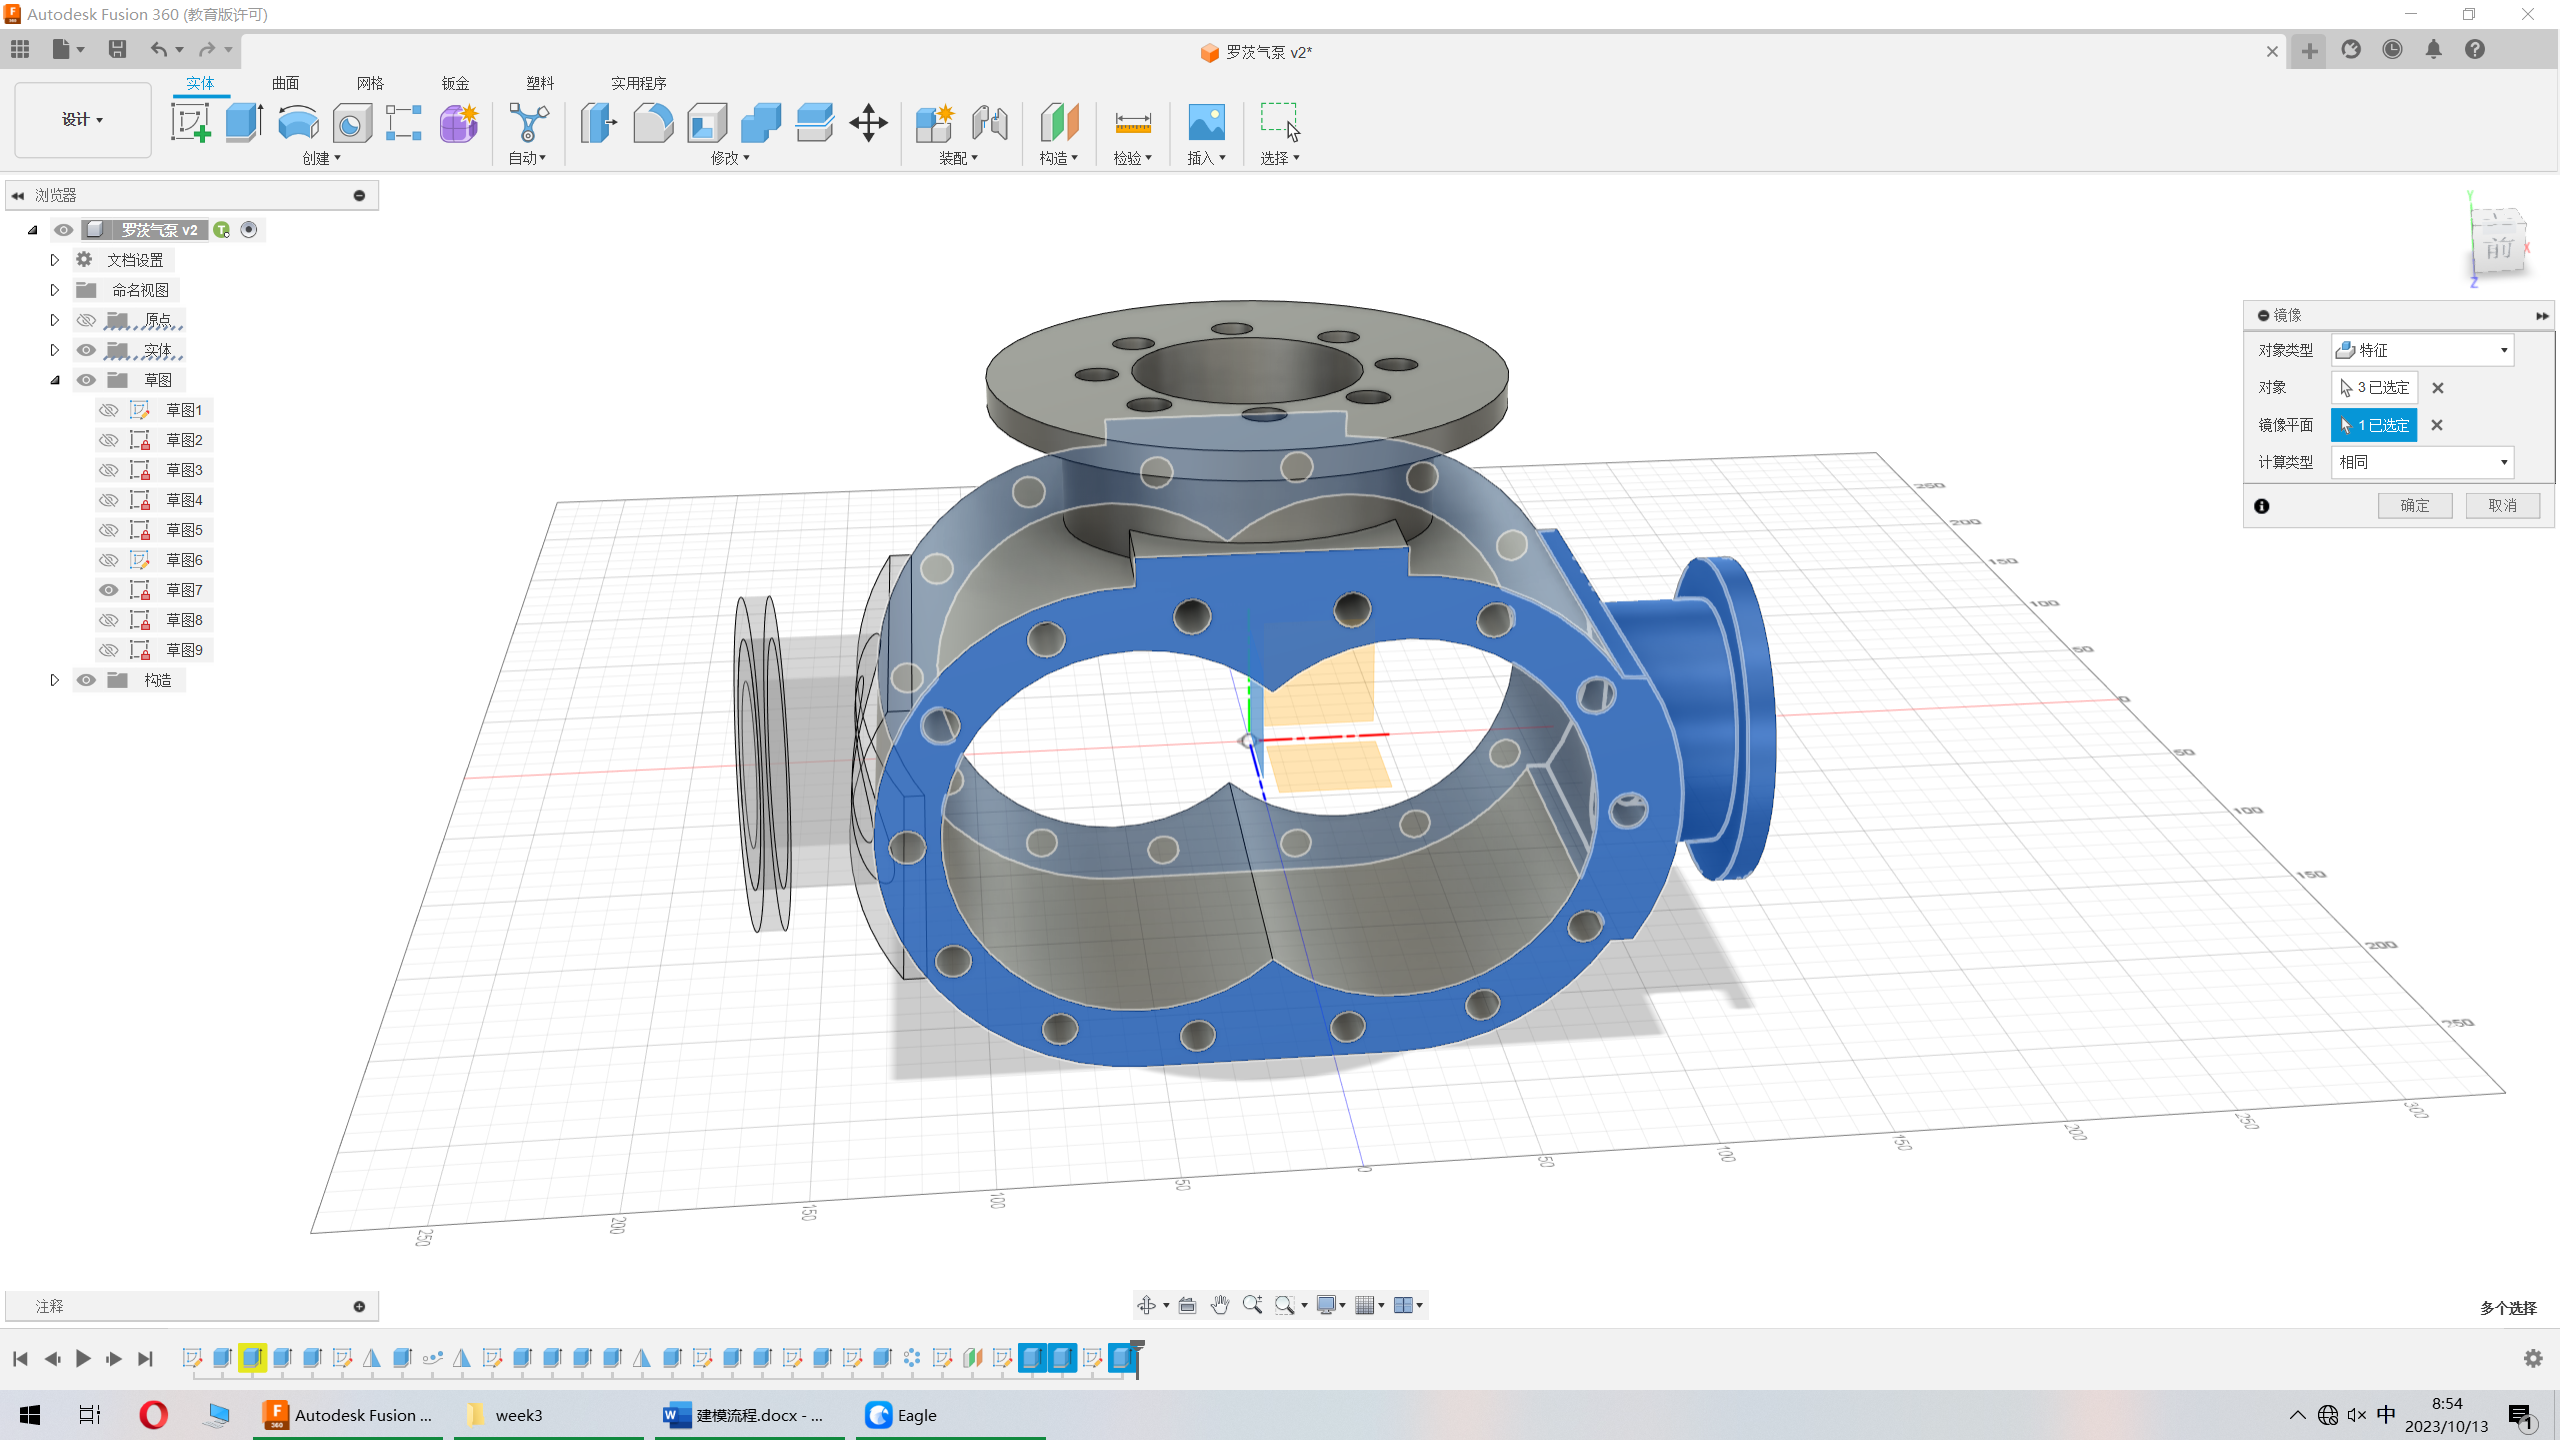
Select the corresponding position on the timeline, mirror features;

Select the top plane, extrude; select the top plane to create a sketch, as shown in the image create a new circle and extrude;

Select the circle, extrude according to the parameters shown in the image;

After extruding the circle, create circles on the plane, adjust the distance to 52;

After extruding the object, click on circular array, select feature as object type, choose the corresponding timeline, modify the quantity to 8;

In the right view, create a new sketch and modify dimensions;

Select all sketches to extrude, start by selecting objects, then directly select the main body’s right side, modify the distance to 8;

Select the large circle to extrude, set the range type to target object, select the main body side;

Create a circle sketch, and extrude, distance is -10;

Use mirror, select the corresponding feature on the timeline, after selecting the mirror plane, choose the same calculation type;
After creating a new sketch on the side, create circles and adjust the distance;

After extruding the circles, circular array, select feature, modify the quantity to 8;

In the front view create a sketch, open Sketch 1, project and offset the blue inner circle;

Click on the line, and connect the positions on the image in sequence;

Extrude the respective area, and rectangular array, select feature as the object type, choose the object and axis then modify the quantity to 8, distance to 140;

Find spurGear in the add-on module, click to run;

Adjust the corresponding parameters;

Select all entities, right-click - create parts from entities;
