1 Mechanical part printing
(1) Open the fusion360 team assembly job

(2) Use the move and rotate commands to disassemble the assembly and place it on the same plane

(3) Export the file locally to obj format

(4) Download and install Bambu Studio from the official website https://bambulab.cn/zh-cn/download/studio

(5) Use Bambu Studio to open the previously exported assembly obj file and select the printer type as Bambu Lab A1 mini
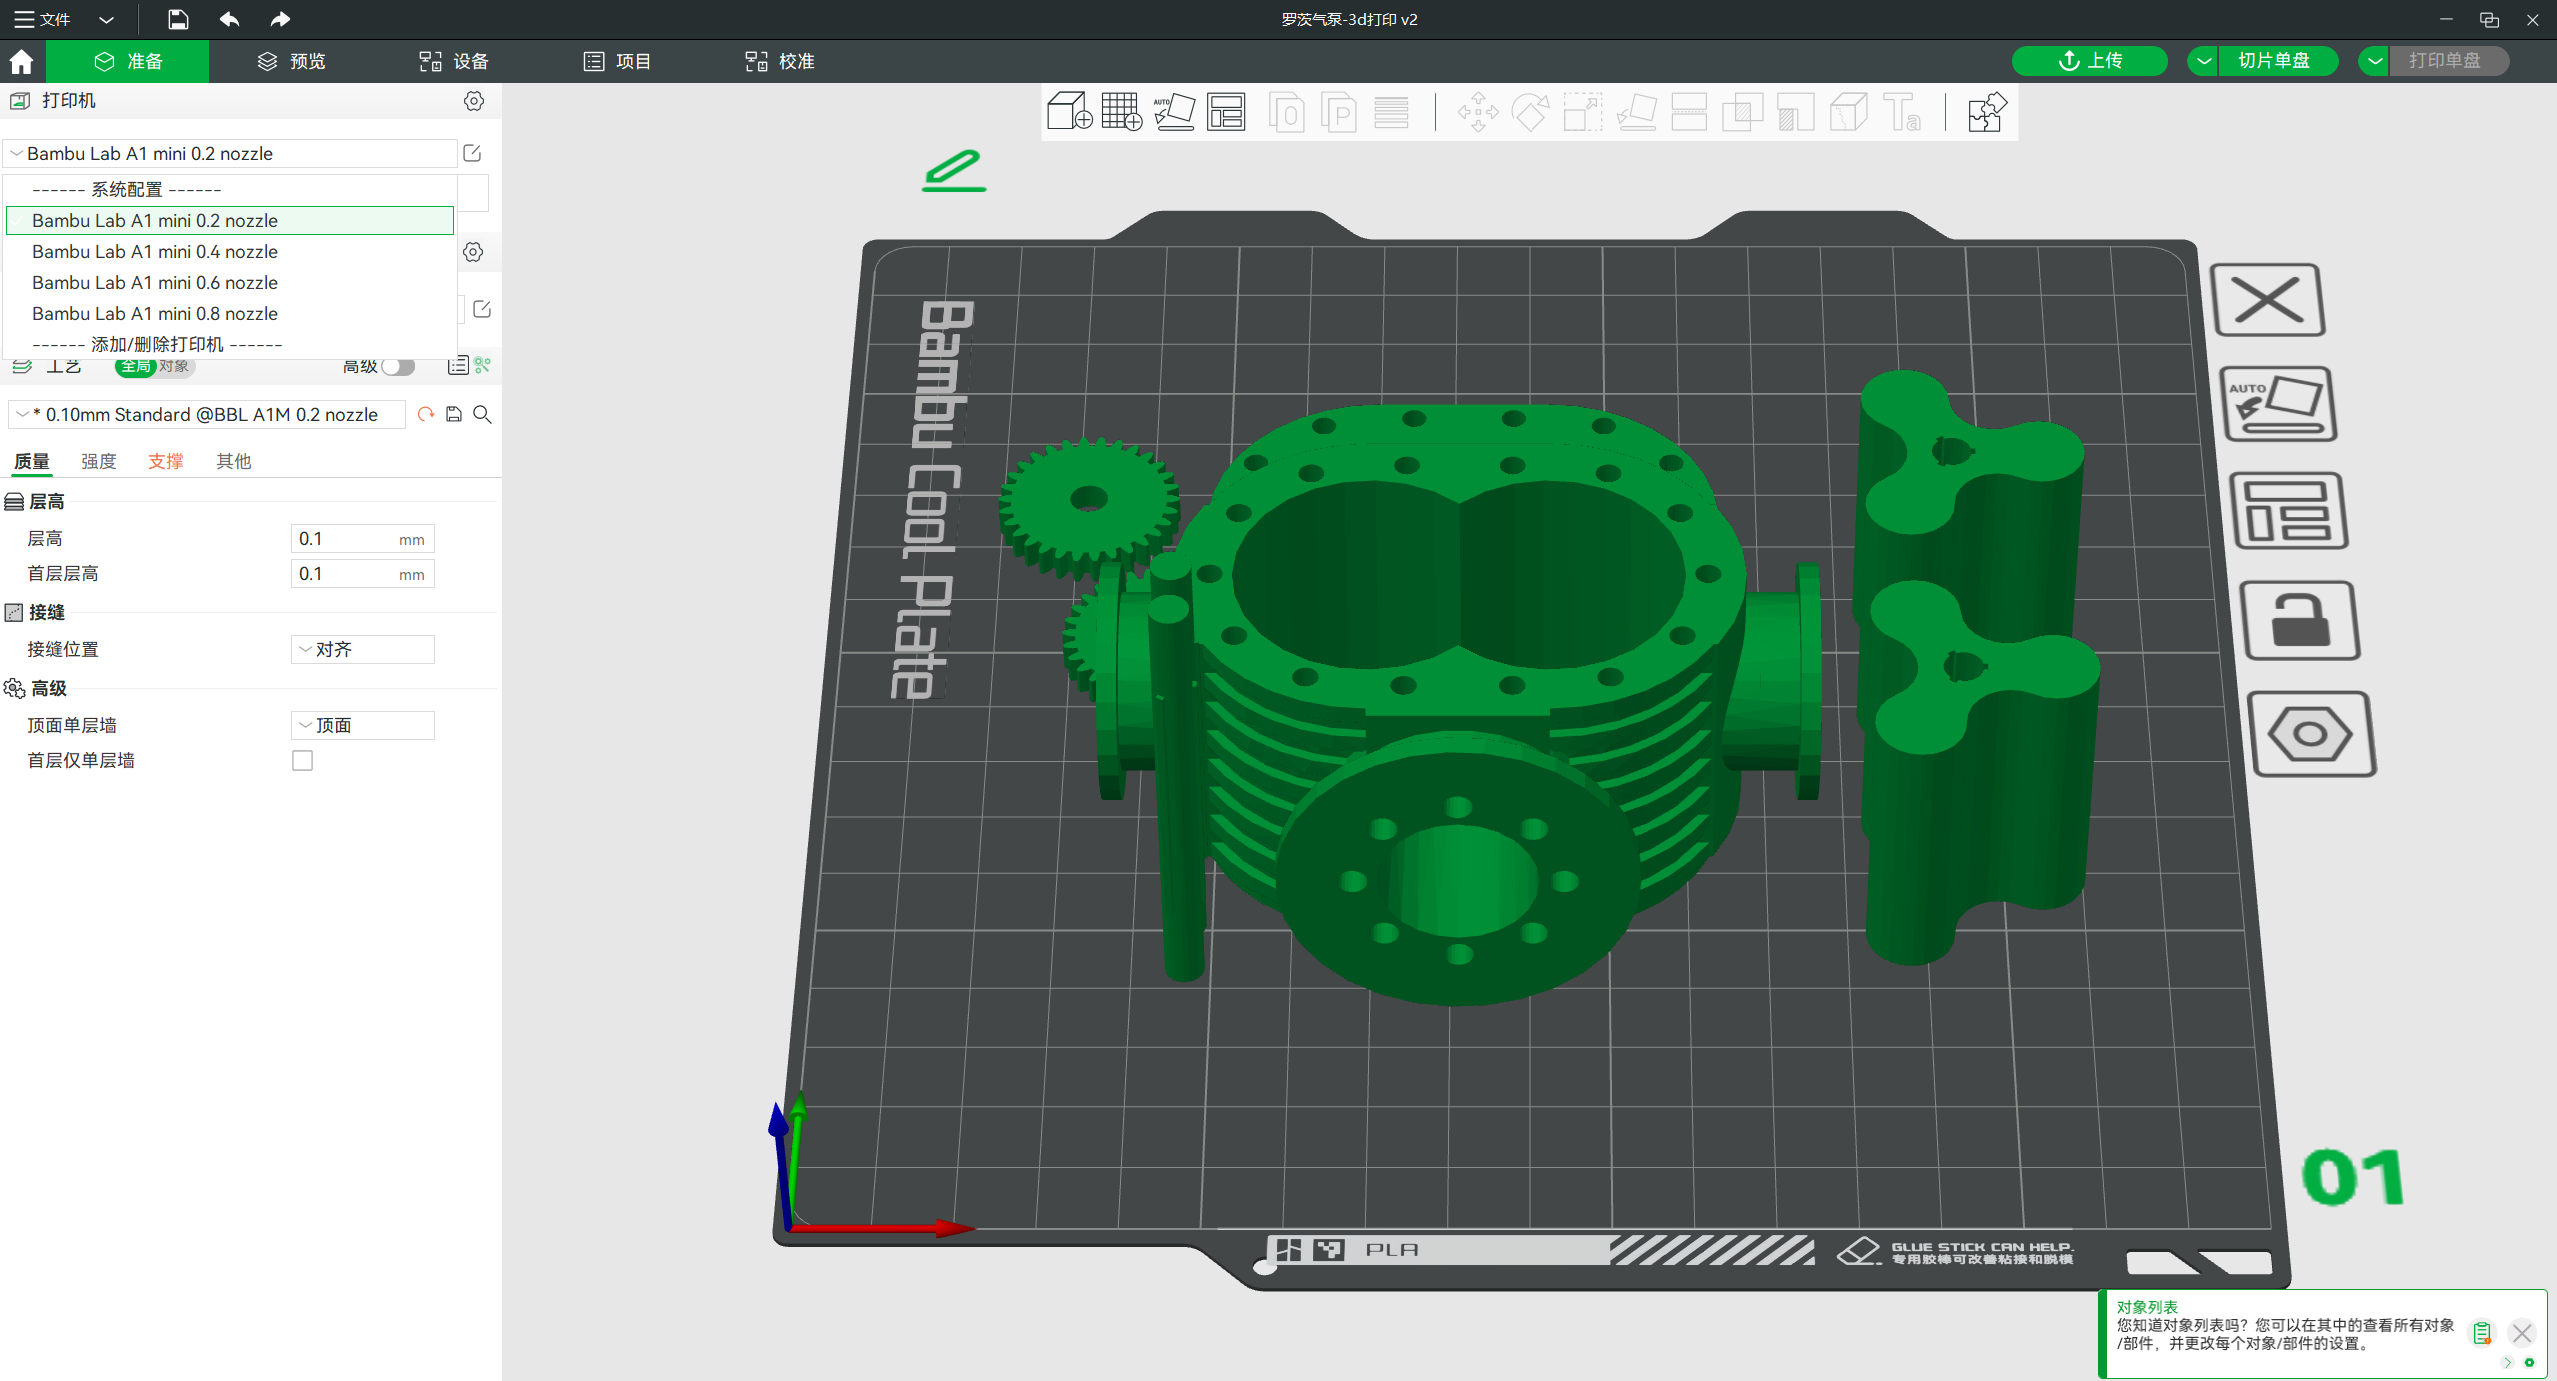
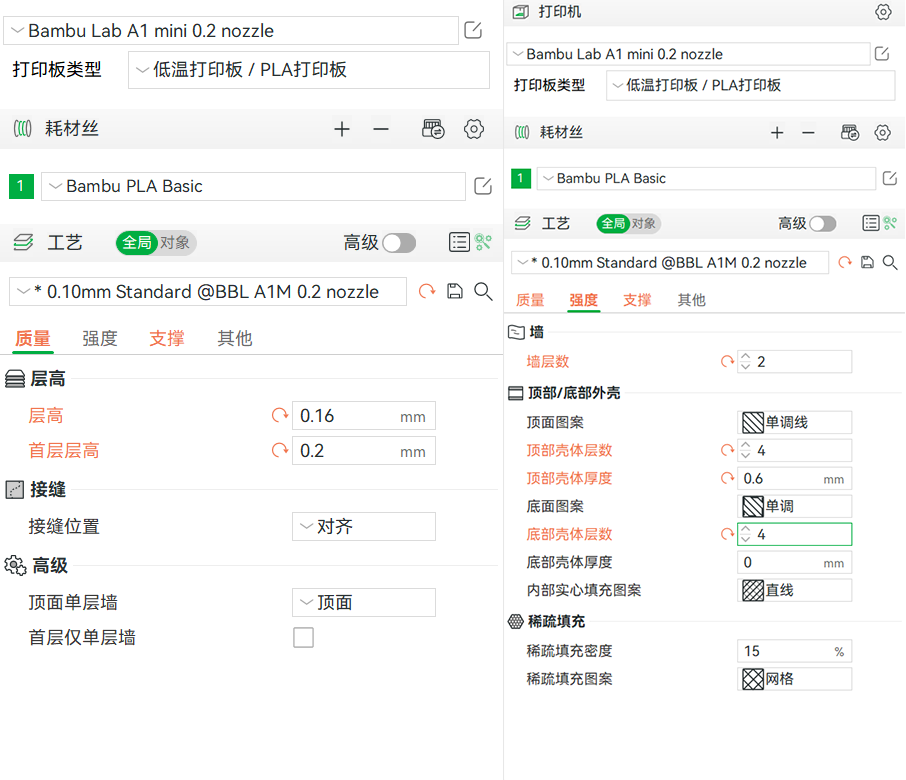
(6) Adjust print parameters
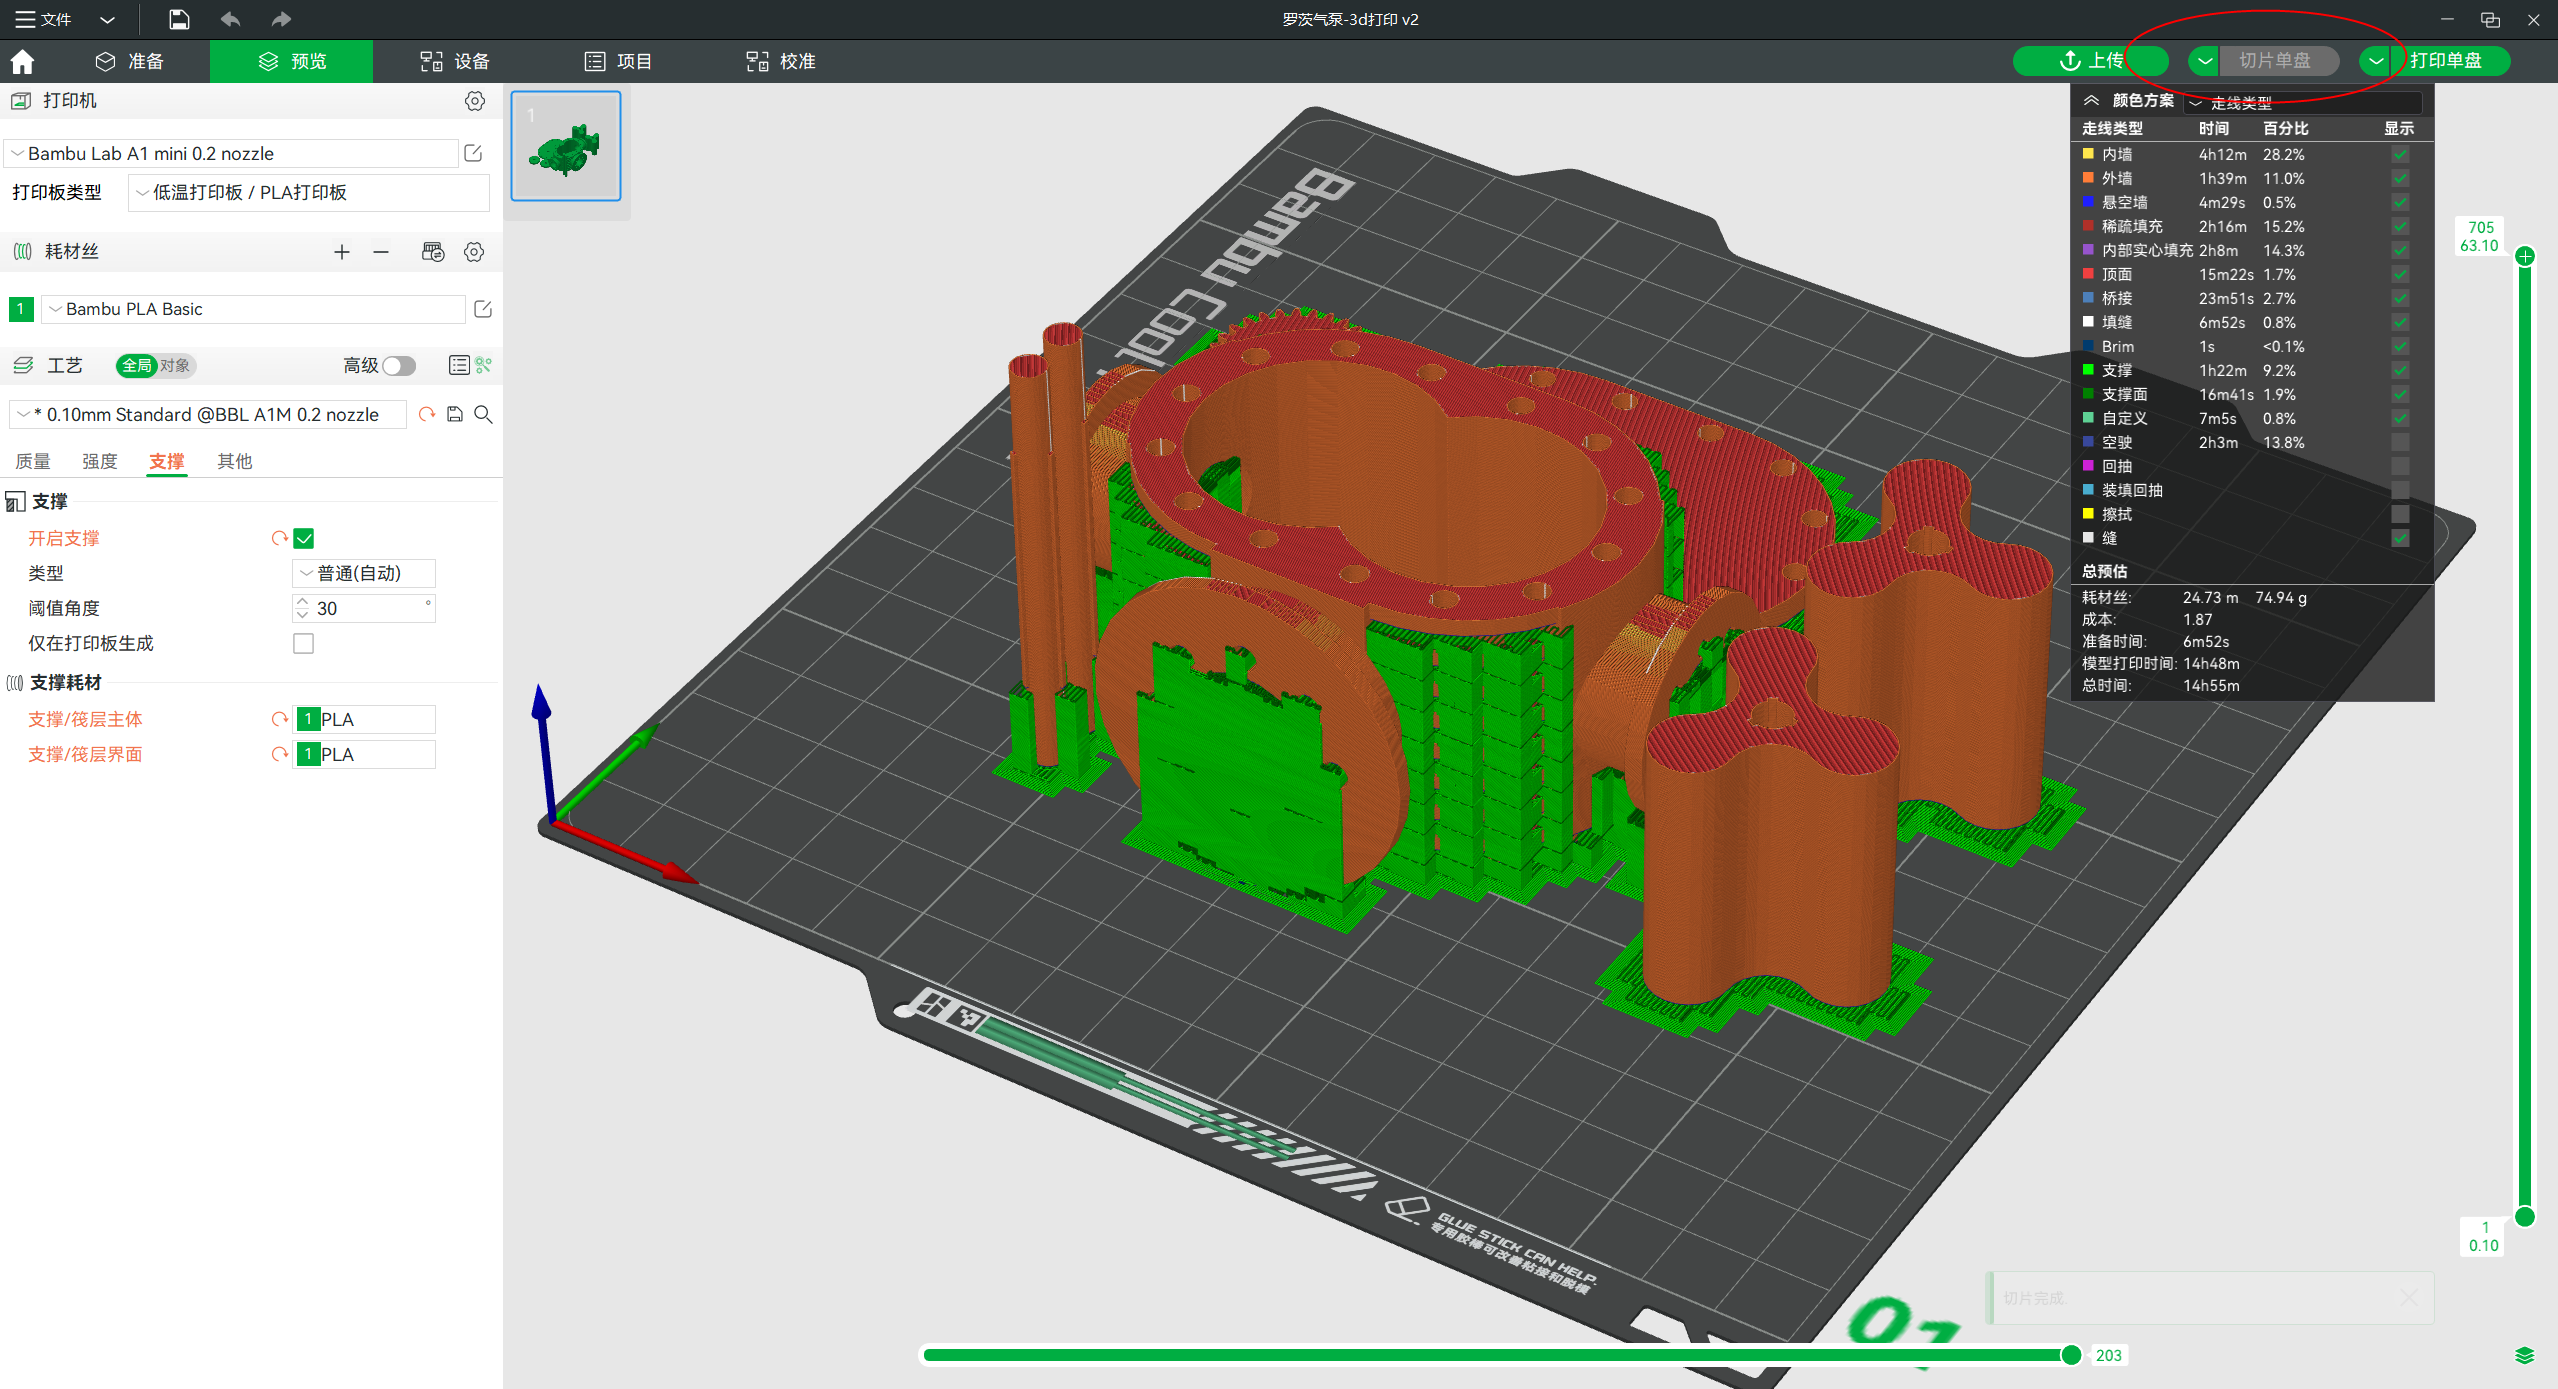
(7) Click Support and check Enable support

(8) Click on the slice sheet in the top right corner and wait
(9) Export the single disk slice file and transfer it to tf card

(10) The 3d printer starts printing by clicking down the page

(11) The process was lengthy
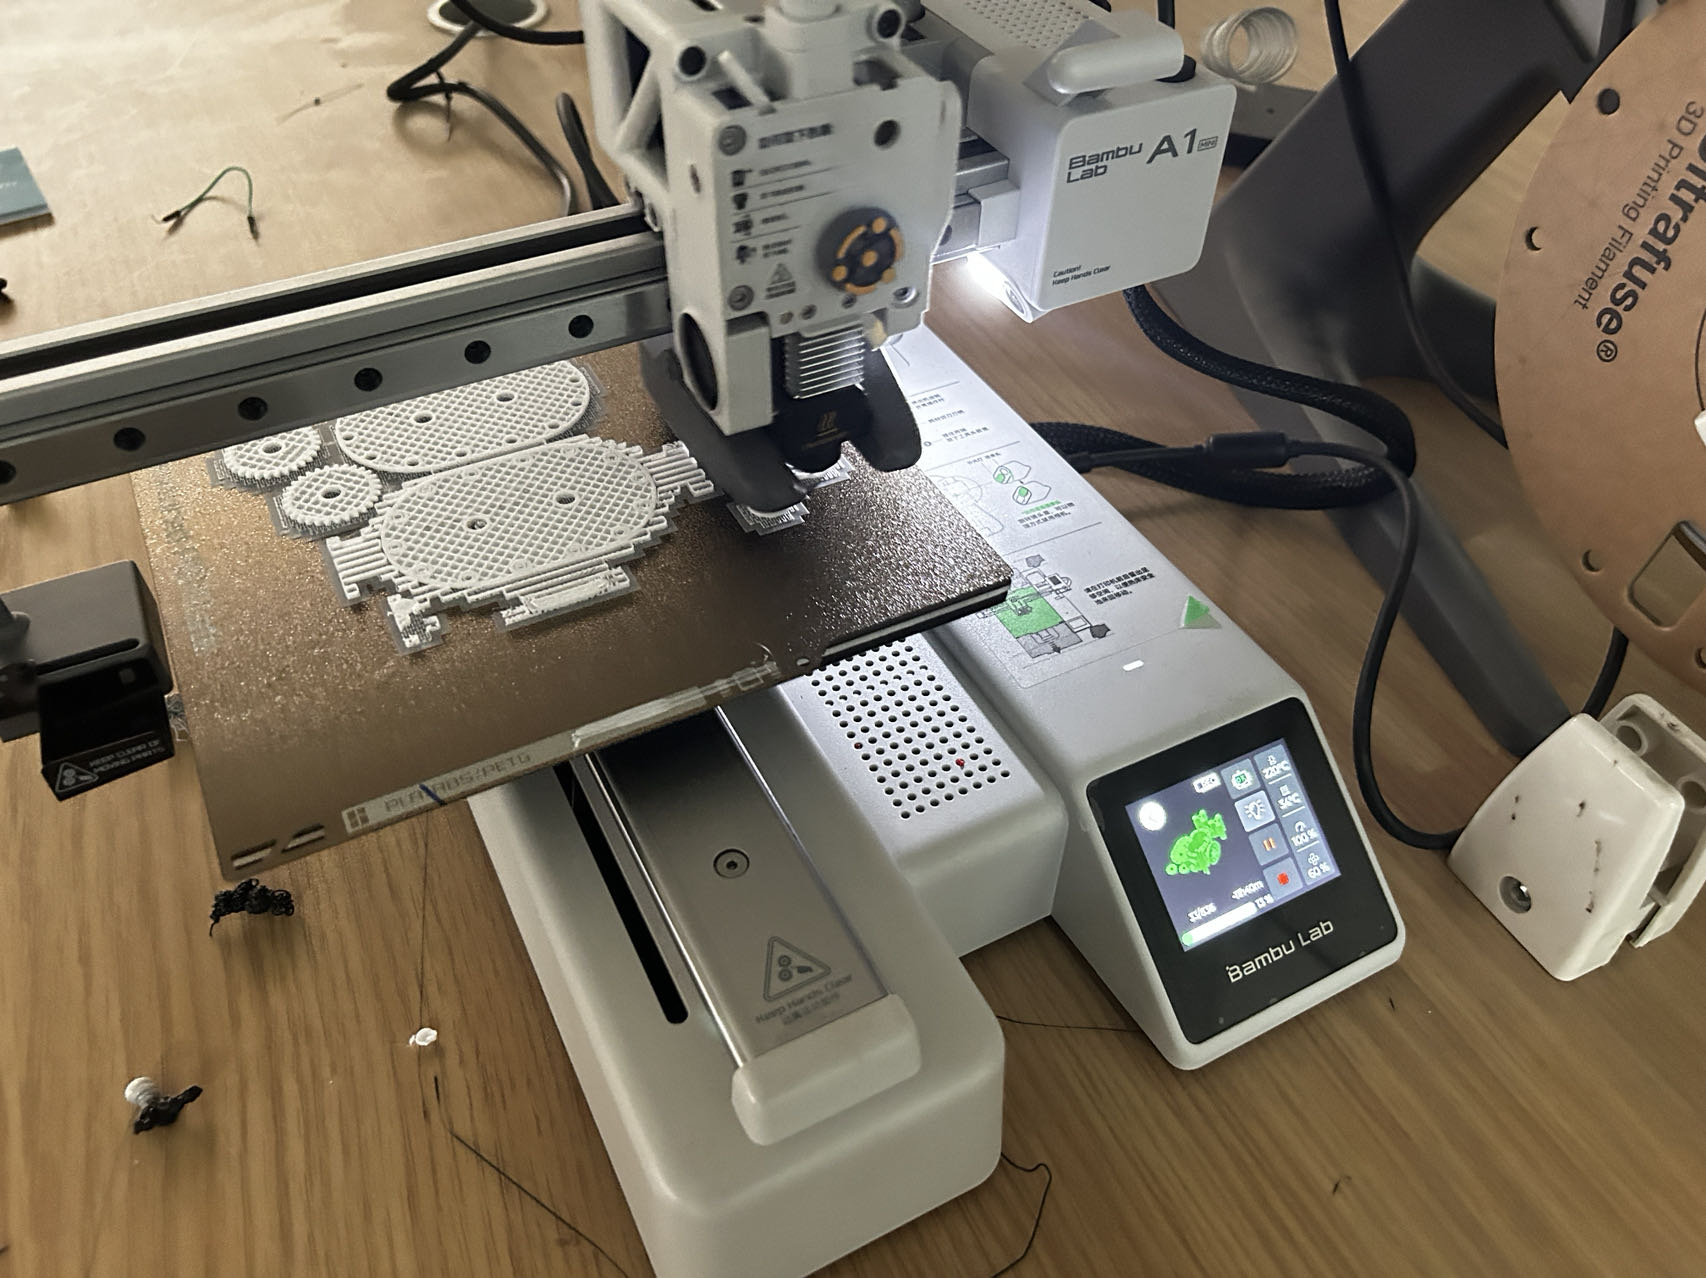
(12) After the printing is completed and the support is trimmed, the finished product is obtained

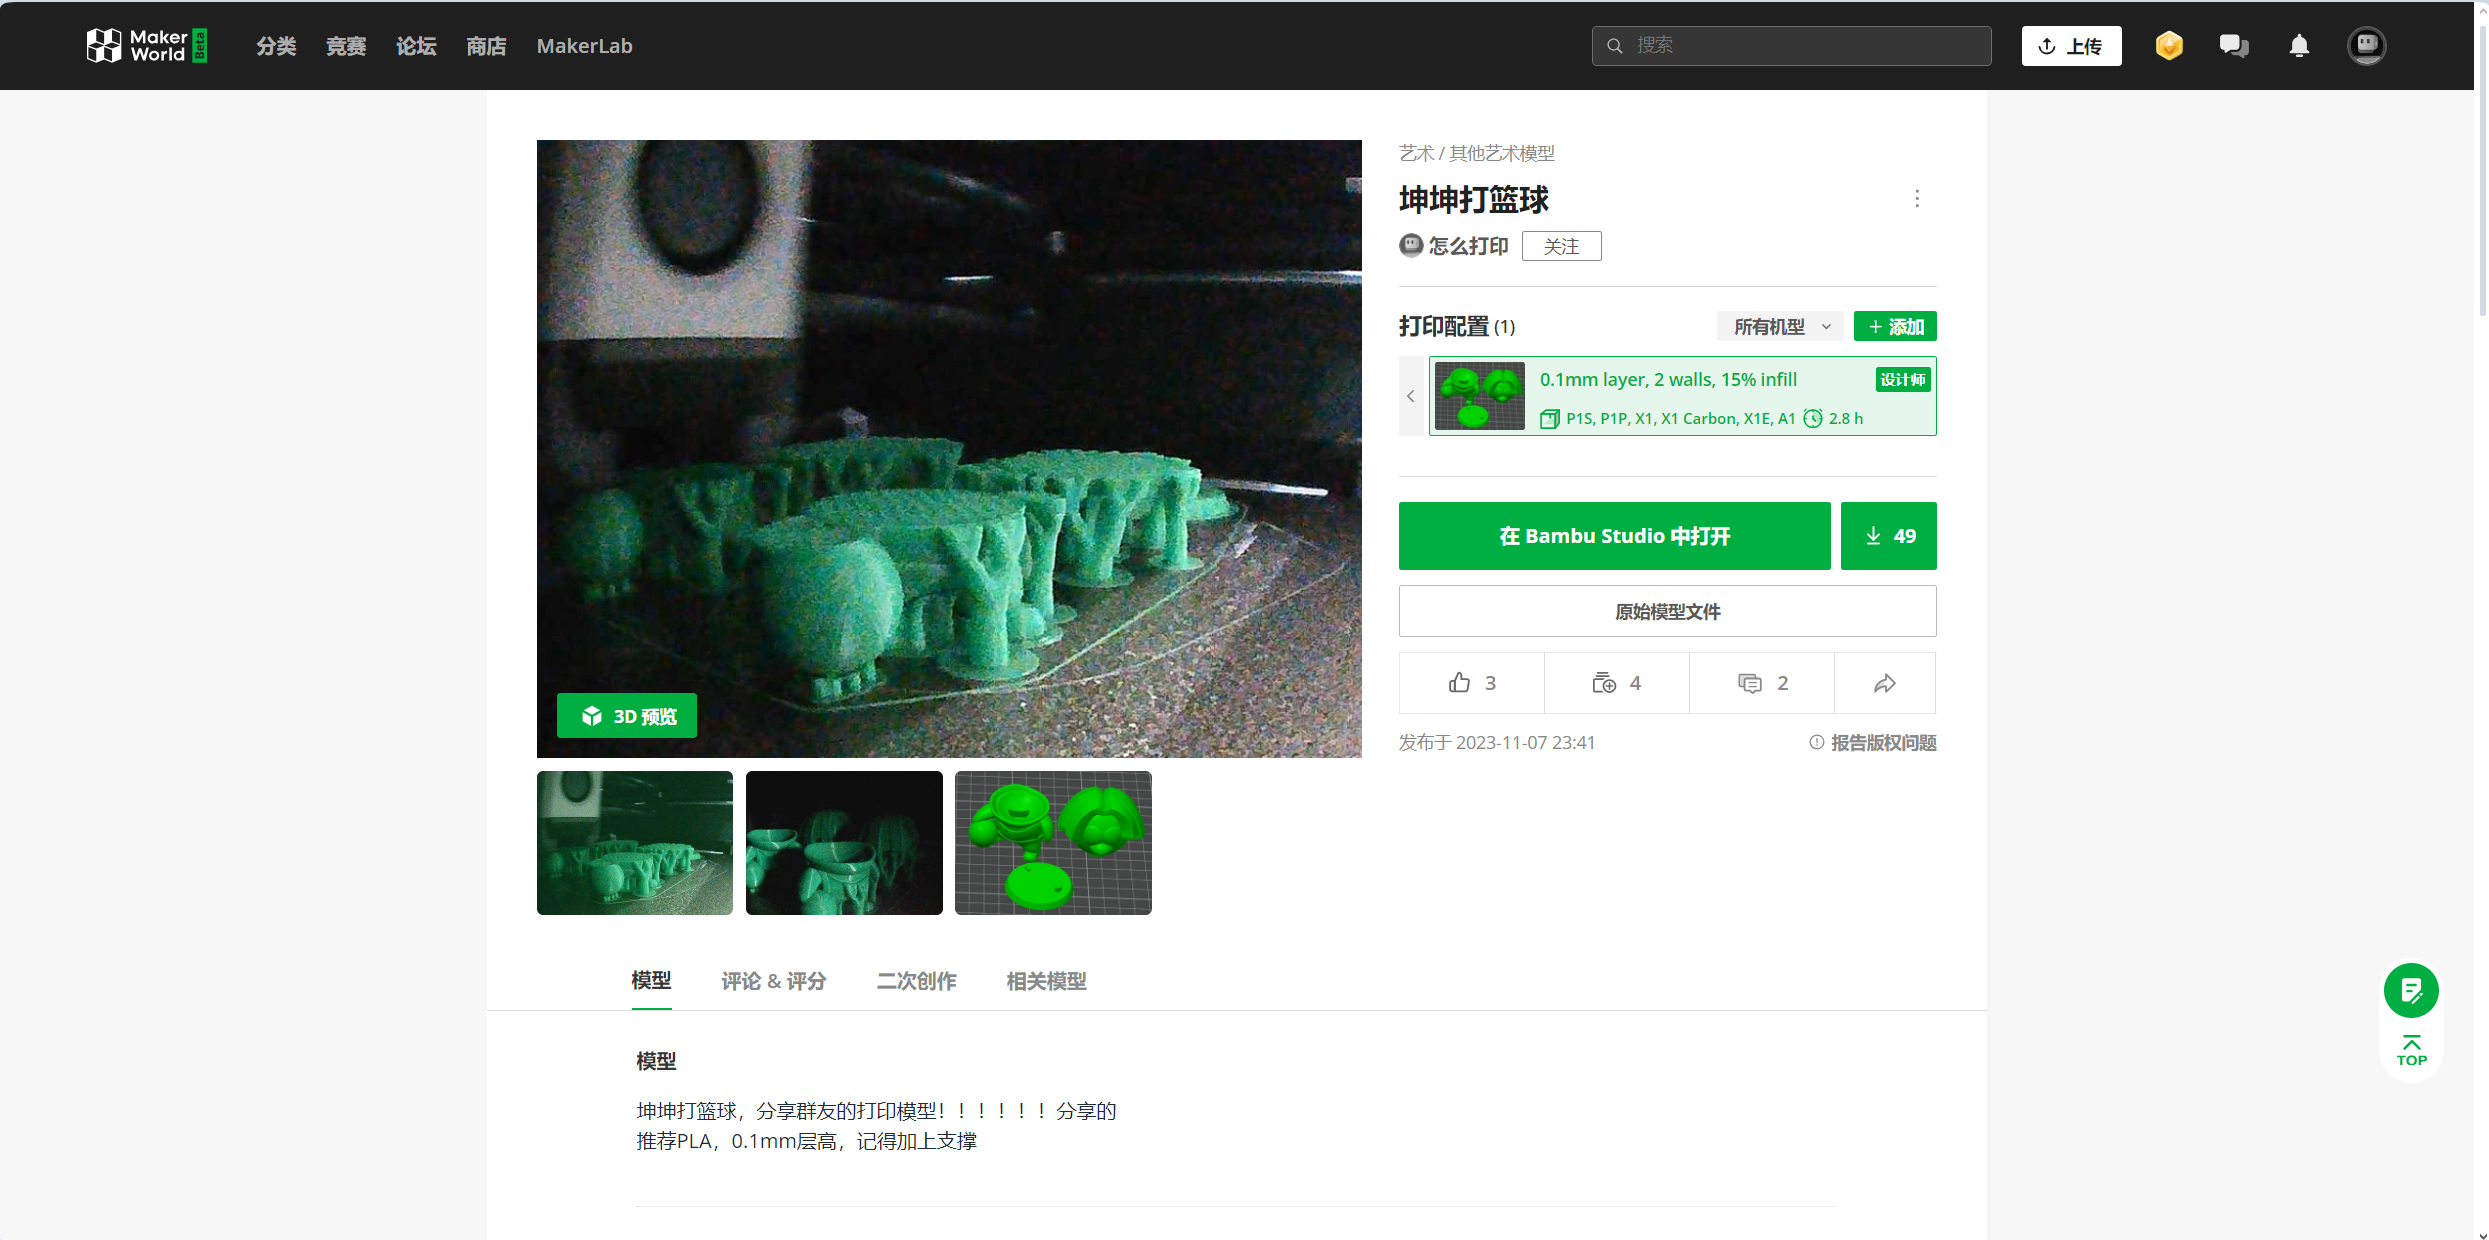
2 Download the model for printing
(1) From the Maker Worldhttps://makerworld.com/zh/models/59356#profileId-61368 download model
(2) Open the downloaded model with Bambu Studio, select the printer type as Bambu Lab A1 mini, and check Enable Support

(3) Click the slice single disk button in the upper right corner to generate the slice file

(4) Export the single disk slice file and copy it to the tf card

(5) Use the printer to print, and trim off the excess support to get the model, and finally glue the parts
