This file describes to create a simple drawing application using Processing. This application includes basic drawing functionalities such as pen color and thickness selection, as well as options to undo and clear the canvas.
Overview of the Program
This drawing application uses the controlP5 library to create a user interface, including a color wheel, sliders, and buttons. The program allows users to draw on a canvas with the mouse and see their drawing in real-time.
Preparation
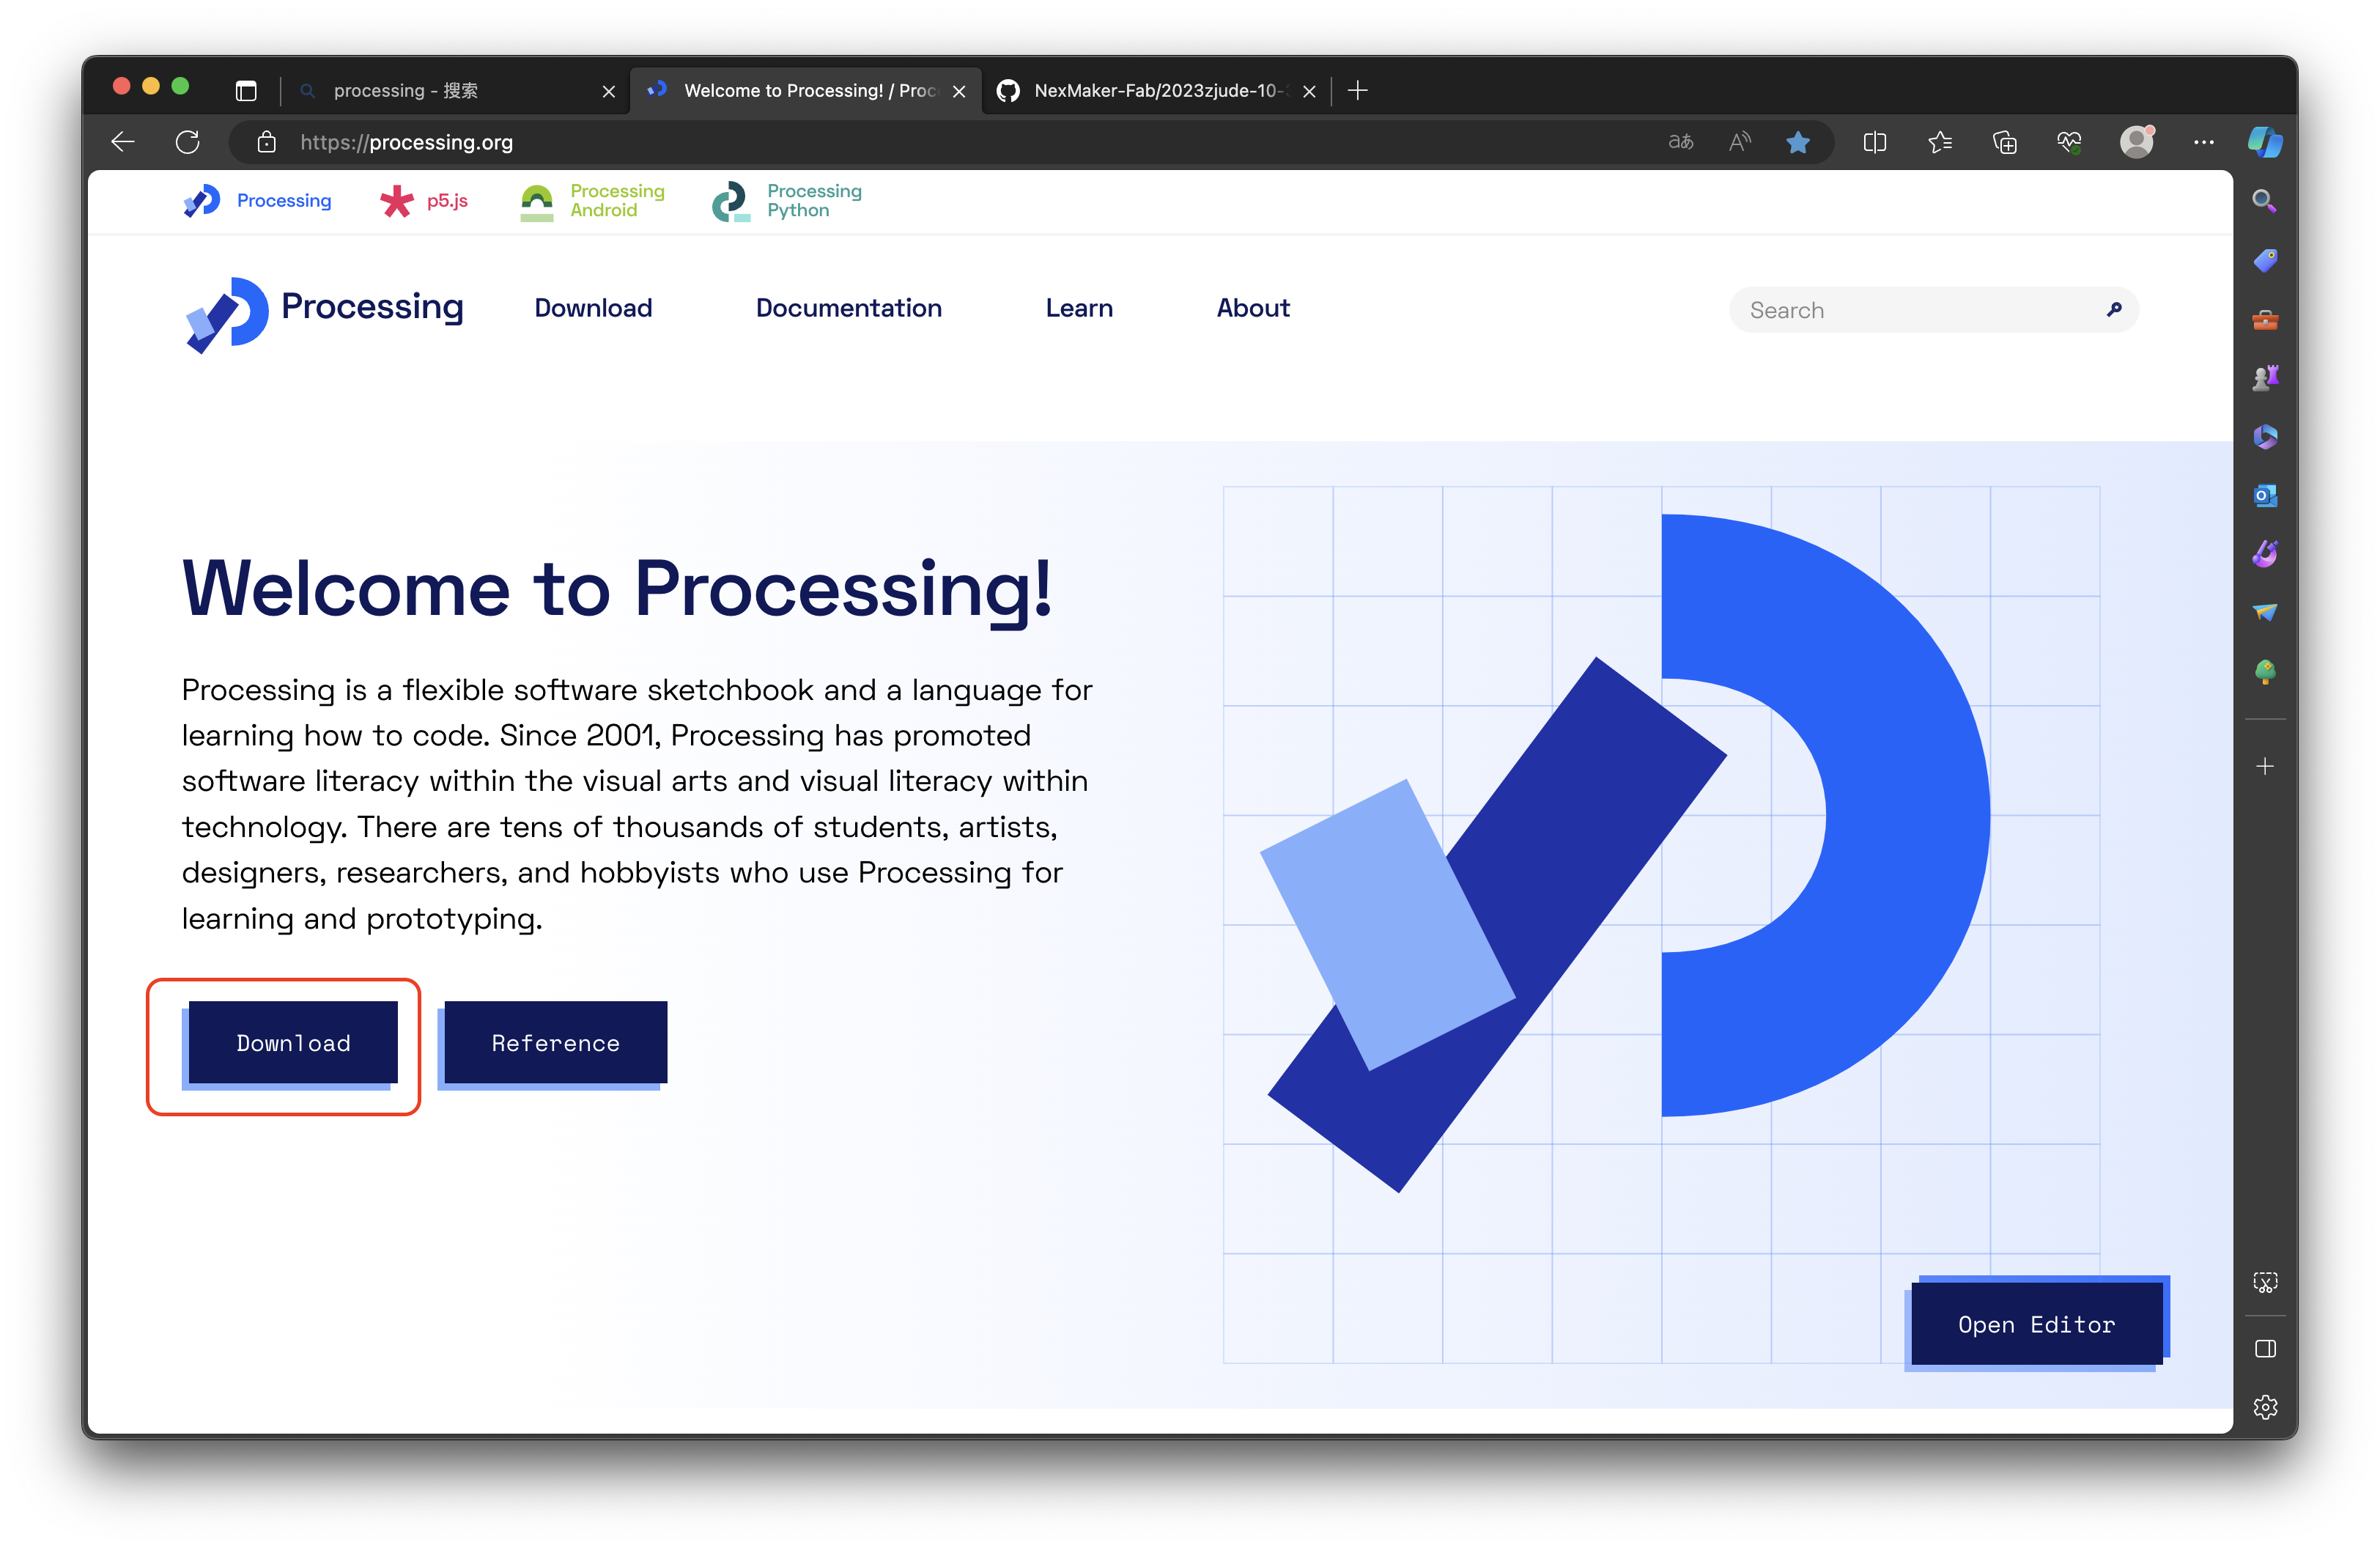
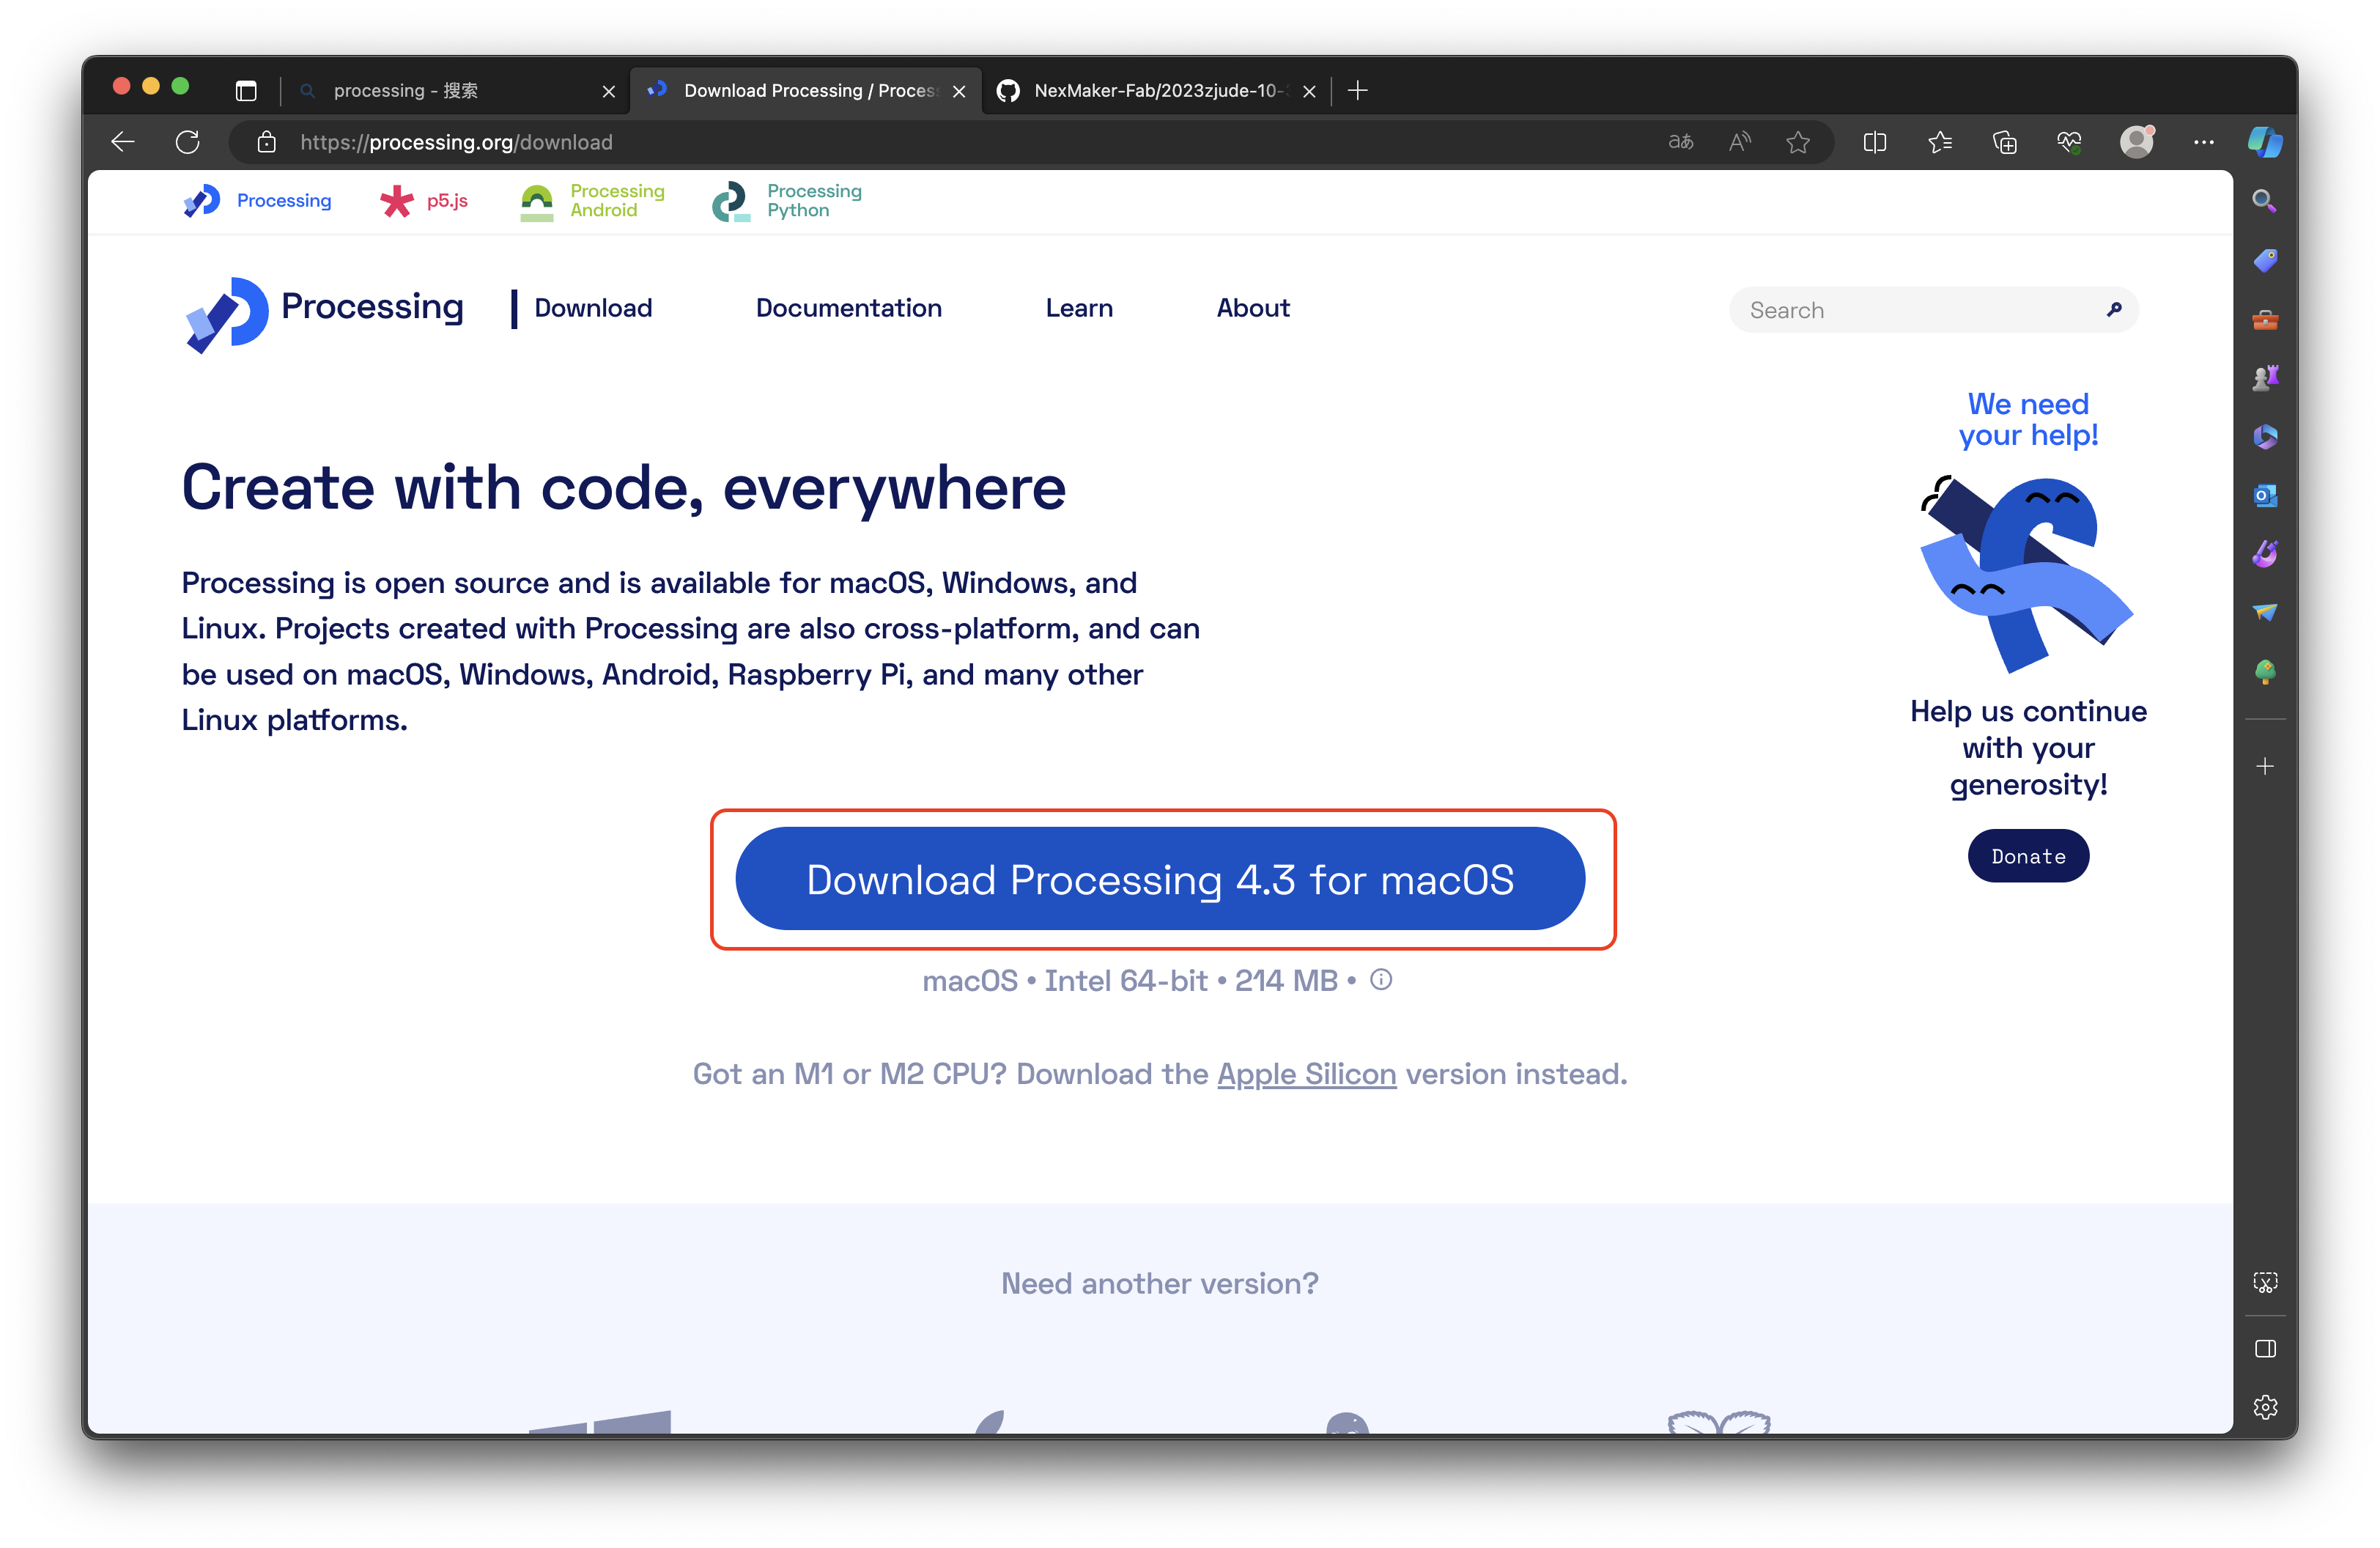
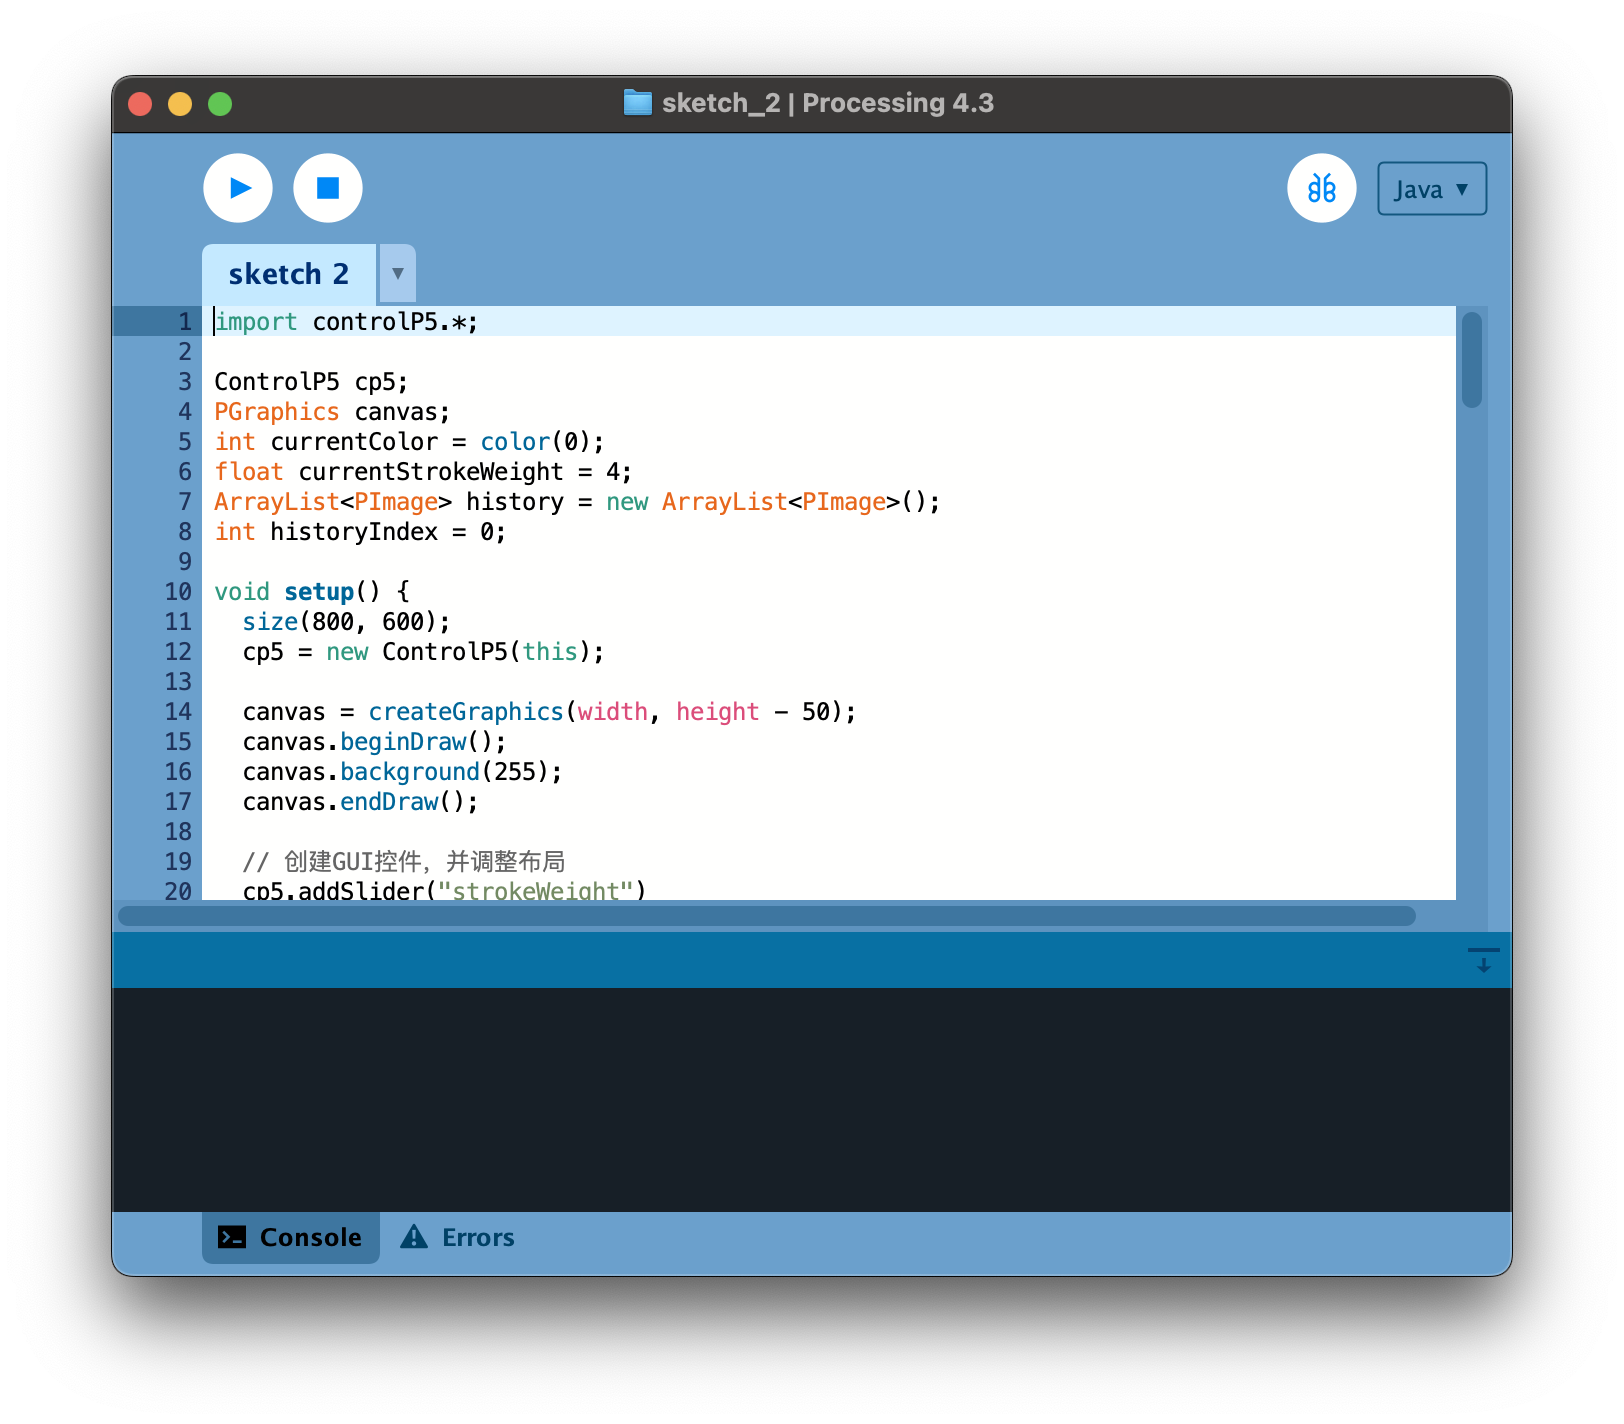
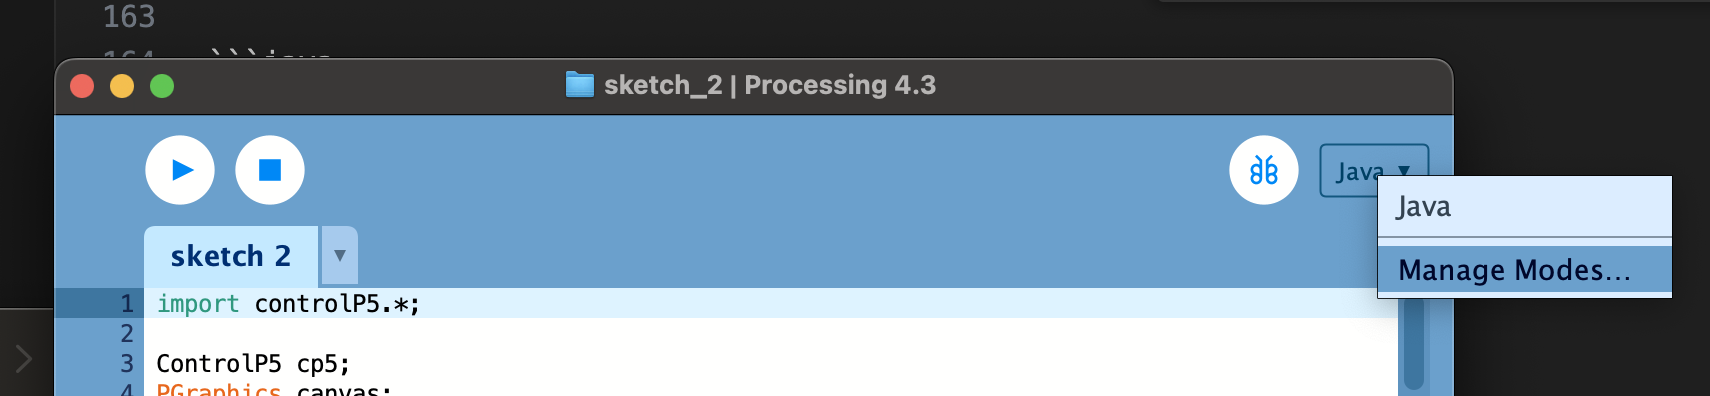
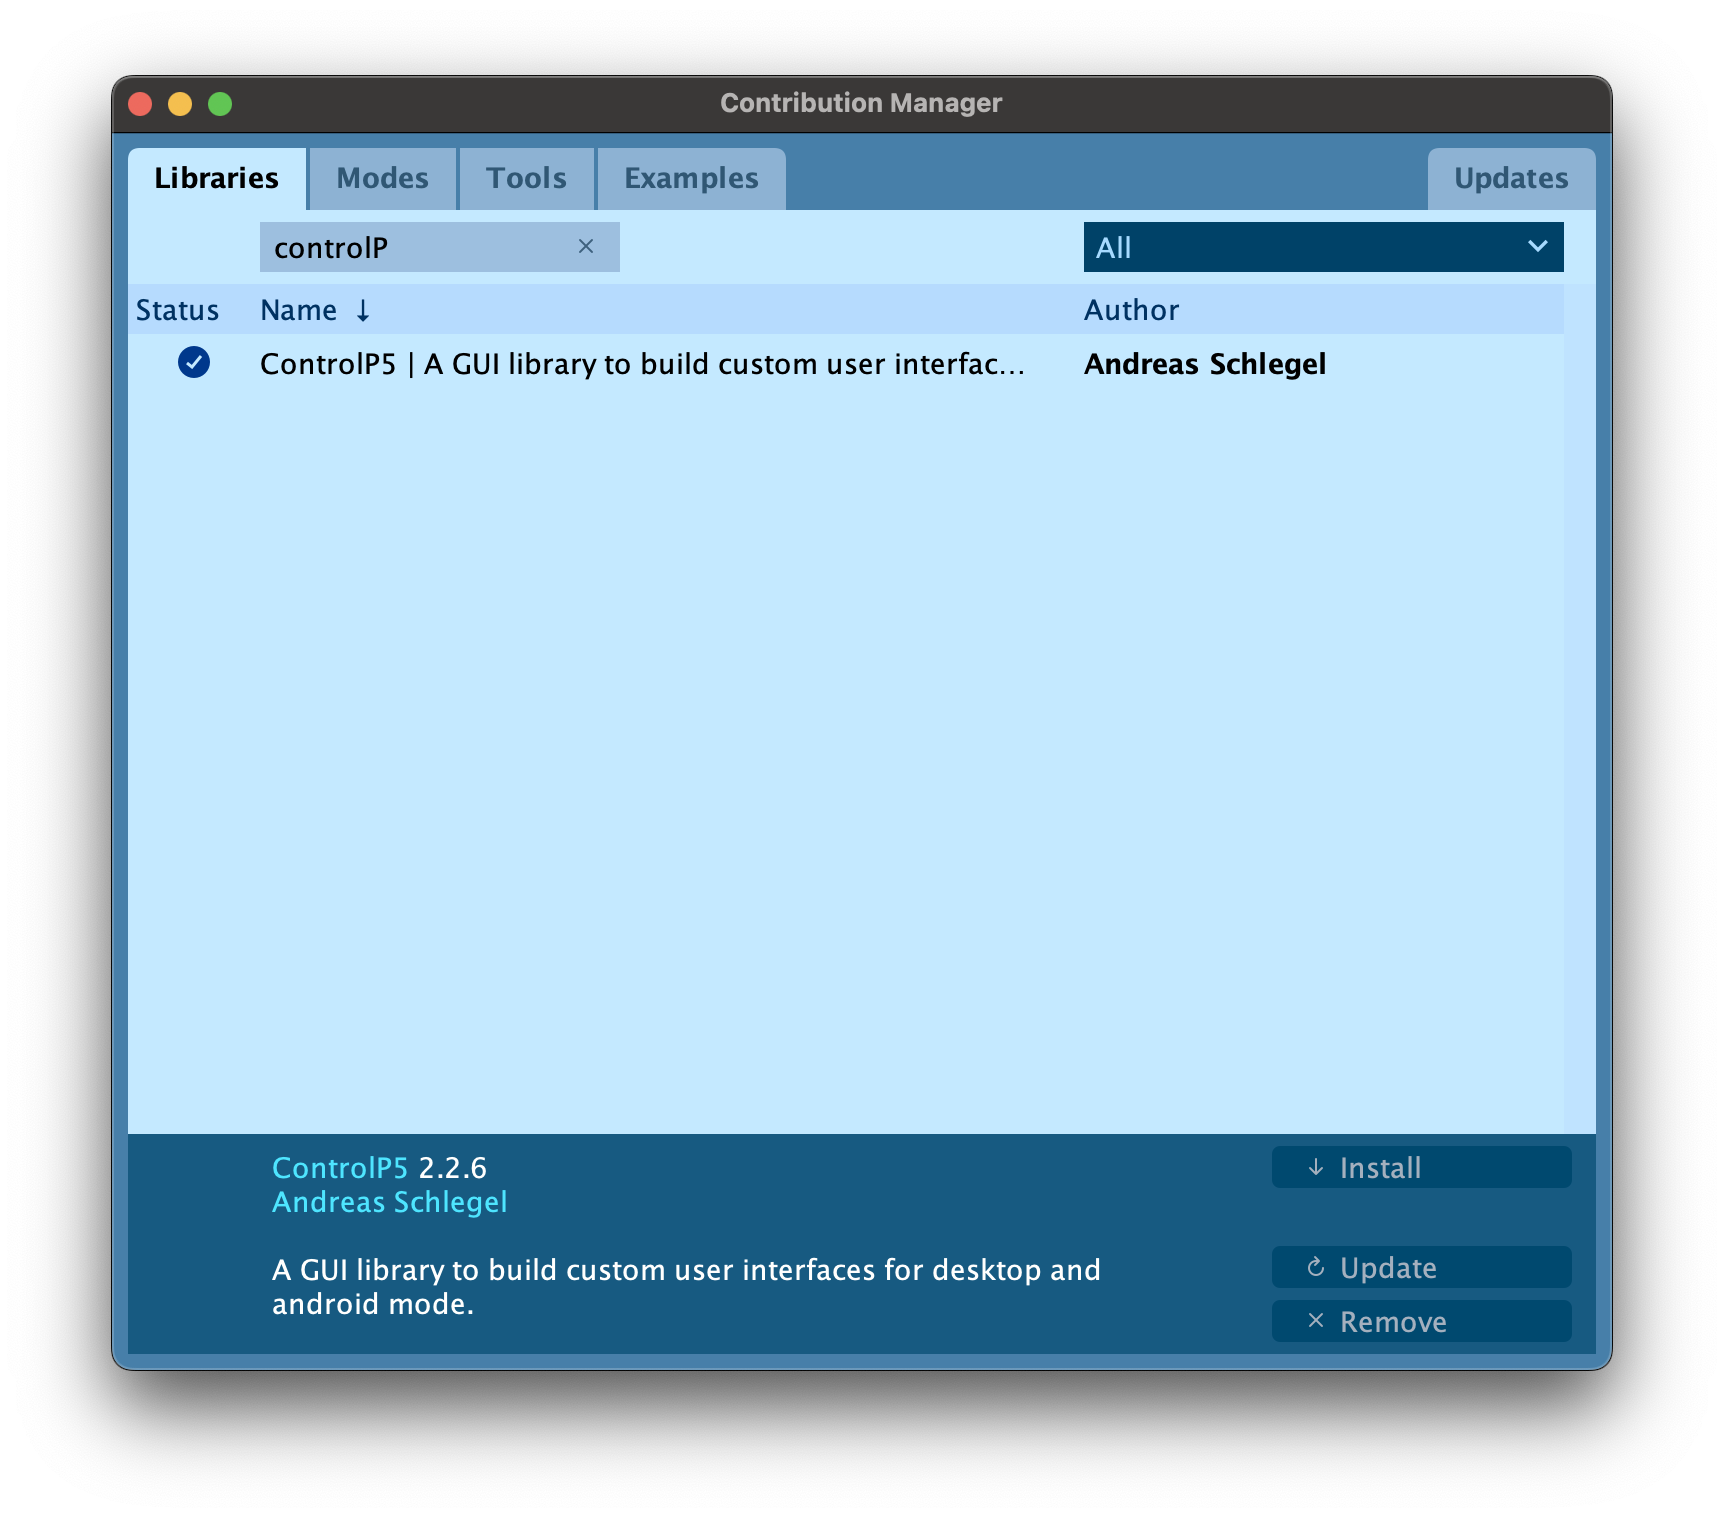
Enter the processing official website and download the processing application. Download the installation package as shown in the picture, unzip and open the application. The opened application interface is shown in the figure. Before you begin, make sure you have installed the controlP5 library in the Processing IDE. You can install the controlP5 library via “Java” -> “Manage Modes” -> “Libraries”-> search the controlP5 library and install it.
Program Code
Here is the complete program code. Detailed explanations and comments will follow each section.
canvas = createGraphics(width, height - 50); // Create a canvas canvas.beginDraw(); canvas.background(255); // Set the canvas background to white canvas.endDraw();
// Create controls // Including sliders, clear and undo buttons, color wheel // ...
saveHistory(); // Save the initial canvas state }
size(800, 600): Sets the size of the window.
createGraphics(width, height - 50): Creates a PGraphics object to be used as the canvas.
canvas.background(255): Sets the canvas background to white.
Drawing Loop (draw function)
1
2
3
4
5
6
7
8
9
voiddraw() { background(255); // Set background color image(canvas, 0, 0); // Display current canvas
// Show brush preview fill(currentColor); // Set fill color noStroke(); // No border ellipse(mouseX, mouseY, currentStrokeWeight, currentStrokeWeight); // Draw a circle representing the brush size }
background(255): Sets the window background to white on each draw.
image(canvas, 0, 0): Draws the current canvas content to the window.
voidmouseDragged() { if (mouseY < height - 50) { updateCanvas(); // Call the function to update the canvas } }
When the mouse is dragged within the canvas area, call the updateCanvas function to draw lines.
Update Canvas (updateCanvas function)
1 2 3 4 5 6 7
voidupdateCanvas() { canvas.beginDraw(); canvas.stroke(currentColor); // Set brush color canvas.strokeWeight(currentStrokeWeight); // Set brush thickness canvas.line(mouseX, mouseY, pmouseX, pmouseY); // Draw a line canvas.endDraw(); }
canvas.line(mouseX, mouseY, pmouseX, pmouseY): Draws a line on the canvas from the previous mouse position to the current position.
Clear the Canvas (clear function)
1 2 3 4 5 6
voidclear() { canvas.beginDraw(); canvas.background(255); // Reset the canvas background to white canvas.endDraw(); saveHistory(); // Save the state }
Undo Operation (undo function)
1 2 3 4 5 6 7 8 9
voidundo() { if (historyIndex > 0) { historyIndex--; canvas = createGraphics(width, height - 50); canvas.beginDraw(); canvas.image(history.get(historyIndex), 0, 0); // Restore to the previous history state canvas.endDraw(); } }
Use the history array to save the historical states of the canvas. In the undo operation, we revert to the previous state.
PImagesnapshot= canvas.get(); history.add(snapshot); // Save the current state to the history array historyIndex = history.size() - 1; }
Handle Control Events (controlEvent function)
1
2
3
4
voidcontrolEvent(ControlEvent event) { // Handle different control events such as color change, clear, undo, etc. // ... }
This function handles events from controlP5 controls, such as adjusting the brush color and thickness, and clear and undo operations.
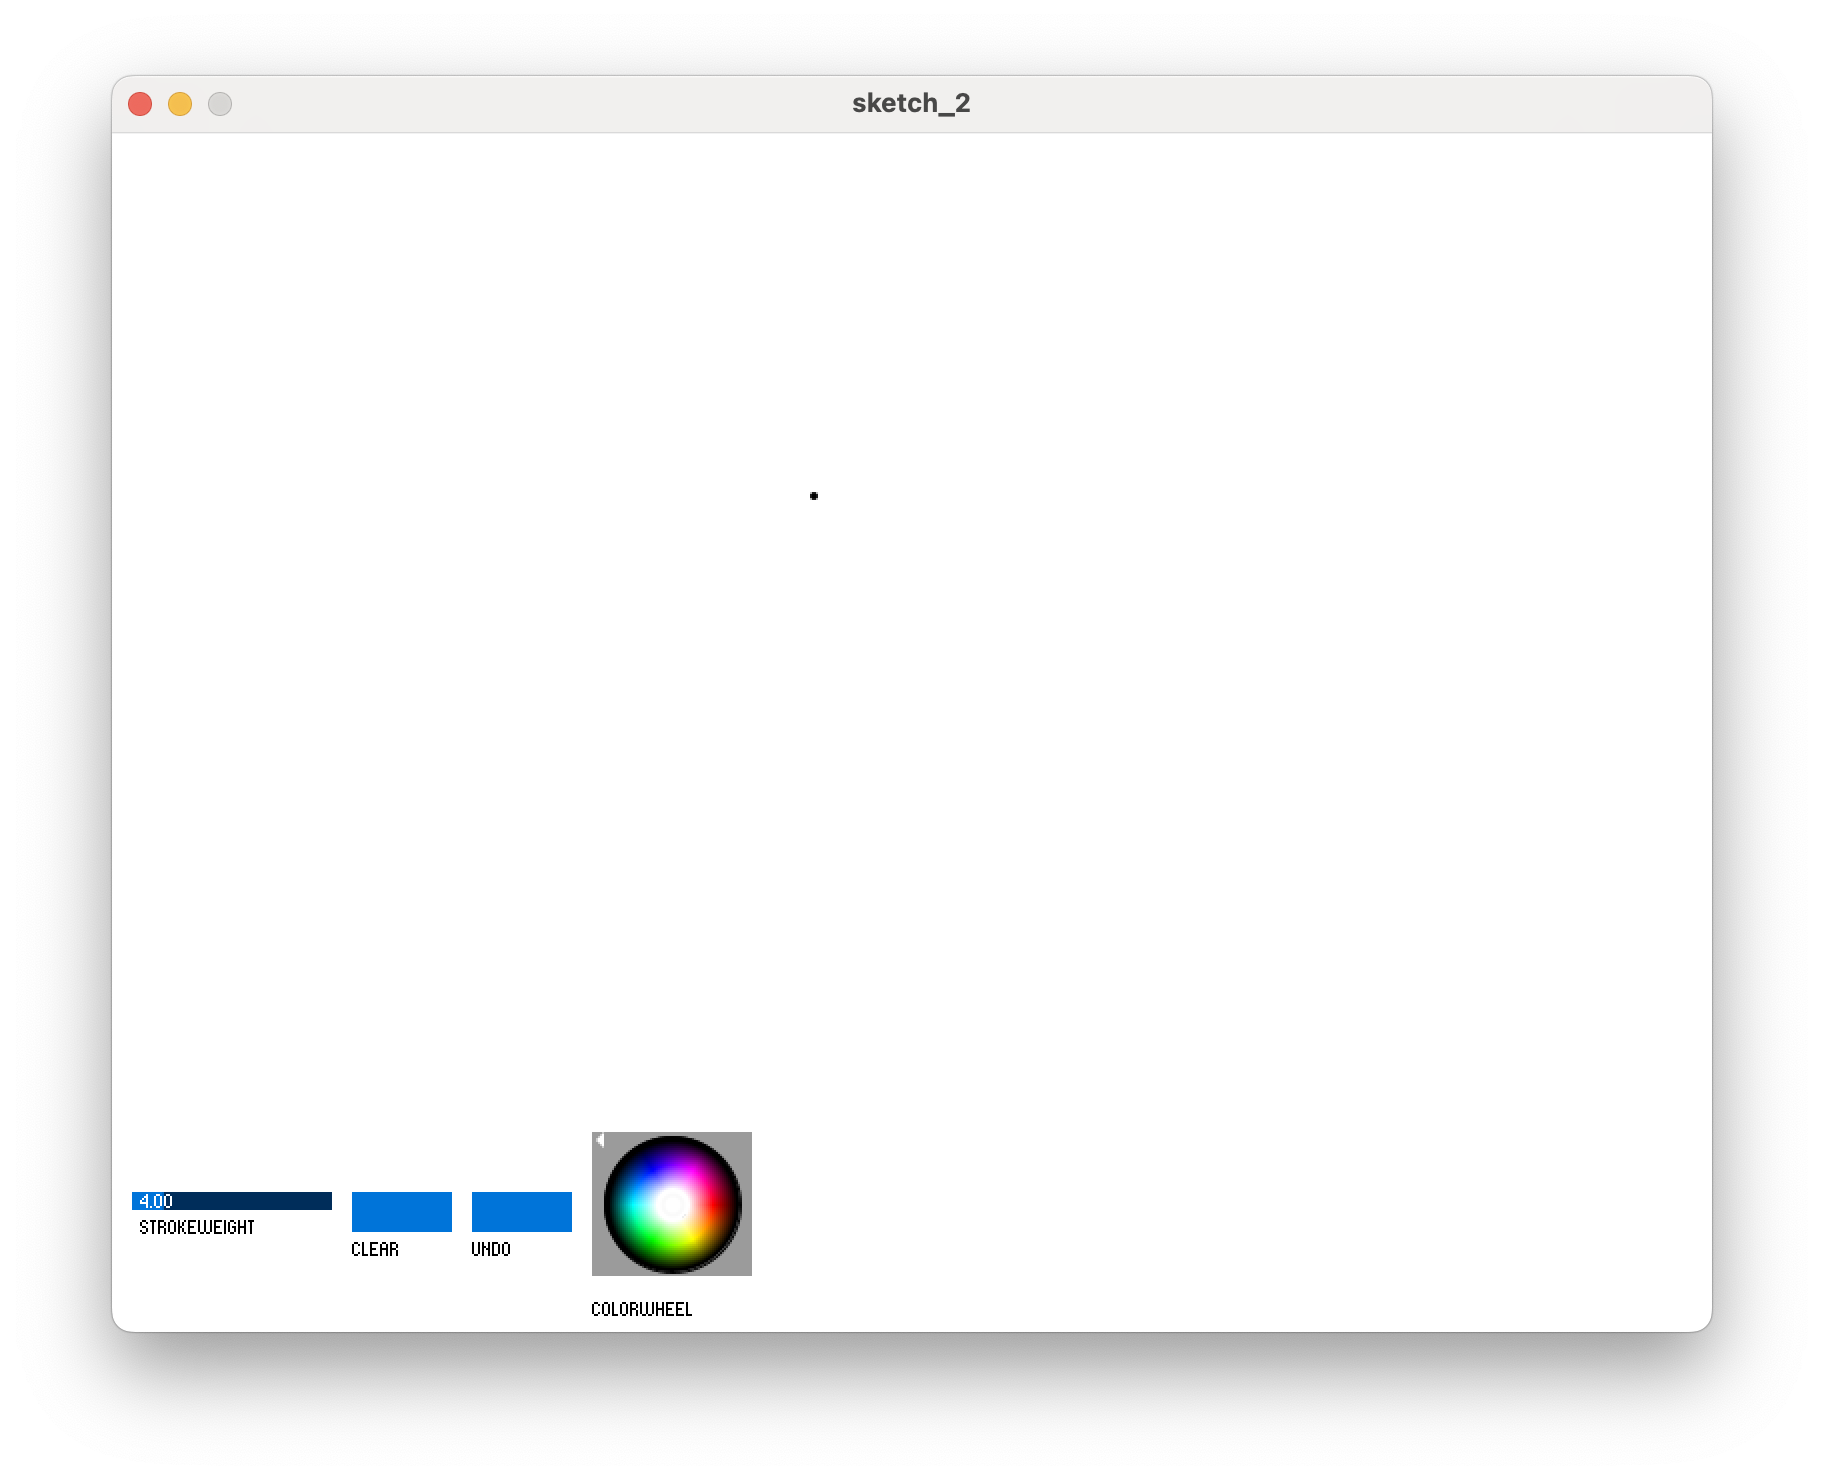
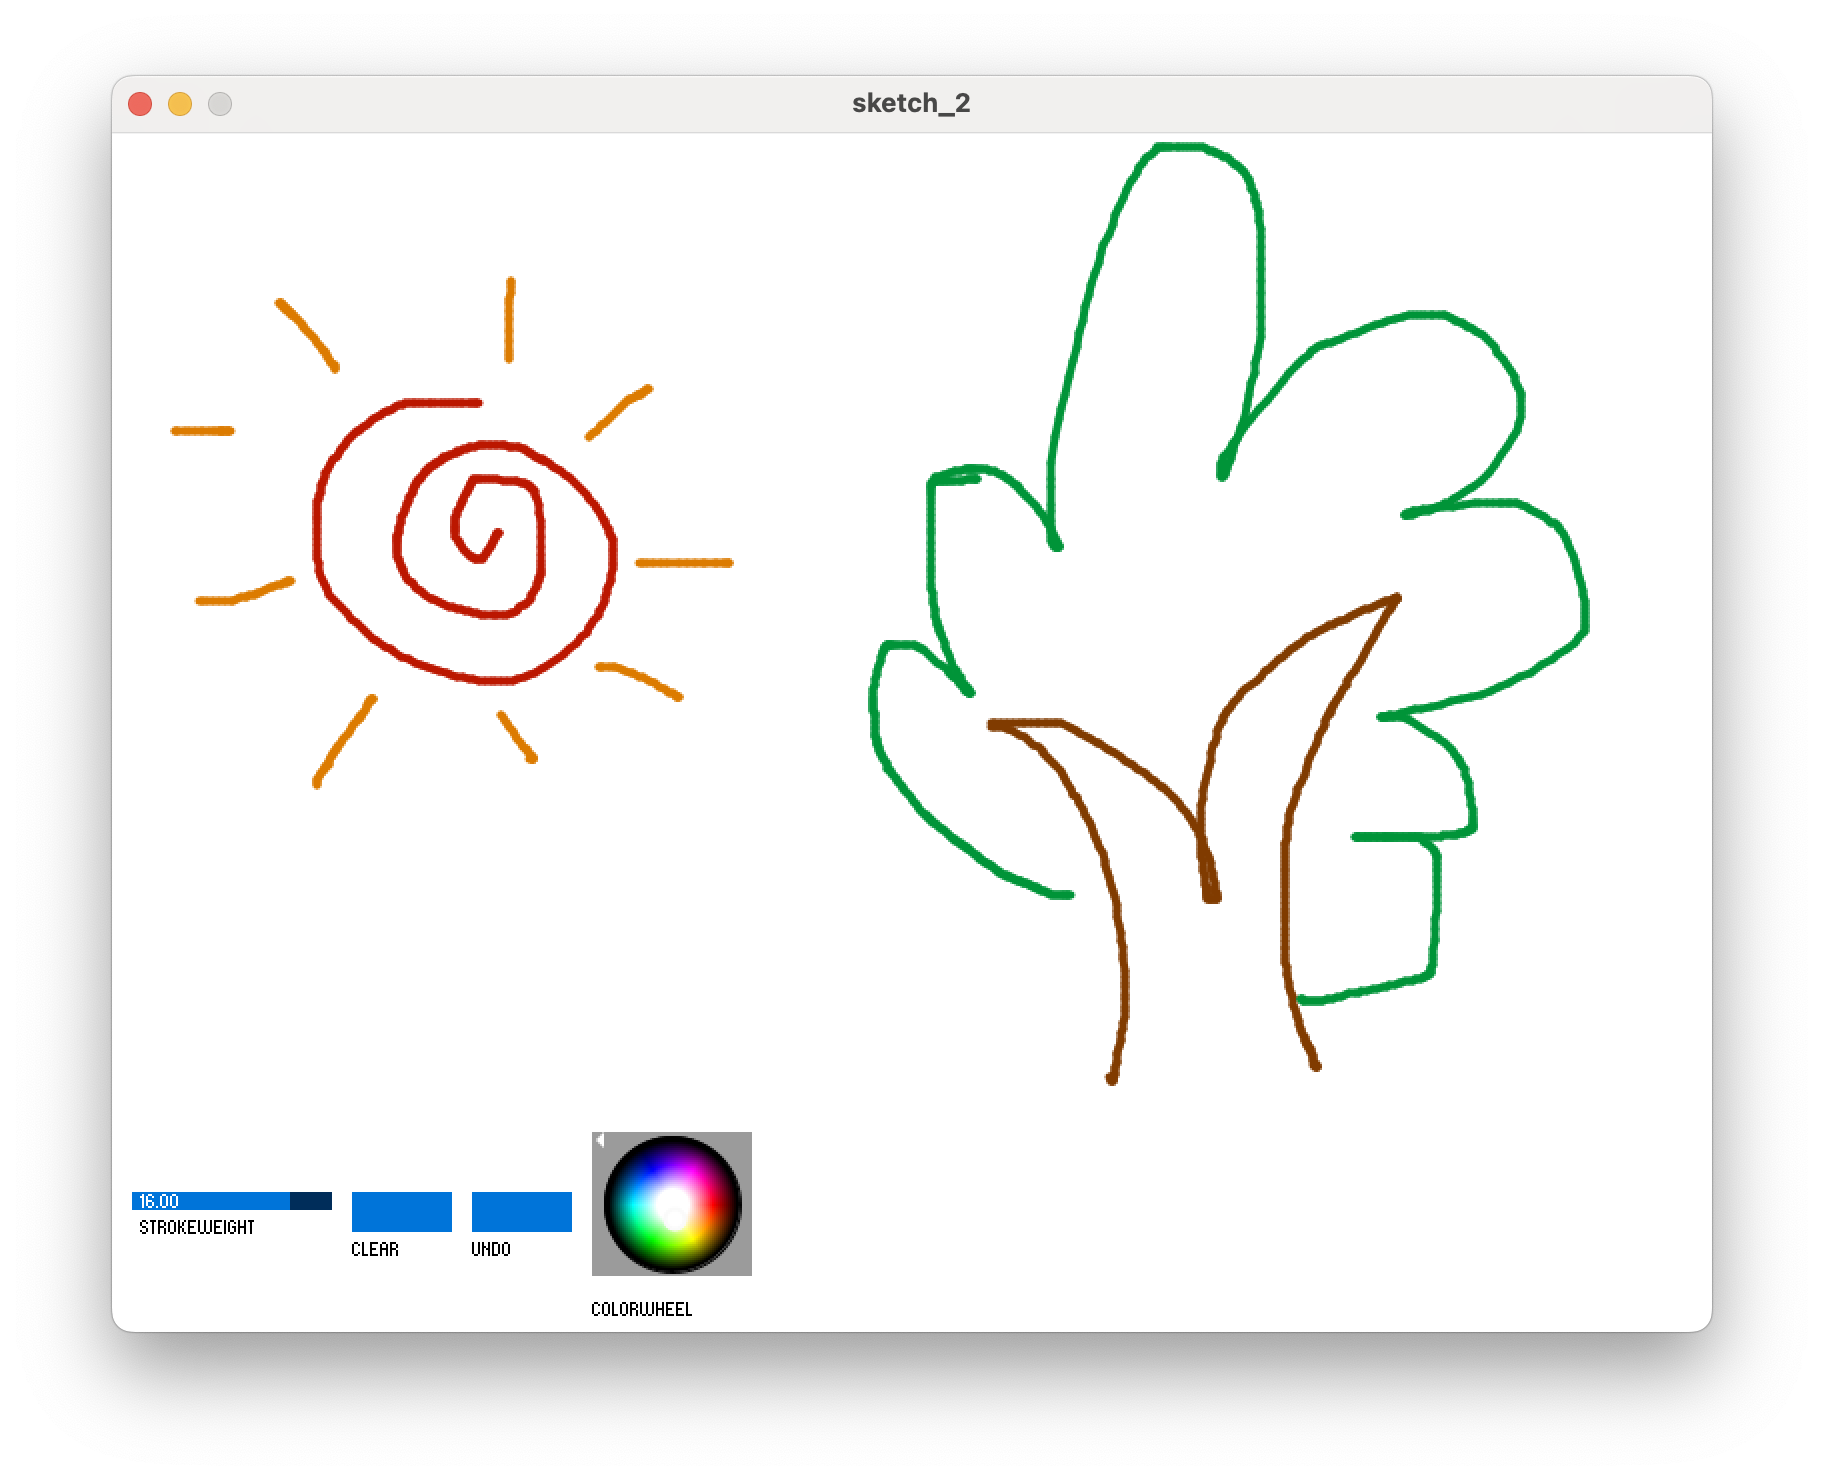
Results Display
The GUI interface of the drawing program obtained through processing programming using the above code is as follows. Try using it to draw a picture.
Conclusion
Developing this Processing drawing application was an enlightening and creative experience. It demonstrated how to utilize Processing’s fundamental capabilities for real-time drawing and user interaction, providing an intuitive understanding of the basics of computer graphics and interface design.By integrating the controlP5 library, the project revealed the potential of incorporating external libraries into the Processing environment to enhance functionality. Overall, the development process of this drawing application was enjoyable and educational, showcasing the immense potential of programming as a creative tool.