Computer-controlled cutting
Laser cutting is a high-precision, efficient material cutting technique that employs a laser beam to thermally process materials through processes such as melting, vaporization, or combustion. Laser cutting finds widespread applications in cutting and engraving various materials such as metals, plastics, wood, paper, and fabrics. Here is an introduction to laser cutting and the materials commonly experimented with for laser cutting.
- Metal Materials:
Steel: Laser cutting is extensively used in metal processing, particularly for steel materials. It can cut steel sheets of different thicknesses, used in manufacturing automotive parts, aerospace components, etc.
Aluminum Alloys: Laser cutting is also suitable for aluminum alloys, used in manufacturing aerospace components, electronic equipment casings, etc.
Stainless Steel: Stainless steel is a common material for laser cutting, used in manufacturing kitchenware, architectural decorations, etc.
- Non-Metal Materials:
Plastics: Laser cutting can be used to cut various plastic materials, such as acrylics, polycarbonates, used in manufacturing plastic components, signage, etc.
Wood: For wood, laser cutting can be employed to cut intricate wooden structures, used in furniture, model-making, etc.
Paper and Fabric: Laser cutting has widespread applications in cutting paper and fabrics, for example, in paper crafts, garment manufacturing, etc.
- Other Materials:
Rubber: Laser cutting can achieve precise cutting of rubber materials, used in manufacturing seals, rubber pads, etc.
Glass: While laser cutting glass is relatively complex, it finds applications in glass engraving and the manufacture of glass signage.
Before attempting laser cutting on different materials, it is important to understand the characteristics of each material, including melting points, reflectivity, absorbance, etc. This helps in determining laser cutting parameters such as laser power, speed, and focal length.
Additionally, it is crucial to ensure proper safety measures are taken, as laser cutting involves a high-energy laser beam with potential hazards to the eyes and skin.
The following shows how the project was made.
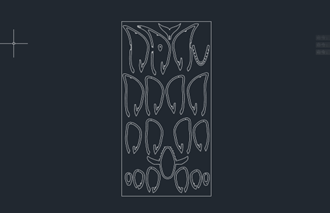
- Designing Drawings in CAD Software
Using computer-aided design software AutoCAD, draw geometric shapes, including lines, rectangles, circles, polygons, etc., in the drawing area to create the desired parts or graphics. Add dimensions and annotations to ensure the drawn graphics meet design requirements. These dimensions will assist in subsequent assembly by connecting each component. Export the design file into a laser cutting machine-readable file format, DXF (Drawing Exchange Format).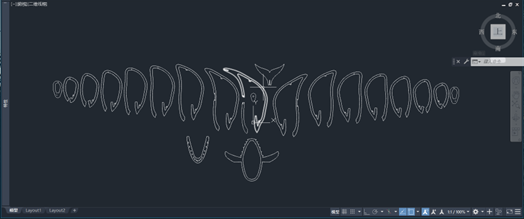
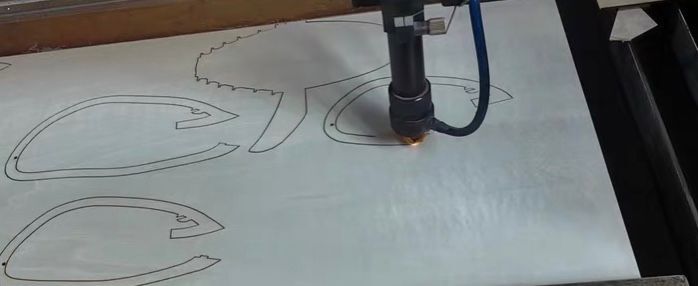
- Utilizing the Laser Cutting Machine
Open the laser cutting machine, place the material to be cut on the machine’s worktable, and ensure it is securely fixed in the appropriate position. Use the laser cutting machine’s alignment system to ensure the material is correctly positioned for precise laser cutting. On the control panel of the laser cutting machine, select the type of material to be cut, allowing the machine to adjust laser power and speed to ensure cutting quality. For this cutting operation, a 2mm thick wooden board is used. Transfer the design file to the laser cutting machine. Start the machine, monitor the process to ensure everything is functioning correctly.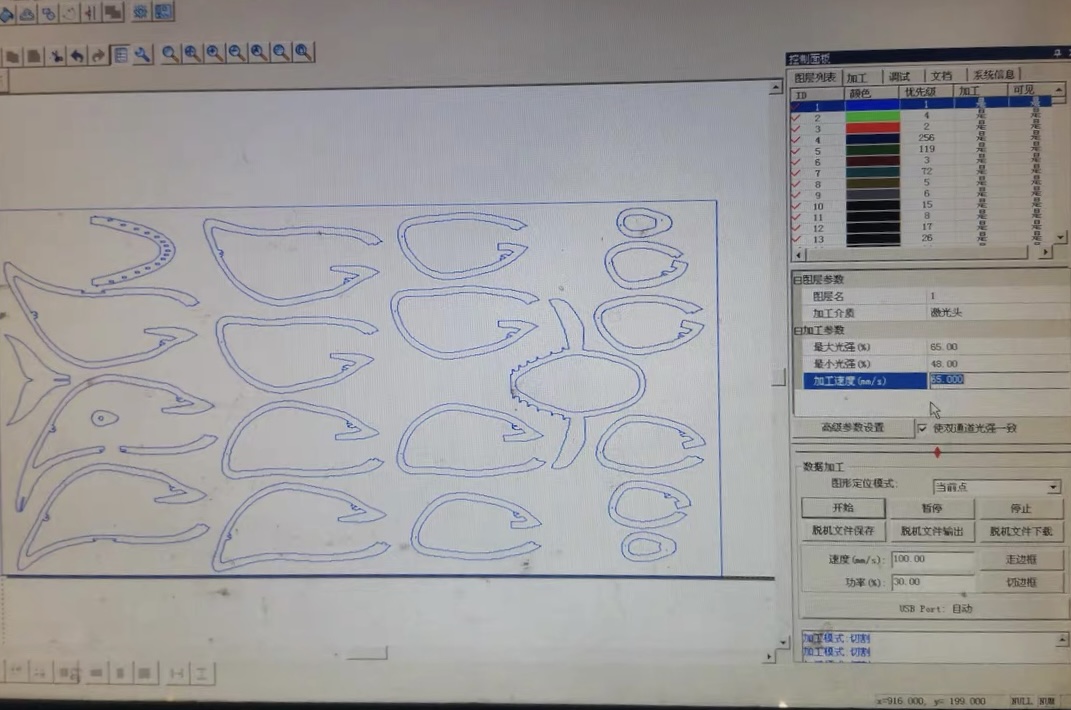
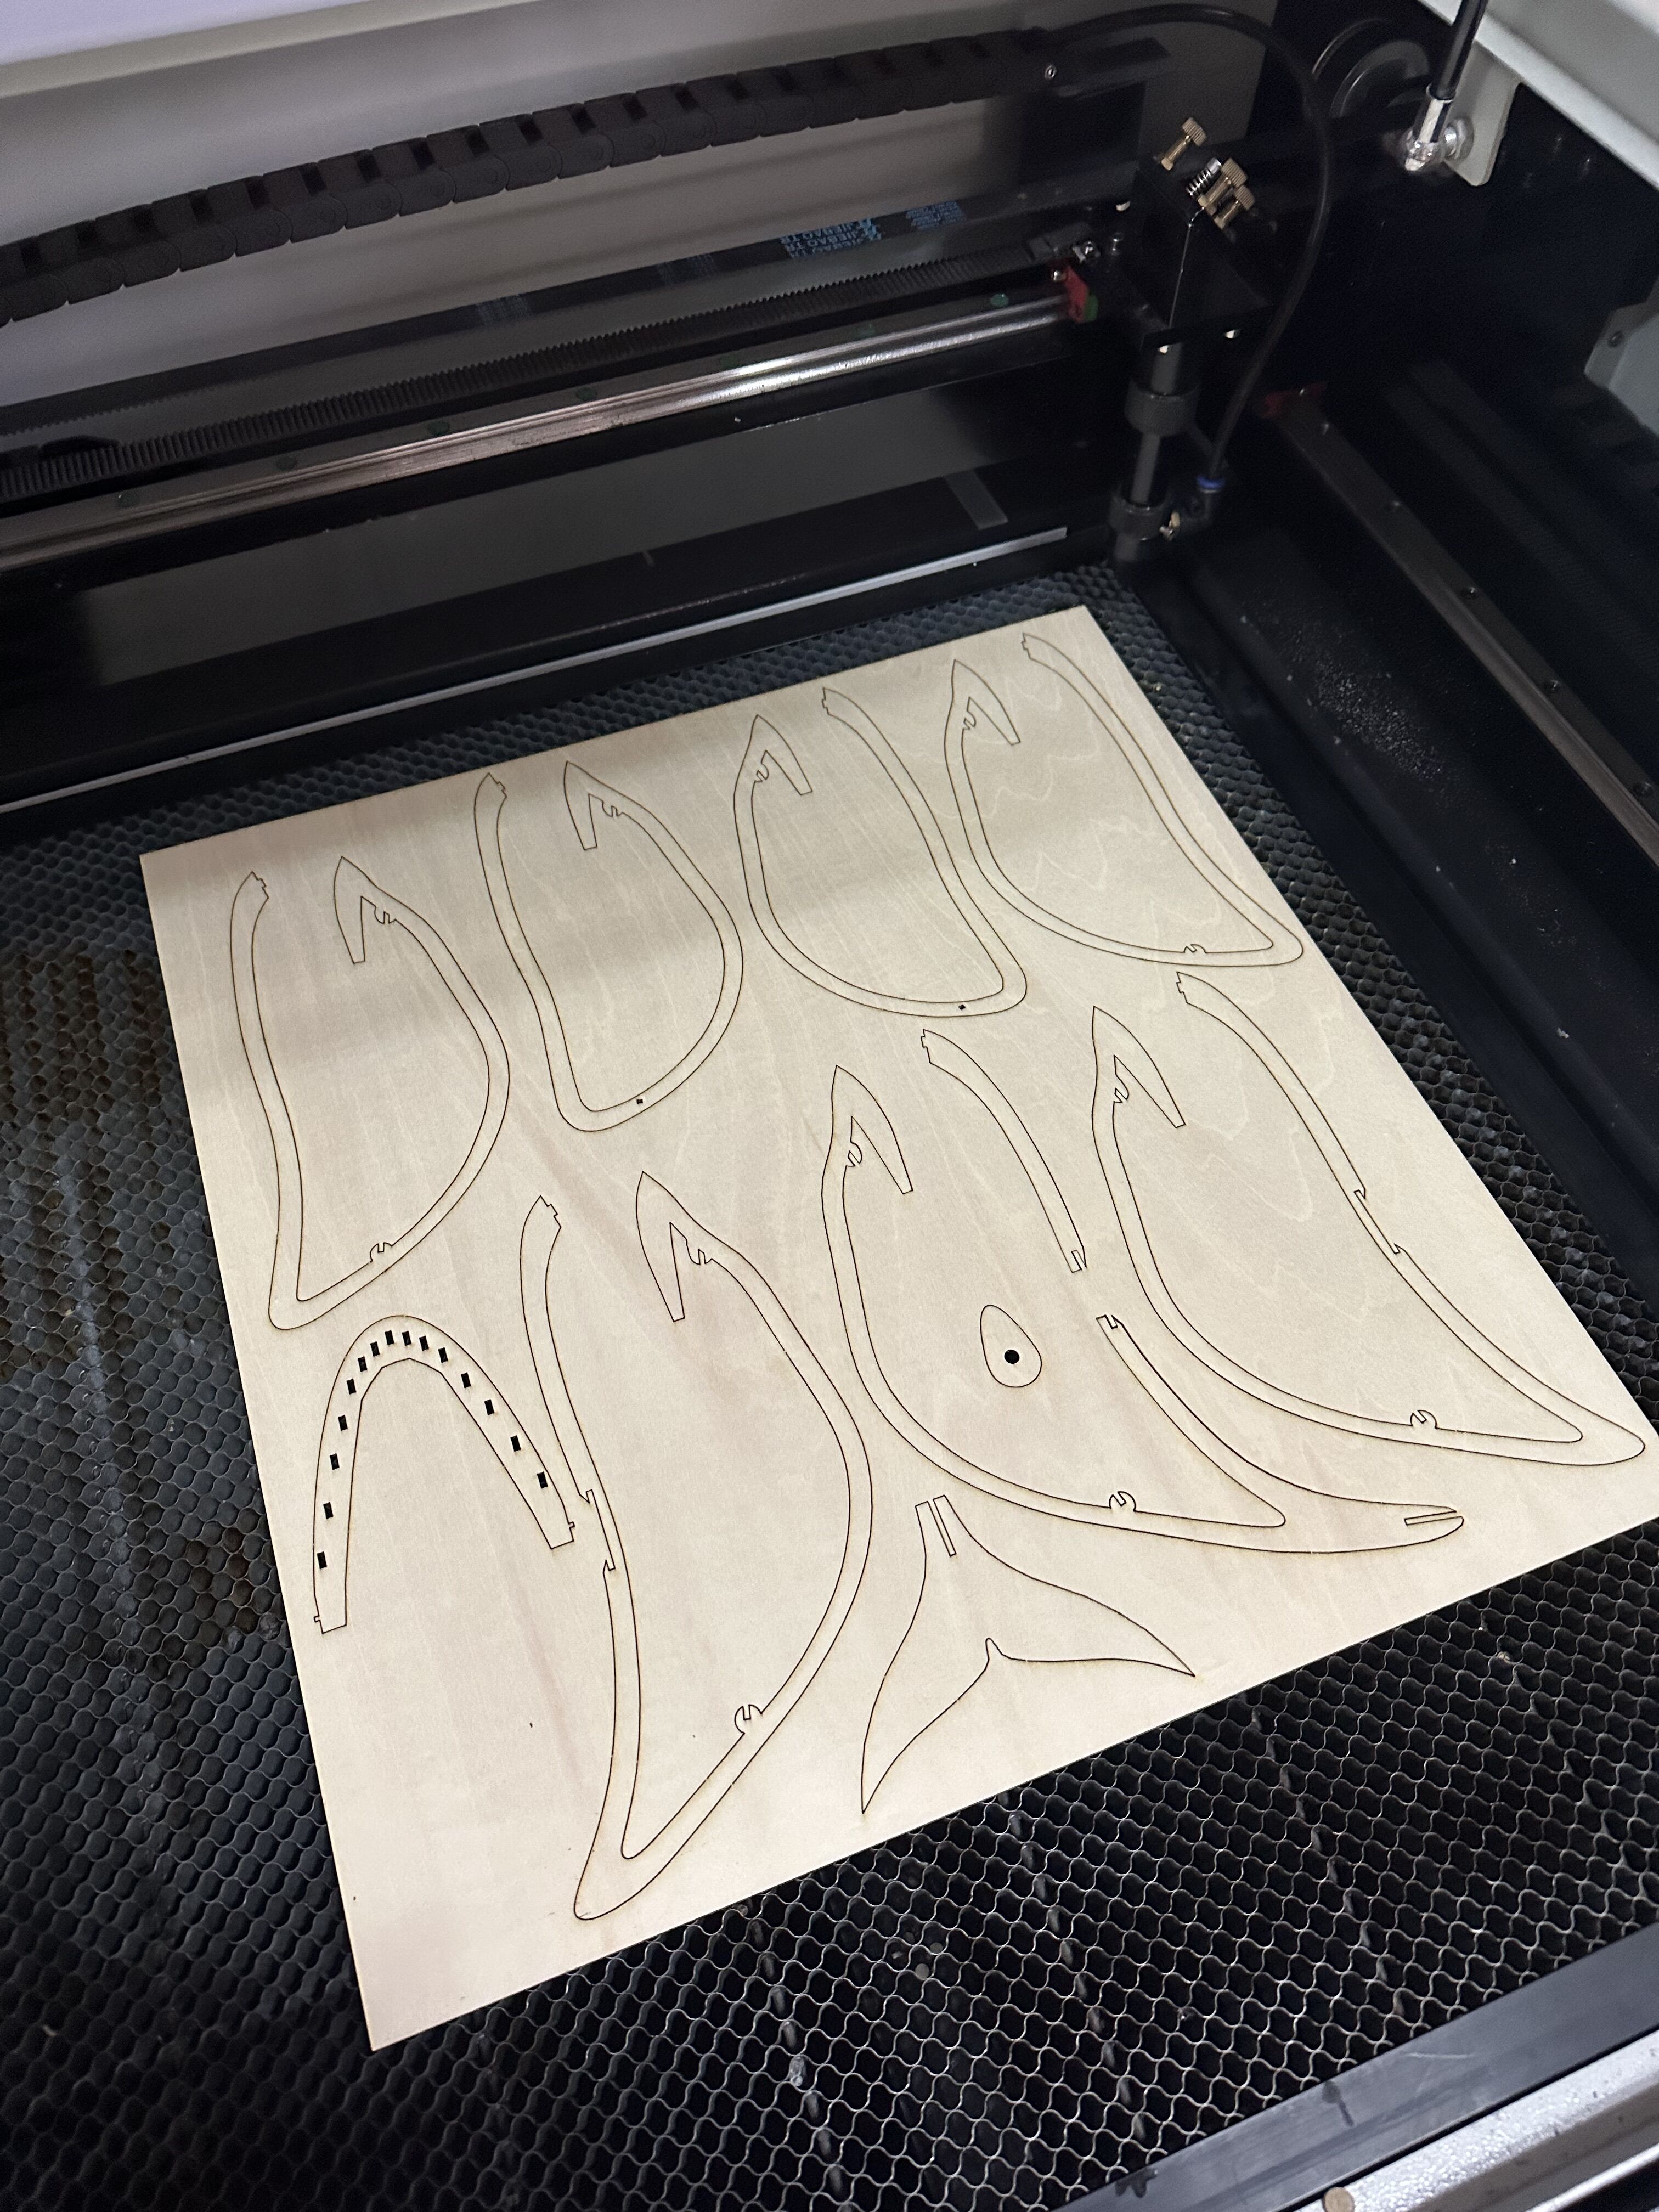
- Completion, Obtaining Components
Complete the cutting process, inspect the quality and precision of the cut components, ensuring they match the design file.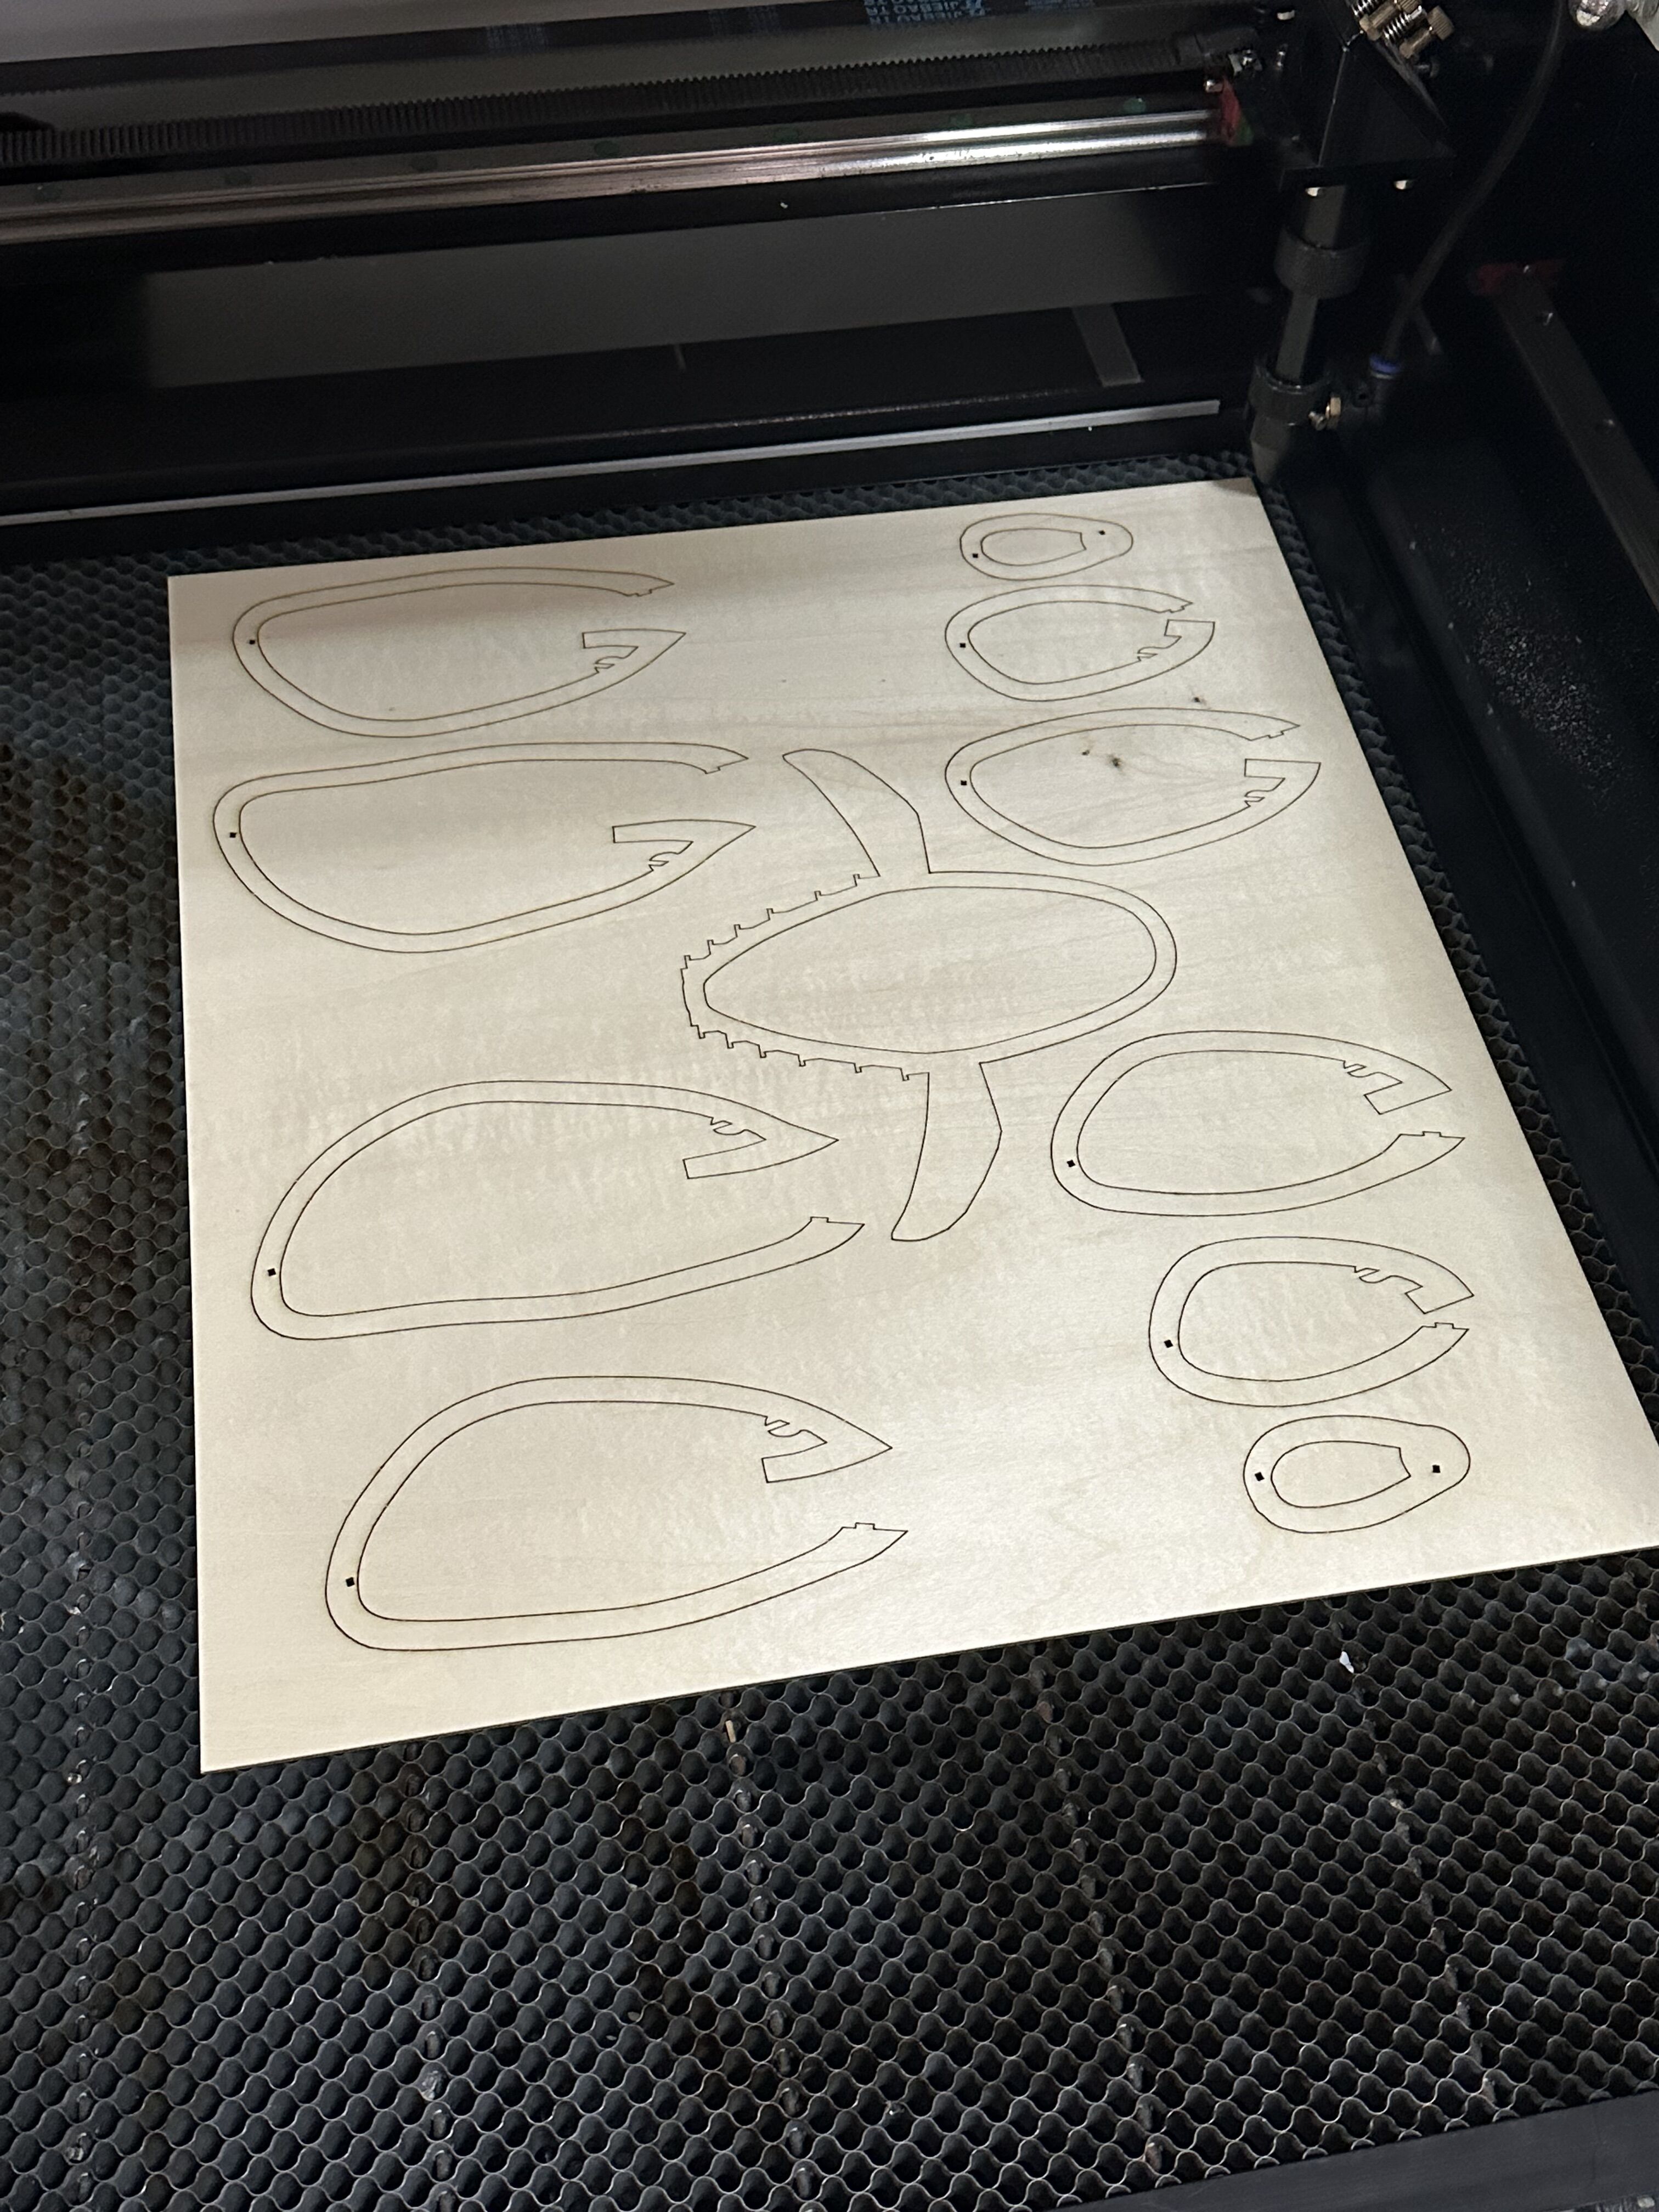
- Assembly
Remove each component from the wooden board and proceed with assembly. Upon completion of the assembly, the outline of the whale lamp is obtained.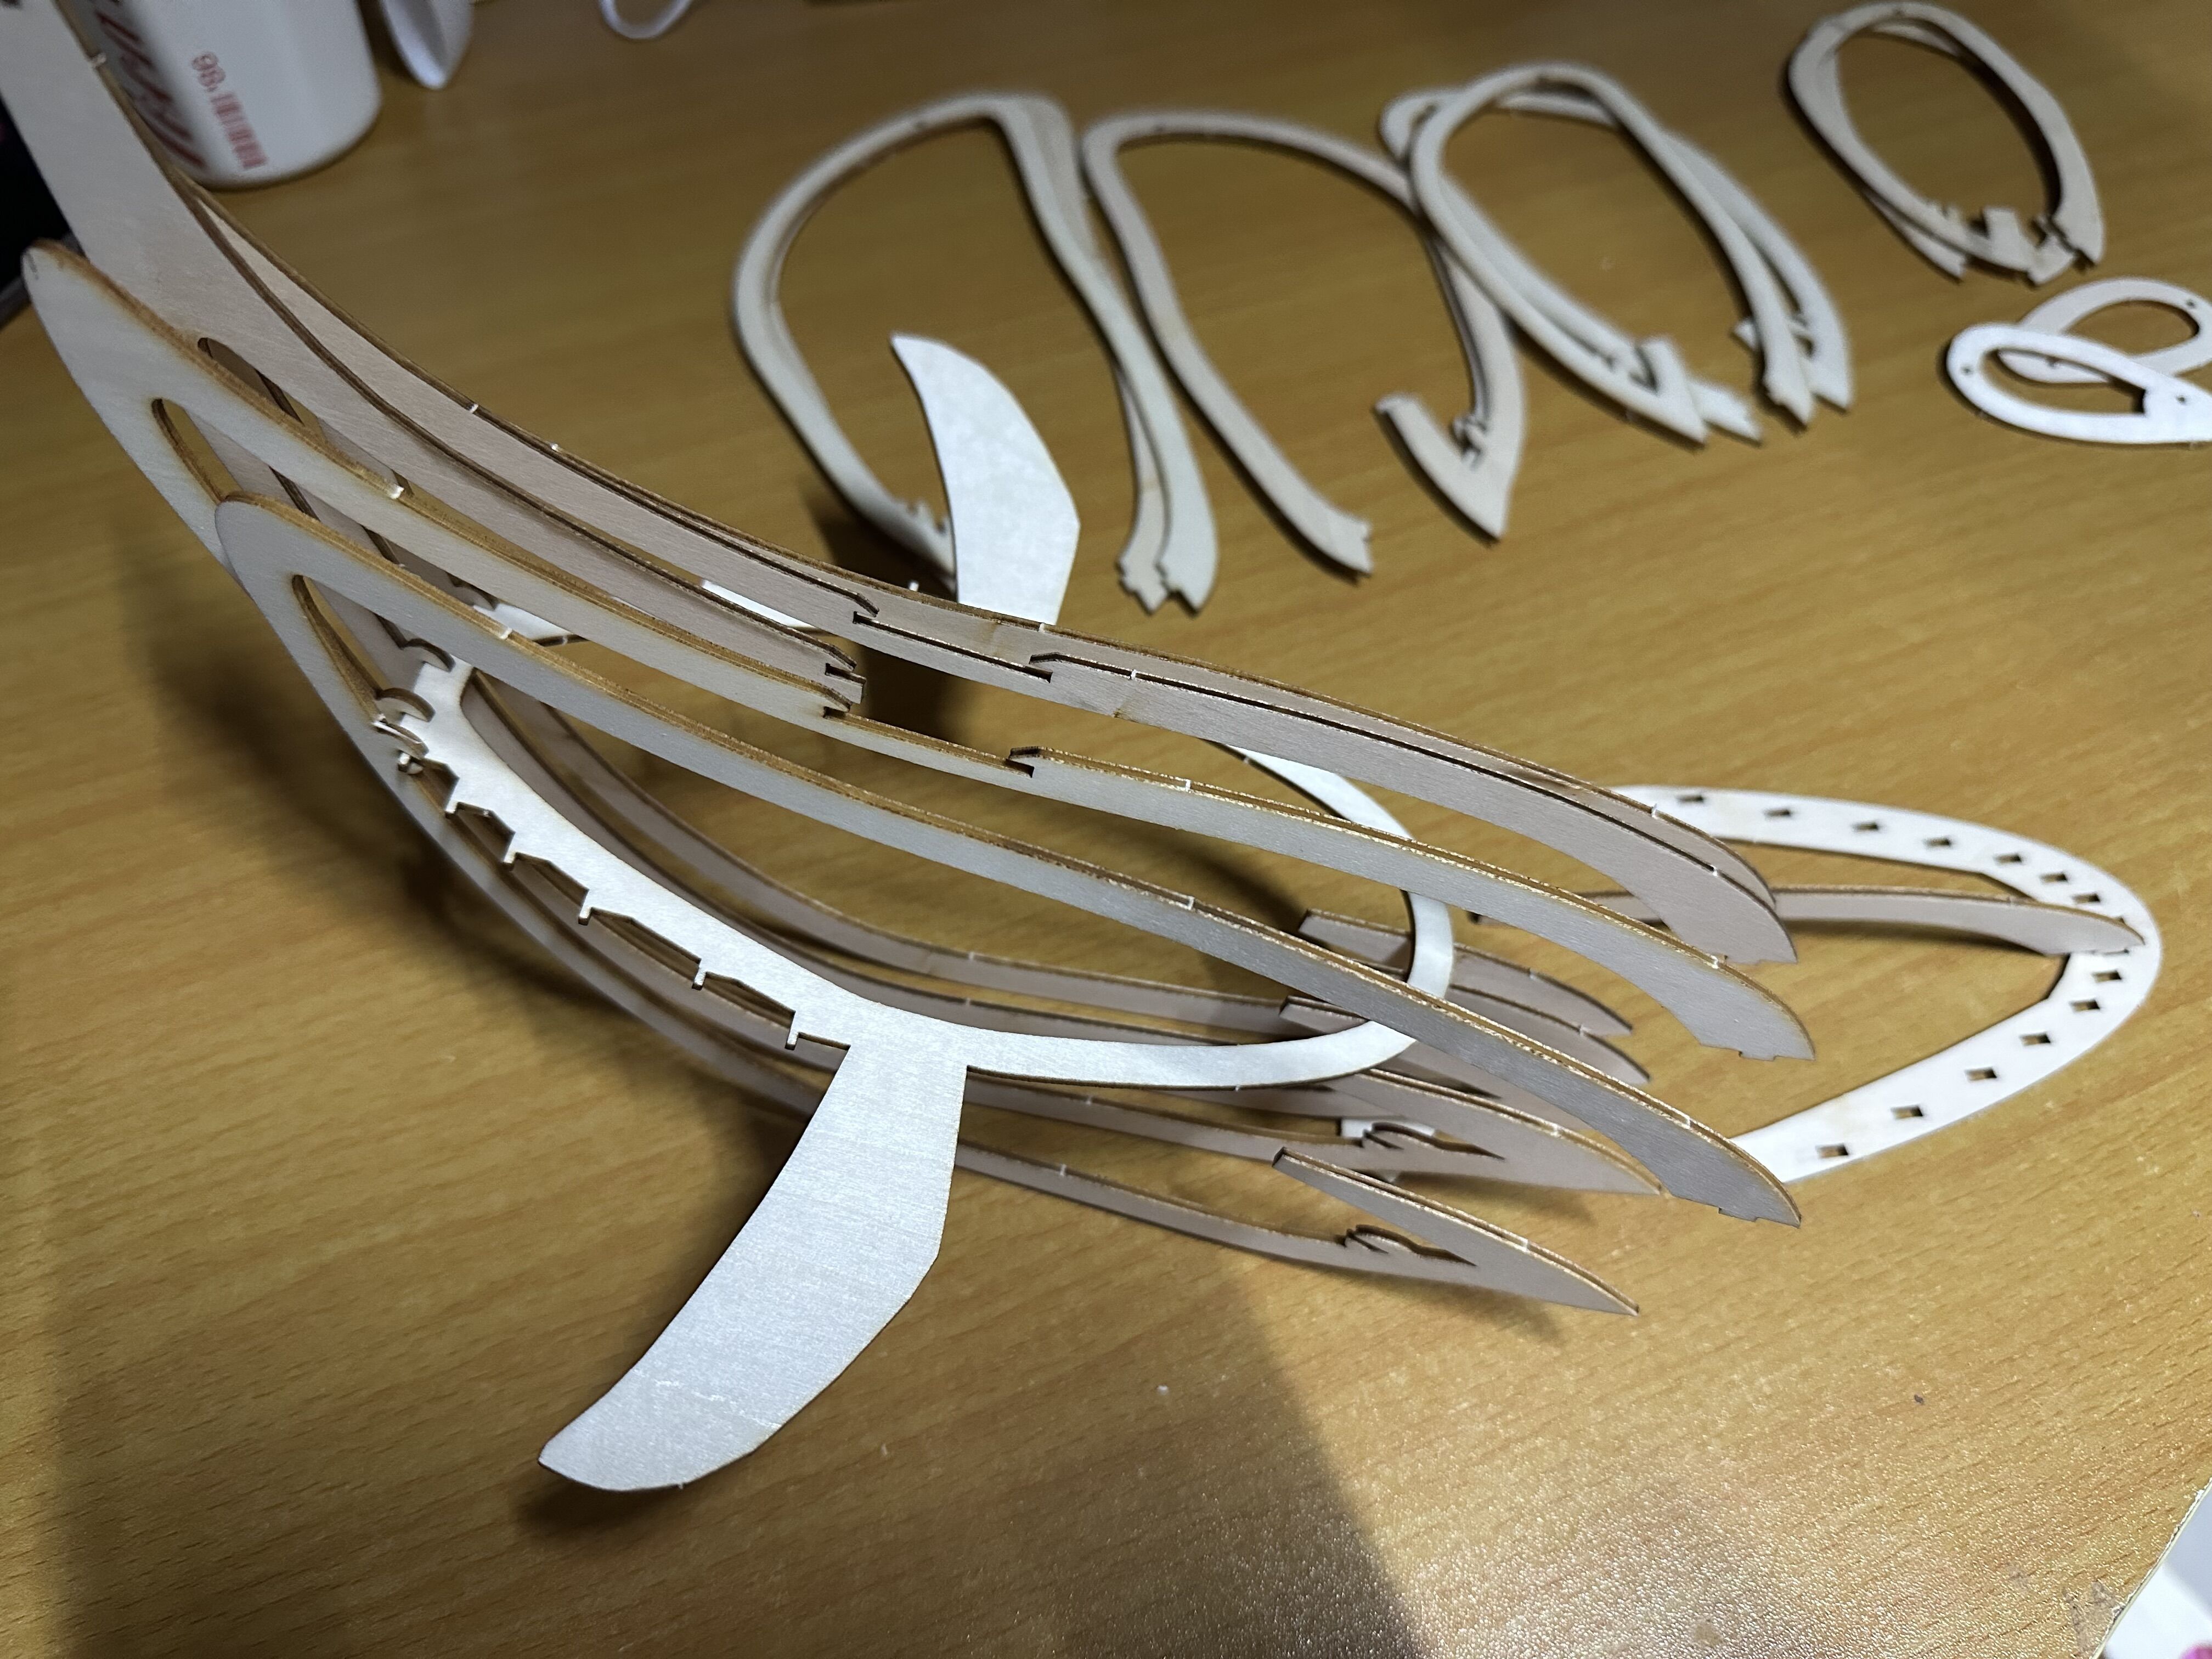
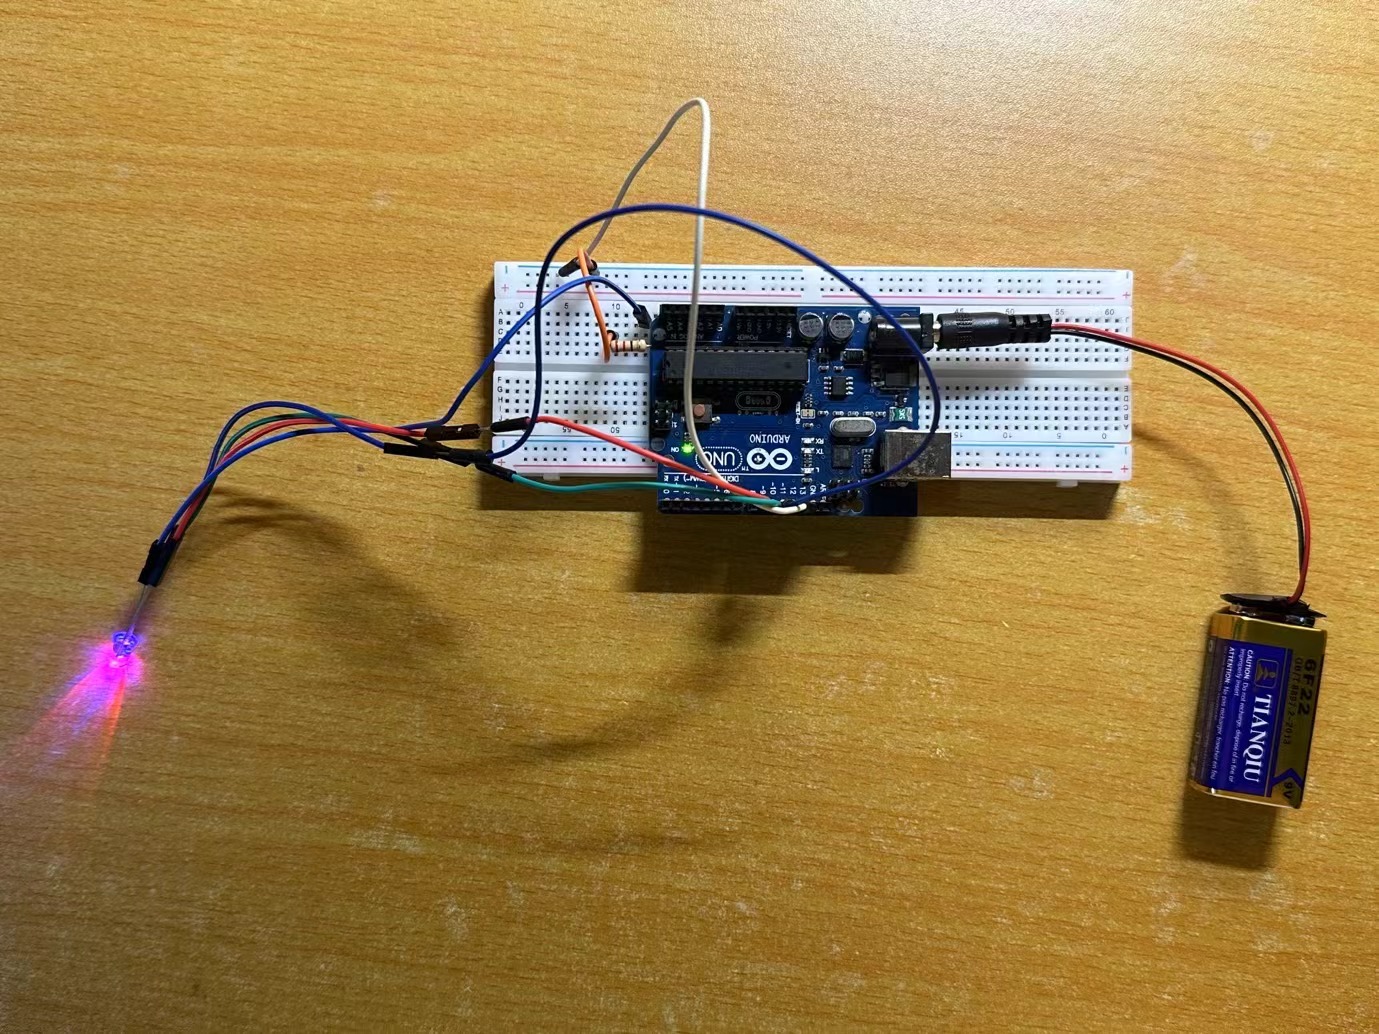
- Combined with Arduino
Description: An RGB LED is used, in this process the colour ratio is gradually mixed by breathing, and the effect of changing from blue to purple is achieved by adjusting the ratio of the mixed colours. (Refer to the arduino section for the specific introduction of RGB LED)
code:
1 | |
6. Finished Product-Whale Lamp

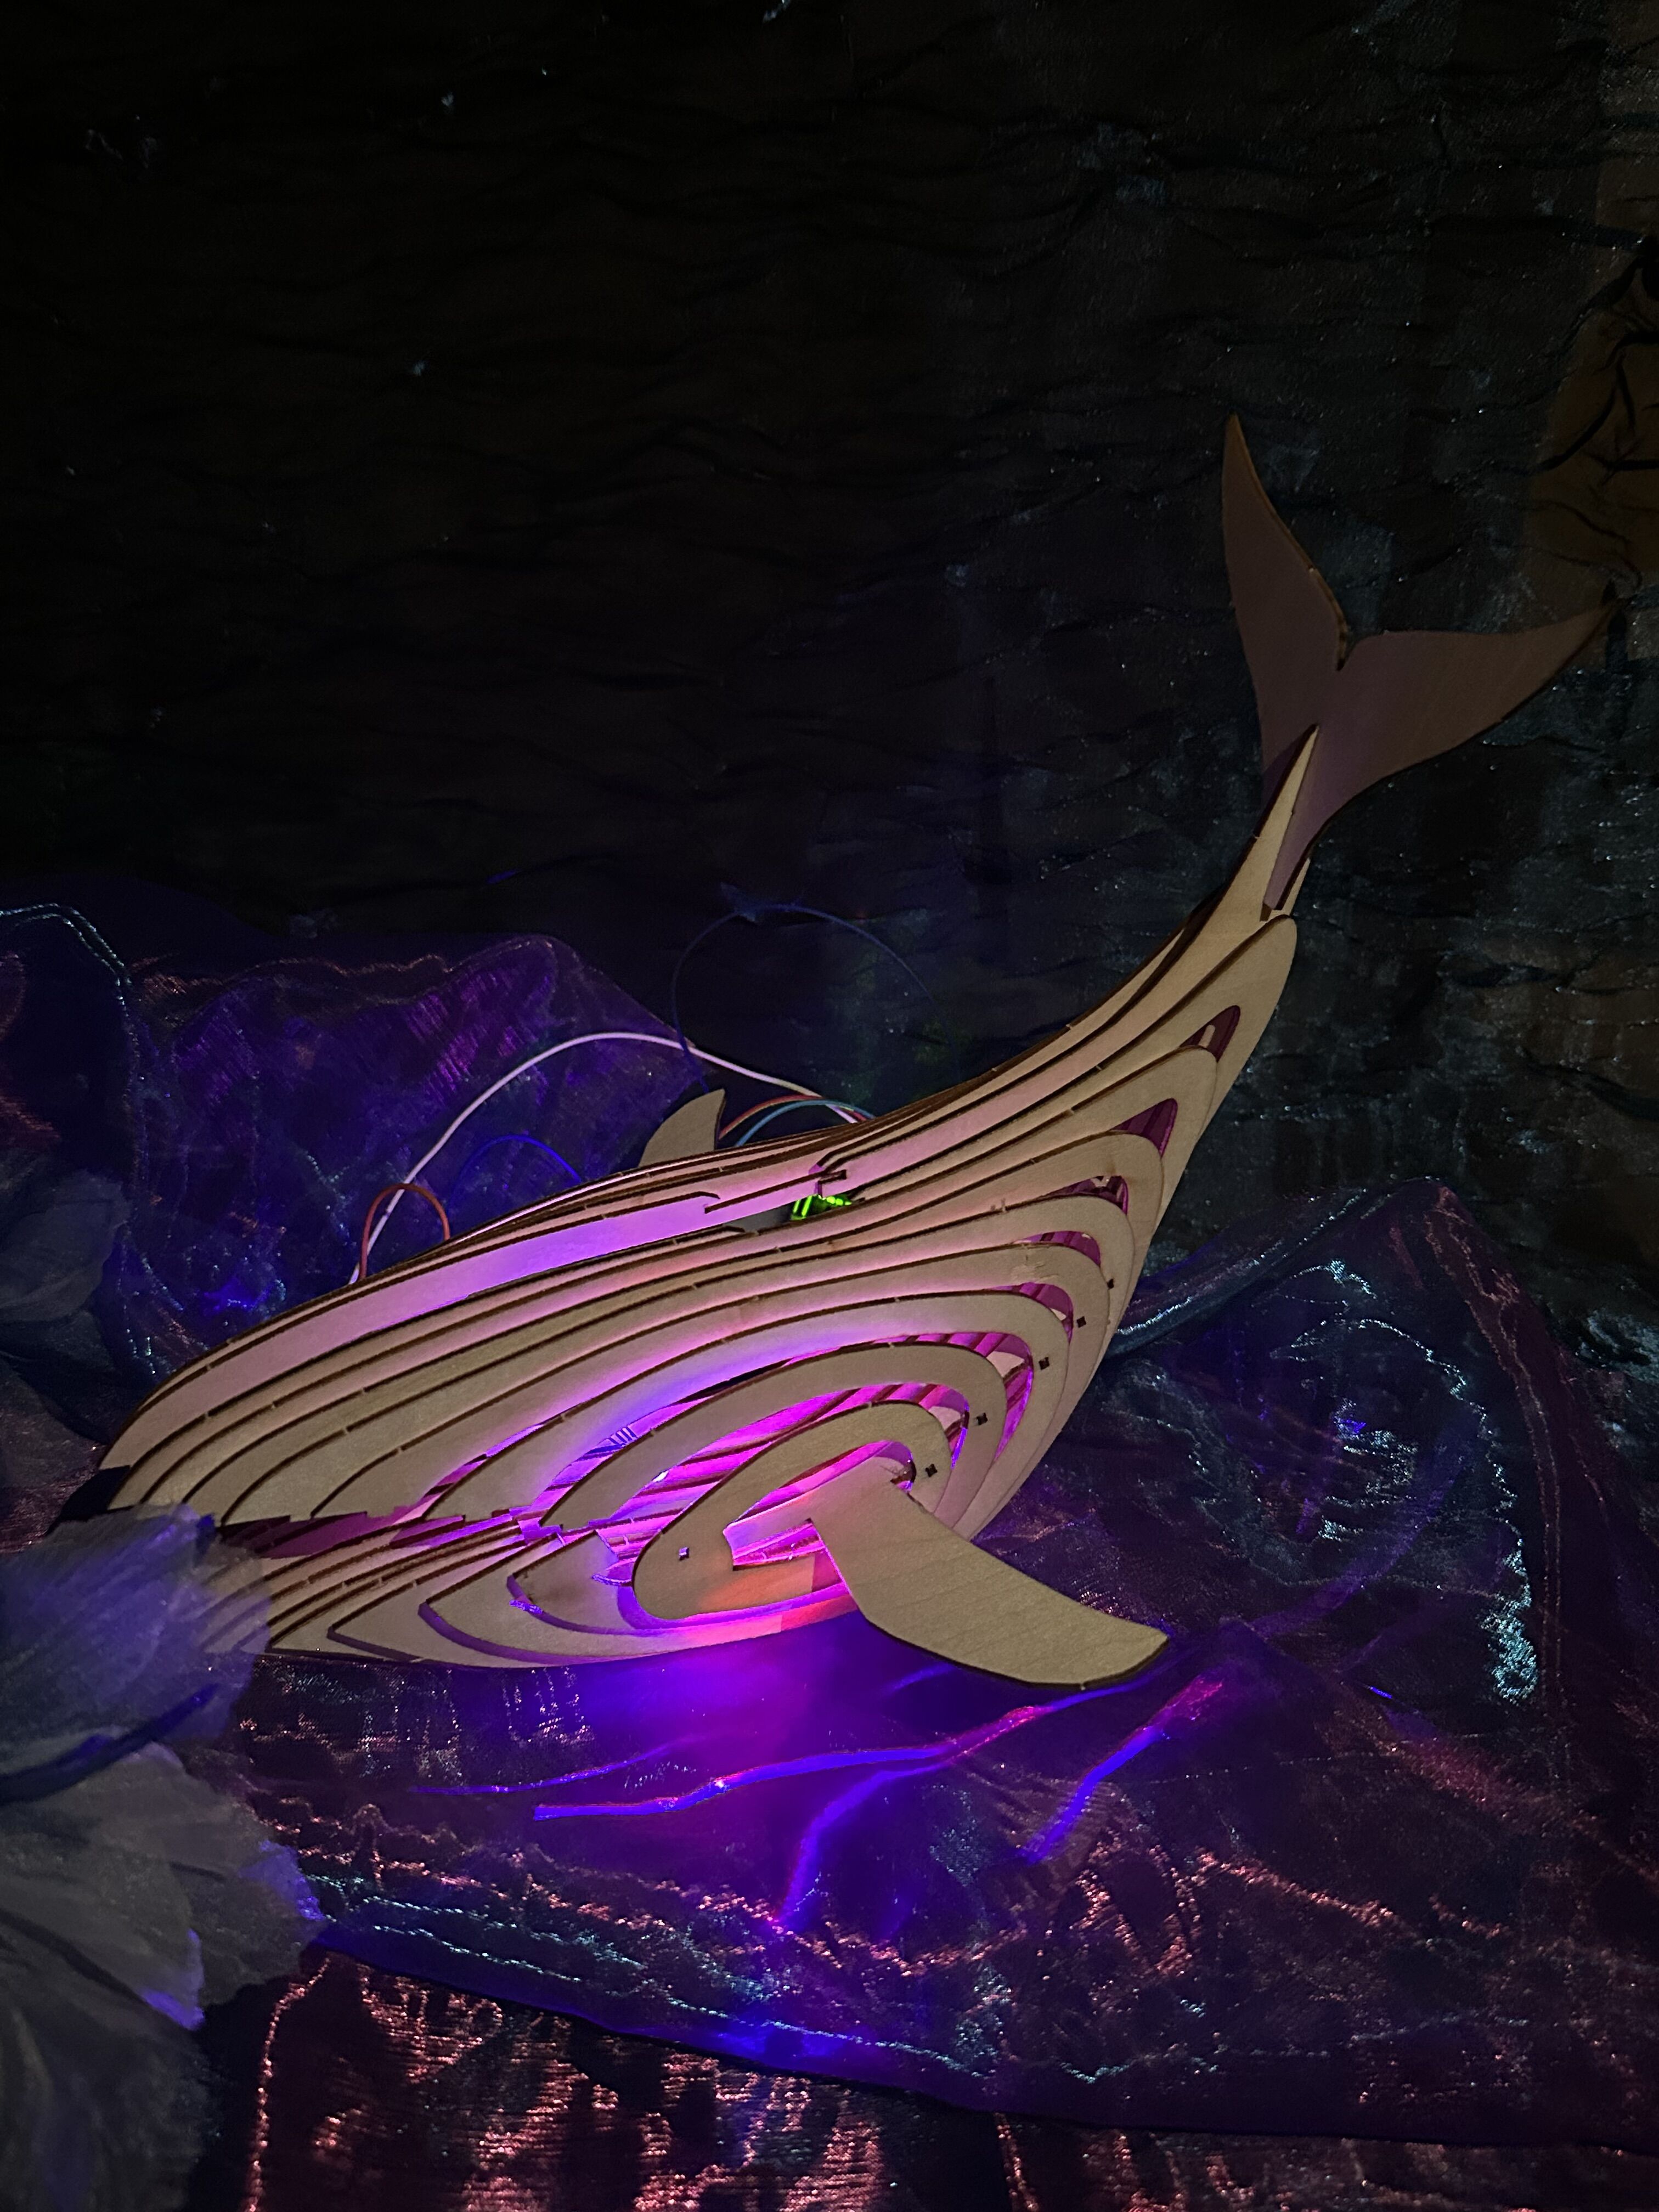
- Whale Lamp & Final Project
Our final project aims to call for people’s attention to and protection of the marine environment, coexisting and breathing with the ocean. Whales are commonly regarded as symbols of the marine ecosystem, representing a vital force within the ocean. A whale-shaped lamp serves as a symbolic representation consistent with the theme of the final project, emphasizing the significance of the marine environment. It may be further incorporated into the final project in subsequent stages.