Final project prototype
1. Dev board
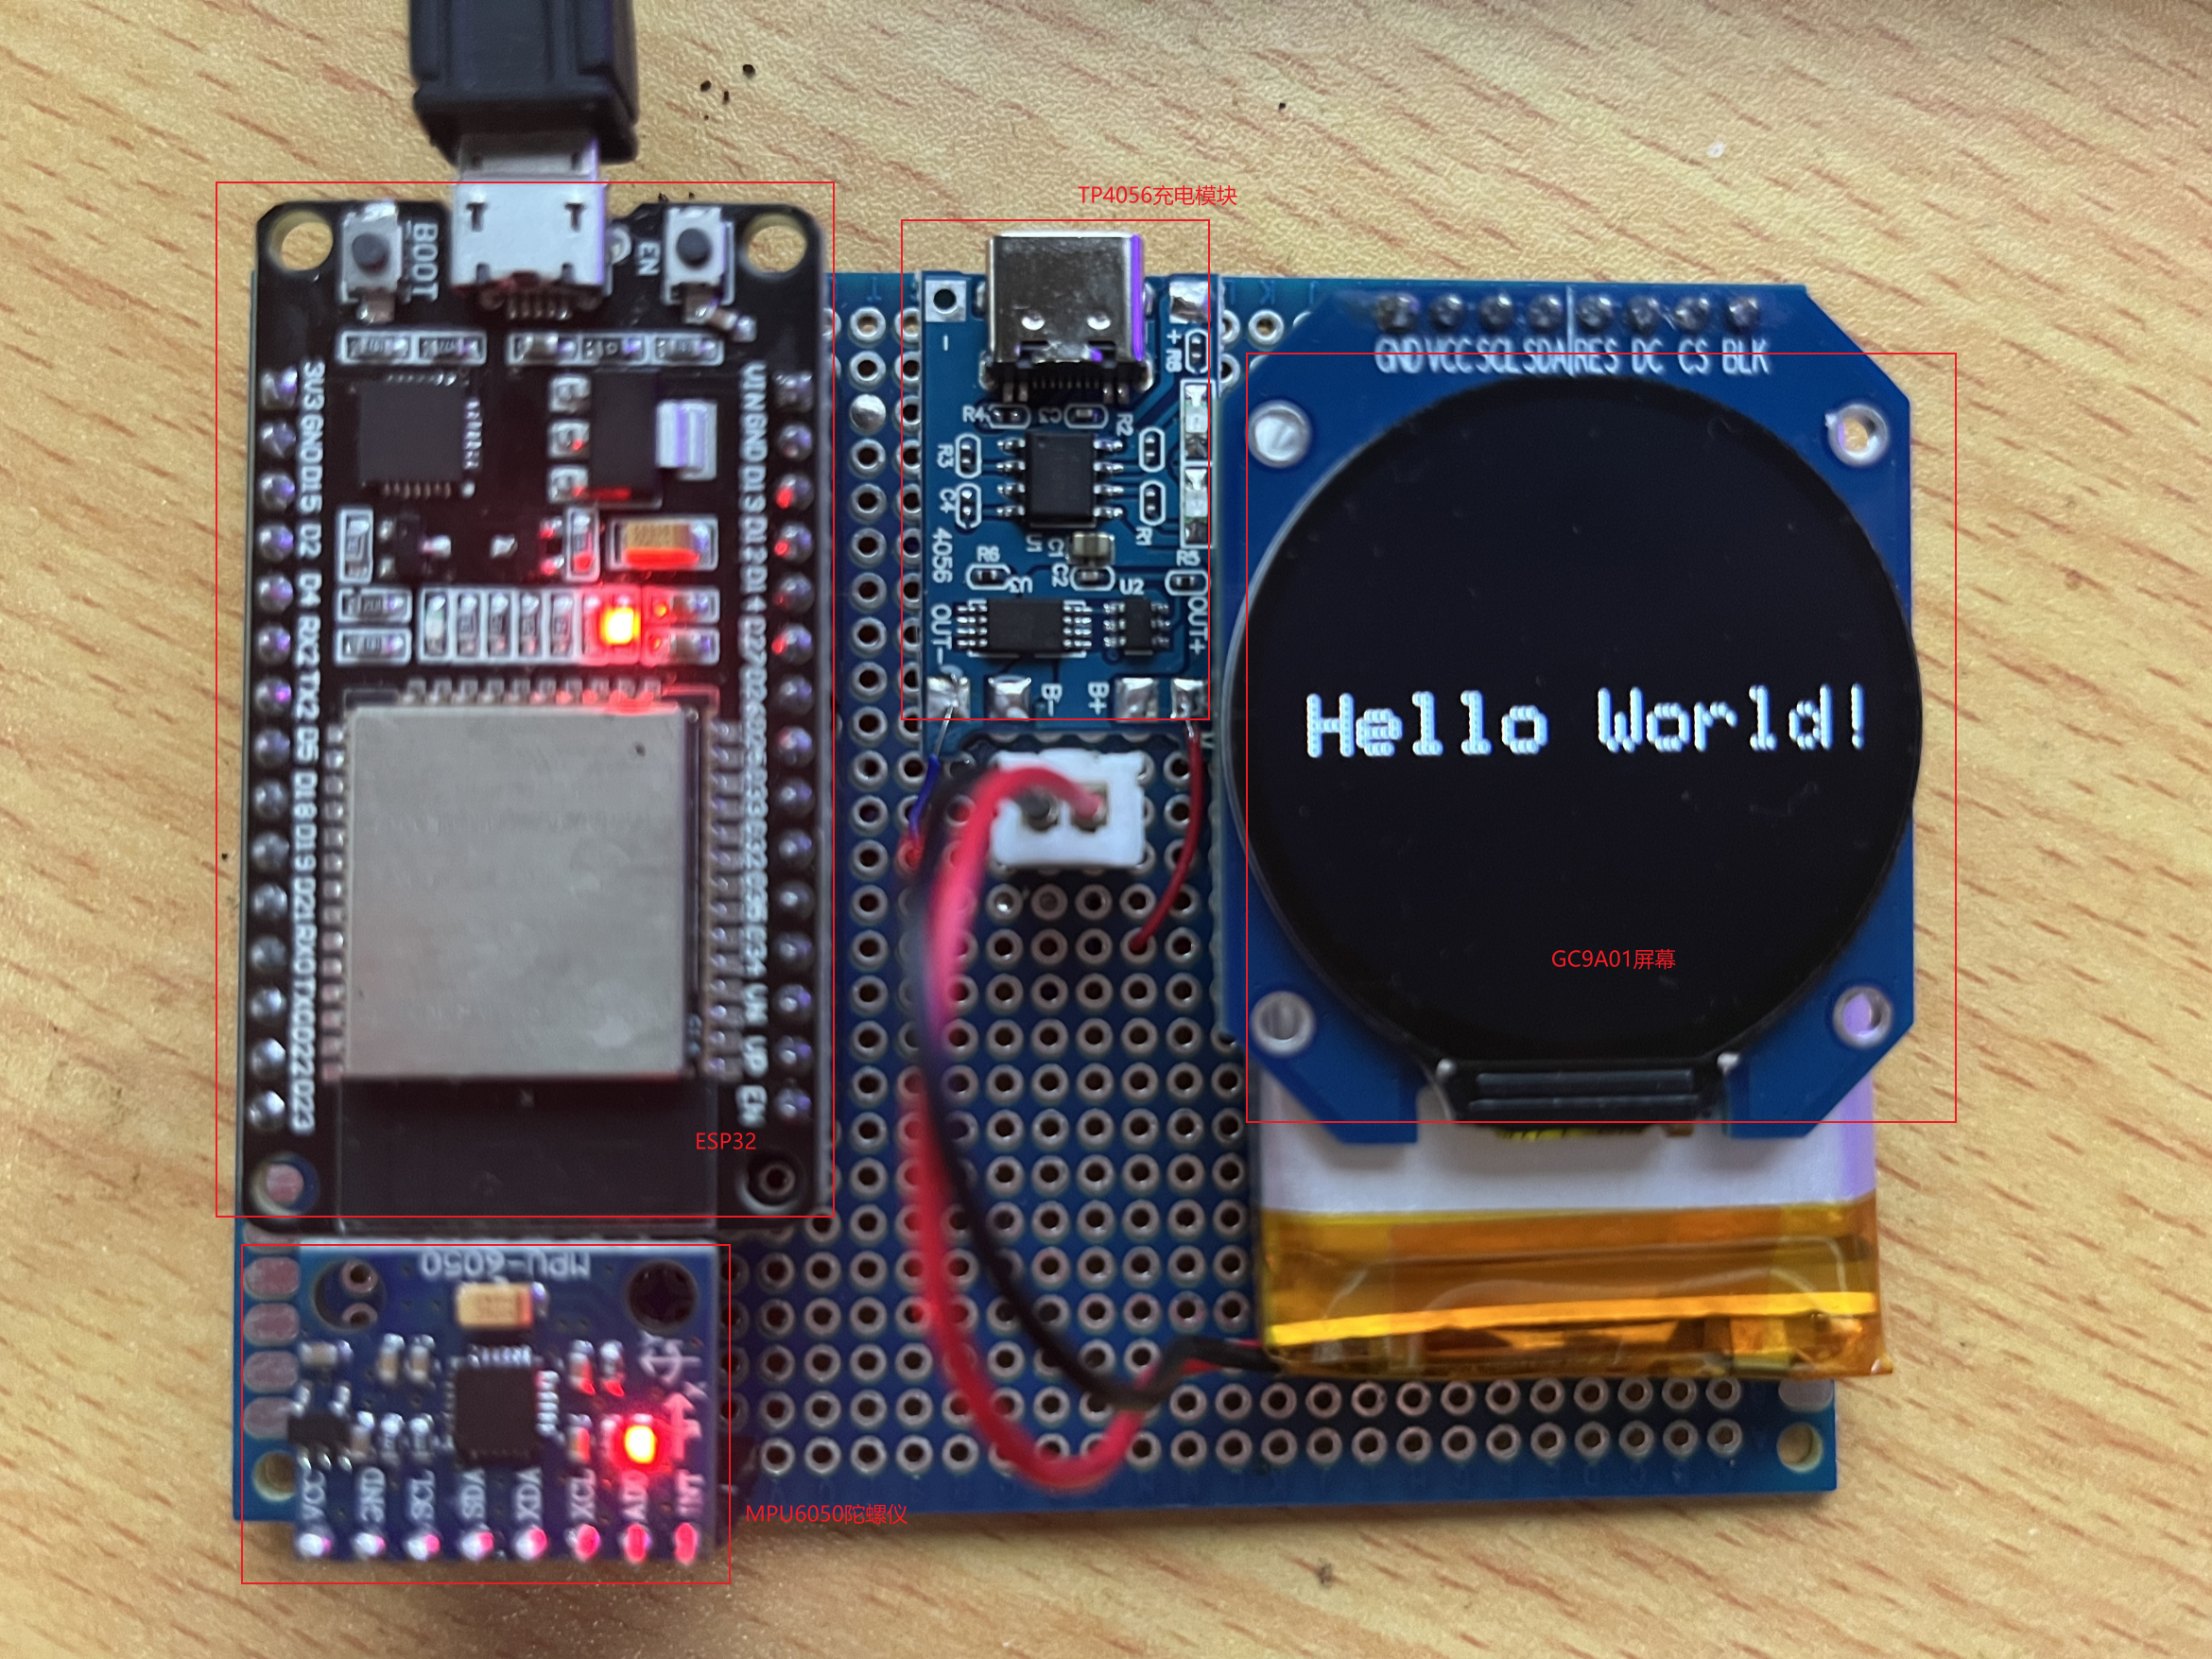
我们制作了一个开发板用来收集数据与原型开发。主要包括:
- ESP32
- 陀螺仪
- 1.28英寸圆形屏幕,GC9A01驱动
- 电池与充电模块
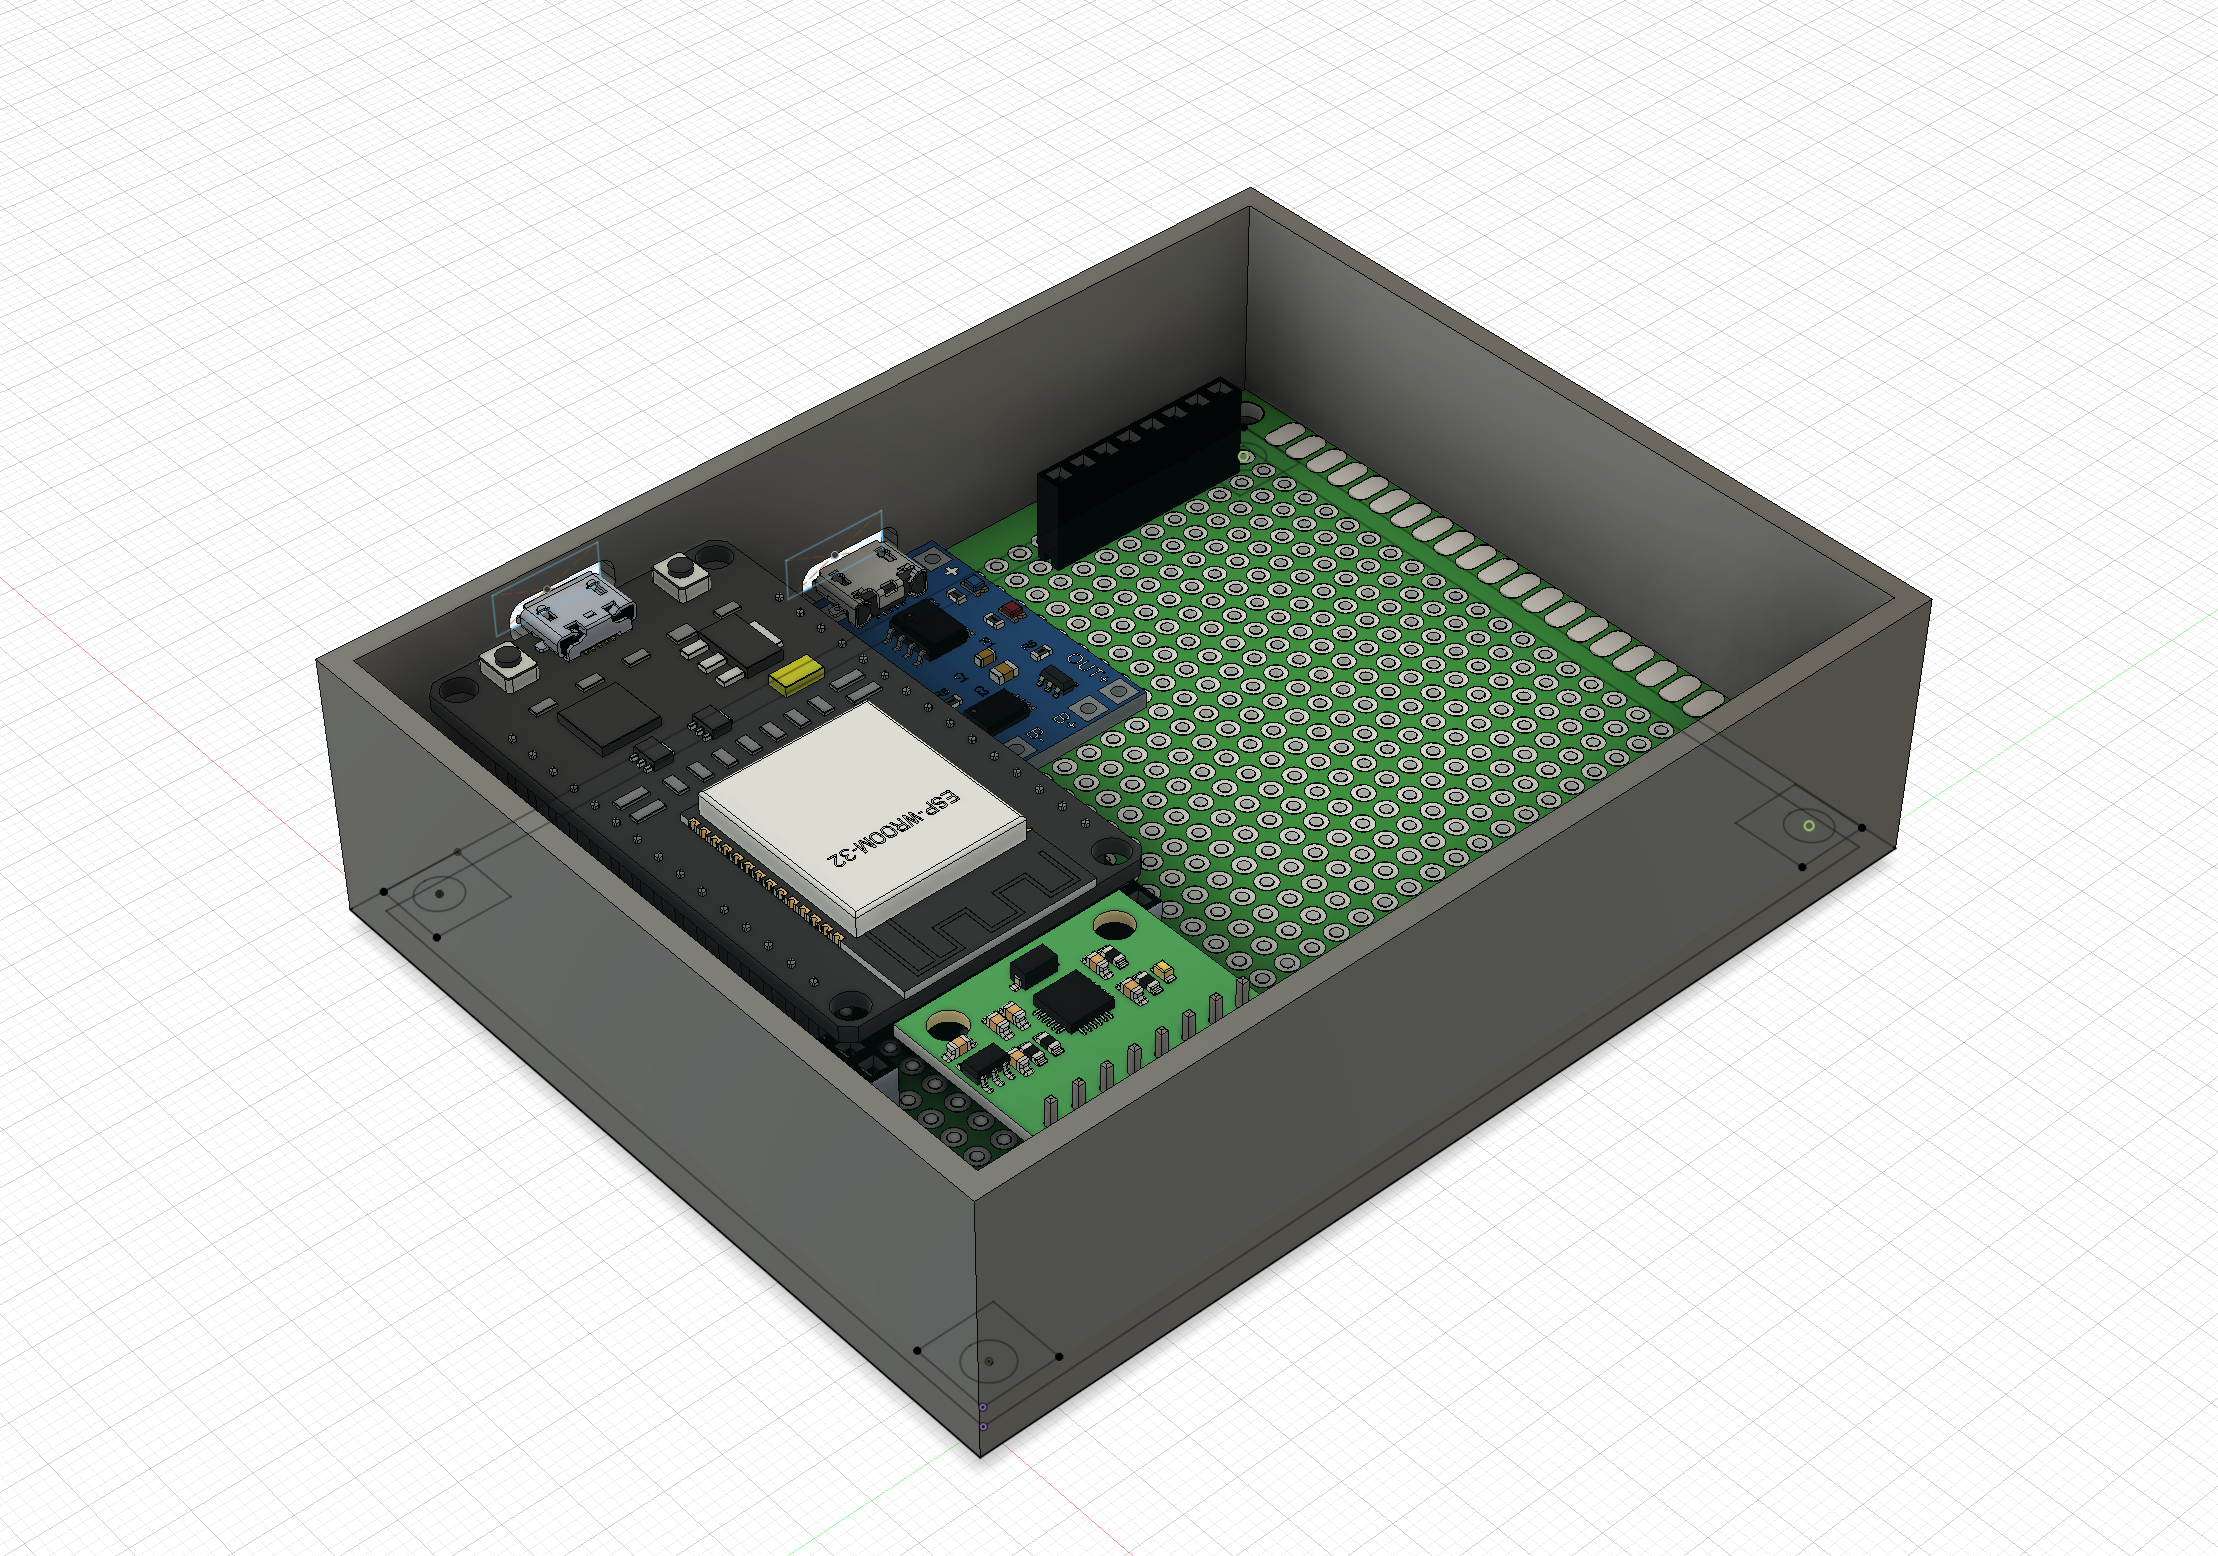
同时我们还制作了3D打印的外壳。
2. Data collecting
由于我们使用Edge Impulse训练我们的数据,所以我们需要将陀螺仪数据通过串口按照特定的形式打印出来,保存为csv文件。具体要求和Arduino示例代码可以参阅官方文档。我们设计了data collecting的代码,当通过串口发送1000、2000或者3000时,开发板可以收集相应数量的数据。
void data_Collecting(int data_num)
{
    unsigned long timestamp;
    unsigned long timestamp_start;
    timestamp_start = millis();
    Serial.println("timestamp,AccX,AccY,AccZ,GyroX,GyroY,GyroZ");
    gfx->fillScreen(BLACK);
    gfx->setCursor(20, 110);
    gfx->setTextColor(WHITE);
    gfx->setTextSize(2 /* x scale */, 2 /* y scale */, 1 /* pixel_margin */);
    gfx->println("DATA COLLECTING...");
    for (int i = 0; i < data_num; i++)
    {
        sensors_event_t a, g, temp;
        mpu.getEvent(&a, &g, &temp);
        timestamp = millis();
        Serial.print(timestamp - timestamp_start);
        Serial.print(",");
        Serial.print(a.acceleration.x, 4);
        Serial.print(",");
        Serial.print(a.acceleration.y, 4);
        Serial.print(",");
        Serial.print(a.acceleration.z, 4);
        Serial.print(",");
        Serial.print(g.gyro.x, 4);
        Serial.print(",");
        Serial.print(g.gyro.y, 4);
        Serial.print(",");
        Serial.println(g.gyro.z, 4);

        while (millis() < timestamp + SAMPLING_PERIOD_MS)
            ;
    }
    gfx->setTextSize(3 /* x scale */, 3 /* y scale */, 1 /* pixel_margin */);
    gfx->fillScreen(BLACK);
    gfx->setCursor(50, 110);
    gfx->println("JOB DONE");
}
记录的数据👇
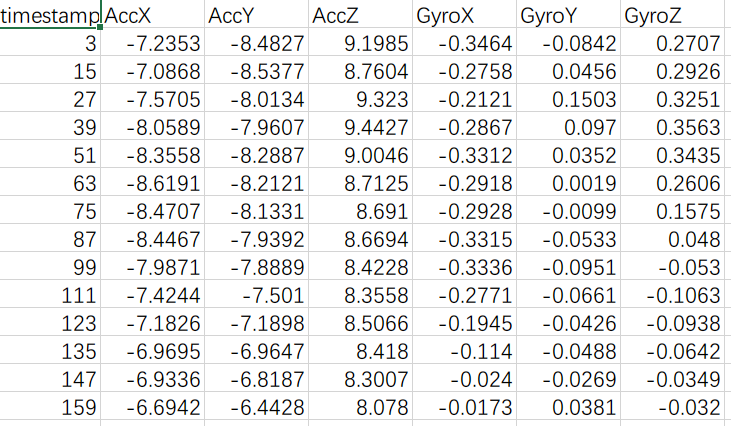
当数据上传之后,可以查看数据是否正确。下图为哑铃训练时的陀螺仪数据。
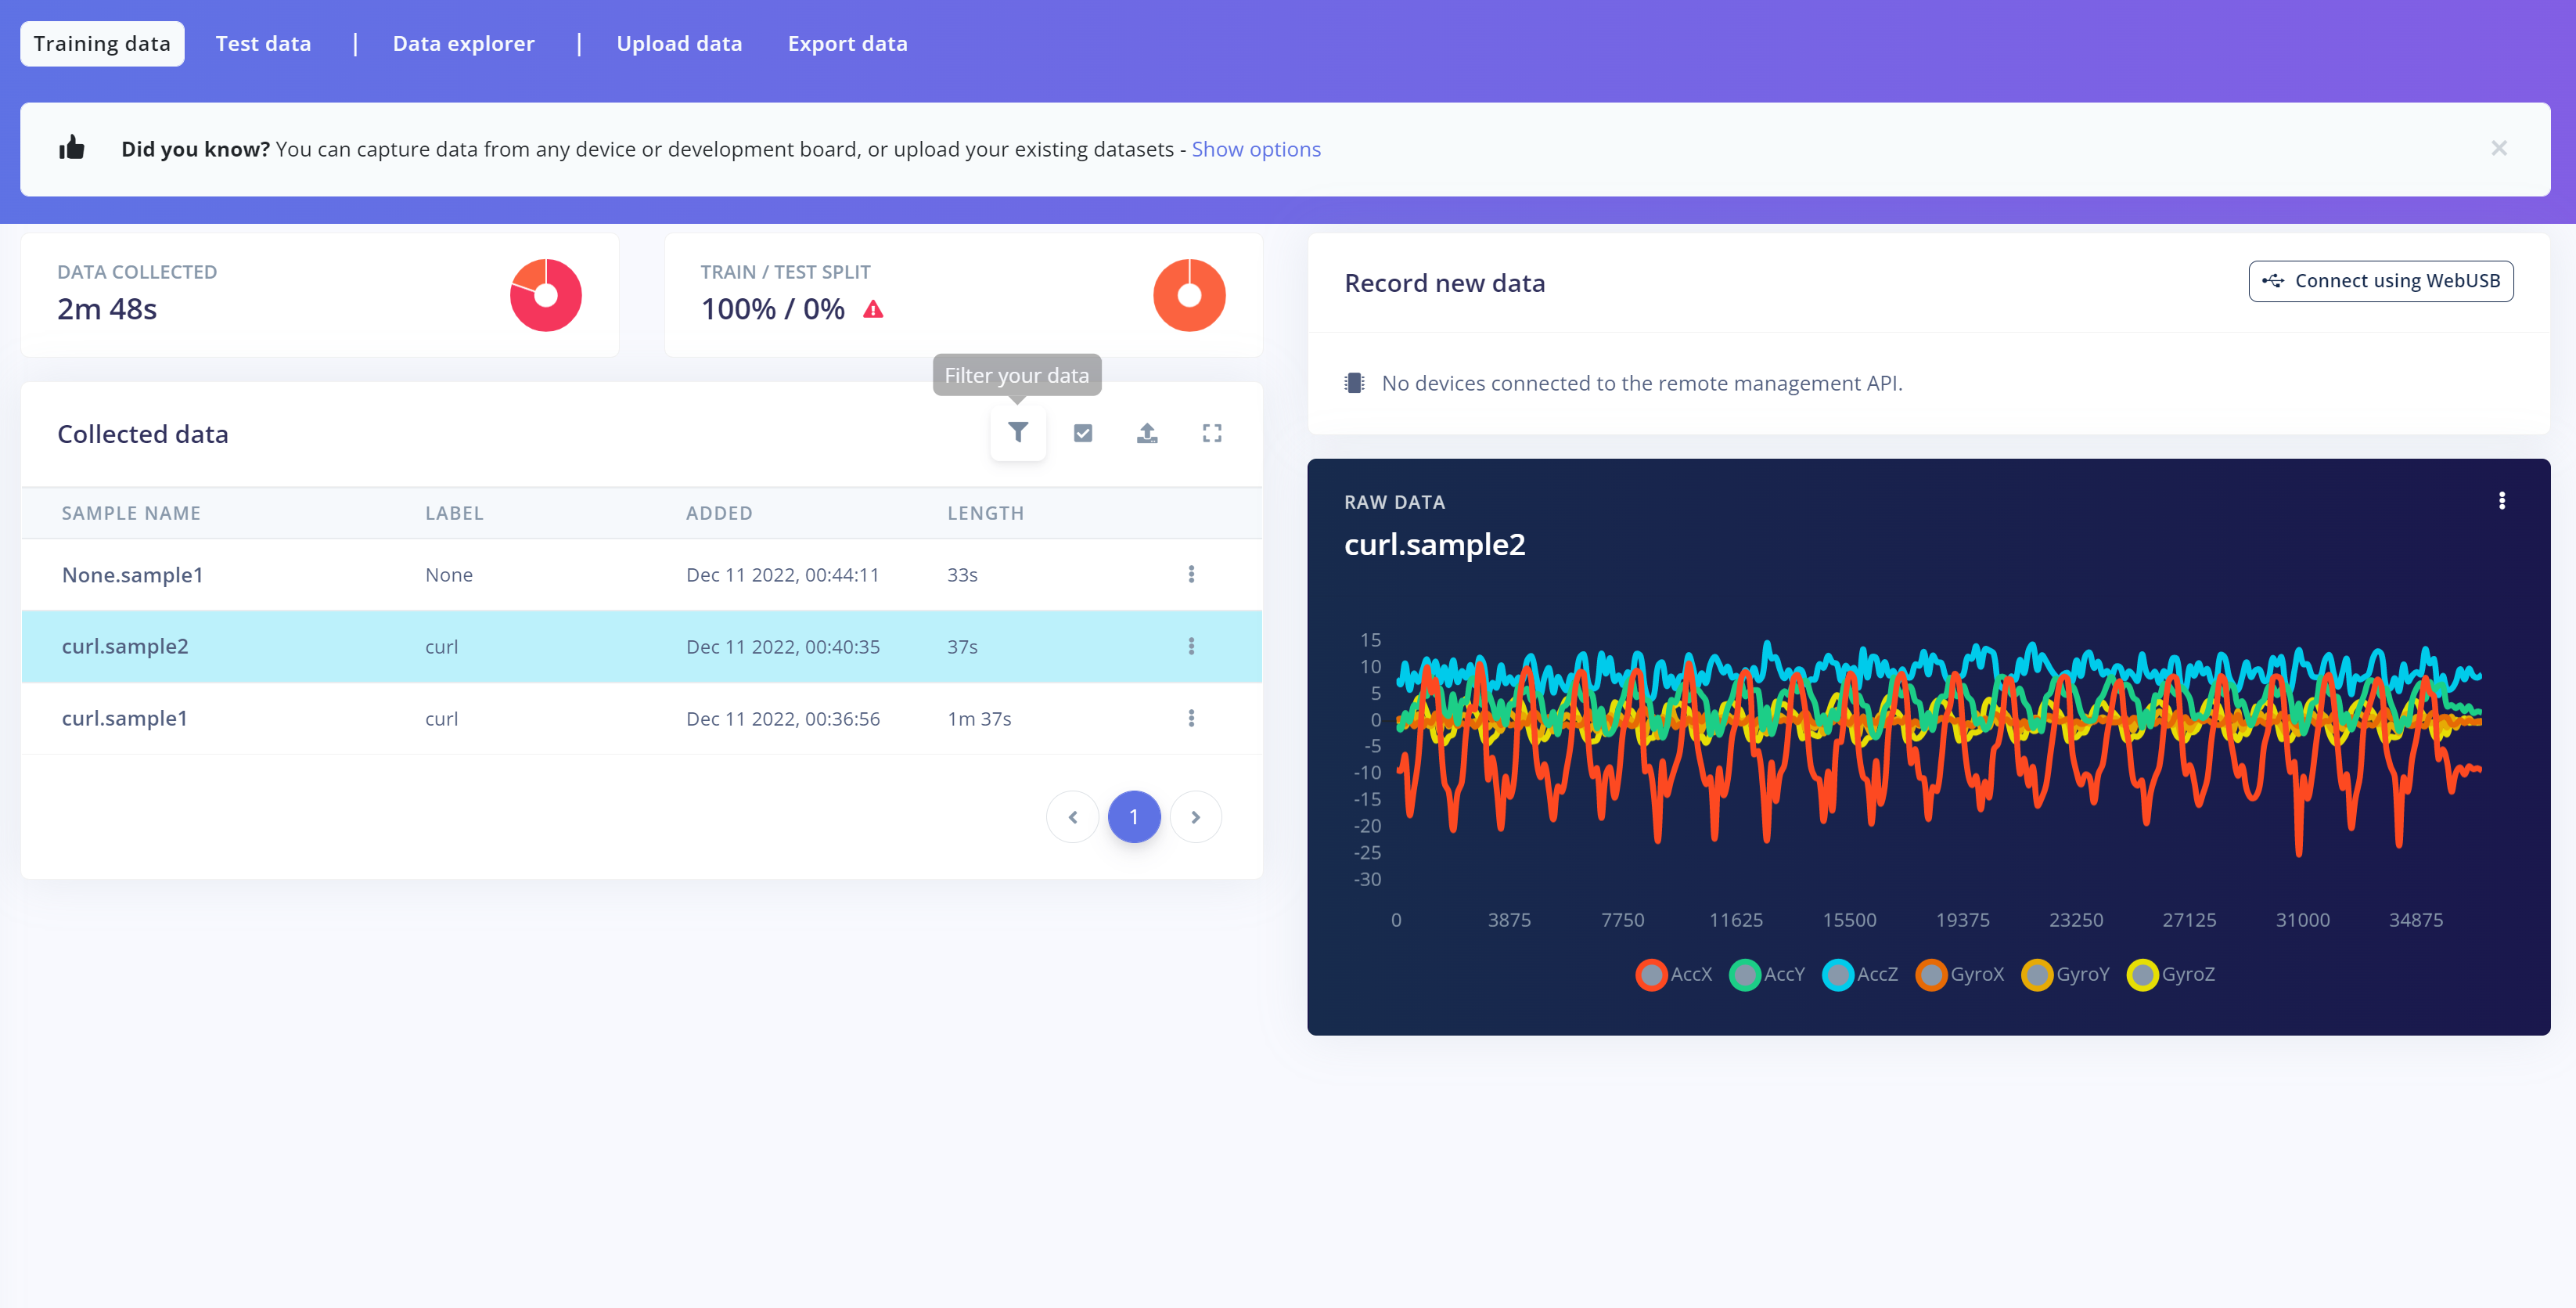
现在数据较少,模型很容易训练,但面对陌生数据的正确率会偏低。之后我们需要请组员与志愿者们进行不同训练项目的数据收集。由于疫情,数据收集暂缓。
3. Machine Learning
3.1 数据预处理
3.2 训练
3.3 部署
4. Code
Search
Made with ❤ and at ZJU.