Interface Application Programming
Interface Application Programming
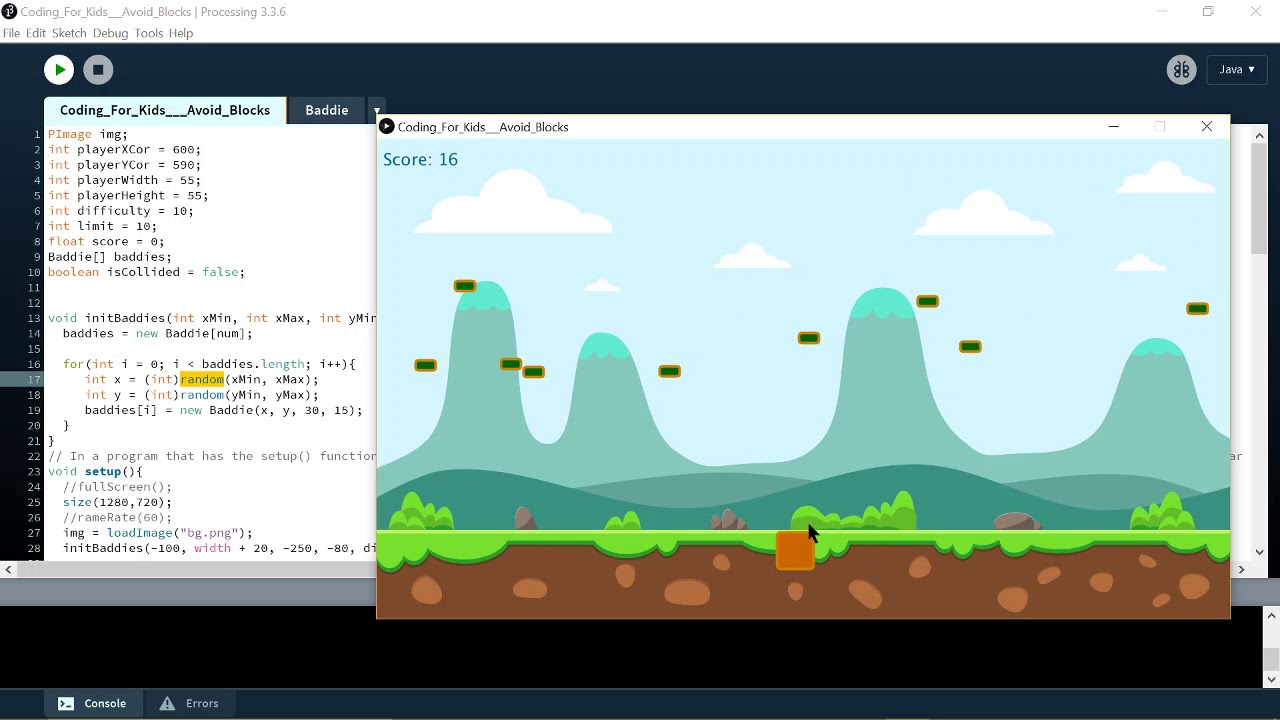
Processing
Processing is a free graphical library and integrated development environment (IDE) built for the electronic arts, new media art, and visual design communities with the purpose of teaching non-programmers the fundamentals of computer programming in a visual context.
Processing uses the Java language, with additional simplifications such as additional classes and aliased mathematical functions and operations. It also provides a graphical user interface for simplifying the compilation and execution stage.
The Processing language and IDE have been the precursor to other projects including Arduino and Wiring.
Touch Designer
TouchDesigner is a visual node-based multimedia interactive creation tool developed by Derivative Canada. With its extremely powerful integrated node creation technology, it allows designers, artists and multimedia people to easily and quickly build works, whether they are interactive projections, audio-visual interactions, motion posters or art installations.


Catch Me If You Can
Interacting with your mouse
In this section, we will show you how to write basic processing code.
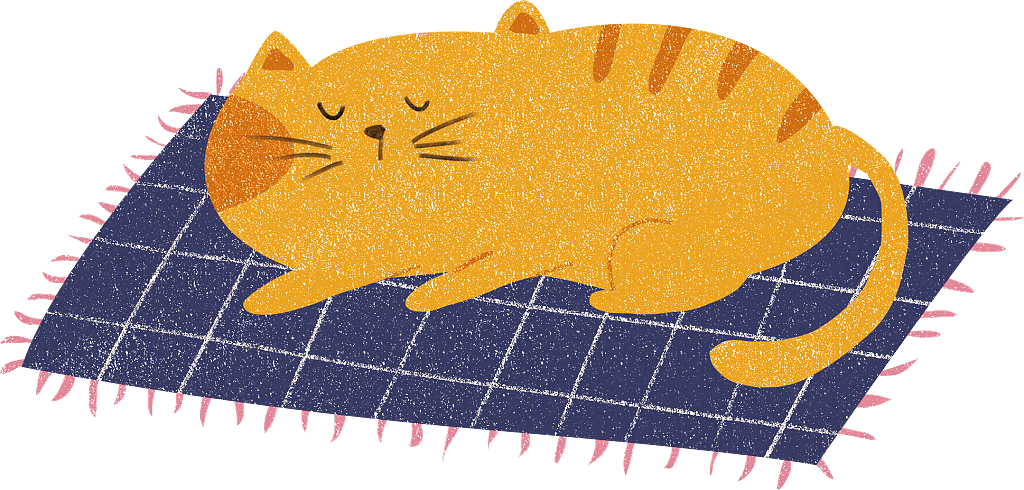
We find a interesting demo of processing application on Bilibili, uploaded by 工程部老周. A really cute cat.
Here is the video link: https://b23.tv/ESxZ1wf
And here is the code:
PImage mao;
PImage zui;
PImage yu2;
int size = 50;
Eye e1,e2;
void setup() {
  size(1440, 810);
  mao = loadImage("maomao3.png");
  zui = loadImage("zui.png");
  yu2 = loadImage("yu2.png");

}
void draw() {
  float X = map(mouseX, 0, 1440, -10, 10);
  float Y = map(mouseY, 0, 810, -10, 10);
  e1 = new Eye( 620+2*X,  350+2*Y, 80);
  e2 = new Eye( 780+2*X,  350+2*Y, 80);
  background(255, 215, 113);
  imageMode(CENTER);
  image(mao, 700+2*X,400+2*Y);
  image(zui, 700+3*X, 450+3*Y);
  e1.update(mouseX, mouseY);
  e2.update(mouseX, mouseY);
  e1.display();
  e2.display();
  line(mouseX-40,0,mouseX-40, mouseY);
  image(yu2,mouseX, mouseY);


}

class Eye {
  float x, y;
  int size;
  float angle = 0.0;

  Eye(float tx, float ty, int ts) {
    x = tx;
    y = ty;
    size = ts;
 }

  void update(int mx, int my) {
    angle = atan2(my-y, mx-x);
  }

  void display() {
    pushMatrix();
    translate(x, y);
    fill(255);
    strokeWeight(4);
    ellipse(0, 0, size, size);
    rotate(angle);
    fill(31, 197,255);
    ellipse(size/4, 0, size/2, size/2);
    popMatrix();
  }
}
We wanted to achieve the effect of a cat lazily lying in a cat’s nest, watching mice scurrying around the house, so we replaced the code with our own image files. 👇
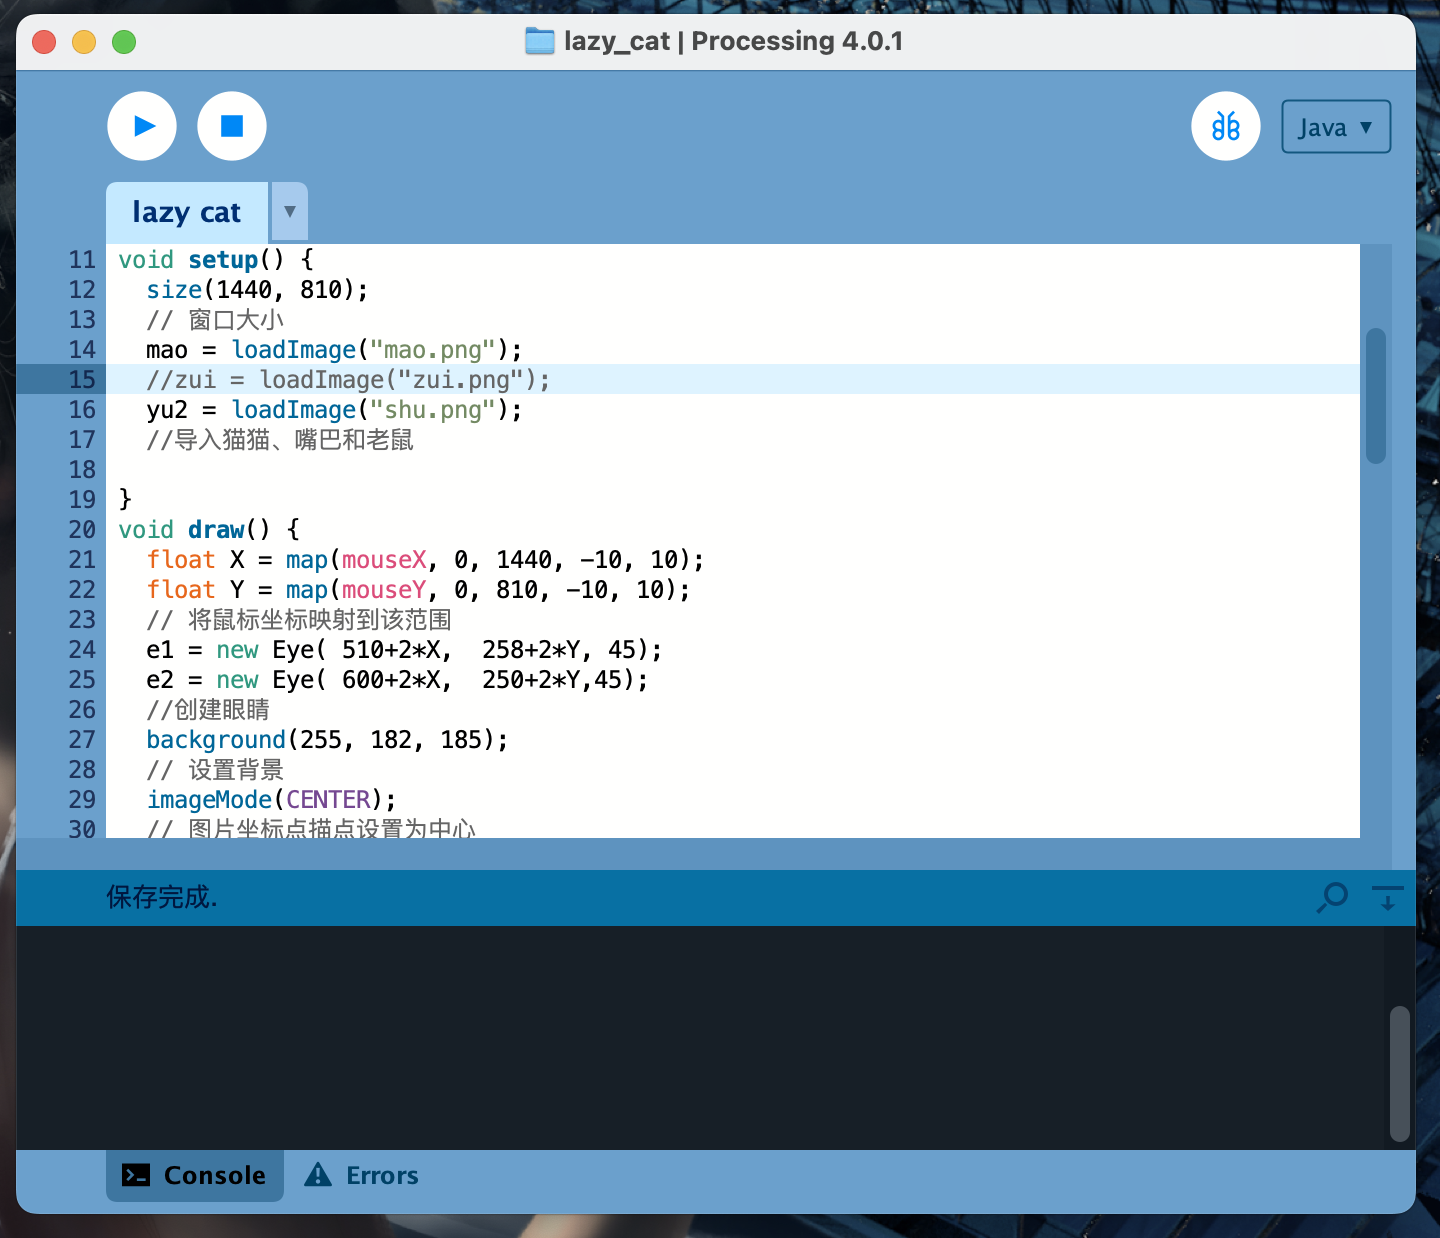
We modified the code and add comments, change the center of the cat picture, the size and position of the cat eyes, the size and position of the cat mouth and the background color.
void draw() {
  float X = map(mouseX, 0, 1440, -10, 10);
  float Y = map(mouseY, 0, 810, -10, 10);
  // 将鼠标坐标映射到该范围
  e1 = new Eye( 510+2*X,  258+2*Y, 45);
  e2 = new Eye( 600+2*X,  250+2*Y,45);
  //创建眼睛
  background(255, 182, 185);
  // 设置背景
  imageMode(CENTER);
  // 图片坐标点描点设置为中心
  image(mao, 700+2*X,400+2*Y);
  image(zui, 570+3*X, 300+3*Y);
  // 设置图片坐标,加上随鼠标移动偏移量
  e1.update(mouseX, mouseY);
  e2.update(mouseX, mouseY);
  e1.display();
  e2.display();
  //眼睛的显示
  line(mouseX-40,0,mouseX-40, mouseY);
  //跟随鼠标的竖线
  image(yu2,mouseX, mouseY);
  //老鼠随鼠标移动
Whoops,seems something wrong with the mouth😂.
Trying to comment the mouth code.
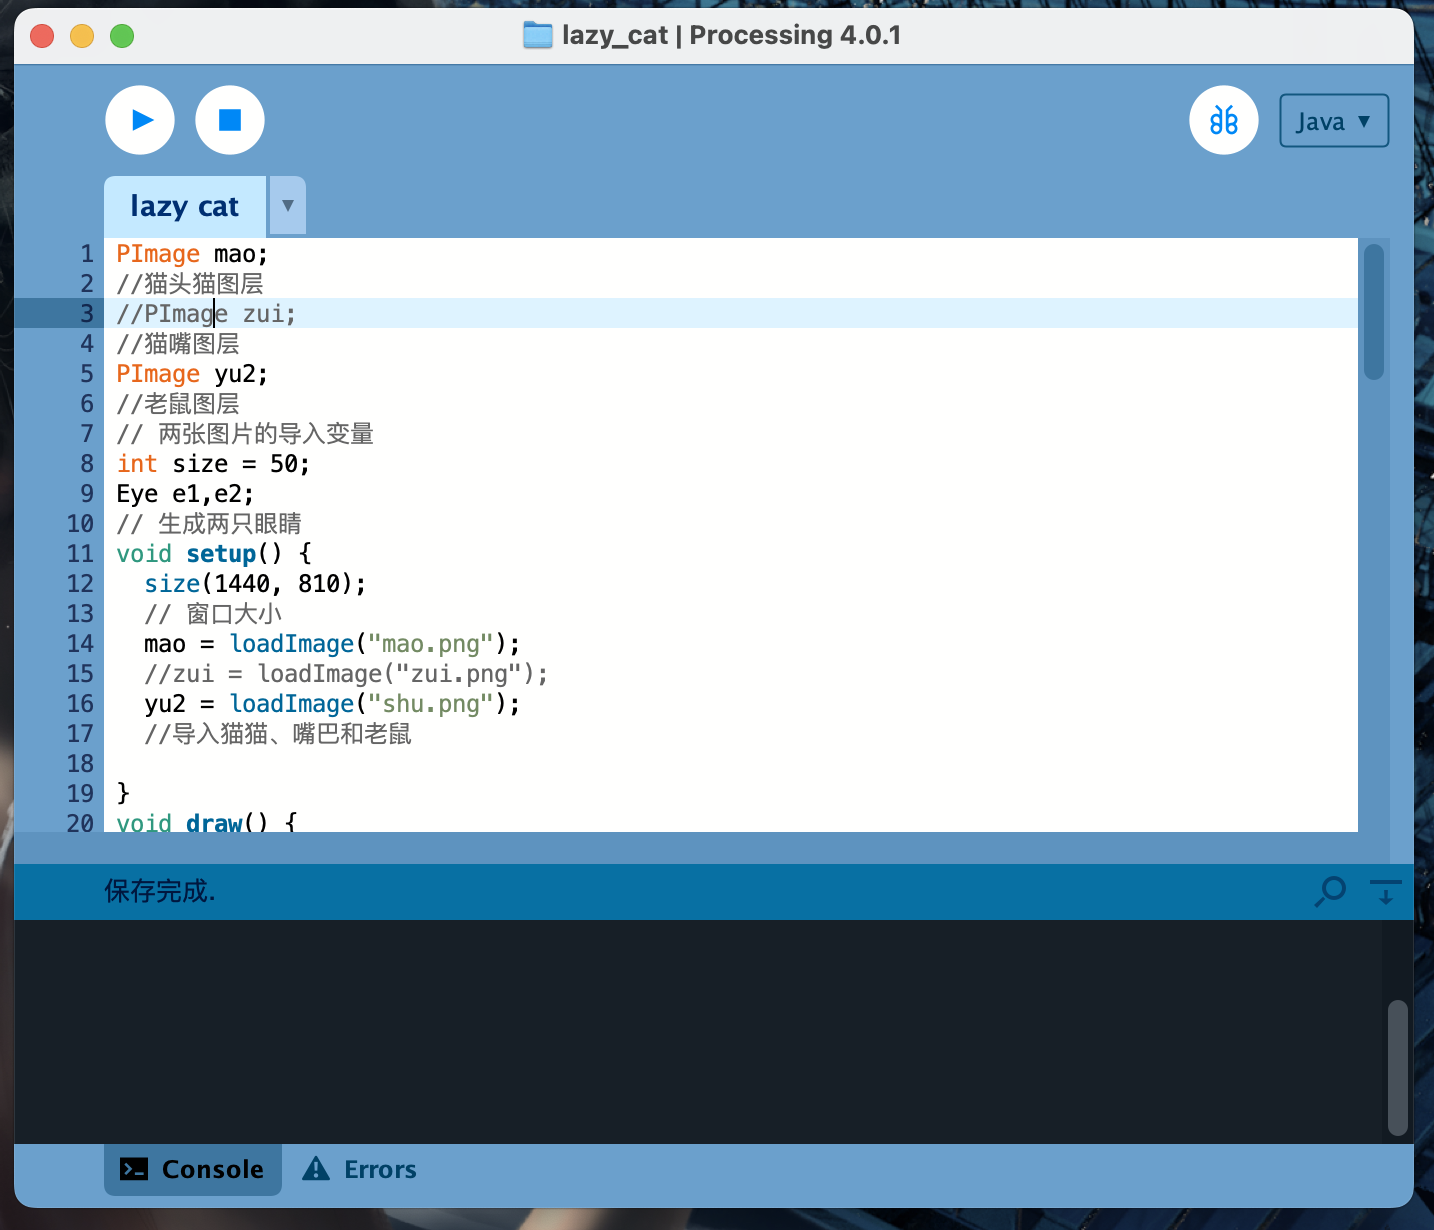

and Finally🎉!

Final code:
PImage mao;
//猫头猫图层
//PImage zui;
//猫嘴图层
PImage yu2;
//老鼠图层
// 两张图片的导入变量
int size = 50;
Eye e1,e2;
// 生成两只眼睛
void setup() {
  size(1440, 810);
  // 窗口大小
  mao = loadImage("mao.png");
  //zui = loadImage("zui.png");
  yu2 = loadImage("shu.png");
  //导入猫猫、嘴巴和老鼠

}
void draw() {
  float X = map(mouseX, 0, 1440, -10, 10);
  float Y = map(mouseY, 0, 810, -10, 10);
  // 将鼠标坐标映射到该范围
  e1 = new Eye( 510+2*X,  258+2*Y, 45);
  e2 = new Eye( 600+2*X,  250+2*Y,45);
  //创建眼睛
  background(255, 182, 185);
  // 设置背景
  imageMode(CENTER);
  // 图片坐标点描点设置为中心
  image(mao, 700+2*X,400+2*Y);
  //image(zui, 570+3*X, 300+3*Y);
  // 设置图片坐标,加上随鼠标移动偏移量
  e1.update(mouseX, mouseY);
  e2.update(mouseX, mouseY);
  e1.display();
  e2.display();
  //眼睛的显示
  line(mouseX-40,0,mouseX-40, mouseY);
  //跟随鼠标的竖线
  image(yu2,mouseX, mouseY);
  //老鼠随鼠标移动


}


class Eye {
  float x, y;
  int size;
  float angle = 0.0;

  Eye(float tx, float ty, int ts) {
    x = tx;
    y = ty;
    size = ts;
 }

  void update(int mx, int my) {
    angle = atan2(my-y, mx-x);
  }

  void display() {
    pushMatrix();
    translate(x, y);
    //变换整个坐标系的位置
    fill(255);
    strokeWeight(4);
    ellipse(0, 0, size, size);
    rotate(angle);
    fill(31, 197,255);
    ellipse(size/4, 0, size/2, size/2);
    popMatrix();
  }
}
You can visit github page of this project, or download all the file used in this article.👇
Google Drive Download Link
Fly me to the moon
Communication between Processing and Arduino
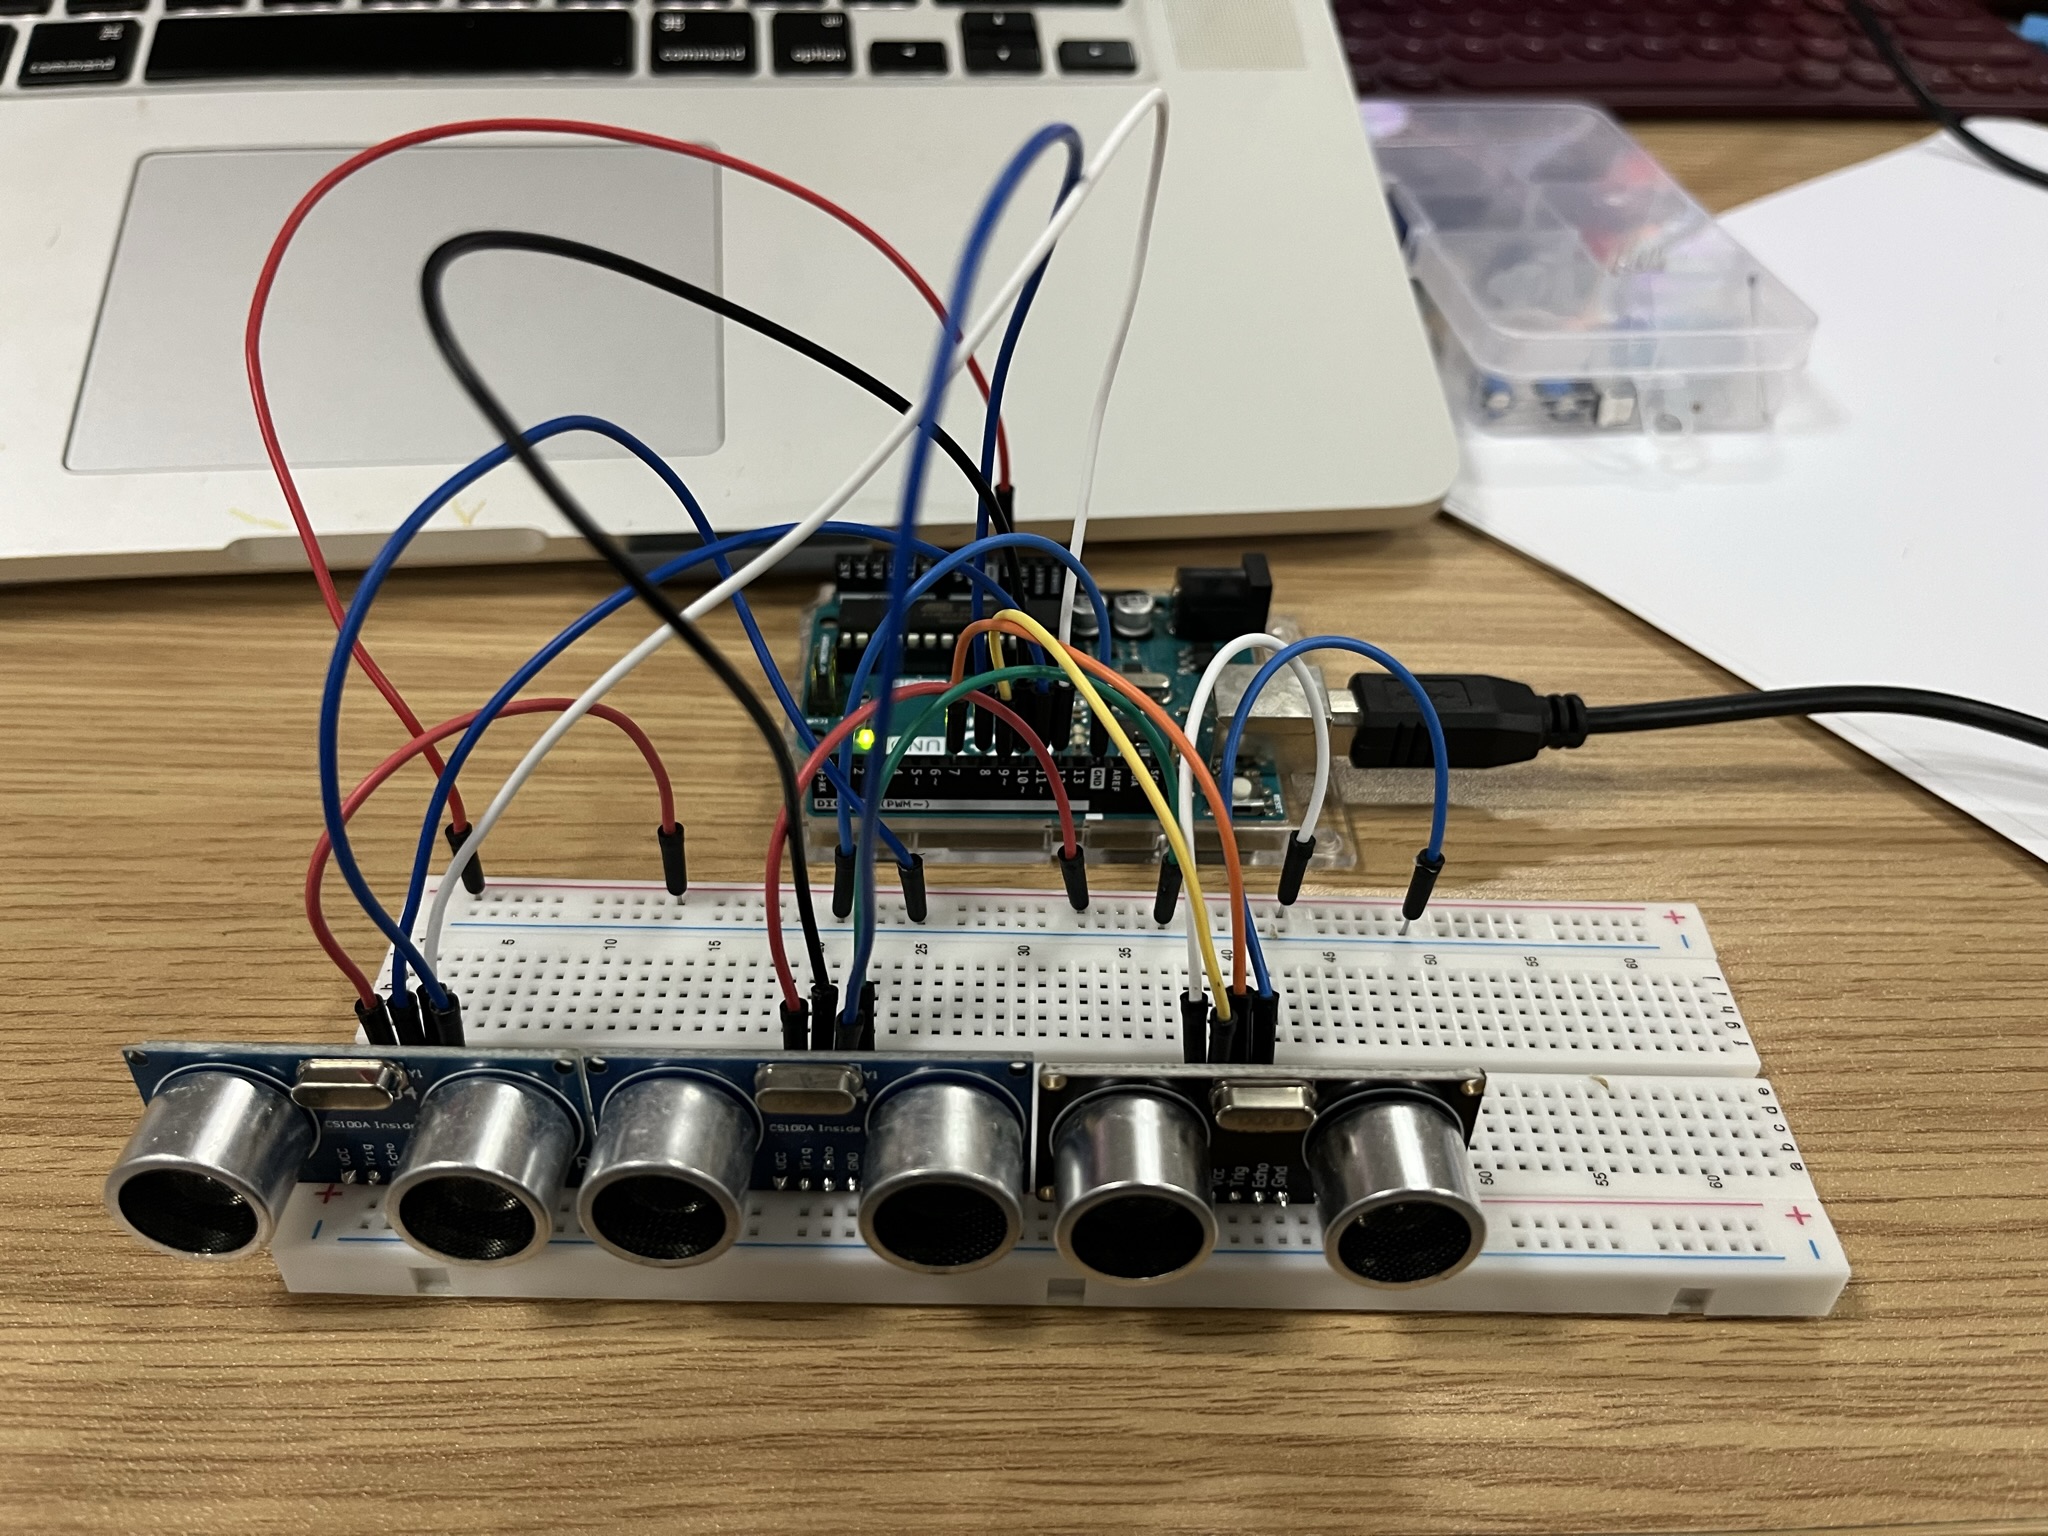
In this section, we will use ultrasonic sensor to detect distance between human body and computer, then communicate with processing through serial interface.
This project is inspired by this project, and we’ve modified it to achieve our goal.
We used three ultrasonic sensors in this project in case of robustness, and we would use the nearest distance number of three.
The wire connection is as following.
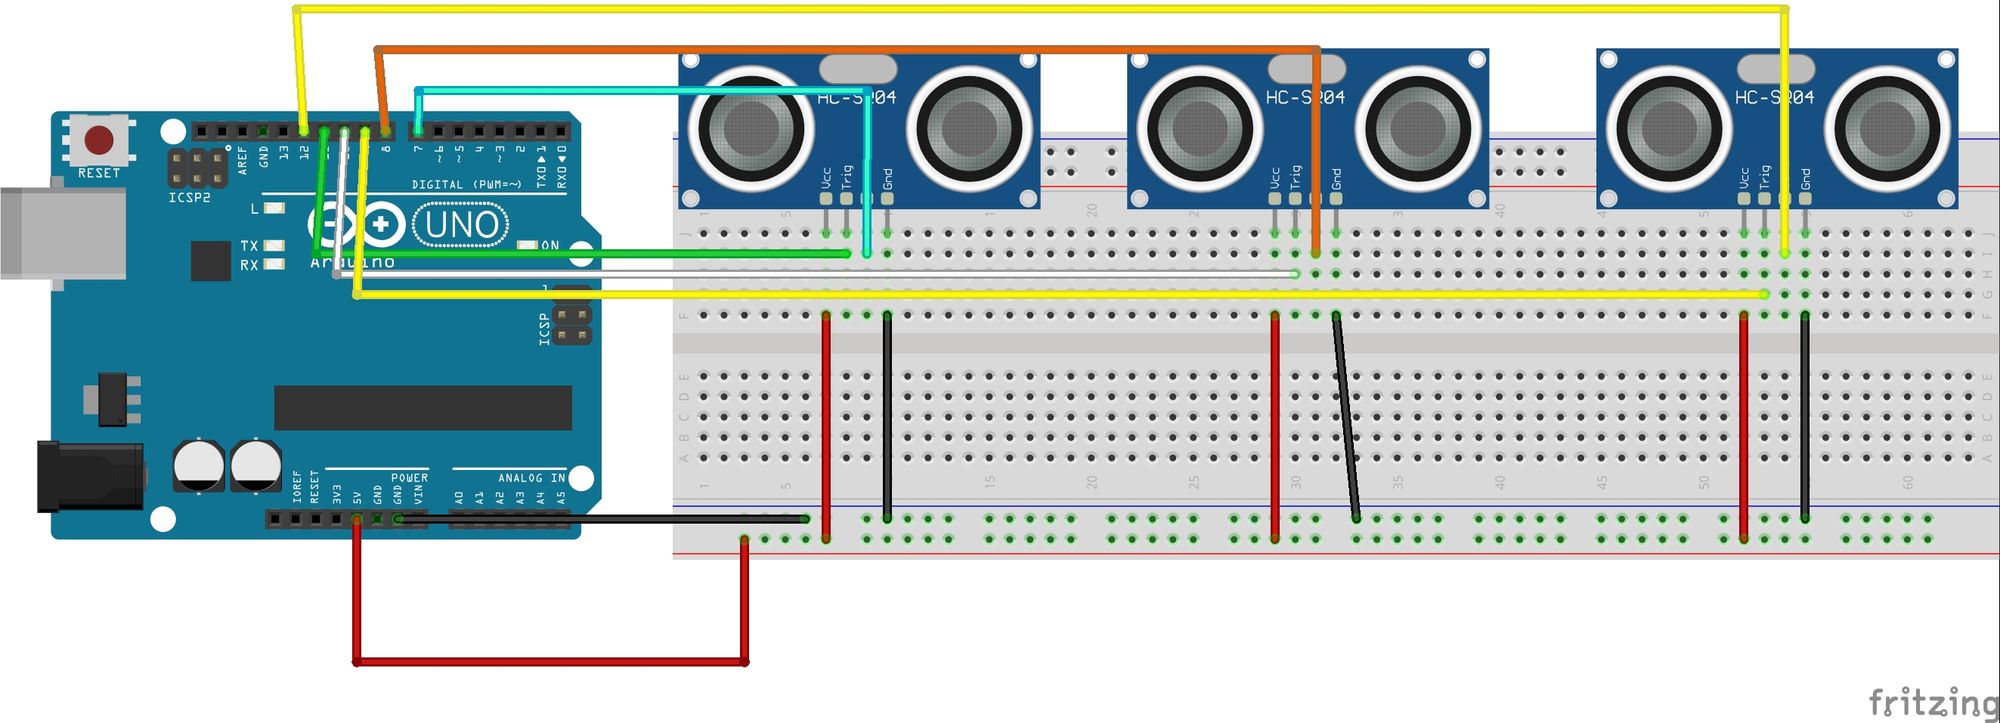
The Arduino code is quite easy. Arduino code👇
int trigPin1 = 11;    //Trig
int echoPin1 = 12;    //Echo
int trigPin2 = 10;    //Trig
int echoPin2 = 8;    //Echo
int trigPin3 = 9;    //Trig
int echoPin3 = 7;    //Echo
long duration1, cm1, duration2, cm2, duration3, cm3;

void setup() {
  //Serial Port begin
  Serial.begin (9600);
  //Define inputs and outputs
  pinMode(trigPin1, OUTPUT);
  pinMode(echoPin1, INPUT);
  pinMode(trigPin2, OUTPUT);
  pinMode(echoPin2, INPUT);
  pinMode(trigPin3, OUTPUT);
  pinMode(echoPin3, INPUT);
}

void loop()
{


  // The sensor is triggered by a HIGH pulse of 10 or more microseconds.
  // Give a short LOW pulse beforehand to ensure a clean HIGH pulse:
  digitalWrite(trigPin1, LOW);
  delayMicroseconds(5);
  digitalWrite(trigPin1, HIGH);
  delayMicroseconds(10);
  digitalWrite(trigPin1, LOW);

  duration1 = pulseIn(echoPin1, HIGH);

  delay(5);

  digitalWrite(trigPin2, LOW);
  delayMicroseconds(5);
  digitalWrite(trigPin2, HIGH);
  delayMicroseconds(10);
  digitalWrite(trigPin1, LOW);

  duration2 = pulseIn(echoPin2, HIGH);

  delay(5);

  digitalWrite(trigPin3, LOW);
  delayMicroseconds(5);
  digitalWrite(trigPin3, HIGH);
  delayMicroseconds(10);
  digitalWrite(trigPin1, LOW);

  duration3 = pulseIn(echoPin3, HIGH);


  // convert the time into a distance
  int cm1 = (duration1/2) / 29.1;
  int cm2 = (duration2/2) / 29.1;
  int cm3 = (duration3/2) / 29.1;


  int cm = cm1;
  if(cm1>cm2){
    cm = cm2;
    if(cm2>cm3){
      cm=cm3;
    }
  }
  else if(cm1<cm2){
    cm = cm1;
    if(cm1>cm3){
      cm = cm3;
    }
  }


  int val = map(cm, 0, 50, 0, 255);


  Serial.println(val);
  delay(200);

}
Processing code👇
import processing.serial.*;

Serial myPort;  // Create object from Serial class
static String val;    // Data received from the serial port
int sensorVal = 0;

void setup()
{
  fullScreen(P3D);
  noStroke();
  fill(204);
  //String portName = "COM5";
	// Change the number (in this case ) to match the corresponding port number connected to your Arduino.

  myPort = new Serial(this, Serial.list()[1], 9600);
}
void draw()
{
  if ( myPort.available() > 0) {  // If data is available,
  val = myPort.readStringUntil('\n');
  try {
   sensorVal = Integer.valueOf(val.trim());
  }
  catch(Exception e) {
  ;
  }
  println(sensorVal); // read it and store it in vals!
  }
  noStroke();
  background(0);
  float dirY = (sensorVal/ float(height) - 0.5) * 5 * -1;
  float dirX = (mouseX / float(width) - 0.5) * 2;
  directionalLight(204, 204, 204, -dirX, -dirY, -1);
  translate(width/2 - 100, height/2, 0);
  translate(200, 0, 0);
  sphere(200);


  fill(255);
  ellipse(random(width), random(height), 3, 3);

}
Reference
- https://www.arduino.cc/education/visualization-with-arduino-and-processing
- https://b23.tv/ESxZ1wf
- http://www.touchdesigner.co/
- https://derivative.ca/
— Nov 1, 2022
Search
Made with ❤ and at ZJU.