CAD
Let’s make something mechanical!
How to build a car toy model step by step(in Fusion360)
In this article, we will teach you how to build a car toy in fusion360.
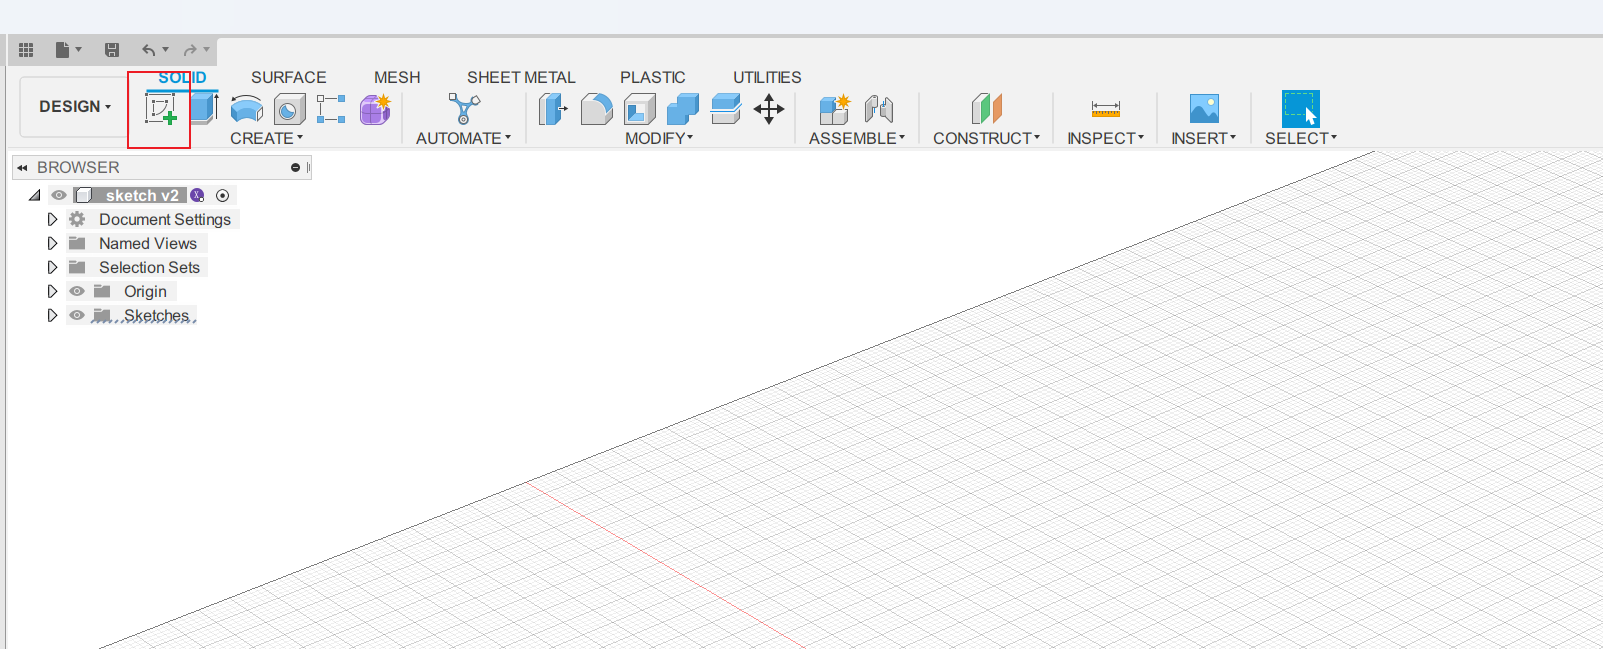
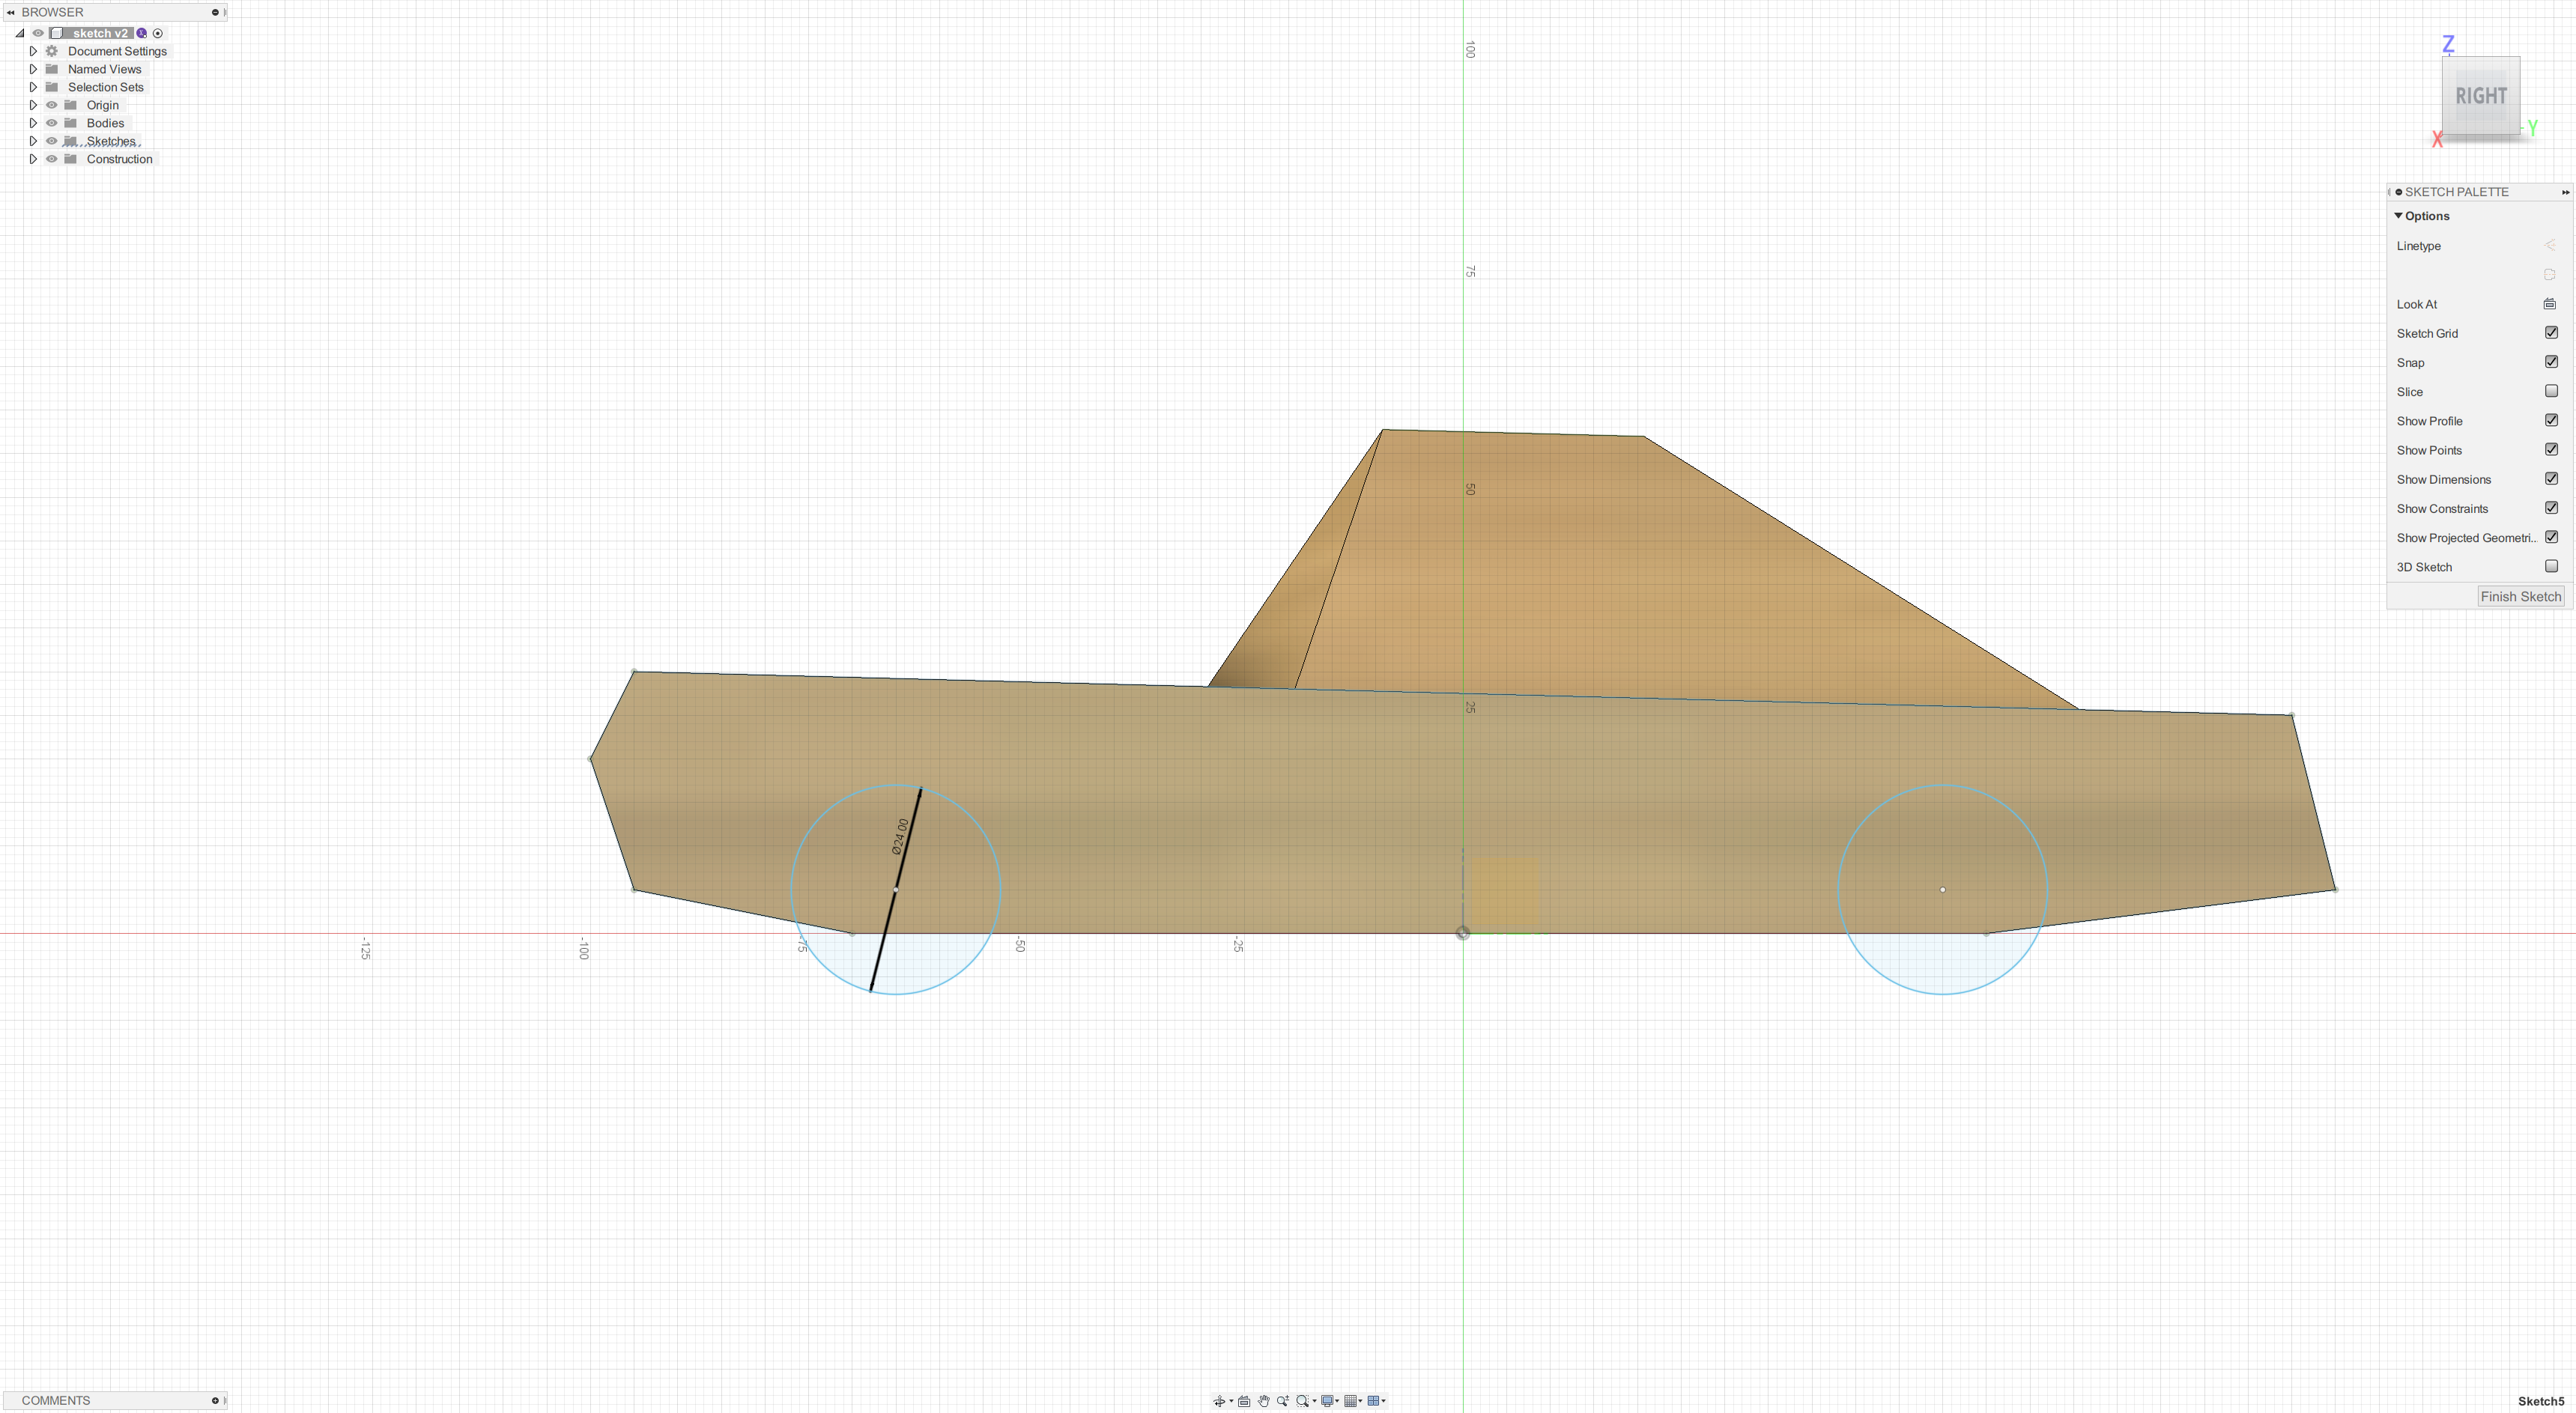
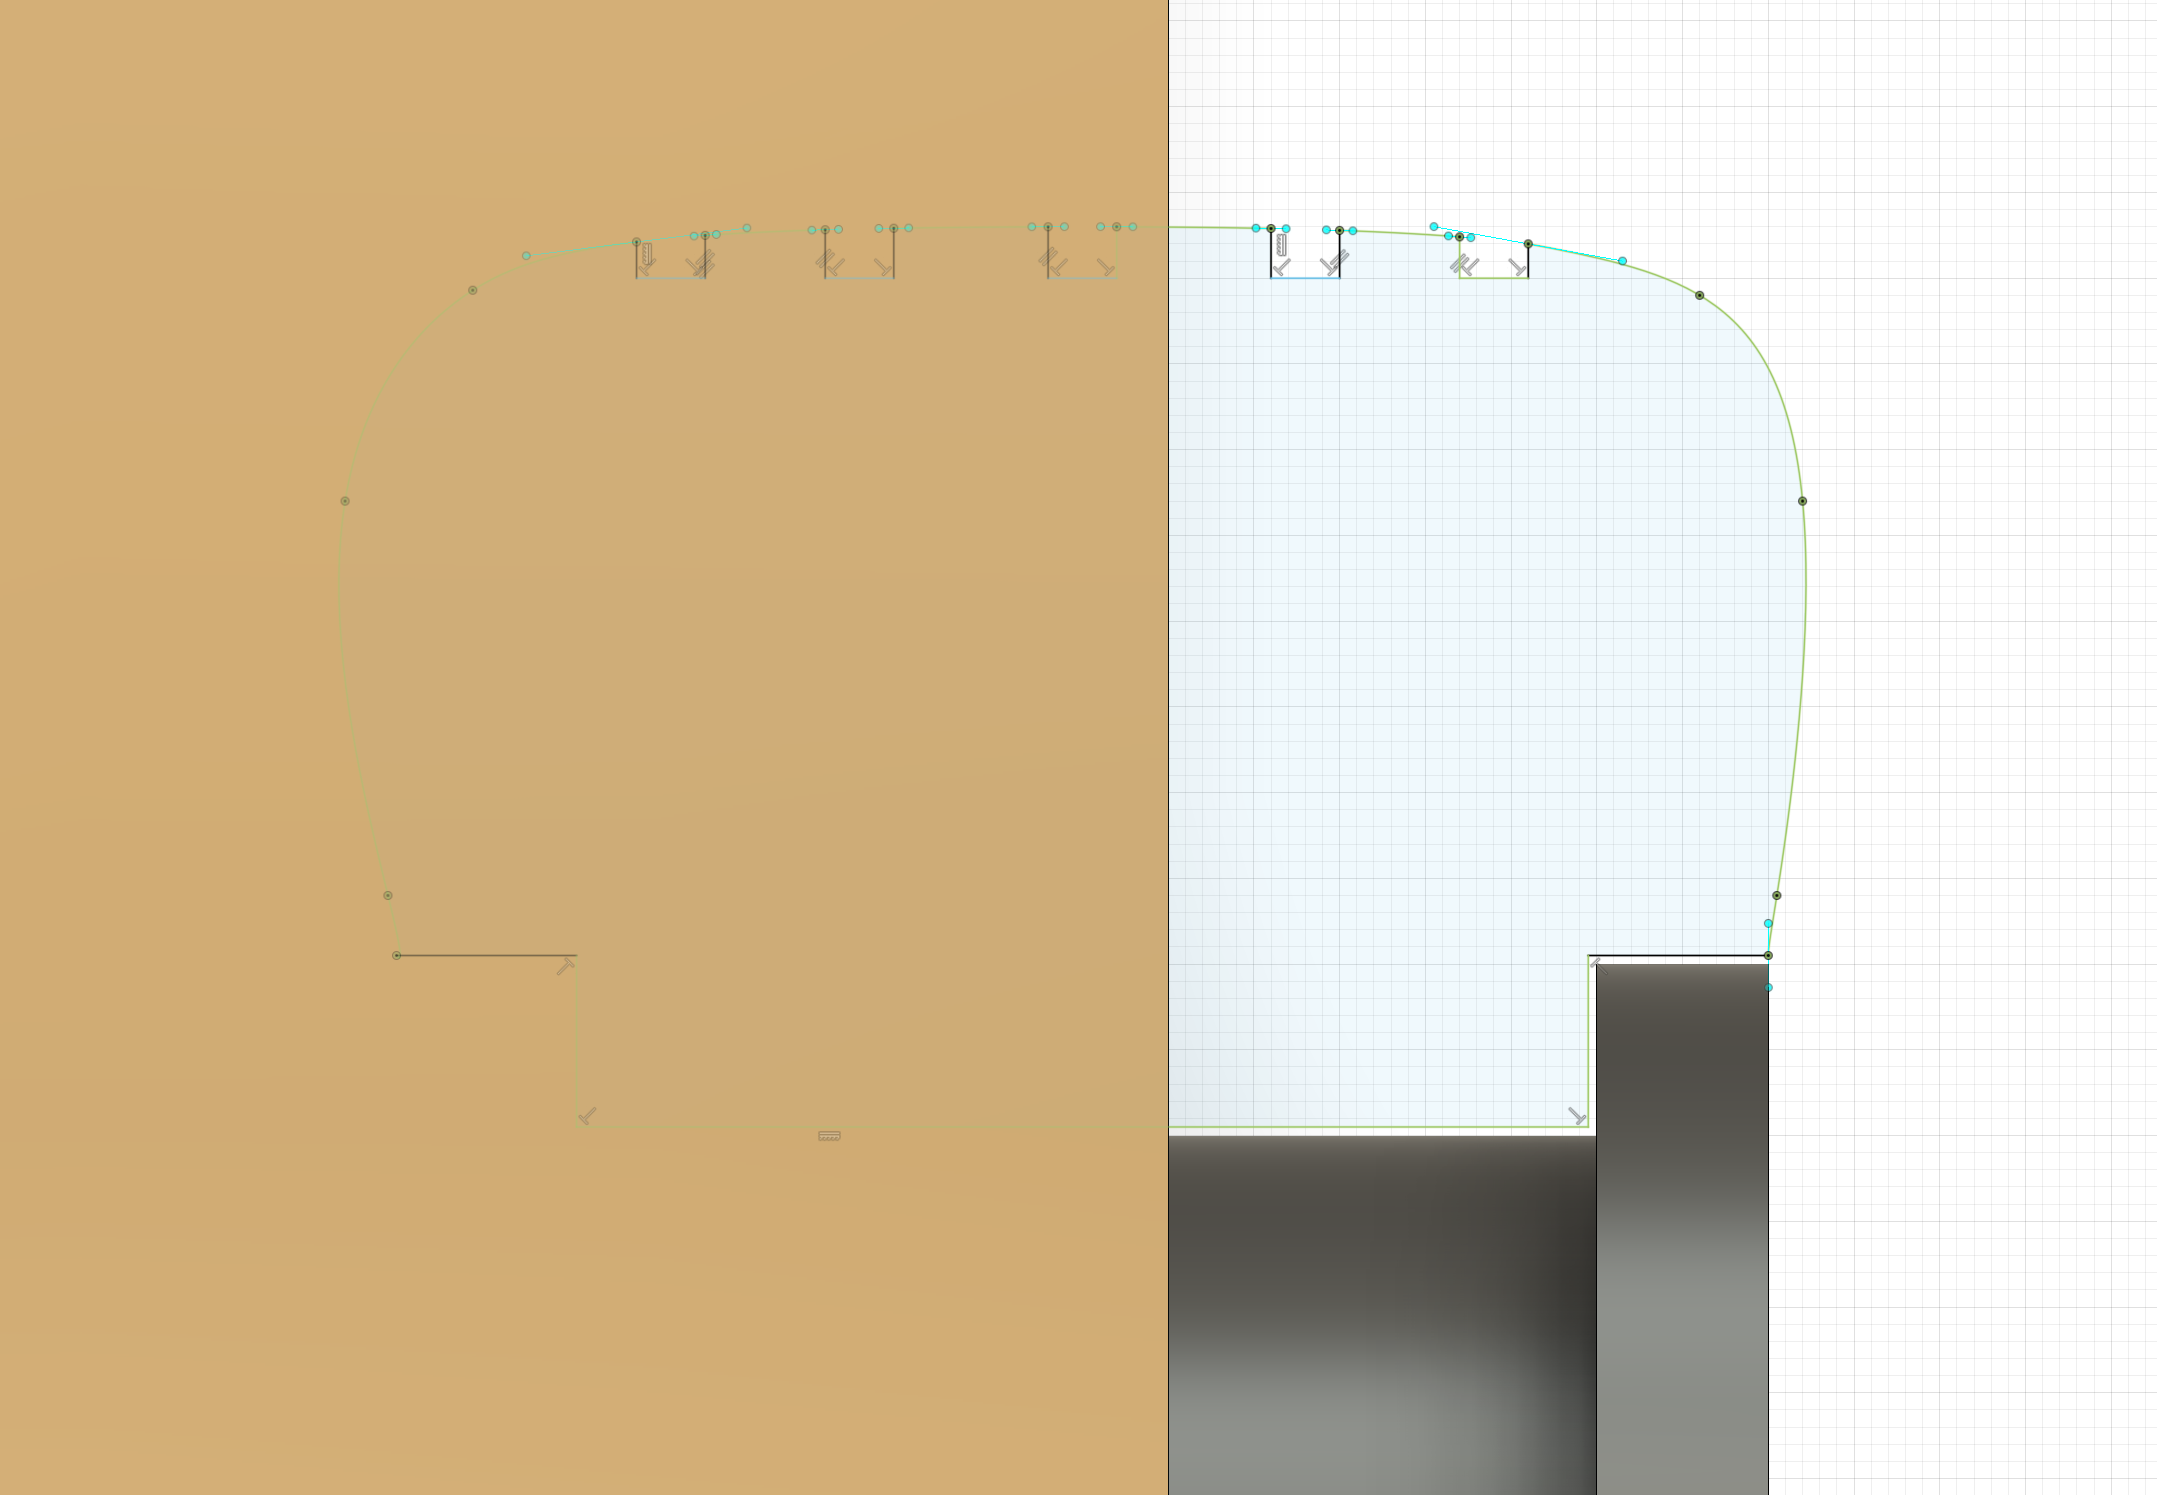
First, click ‘create sketch’ button and choose the side plane to sketch.

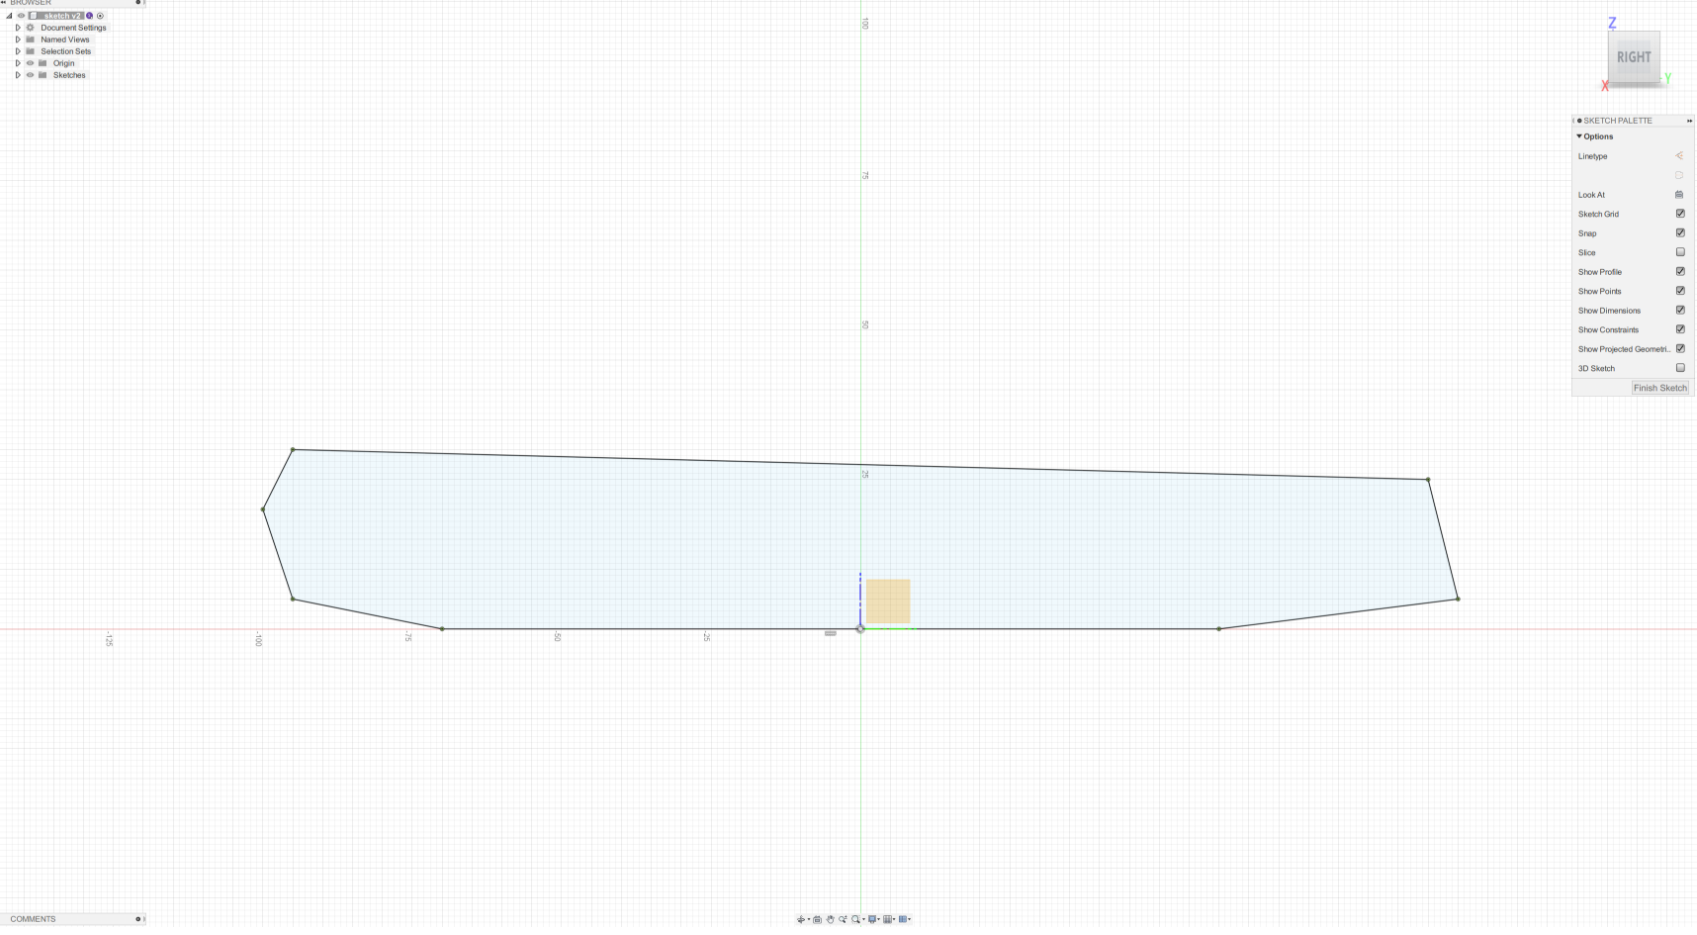
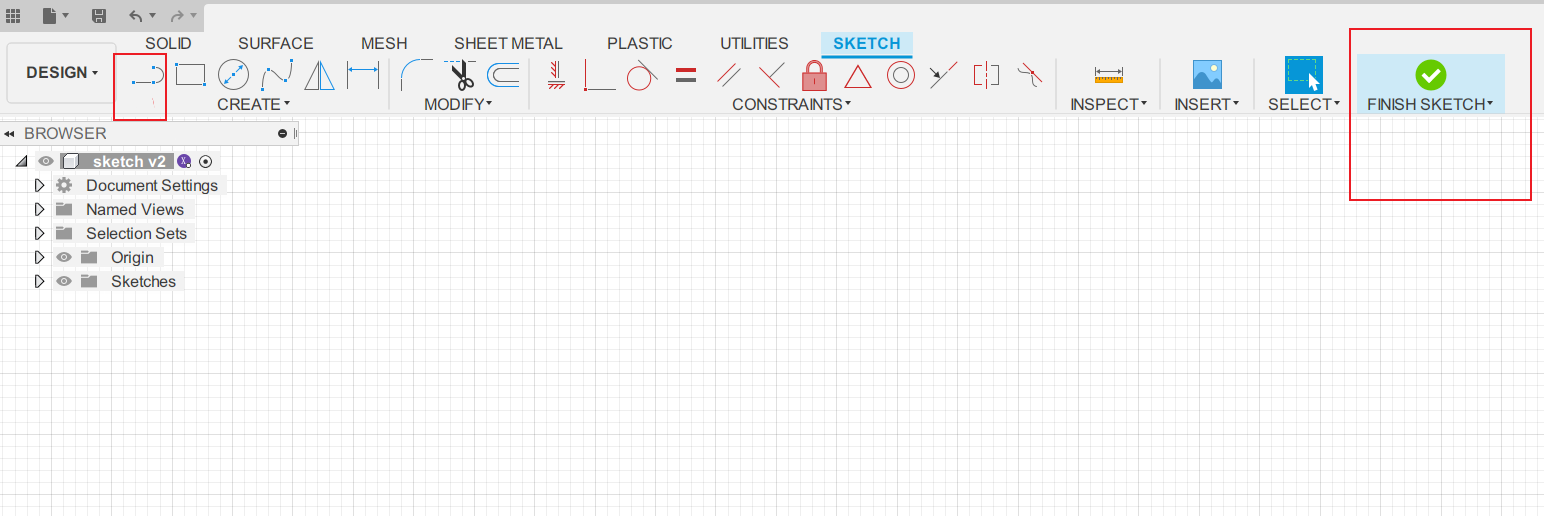
And then, draw a side view sketch of the car, you can try another shape you like. After finish sketching, click ‘FINISH SKETCH’ button.
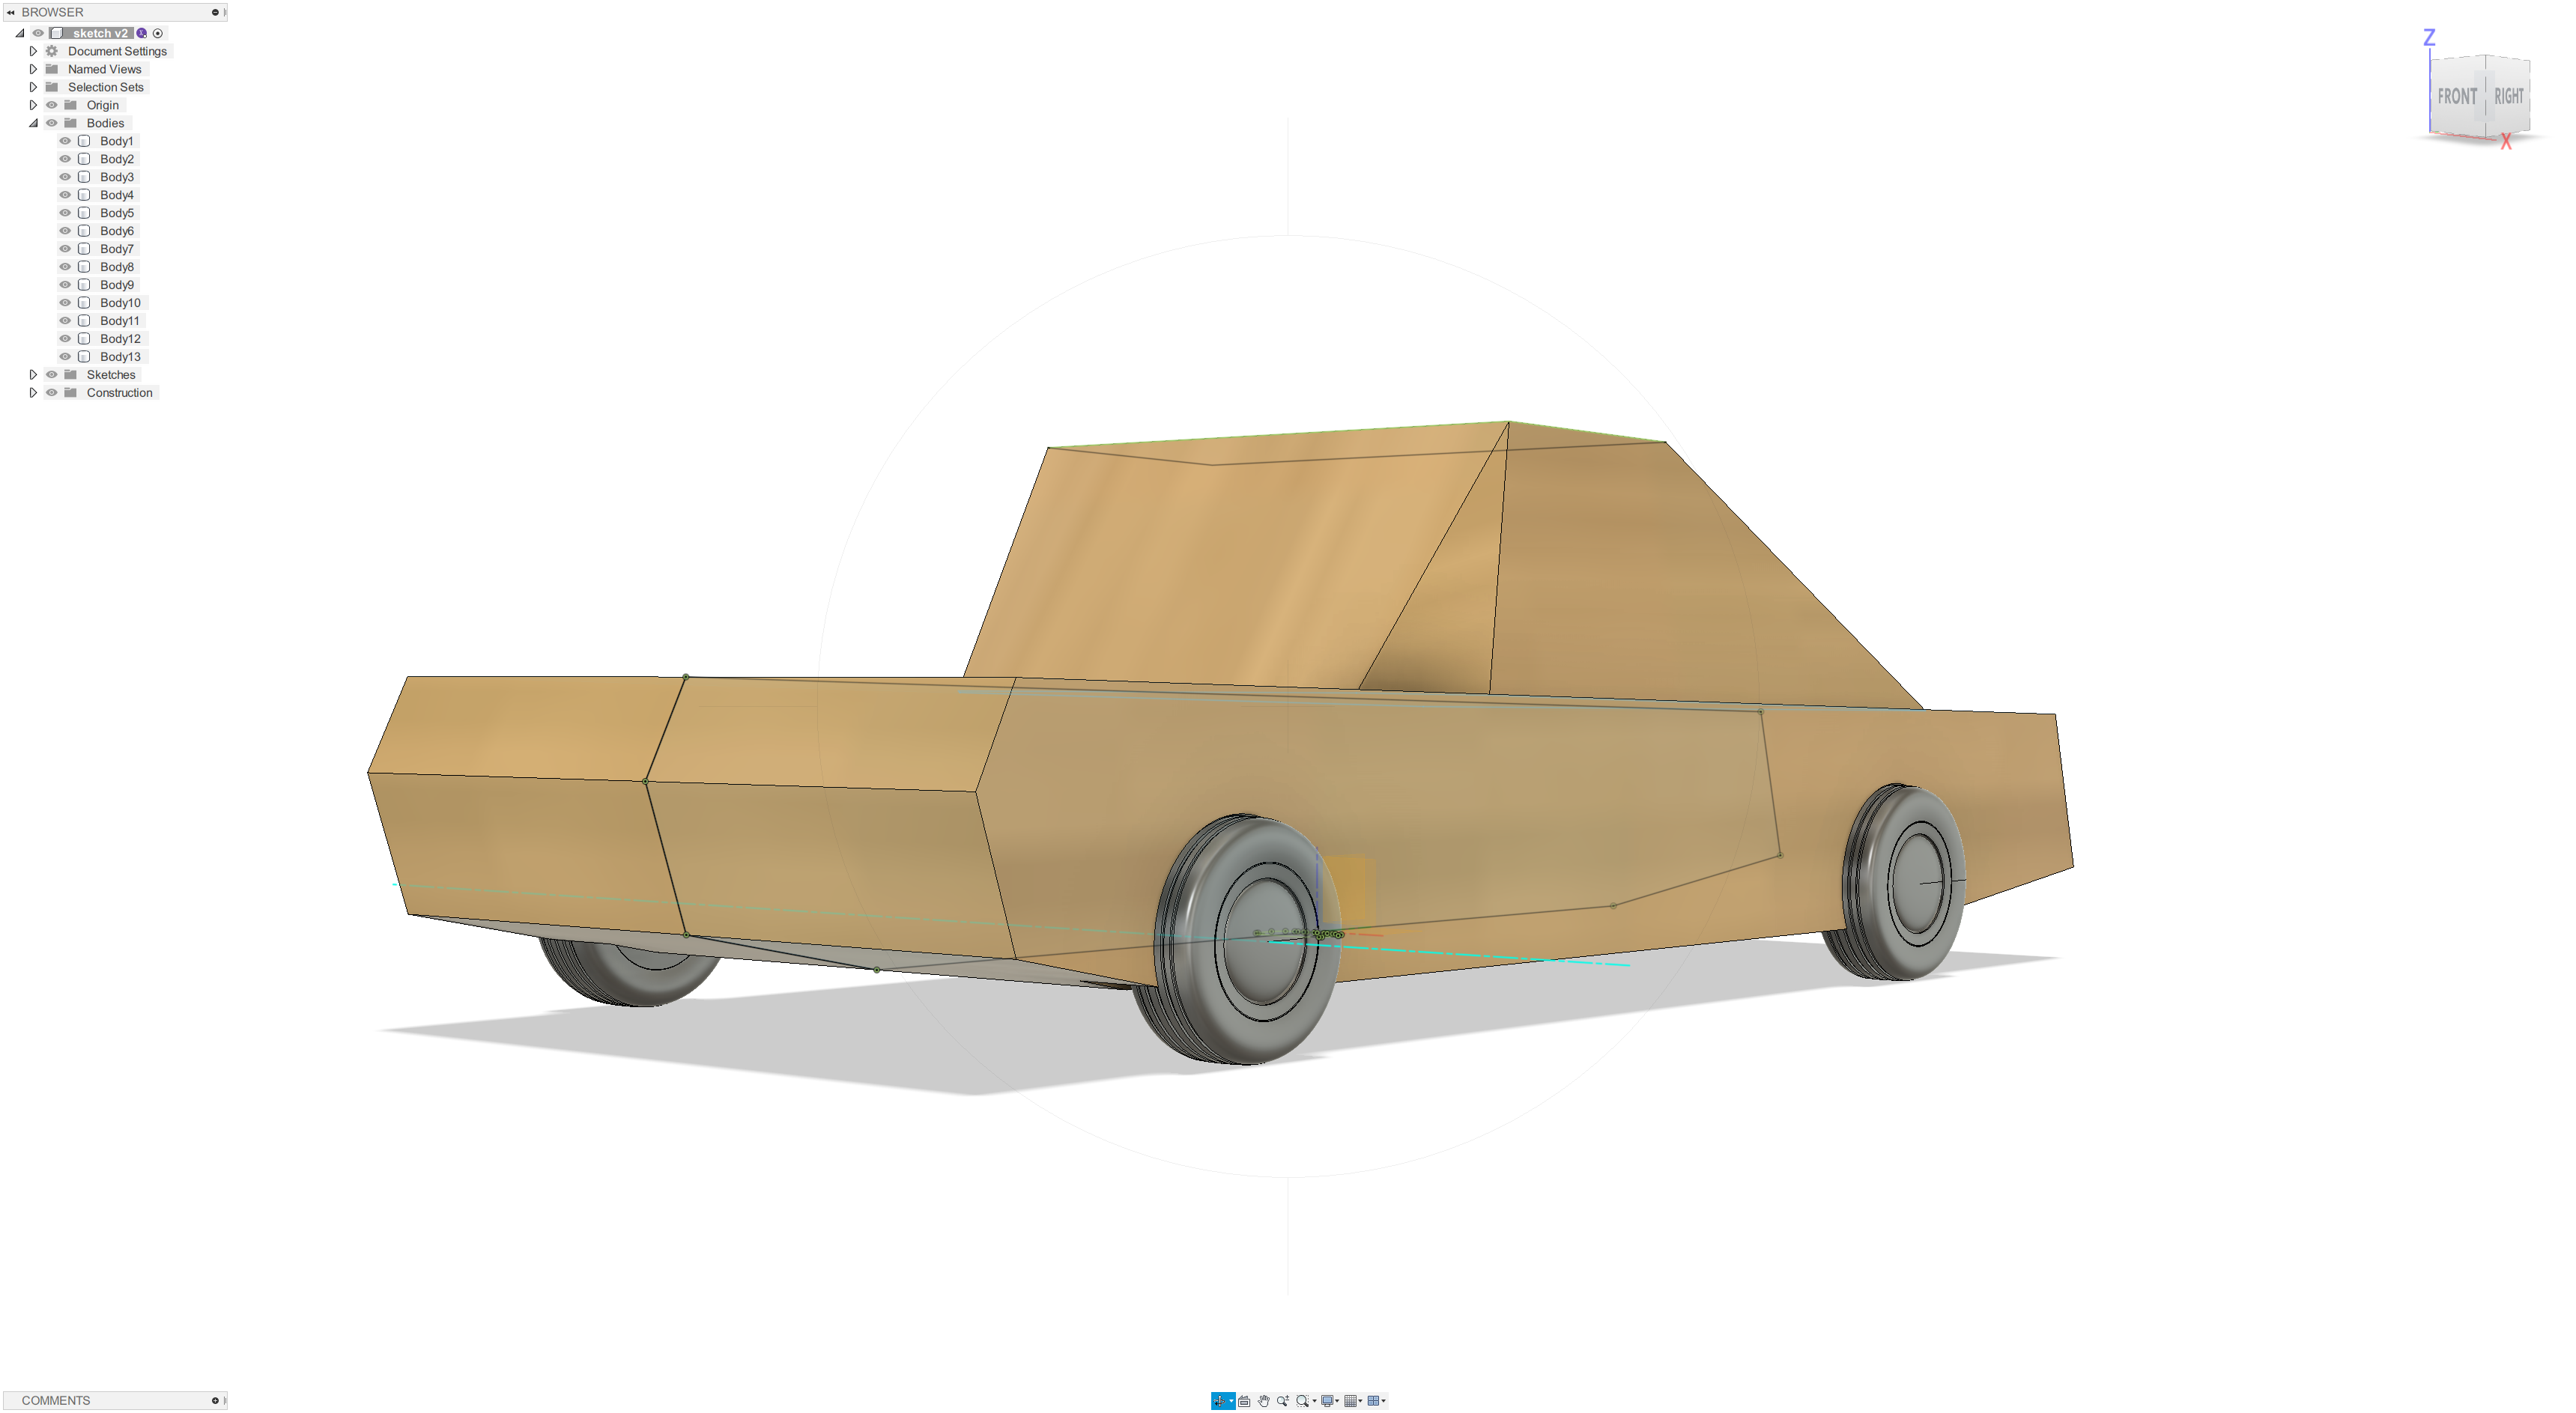
Then, use extrude command to create the body of the car. Click ‘OK’ of the extrude panel.


Next, click the top surface of the car body, and we will sketch on it.
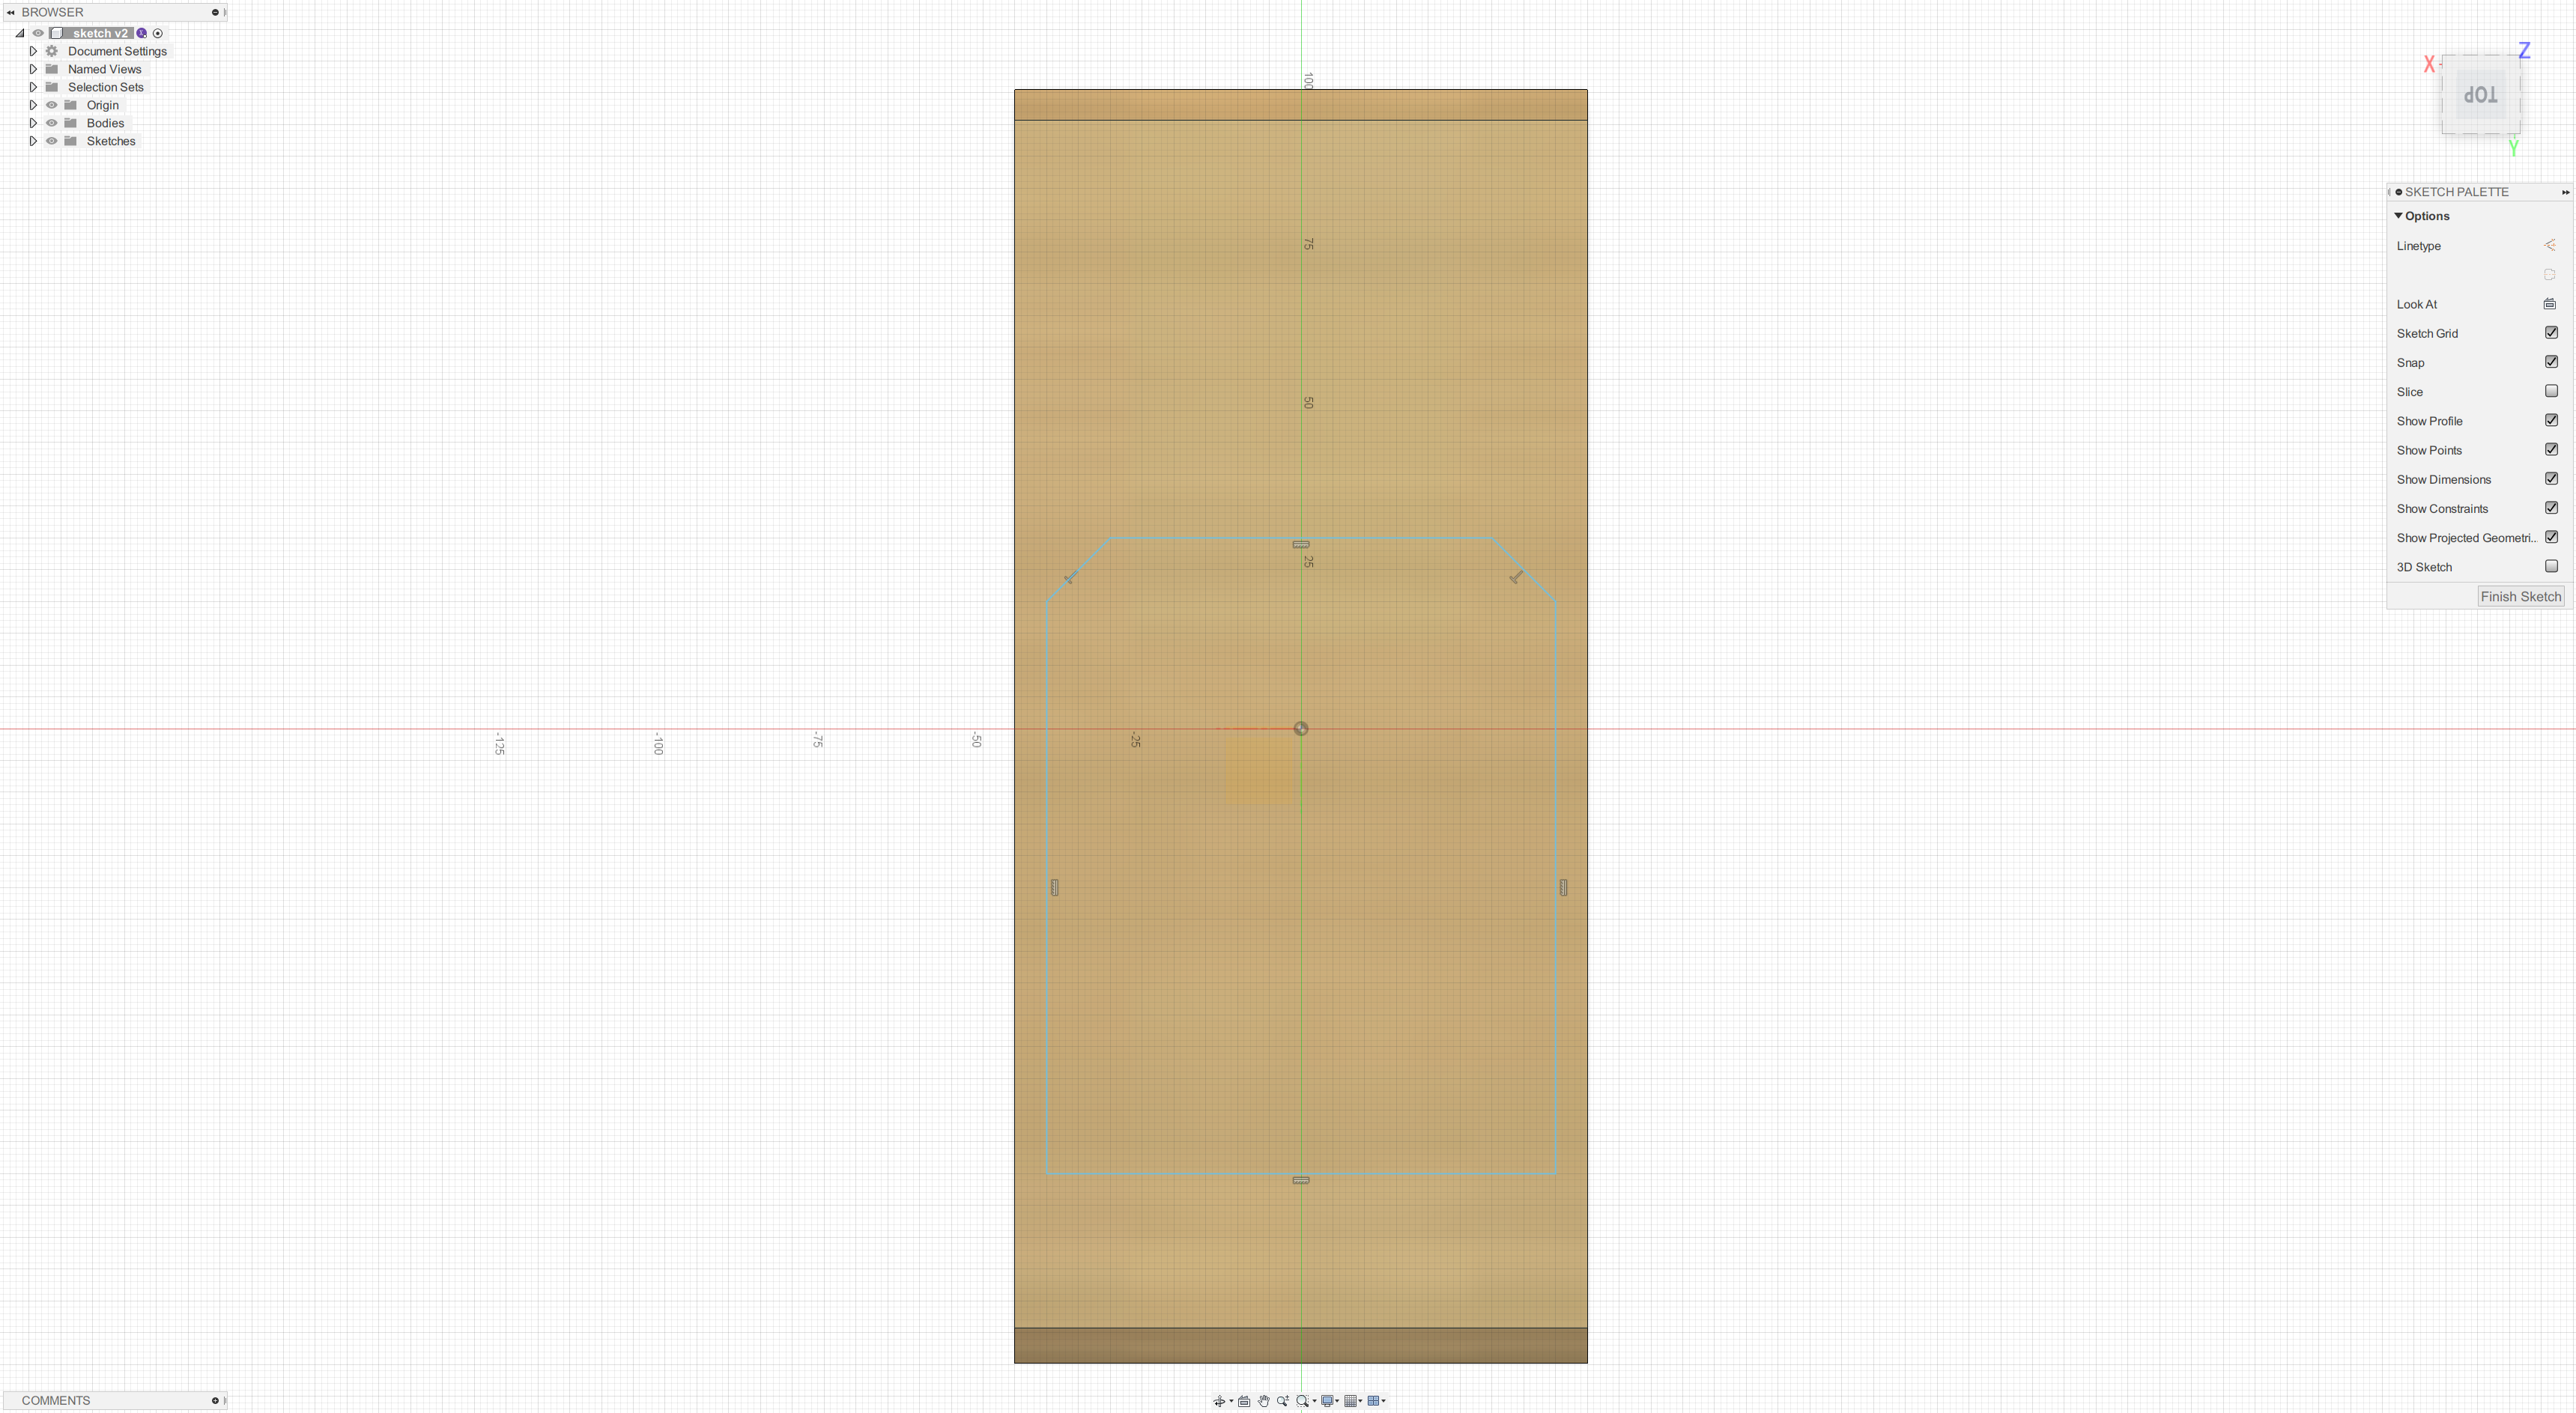
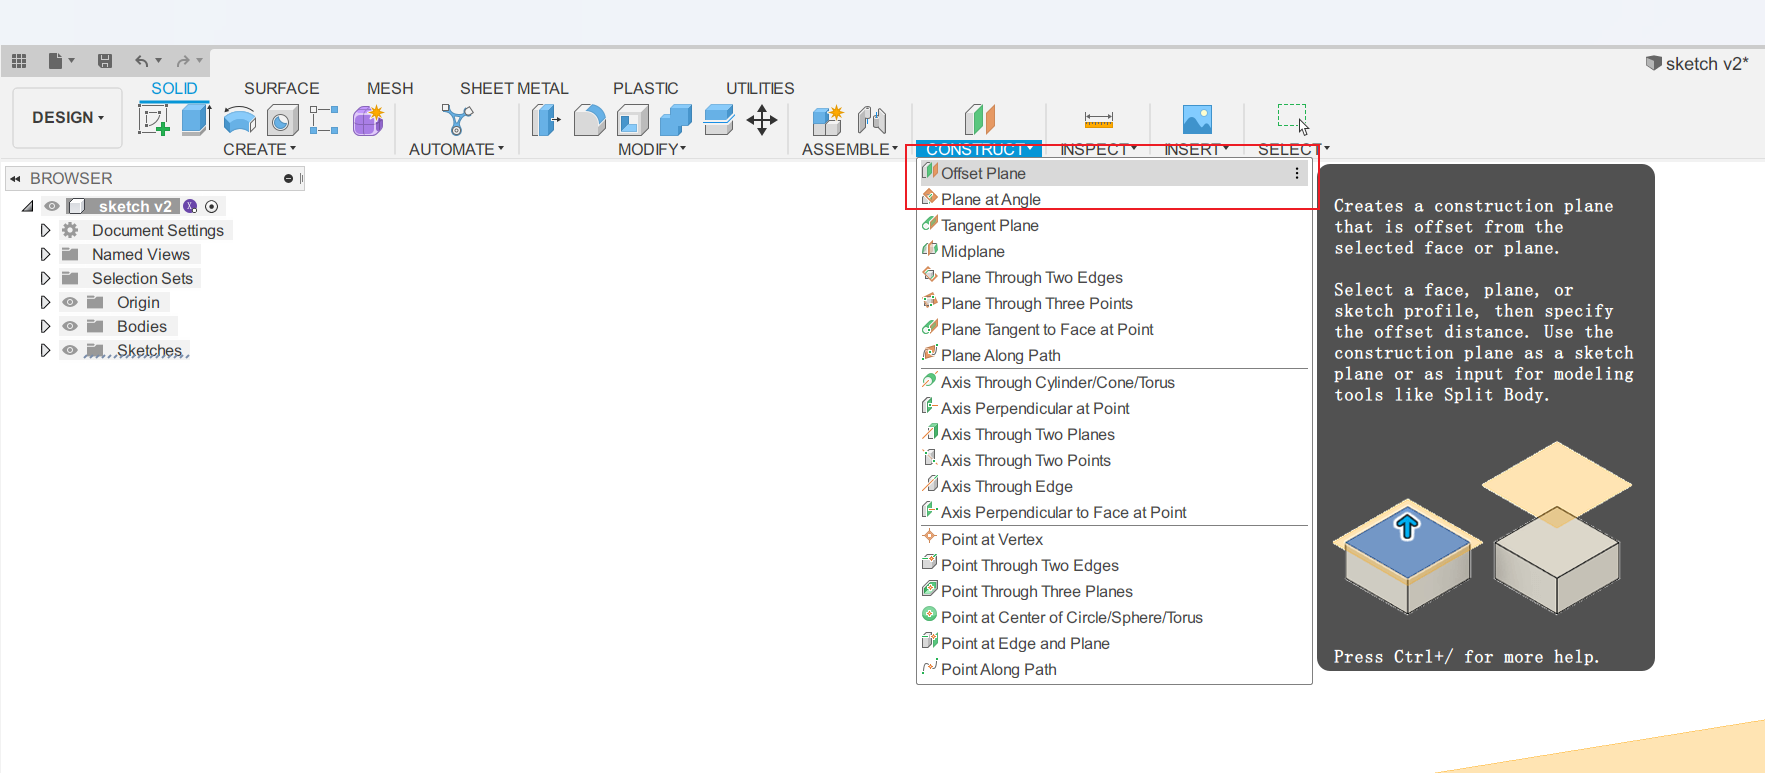
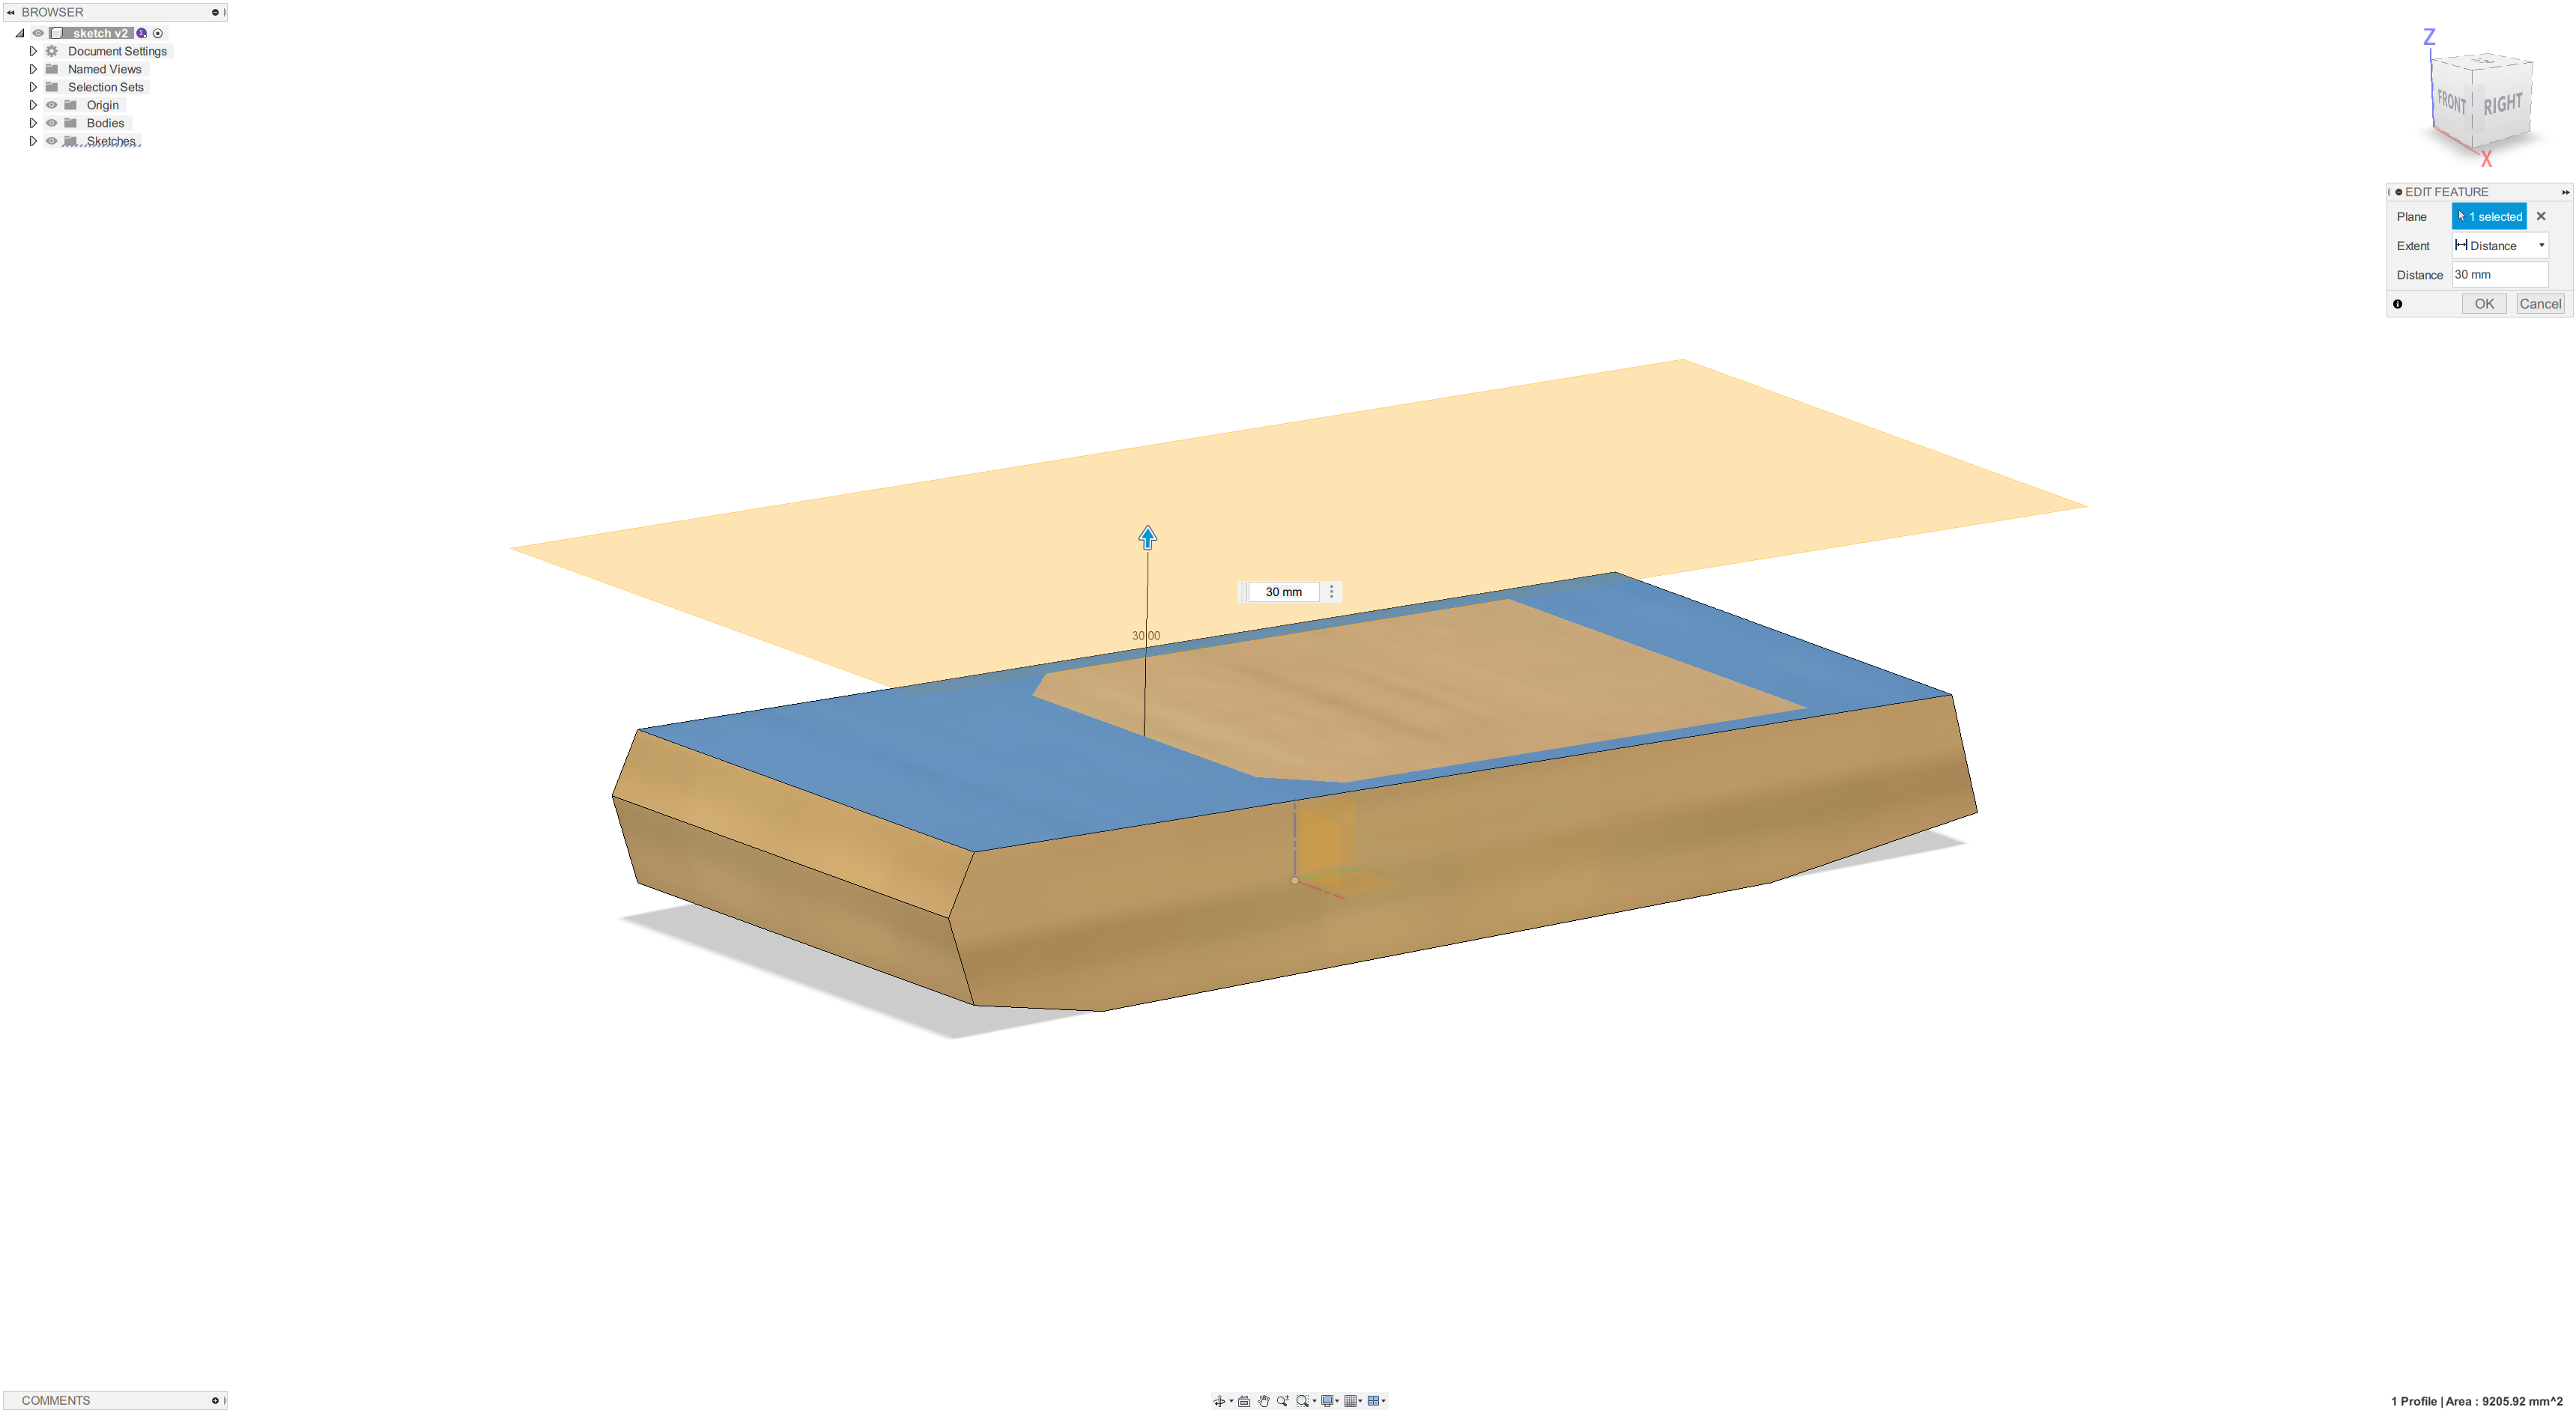
And, create a plane offset the top surface of the body, draw a smaller rectangle sketch on this plane.

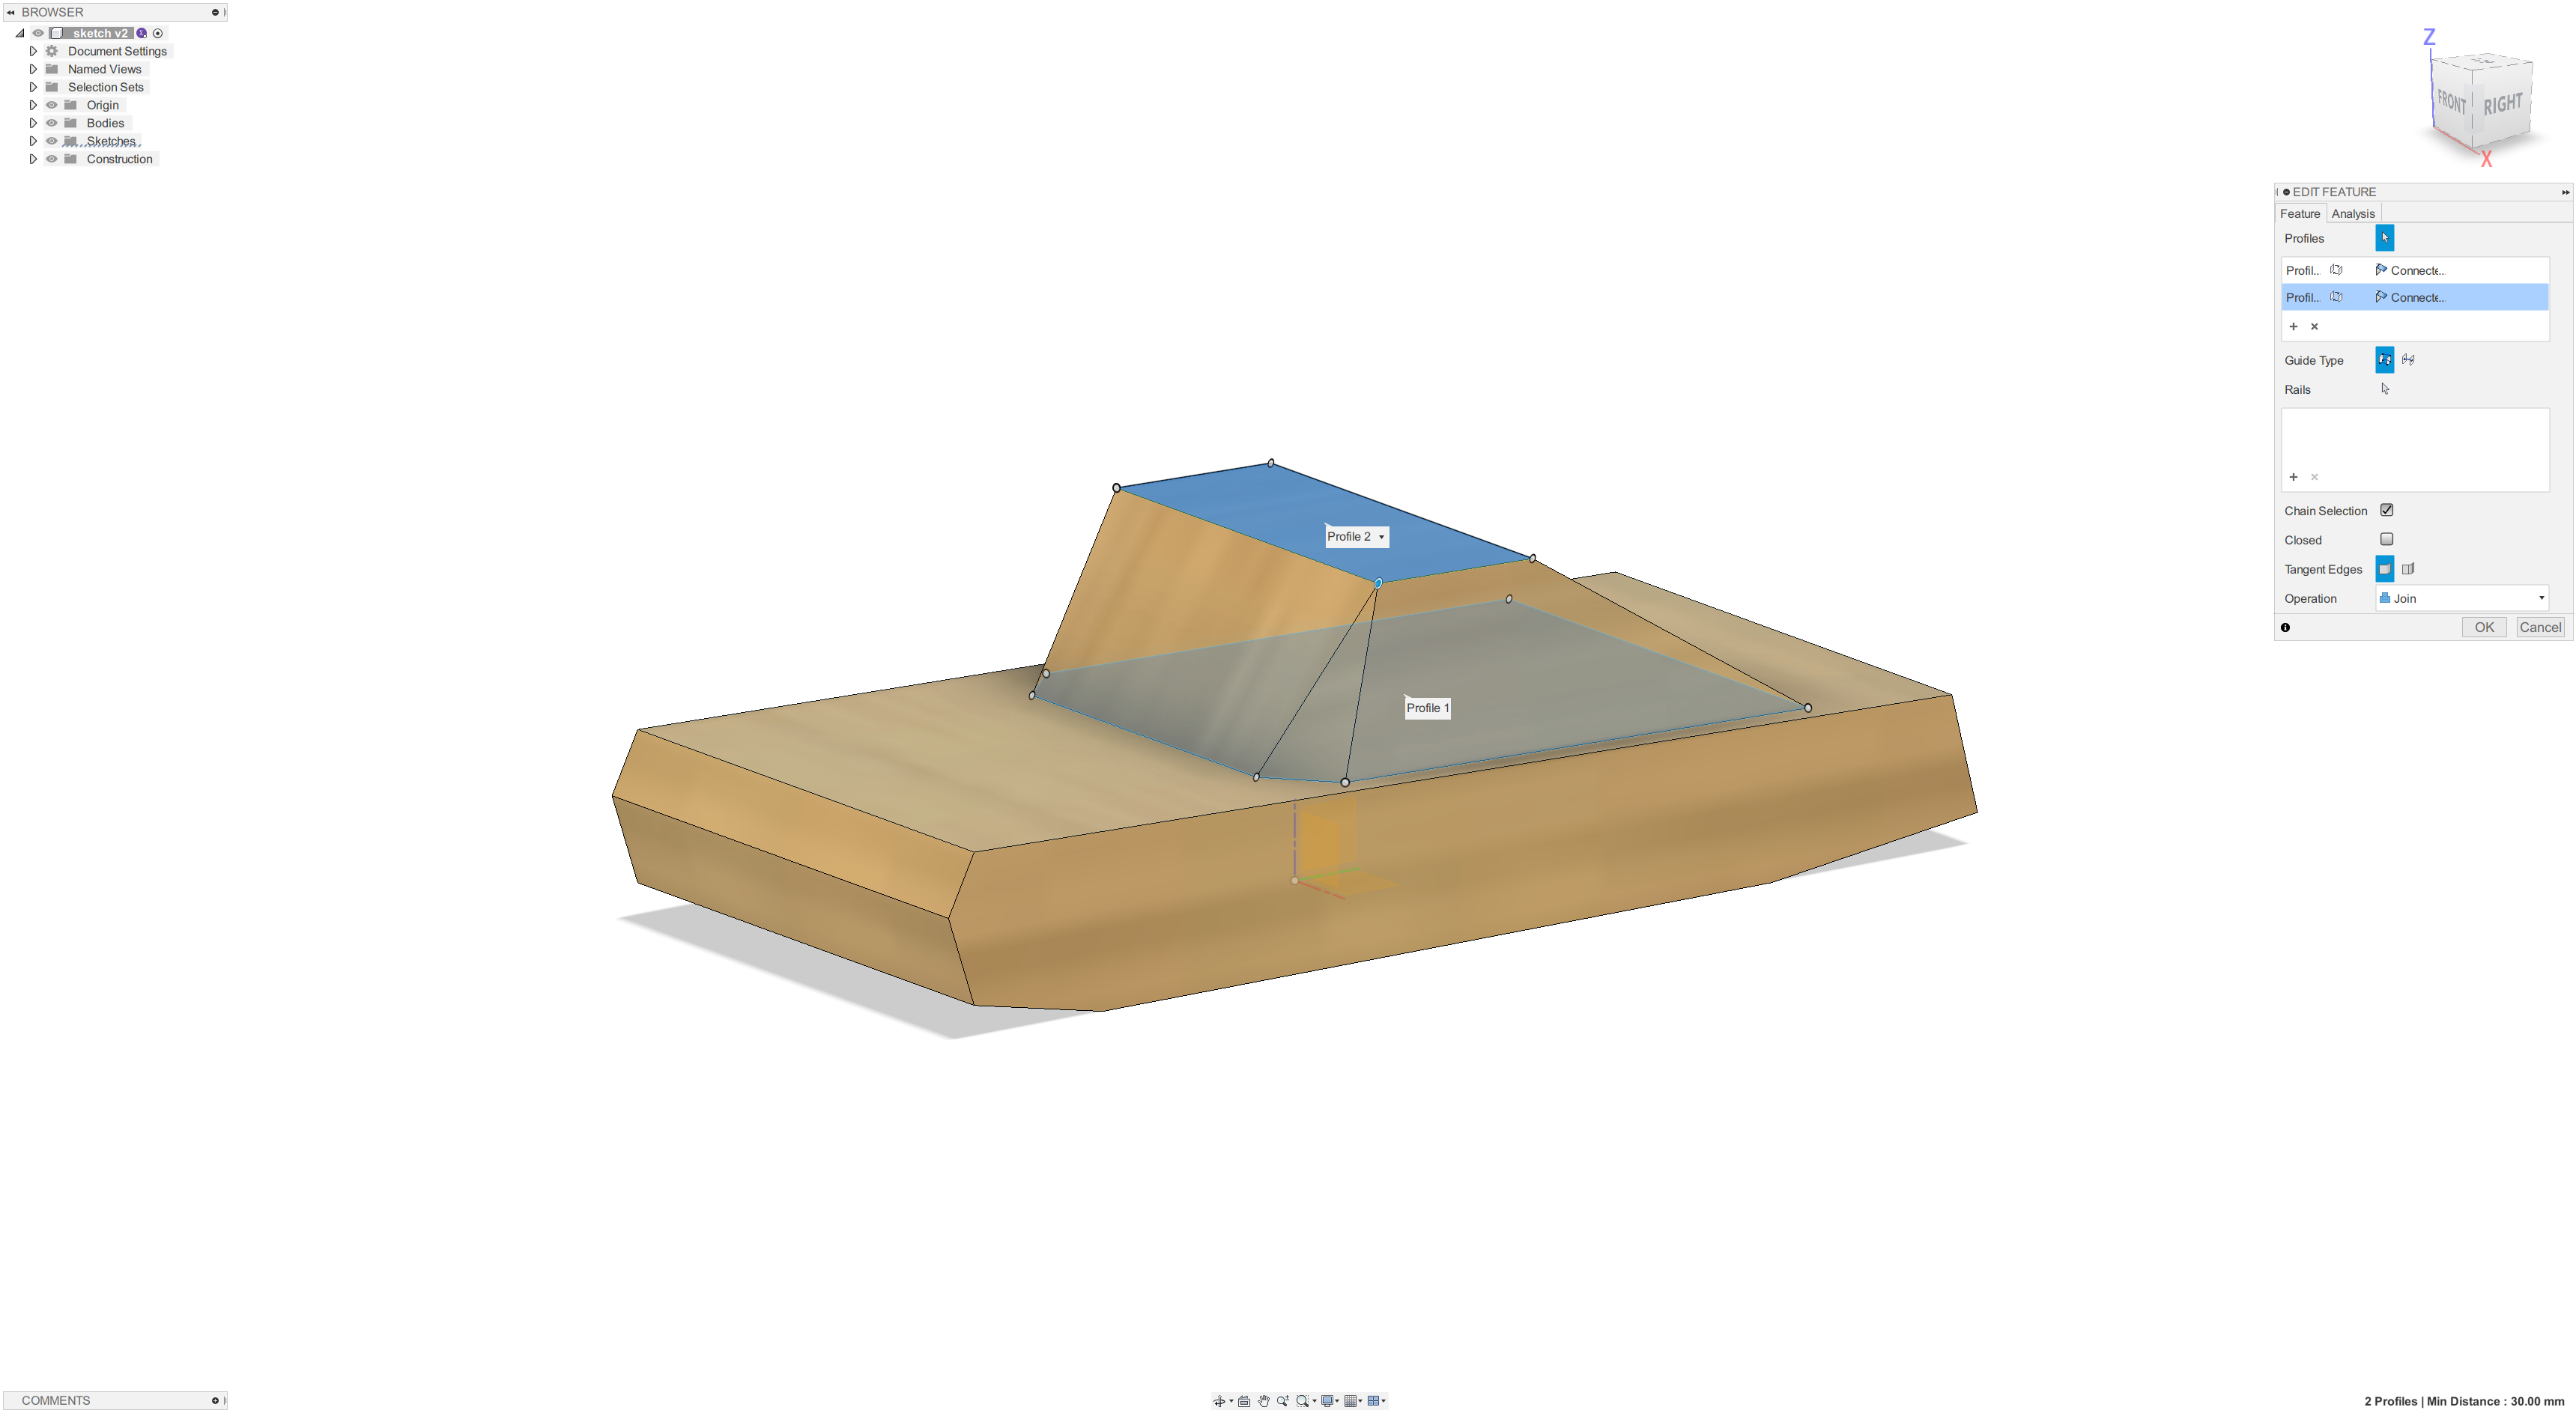
Use ‘Loft’ command to create the roof of the car, select the two sketches you just created, the click OK.

Now we are almost done!
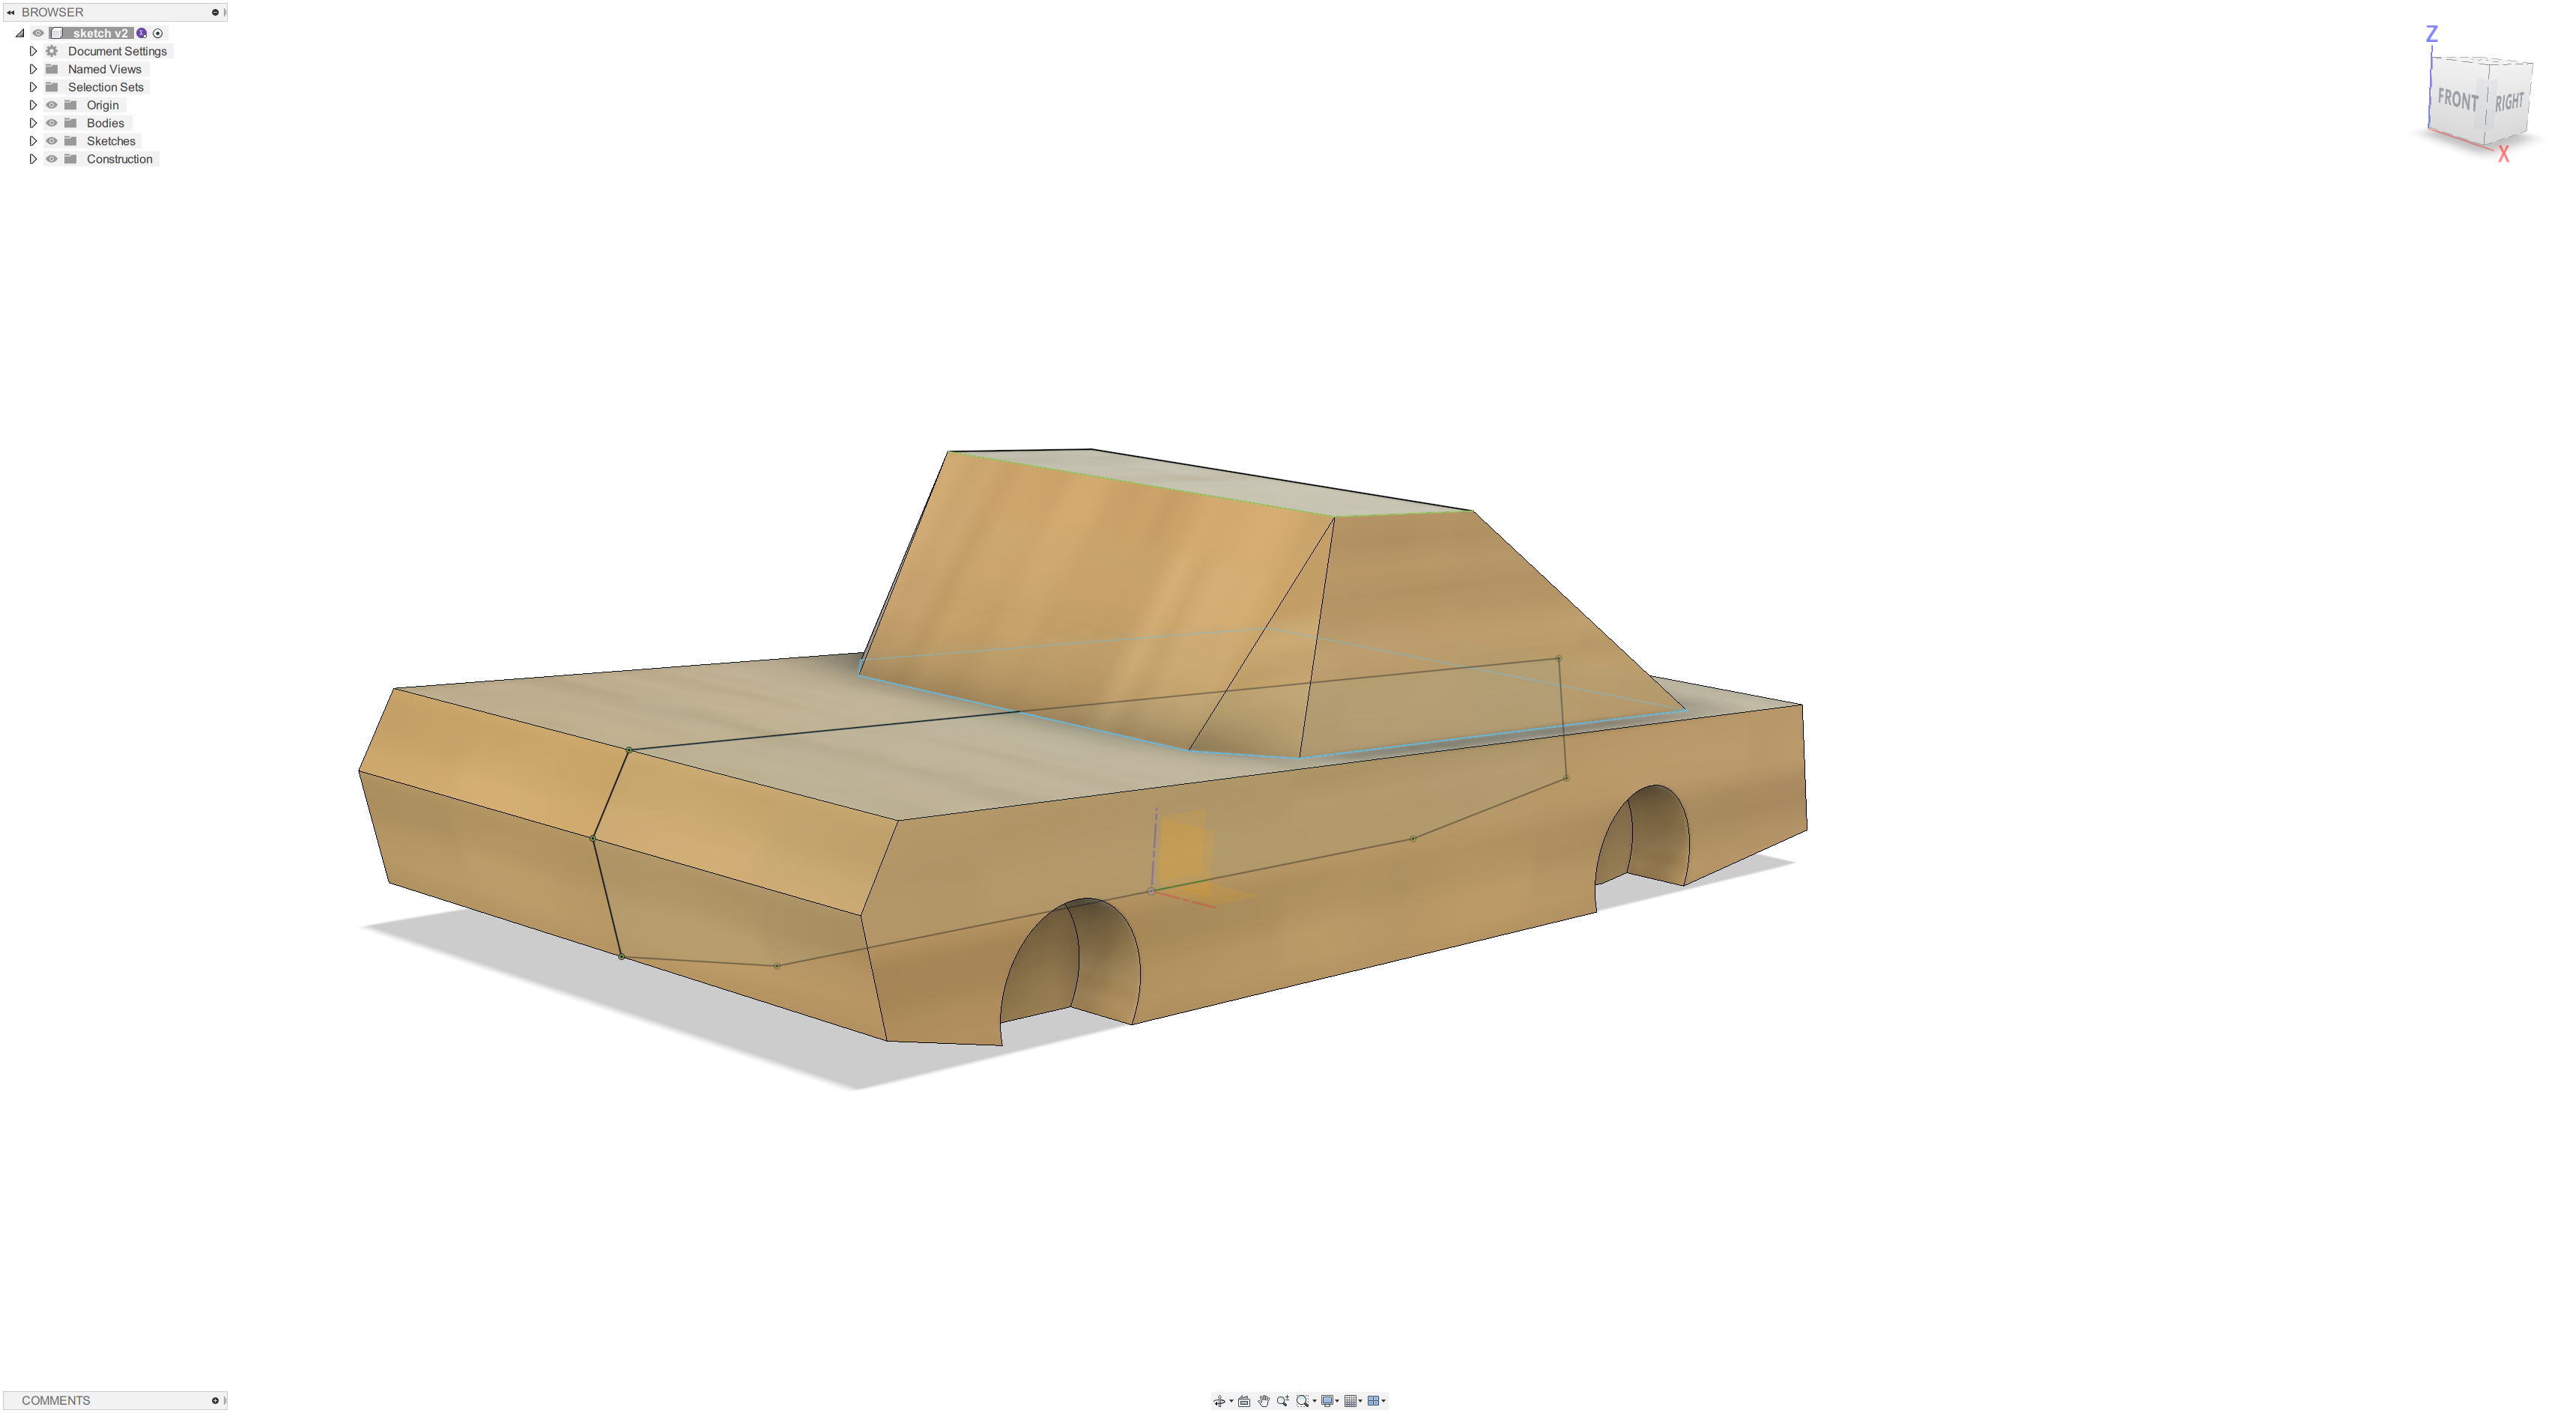
click the right side of the car body, in this surface we will draw the wheels.
Then, use extrude command again, but this time we will extrude inside the solid body. In this case, we extrude -10mm.

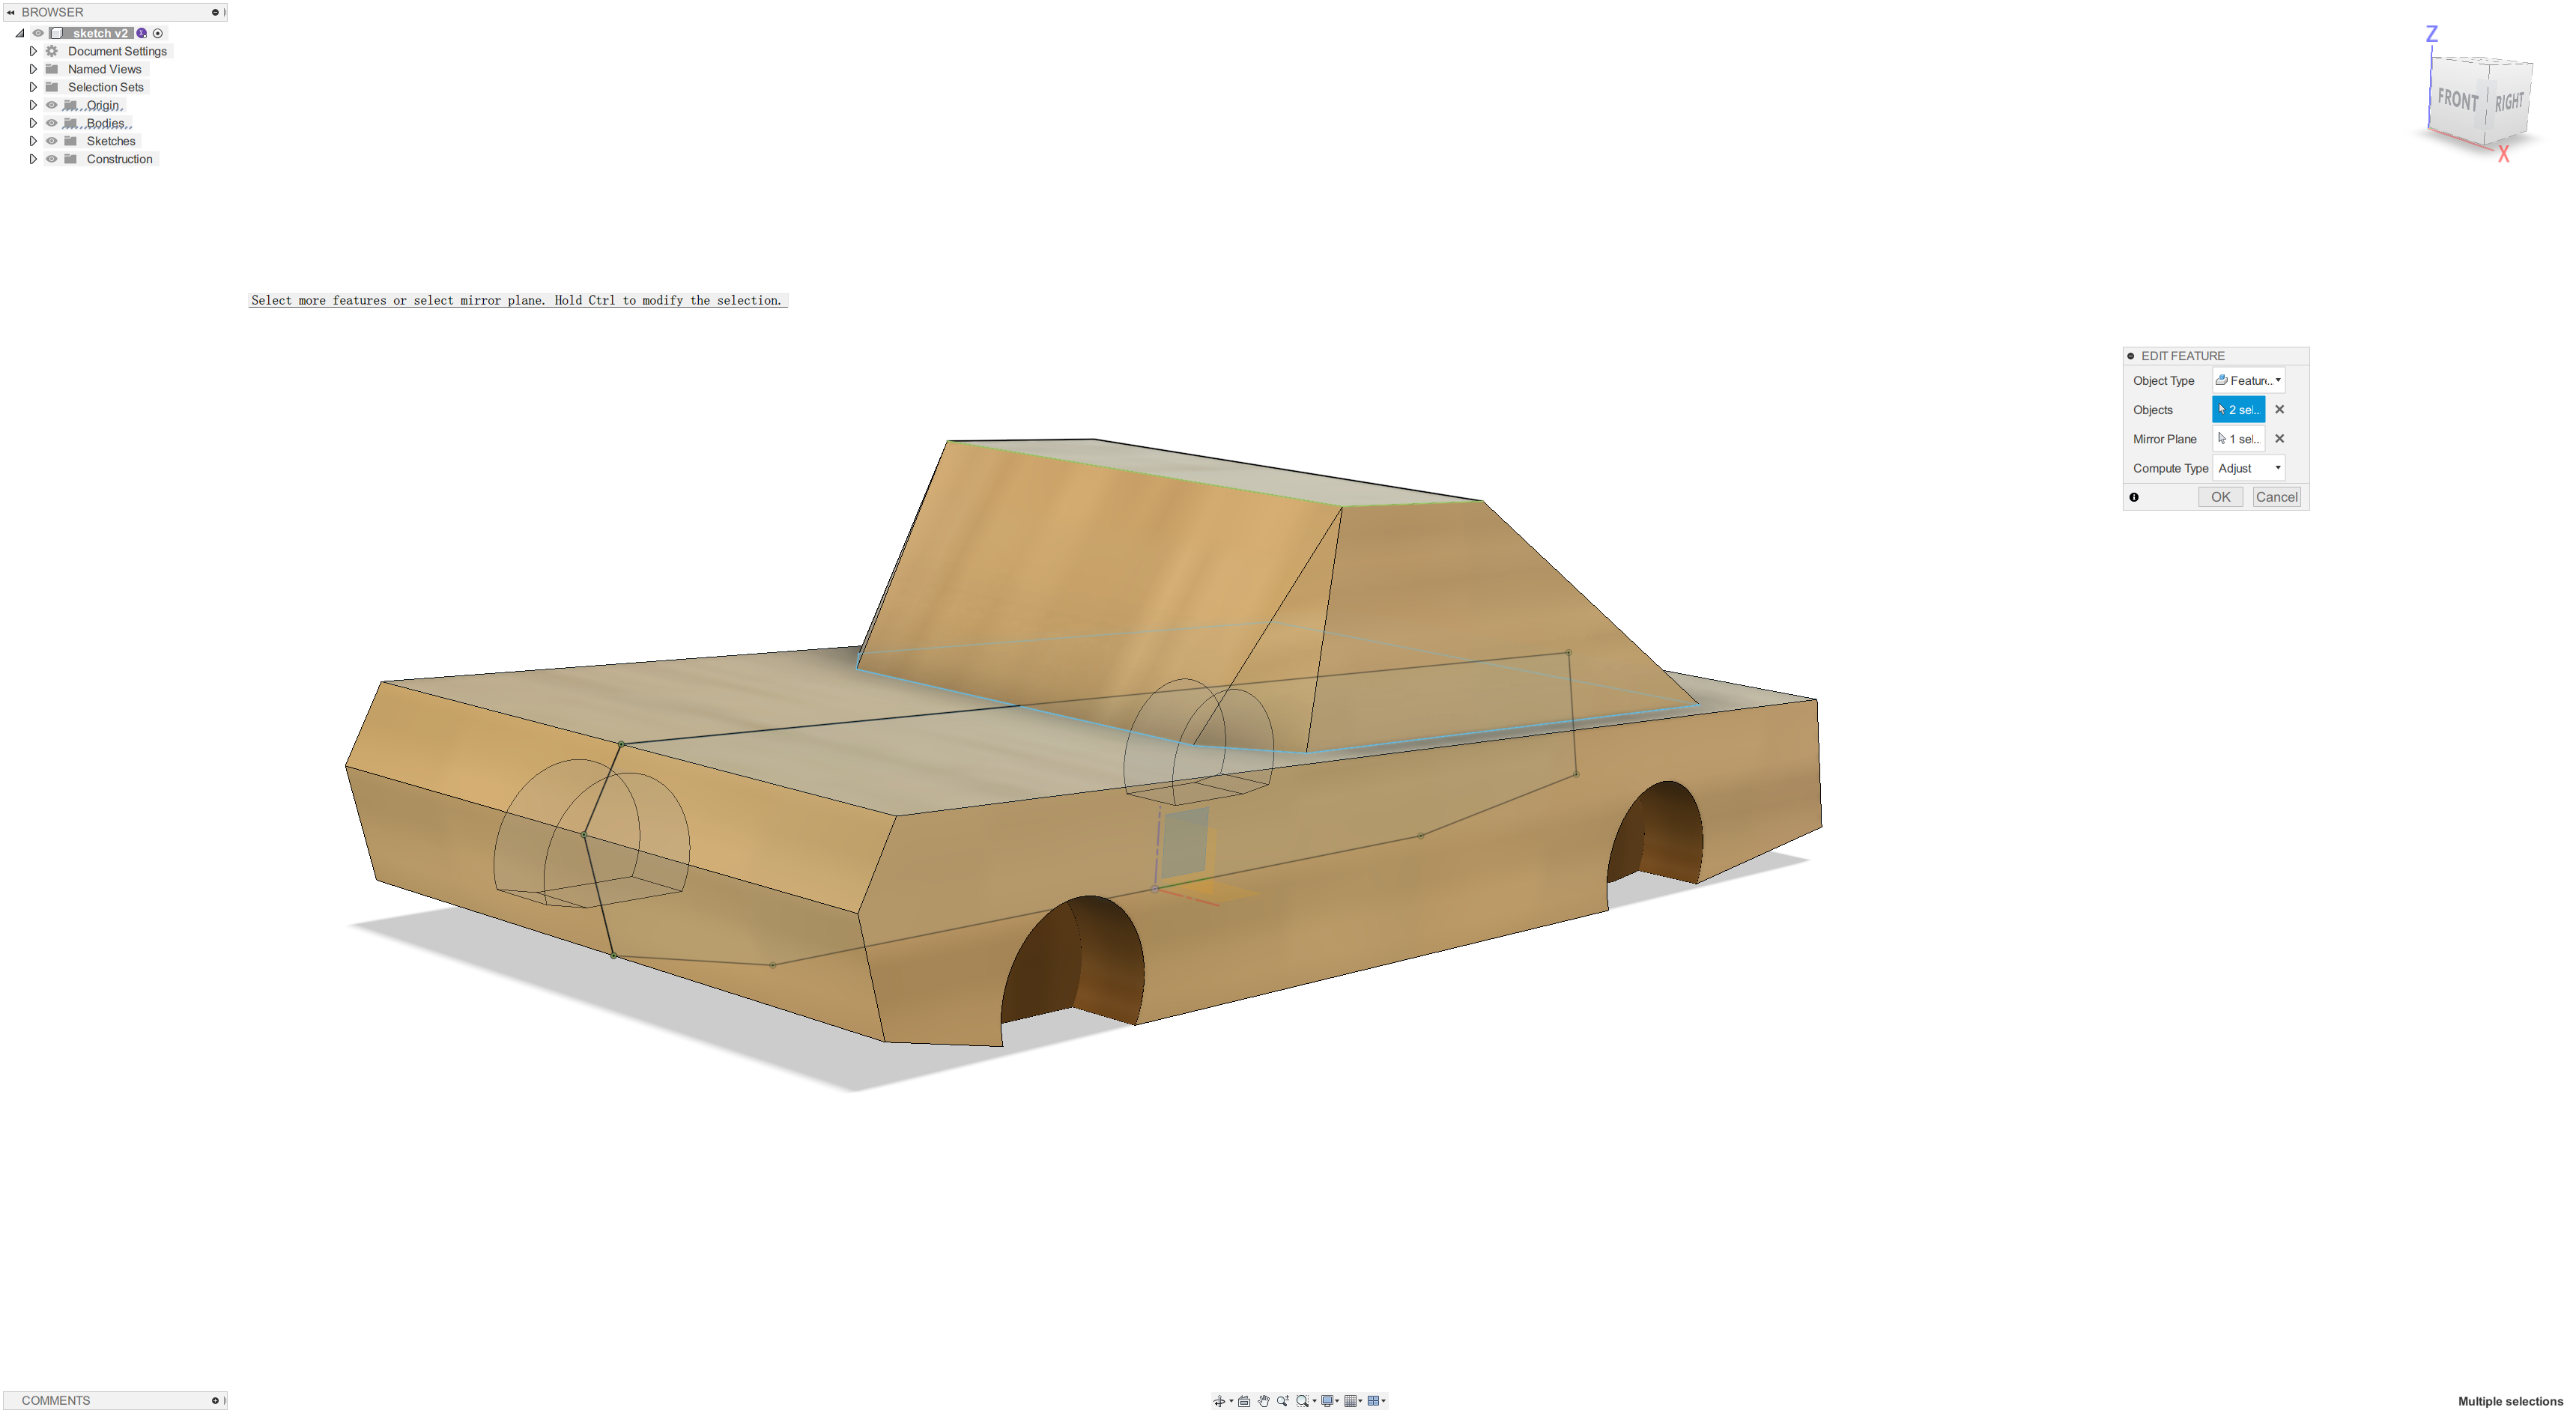
After finish one side of the car, use ‘mirror’ command to copy the extrude feature.
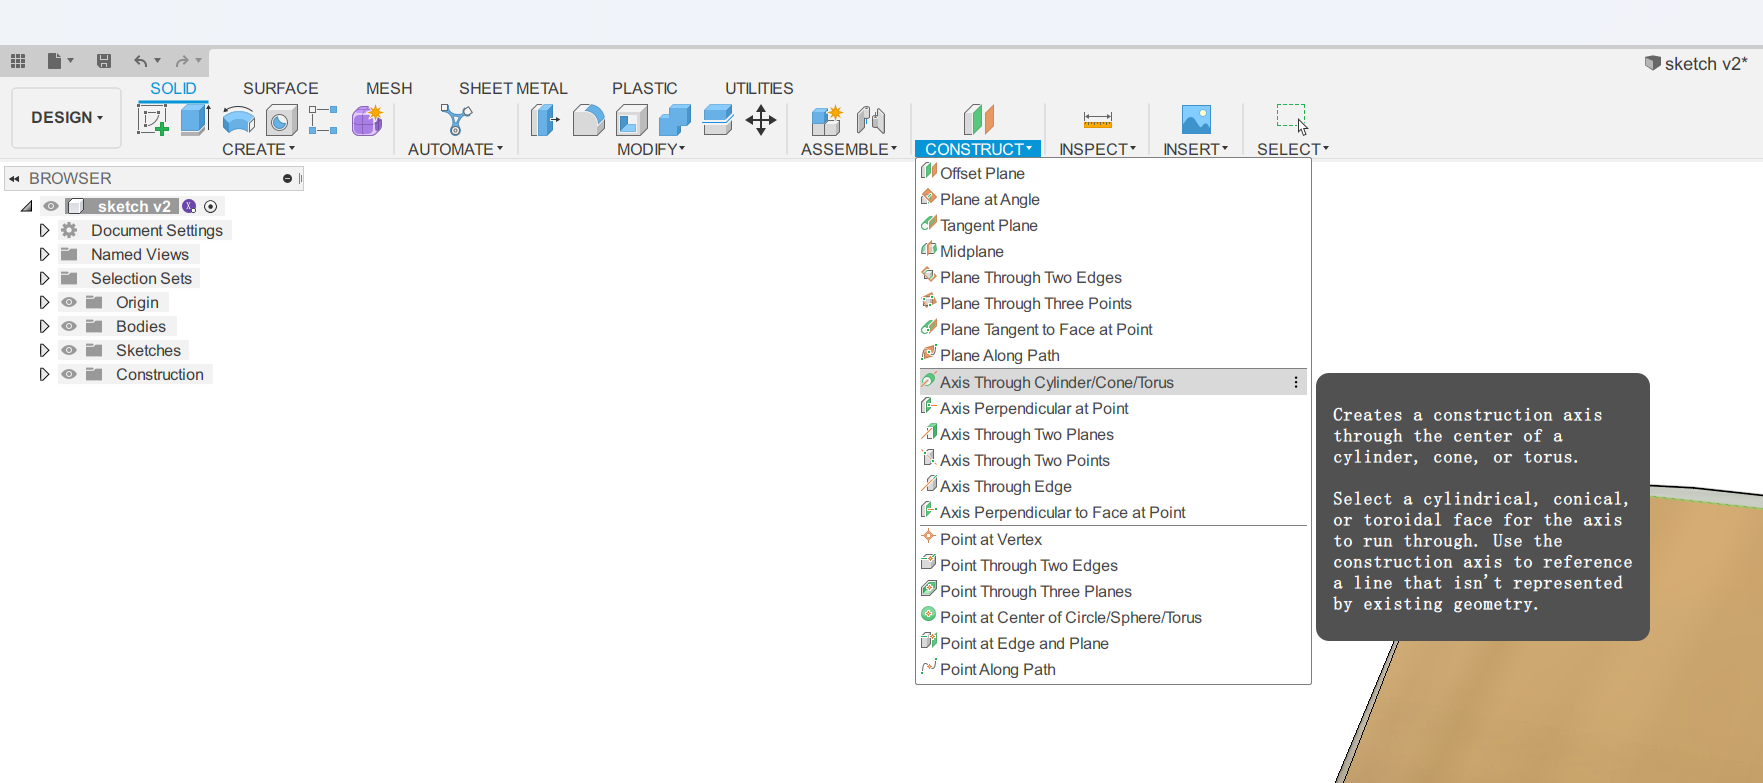
Then, create an axis of the wheel.

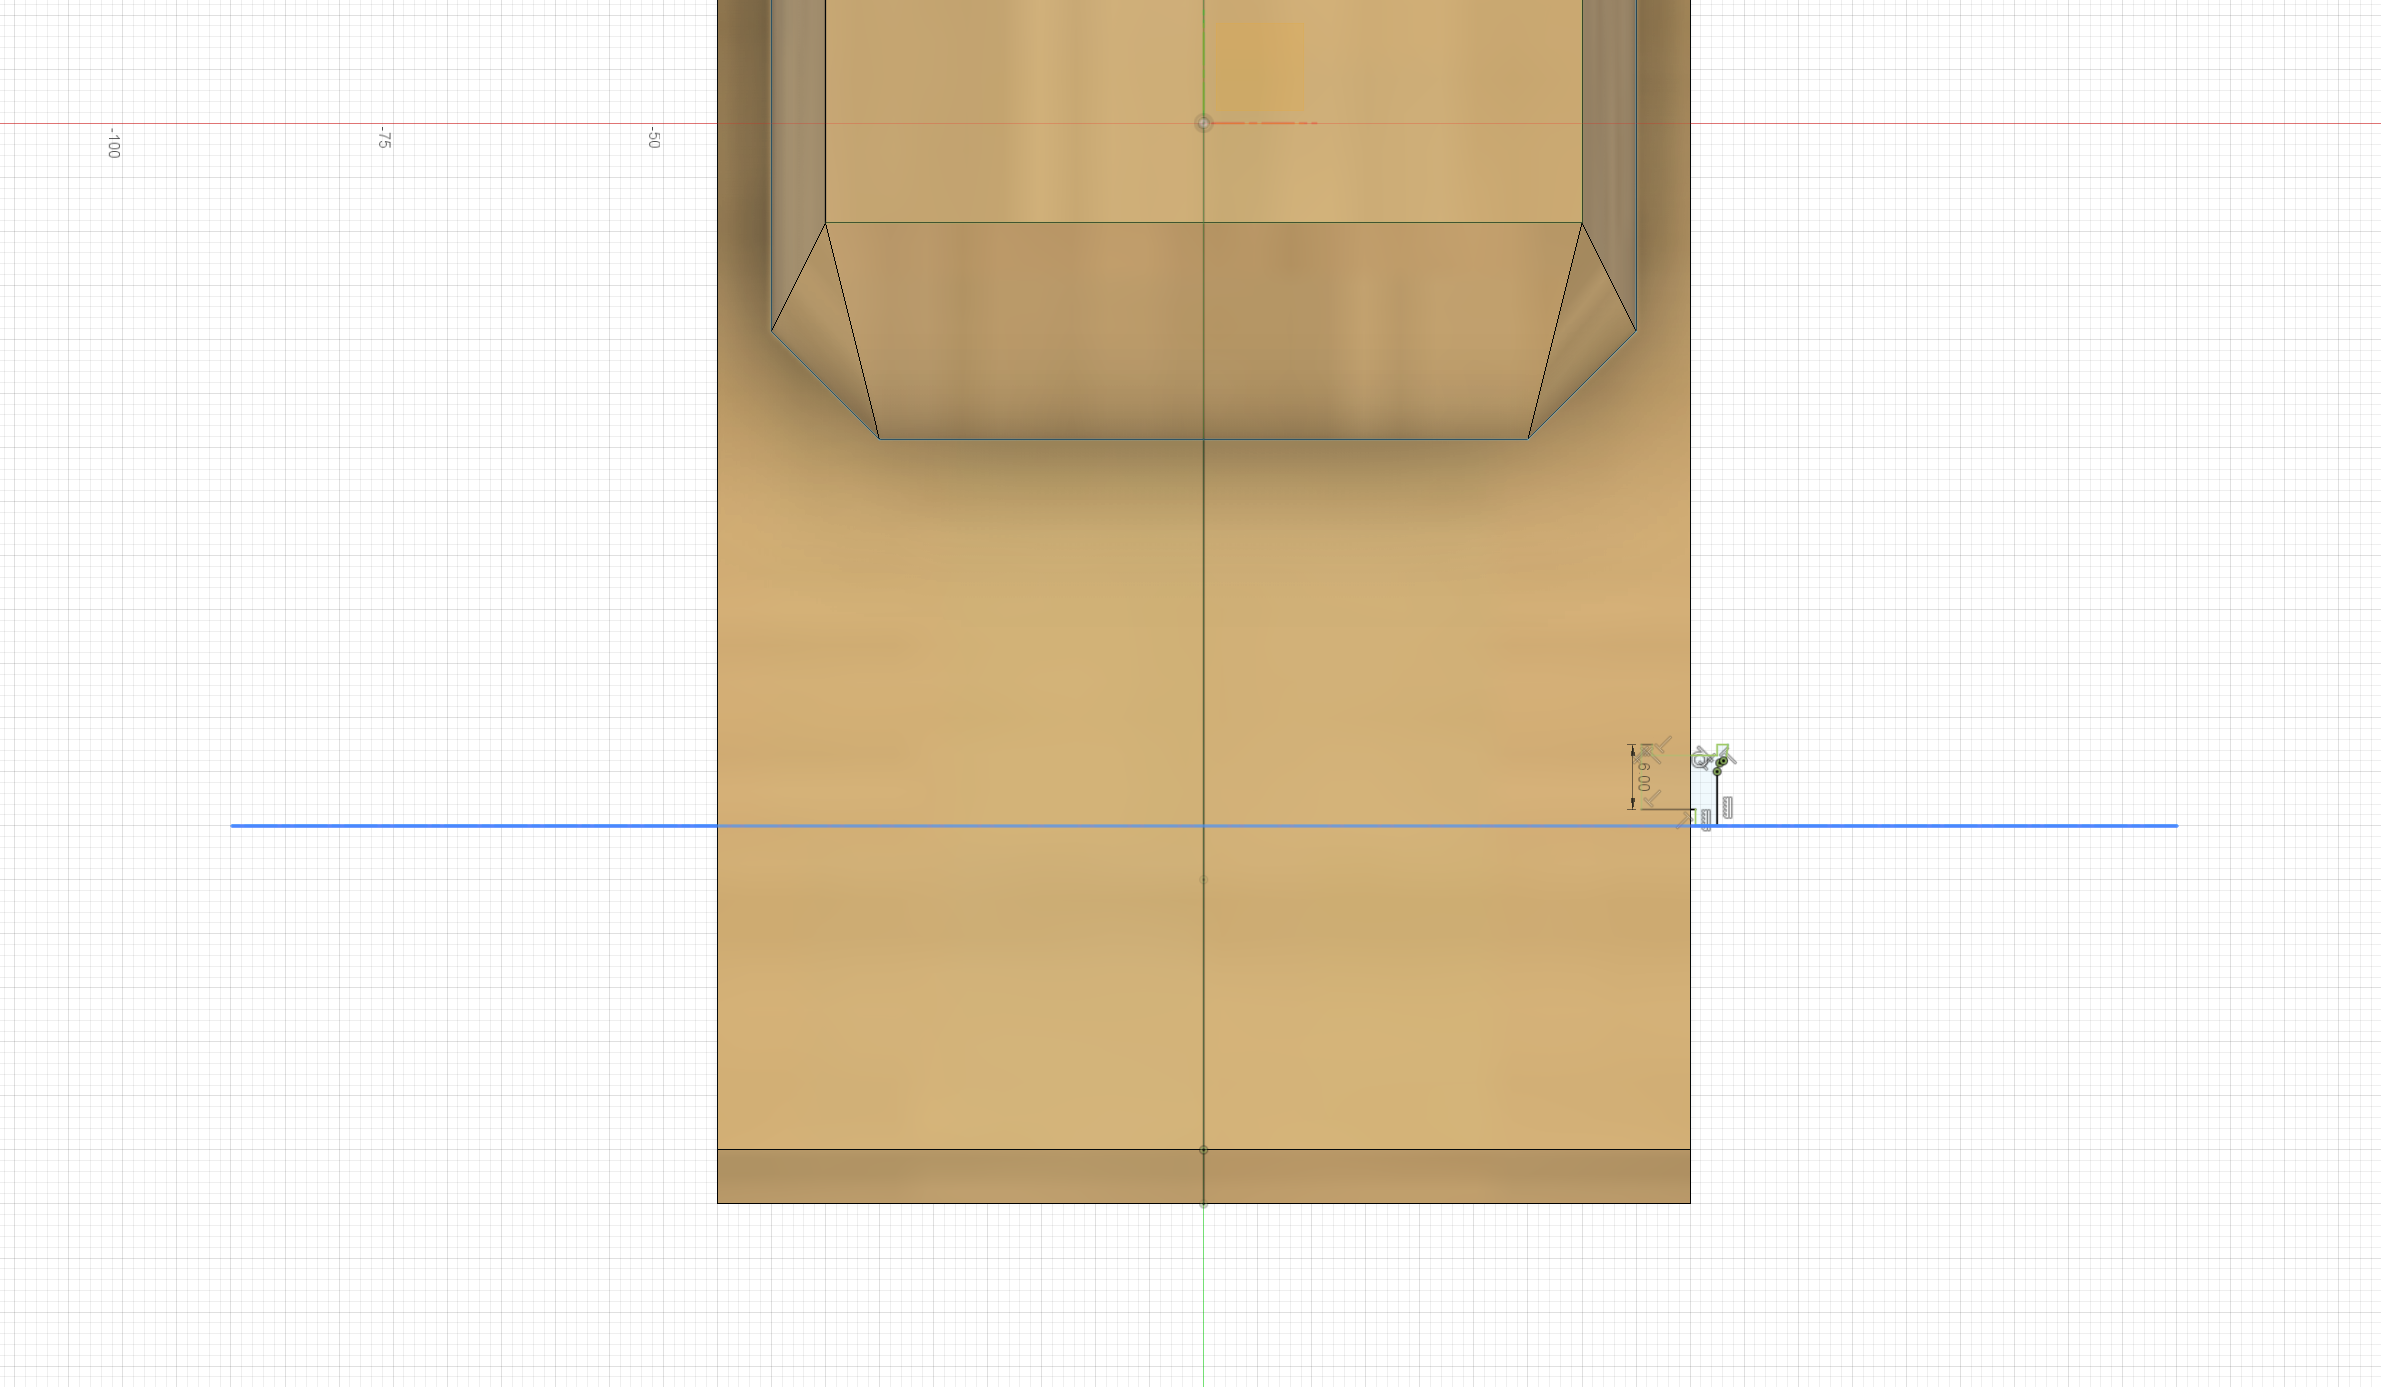
Draw the sketch of the section of the wheel on the axis plane.
Use ‘revolve’ command to create rim.


And the same, to create the whole wheel.

Finally. repeat the steps to create the rest wheels!
And you can trying to add some other features to make your car cooler!

— Oct 8, 2022
Search
Made with ❤ and at ZJU.